Understanding Light’s Role in Seed Germination
If you’ve ever started seeds indoors and ended up with leggy onion seedlings, you know how frustrating it can be to nurture a tray of hopeful sprouts only to see them get tall, thin, and floppy. One of the biggest factors behind this issue is light—or, more specifically, the relationship between seedlings and the type of light they receive during germination. Understanding this connection can help you grow sturdy, healthy onions as well as other plants from seed.
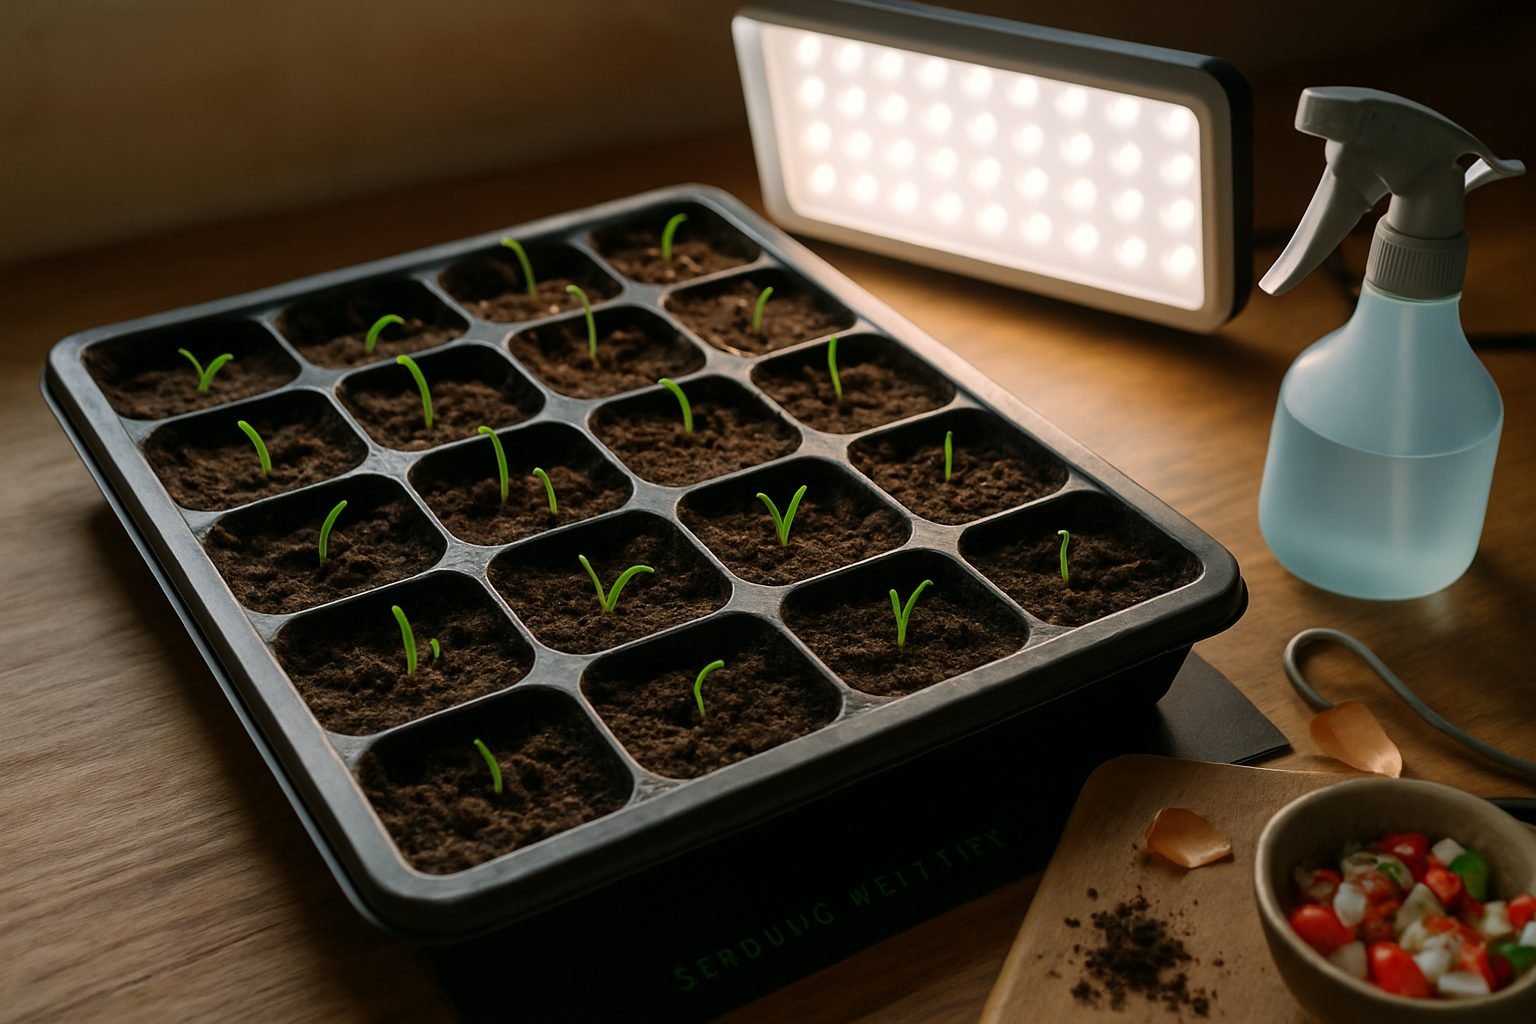
When seeds begin to grow, they react strongly to light thanks to a phenomenon called phototropism. Phototropism is how plants sense the direction of light and then grow toward it. Because sunlight is crucial for photosynthesis (the process that turns light into plant food), seeds instinctively reach for available light as soon as they sprout. Some seeds, like lettuce or petunias, require light to germinate—meaning they need to be sown on the soil surface and exposed for good results. Onions fall into a middle category; while they don’t strictly need light for the initial phase of germination, they do need ample brightness from the moment their shoots emerge. Without enough light, onion seedlings will grow tall and spindly as they “stretch” to find a better source—hence the term “leggy.”
Other seeds, such as beans and peas, typically germinate below the soil and don’t require direct light at first. However, even these will quickly become leggy if the light remains insufficient once they sprout. The germination process is heavily influenced by the quantity and quality of light. Strong, consistent light—either from a sunny window or a good grow light—signals seedlings to grow compact and robust rather than tall and thin. If your onion seedlings are struggling, a simple fix like repositioning your grow lights closer or increasing their brightness can make all the difference for healthy, stocky plants.
The Importance of Water and Temperature
Water is the first essential trigger that wakes seeds from dormancy and starts the germination process. When a seed absorbs enough moisture, its outer coat softens, allowing enzymes to activate and kickstart growth. For most seeds, the soil should be kept consistently damp, similar to the feel of a wrung-out sponge—not soaking wet, but never dry.
Overwatering can drown the seed and cause rot, while too little moisture will halt germination altogether. Another equally crucial factor is temperature. Seeds need a specific warmth range to sprout—often between 65°F and 75°F (18°C–24°C) for common garden plants. Too cold, and the seed stays dormant; too hot, and it might never grow.
To maintain ideal conditions, use a spray bottle to moisten the soil surface regularly without disturbing the seed, or cover trays with plastic wrap to lock in humidity—just remember to lift the cover daily for airflow. If your space is cool, a simple seedling heat mat can provide gentle bottom warmth and significantly boost germination rates.
By watching moisture with gentle, daily checks and ensuring consistent temperatures, you’ll give your seeds the best possible start.
Meeting Seed Light Requirements
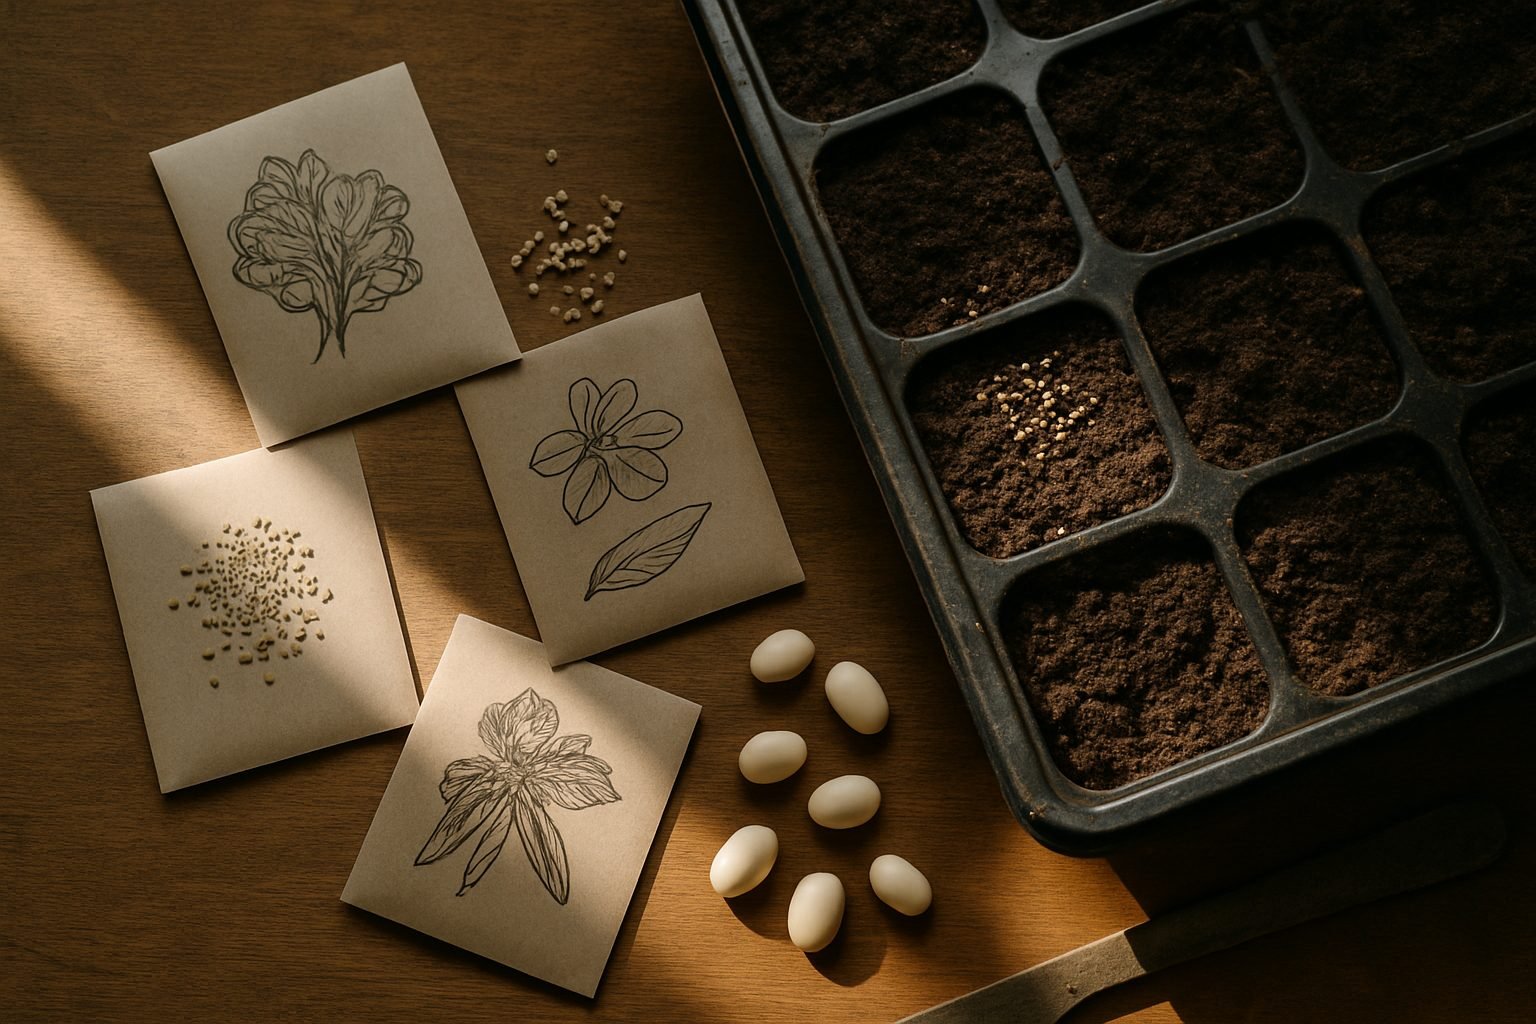
Some seeds need light to germinate, while others prefer darkness—knowing which is which is key to successful sprouting. For example, lettuce, snapdragon, and petunia seeds typically require light and should be sown on the surface of the soil without being covered. On the other hand, seeds like peas, beans, sweet corn, and calendula prefer darkness and should be planted under a thin layer of soil.
To determine your seeds’ specific light requirements, check the packaging or look up the variety on the seed supplier’s website—reputable sellers usually provide detailed sowing guidance. Gardening books and extension service websites also offer charts listing common seeds and their preferred conditions.
As a general rule, if a seed is particularly tiny, it’s likely to need light and should be pressed gently into the soil without covering. Larger seeds often benefit from a bit of darkness, so plant them at a depth roughly 2–3 times their diameter.
If in doubt, experiment with a few seeds both ways or opt for a clear plastic dome over your tray to provide a humid, well-lit environment for surface-sown seeds. By matching your planting method to each seed’s light preference, you’ll see stronger, more reliable germination.
Best Indoor Lighting Options for Seedlings
Starting seeds indoors gives you a head start on the growing season, but getting the right lighting is key to healthy seedlings. While natural sunlight is free and provides a full spectrum of light, it can be inconsistent indoors—south-facing windows often don’t deliver enough intensity, especially in early spring. That’s where artificial grow lights come in handy.
Fluorescent lights, like T5 or T8 tubes, are budget-friendly and give off minimal heat, so you can place them just a few inches above your seedlings to avoid stretching and weak stems. LEDs have become a popular alternative: they’re more energy-efficient, long-lasting, and customizable in terms of light spectrum, though the upfront cost is usually higher.
Compact fluorescent lights (CFLs) and high-intensity discharge (HID) lamps are also options, but they tend to run hotter and may be overkill for small batches of seedlings. No matter the type, aim for 14-16 hours of light daily to mimic long spring days—use a timer to keep your routine consistent.
Position lights 2-4 inches above the tops of your seedlings and adjust as they grow to avoid burning or leggy growth. If you’re relying on window light, supplement with artificial lighting on cloudy days or as seedlings get bigger.
A simple rule of thumb: if your seedlings are leaning or looking pale, they probably need more light. Don’t be afraid to experiment and adjust as you go.
Troubleshooting Light-Related Germination Problems
Light issues are a common cause of weak or failed seedling growth indoors, and the symptoms are easy to spot if you know what to look for. If your seedlings are tall, thin, and floppy—often called “leggy”—or if seeds barely sprout at all, they’re likely not getting enough light. Yellowing leaves, slow growth, and seedlings bending dramatically toward windows are other red flags.
To fix these problems, move seedlings as close as possible to a bright, south-facing window, or better yet, set up an inexpensive LED or fluorescent grow light suspended just a few inches above the trays. Keep the light on for 14-16 hours per day to mimic the long daylight hours they need. Rotate trays regularly so plants grow evenly, and raise the light as your seedlings get taller to maintain a consistent gap.
Prevention is key, so always start seeds in a well-lit area and avoid stacking trays, which can block light from reaching lower plants. Investing in a simple timer for your lights removes guesswork and ensures consistency. Thorough planning upfront—like checking the light needs of your specific seeds and keeping light sources clean of dust—sets the stage for sturdy, healthy seedlings ready for transplanting outside.
Essential Tips for Successful Seed Germination
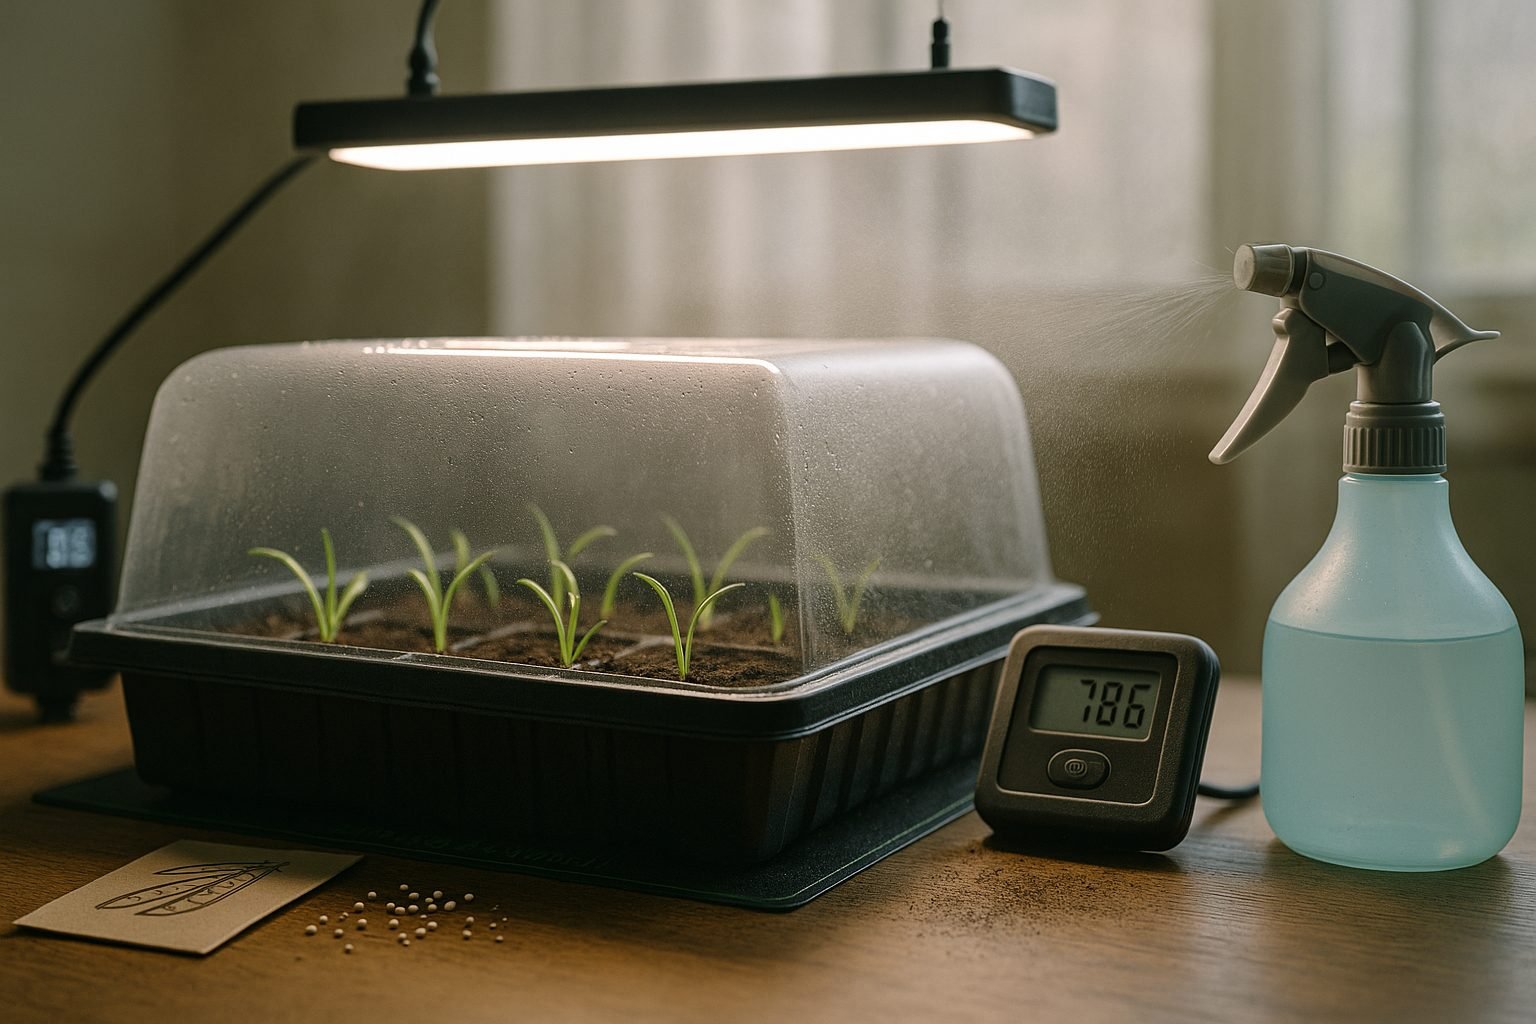
Balancing light, temperature, and moisture is key for reliable seed germination, but it doesn’t have to be complicated. Start by placing your seed trays in a warm spot—ideally between 65°F and 75°F—as most seeds sprout fastest at these temperatures. To add gentle heat, consider using a seedling heat mat, which boosts success, especially for heat-loving plants like tomatoes or peppers.
Consistent moisture is just as important; keep the soil damp but not soggy to avoid drowning seeds or promoting mold. A spray bottle makes it easy to mist soil evenly, and humidity domes or clear plastic covers help lock in moisture while seeds sprout. Once you see green shoots, remove the dome or cover to prevent fungal issues.
Adequate light is your next focus—when seeds emerge, put trays in a sunny windowsill or use a grow light with an automatic timer set for 14–16 hours a day to prevent seedlings from becoming leggy and weak.
Quick Checklist for Beginners
- Use sterile seed-starting mix
- Pre-moisten the soil
- Sow seeds at the correct depth
- Cover trays with a humidity dome
- Use a heat mat if necessary
- Mist regularly
- Provide ample light as soon as seeds sprout
With these simple steps and a few inexpensive tools, you’ll set yourself up for strong, healthy seedlings ready for transplanting.