Introduction to Kale Seedlings and Their Needs
Hardening kale seedlings is a crucial step on the path to a thriving, bountiful garden. If you’ve ever started kale seeds indoors, you know how rewarding it is to see those fresh green sprigs emerge from the soil—these are kale seedlings, the fragile first stage of one of the most resilient leafy greens you can grow. Despite kale’s reputation for being hardy, its seedlings are surprisingly delicate when it comes to temperature swings, direct sun, and wind. This is where hardening off comes in. Hardening kale seedlings means gradually acclimating them to the harsher, more changeable world outside your cozy windowsill. Skip this step, and your young plants risk sun scorch, leaf damage, or even death from shock.
The journey starts with germination. Kale seeds are typically sown in trays or pots indoors, where you control every variable—warmth, moisture, and light. Within five to ten days, tiny shoots poke through. Over the next several weeks, these seedlings grow their first set of true leaves, developing the vital root and leaf structures they need to thrive. But life indoors is safe and stable. Outside, breezes tug at stems, the sun blazes much brighter, and night temperatures can dip low, especially in early spring. Transitioning these pampered seedlings straight into the garden can easily overwhelm them. That’s why it’s essential to harden them off: expose them incrementally to outdoor conditions so they toughen up and develop stronger cell walls, better root systems, and greater resilience.
Expect the process to take about a week, sometimes longer if temperatures are cold or weather is unpredictable. Common challenges include forgetting to bring seedlings back in, exposing them to too much sun too quickly, or transplanting while the ground is still too cold. But the benefits of hardening kale seedlings far outweigh the effort. Properly hardened seedlings suffer less transplant shock, establish more quickly, and set the stage for vigorous, healthy plants—meaning more tasty kale for you to enjoy throughout the season. With some patience and care, you’ll give your kale the best start yet.
Understanding the Germination & Early Growth of Kale Seeds
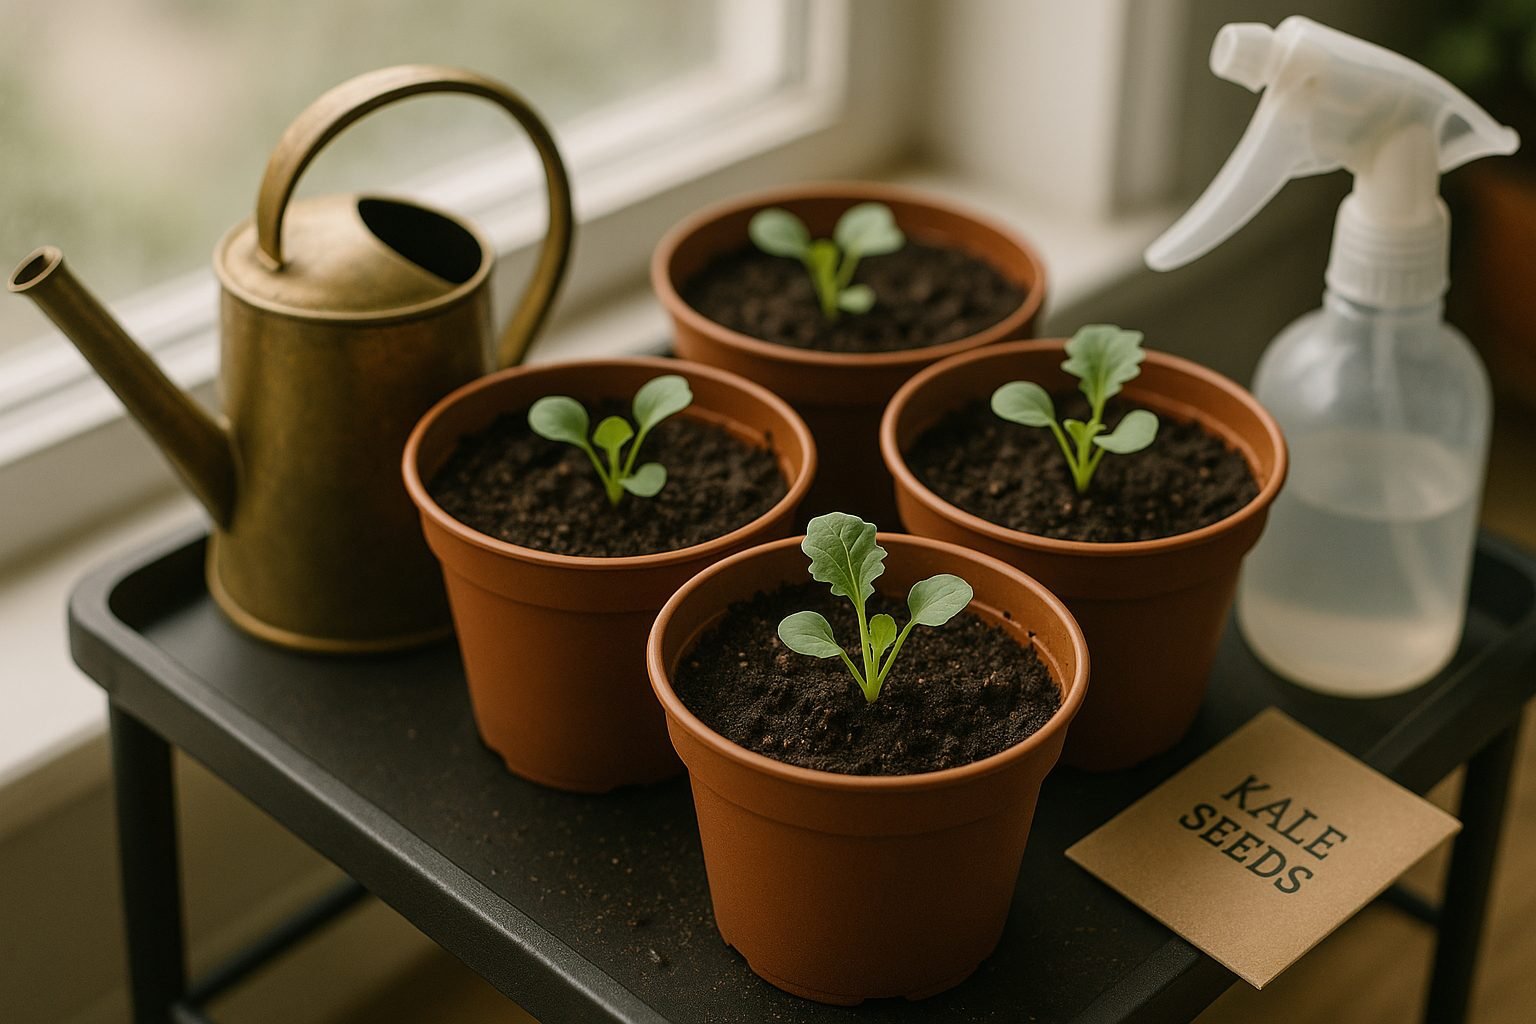
Germinating kale seeds and nurturing their early growth is all about creating the right environment and paying close attention to detail. Start by sowing your seeds about a quarter-inch deep in moist, well-draining soil—ideally a mix rich in organic matter, like compost or coconut coir.
Place the trays or pots somewhere that stays between 60–70°F (15–21°C); kale seeds love this mild temperature range and will usually sprout within 5–10 days if kept consistently moist but never waterlogged.
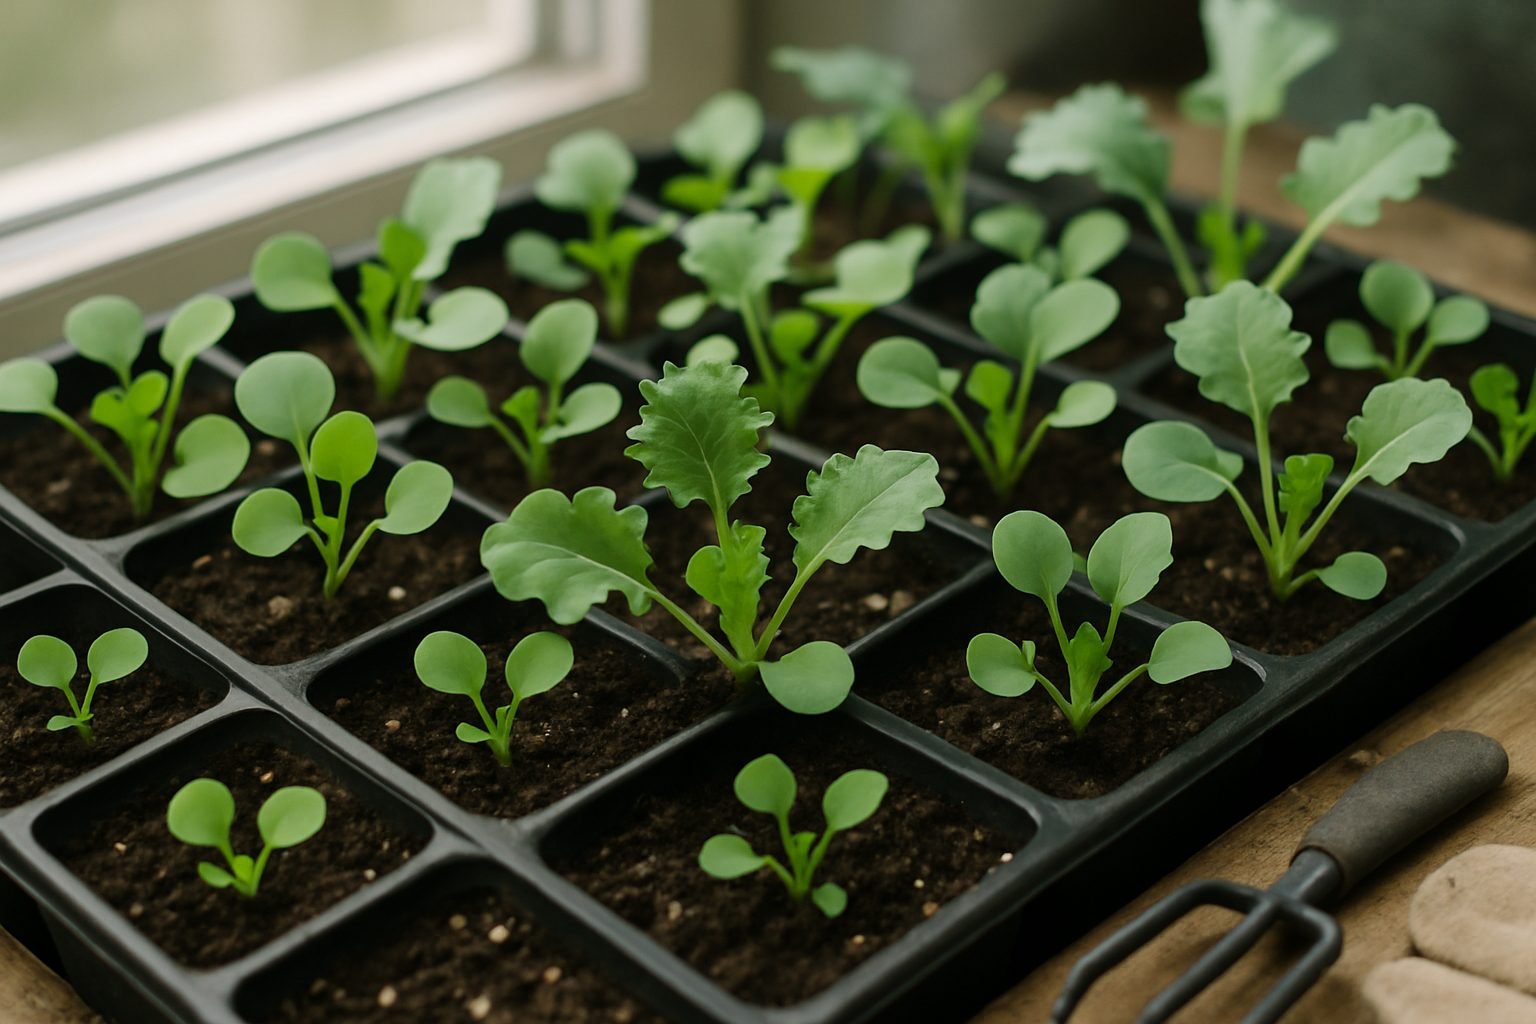
Once little green shoots emerge, make sure they get plenty of indirect light; a bright windowsill works, or use grow lights set 2–4 inches above the seedlings so they don’t get leggy.
As the seedlings grow, they’ll first produce two small “seed leaves” called cotyledons. True leaves—with the distinct frilly kale edges—follow after a week or so; this is when your seedlings are developing strong enough roots to eventually thrive outdoors.
Common mistakes at this stage include overwatering (which causes rot and fungus), letting the soil dry out completely, or exposing seedlings to harsh, direct sunlight that can scorch them. To avoid these pitfalls, check the soil daily—it should feel damp like a wrung-out sponge.
Also, don’t overcrowd seeds; thin them so that each seedling has space, preventing disease and encouraging steady growth. If you notice your seedlings growing tall and thin, move them to a brighter spot.
A little care and observation in these first weeks sets your kale up for a hearty, robust garden life.
The Hardening Off Process: Why It’s Crucial
Hardening off is the gradual process of acclimating seedlings, which have been started indoors or in greenhouses, to the harsher conditions of the outdoors. This step is crucial because indoor-grown plants are used to mild temperatures, steady moisture, and low light intensity—none of which match the unpredictable world outside.
The science behind hardening off lies in helping a plant’s cellular structure adapt to fluctuations in temperature, wind, direct sunlight, and lower humidity levels. When seedlings are slowly introduced to these stressors—by placing them outdoors for a few hours at a time and gradually increasing exposure over a week or two—their cuticles thicken, their stalks strengthen, and they develop better resistance to sun and wind.
Skipping or rushing the hardening off process almost always leads to stressed plants. You’ll notice warning signs like drooping leaves, sunburned spots (which look pale or white), wilting, or stunted growth. Sometimes, seedlings that go outside too soon will simply collapse, unable to cope with the shock.
To avoid this, try placing your seedlings in a sheltered, shady spot outside at first, then slowly expose them to more sun and wind. This gentle transition increases their chances of thriving once planted in their permanent garden home.
Step-by-Step Hardening Off for Kale Seedlings
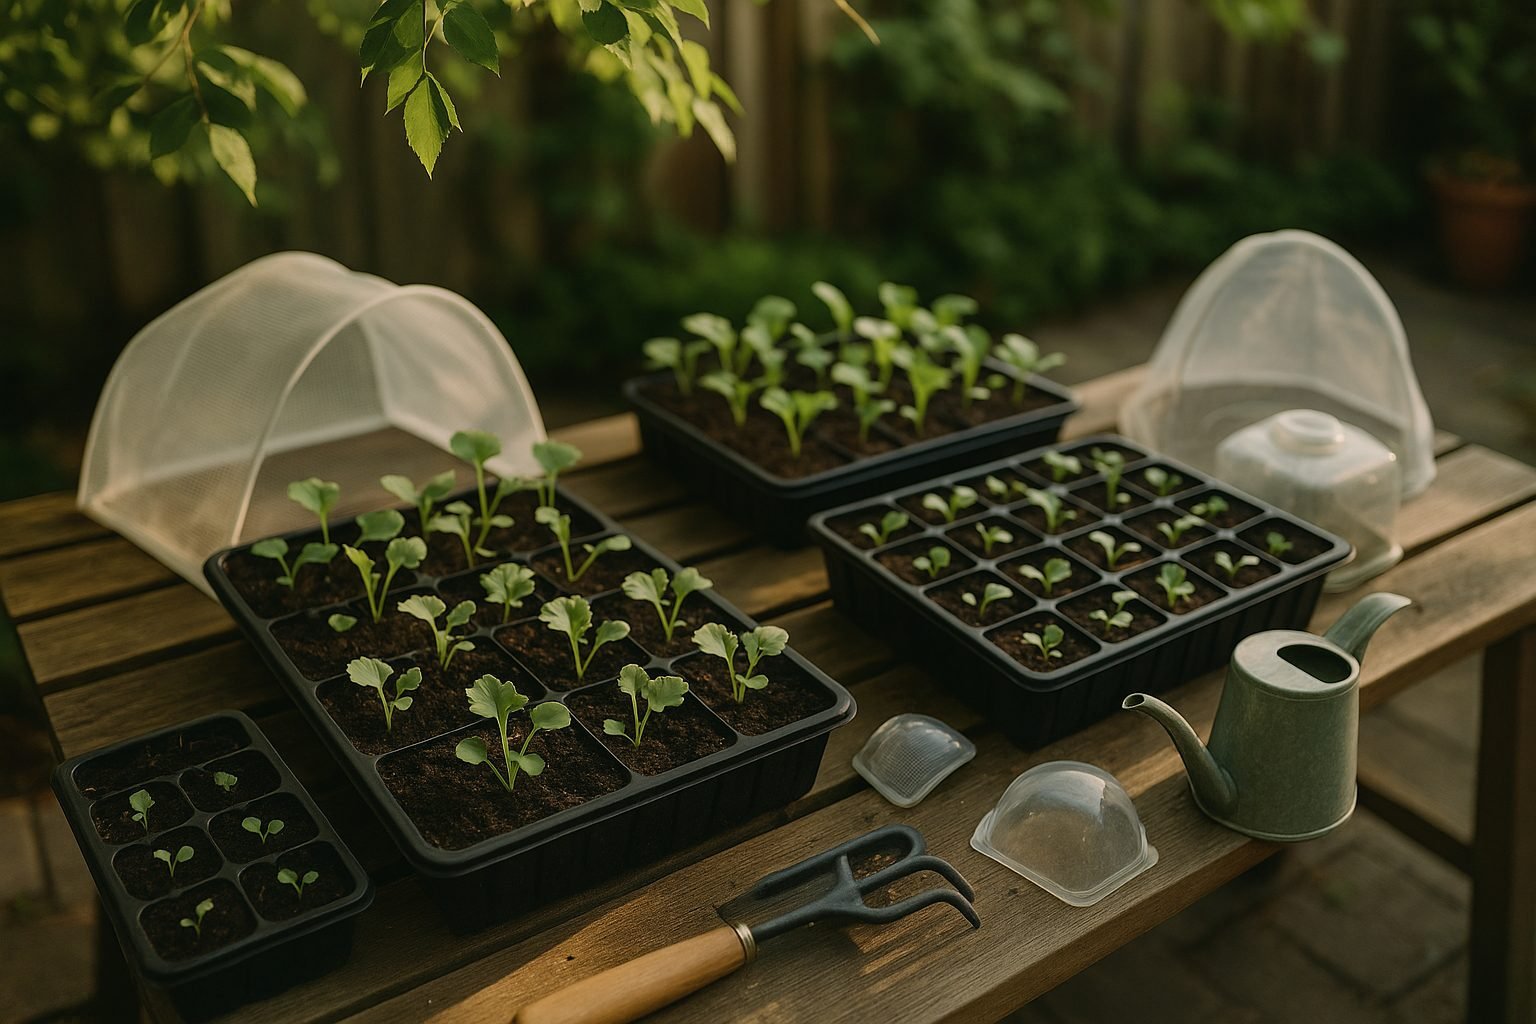
Hardening off kale seedlings is essential for a strong start in the garden, and following a daily routine makes the process straightforward and stress-free. Start by placing your seedlings outdoors in a sheltered, shady spot for about two hours on the first day—avoid direct sun and windy spots, as kale is sensitive at this stage.
Over the next week, gradually increase outdoor exposure by one to two hours each day. Move the trays into dappled sunlight on day three, and eventually into full sun by day five or six.
If there’s a cold snap, heavy rain, or gusty winds in the forecast, it’s smart to keep seedlings indoors that day or use a lightweight row cover or container lid for protection. Always check the weather before moving plants and bring them in during nighttime if temperatures drop below 45°F (7°C).
To prevent transplant shock, keep the seedlings well-watered but not soggy, and water them in the morning to avoid fungal issues. Watch for signs of stress like wilting, yellowing, or scorched leaves, and reduce sun exposure or increase shelter if these appear.
Before planting out, toughen your kale by withholding fertilizer for the last couple of days and giving them one full day and night outdoors (if weather is mild). This gradual, mindful approach helps your seedlings build resilience, reduces shock, and boosts their odds of thriving in their final garden spot.
Early Outdoor Care: Thinning, Watering & Fertilizing Kale Seedlings
As your kale seedlings begin to grow outdoors, early care is crucial for a strong, healthy harvest. Once your seedlings have two true leaves—usually about two weeks after sprouting—it’s time to thin them out. Gently pull or snip extra seedlings to leave the healthiest plants spaced about 8 to 12 inches apart. Proper spacing allows air to flow freely and reduces competition for nutrients, helping each plant thrive.
Watering is equally important. Aim to keep the soil consistently moist but never soggy. A good rule of thumb is about one inch of water per week, delivered slowly at the base of the plants using a watering can or drip hose. Avoid overhead watering, which can encourage disease and splash soil onto the leaves. Be careful not to overwater, as waterlogged soil can rot young roots.
For feeding, wait until seedlings are a few inches tall, then side-dress with a gentle organic fertilizer. Products like fish emulsion or a balanced all-purpose granular fertilizer work well for beginners. Start at half the recommended strength to avoid burning tender roots.
By giving your kale the right space, water, and nutrients early on, you’ll set the stage for a vibrant, productive garden all season long.
Common Problems & How to Protect Young Kale Plants
Young kale plants face several challenges in their early weeks outdoors, making vigilance essential for a healthy crop. Pests like aphids, flea beetles, and cabbage worms are common culprits—look for tiny holes in leaves or clusters of insects.
Floating row covers are a practical defense, creating a barrier while still letting in sunlight and rain. Slugs and snails also love tender kale leaves, but you can deter them by sprinkling diatomaceous earth around the base or placing shallow dishes of beer to trap them.
Weather extremes pose another threat: sudden cold snaps can stunt growth or kill seedlings, so keep frost blankets handy if late frosts are possible, and use mulch to moderate soil temperature and retain moisture.
Fungal diseases and rot can quickly develop in humid or crowded conditions, so always space your seedlings properly and water early in the day to let leaves dry before nightfall. If you spot yellowing or wilting, trim back affected areas promptly and check watering habits—overwatering invites disease.
Proactive monitoring is key: walk your garden every day or two, checking for early signs of trouble and addressing issues immediately. Even a quick morning look can help spot chewed leaves, pest eggs, or wilting, giving you the chance to take fast action.
With a mix of attentive care and quick, simple remedies, your kale seedlings have their best shot at thriving through the vulnerable early weeks.
When & How to Harvest Your First Kale Leaves
Knowing when to harvest your first kale leaves is key to enjoying tender, flavorful greens right from your garden. Start checking your plants about 50-60 days after planting from seed, or 30 days after transplanting seedlings. Look for leaves that are about the size of your hand—these are young, tender, and perfect for eating.
The best way to harvest is to pick the outermost leaves first, cutting or pinching them off close to the stem while leaving at least four or five inner leaves and the central bud intact. This method allows the plant to keep producing new foliage, giving you a steady supply throughout the season.
Use a clean pair of garden scissors or your fingers, and make sure to avoid damaging the main stem to prevent stunting the plant’s growth. Once you’ve gathered your first handful, try tossing the freshly picked kale into salads, smoothies, or a quick sauté with garlic and olive oil—homegrown kale has a sweetness and tenderness that store-bought simply can’t match.
There’s something truly satisfying about harvesting your own food; the taste is only part of it, as the experience connects you more deeply to what you eat while rewarding your efforts in the garden.