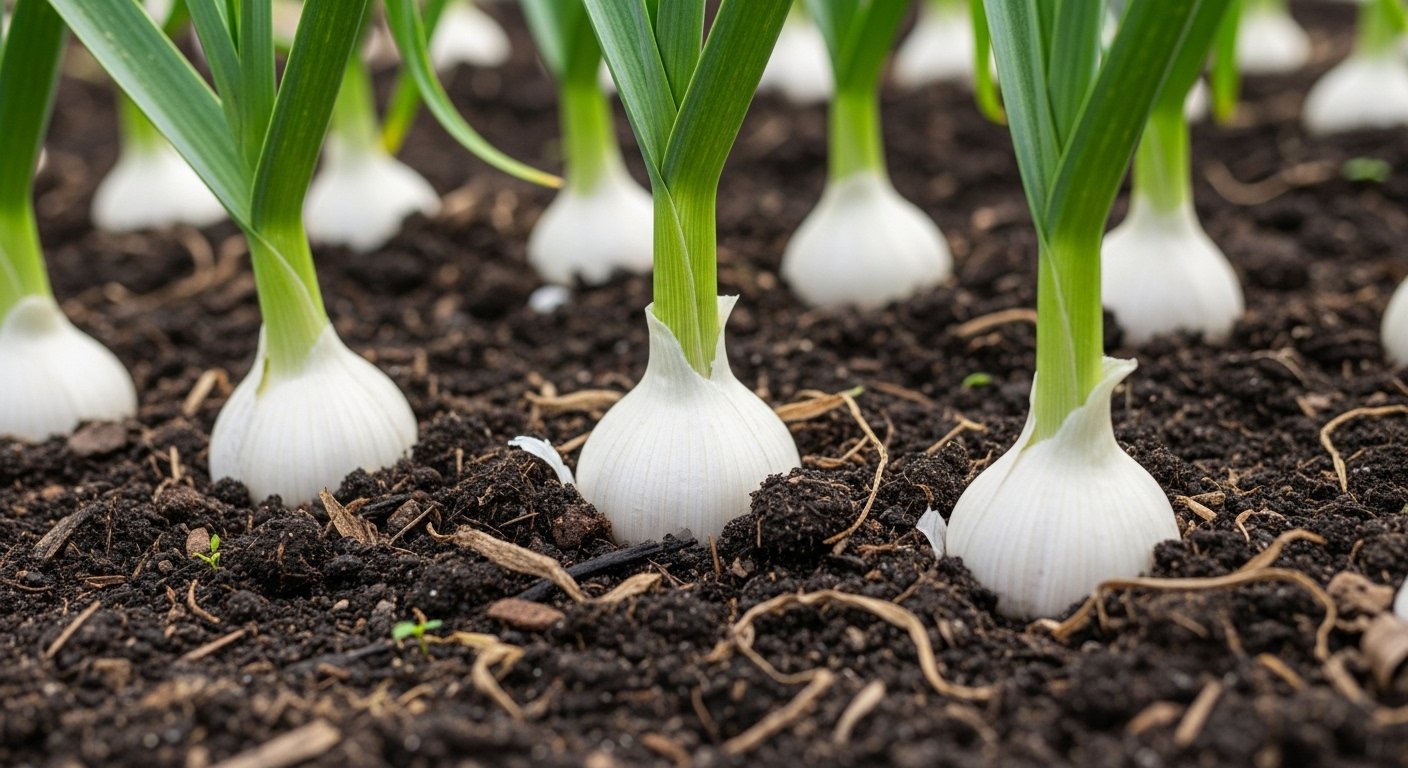
Why Garlic Needs Fertilizer
Fertilizing garlic is an essential step in growing healthy, robust bulbs, especially if you want to enjoy a bountiful harvest from your home garden. Garlic is a heavy feeder, which means it requires a steady supply of nutrients throughout its long growing season, usually lasting eight to nine months.
Unlike some less demanding crops, garlic starts forming its bulbs late in the season, relying heavily on nutrients stored in the soil to ramp up growth. If the soil lacks key elements—especially nitrogen in the early stages, and phosphorus and potassium as bulbs form—your plants may end up with stunted, thin stalks and undersized cloves.
Many home gardeners find that their soil is naturally deficient in organic matter or specific minerals due to repeated planting or starting with poor native soil. Adding compost, well-rotted manure, or other organic amendments can make a world of difference, not only in feeding the garlic but also in enriching the soil for other crops.
Proper fertilizing practices help your garlic bulbs grow larger, develop tighter skins, and gain more complex flavors. Fertilization also boosts the plant’s overall resistance to diseases and pests. By taking the time to understand your soil’s needs and applying natural fertilizers at the right stages—early in spring for green growth and again as bulbs start to swell—you’ll find that a little effort goes a long way.
Think of fertilizing garlic as investing in the health of your entire garden; the results aren’t just bigger bulbs but healthier plants and tastier meals on your table.
Choosing the Best Fertilizer for Garlic
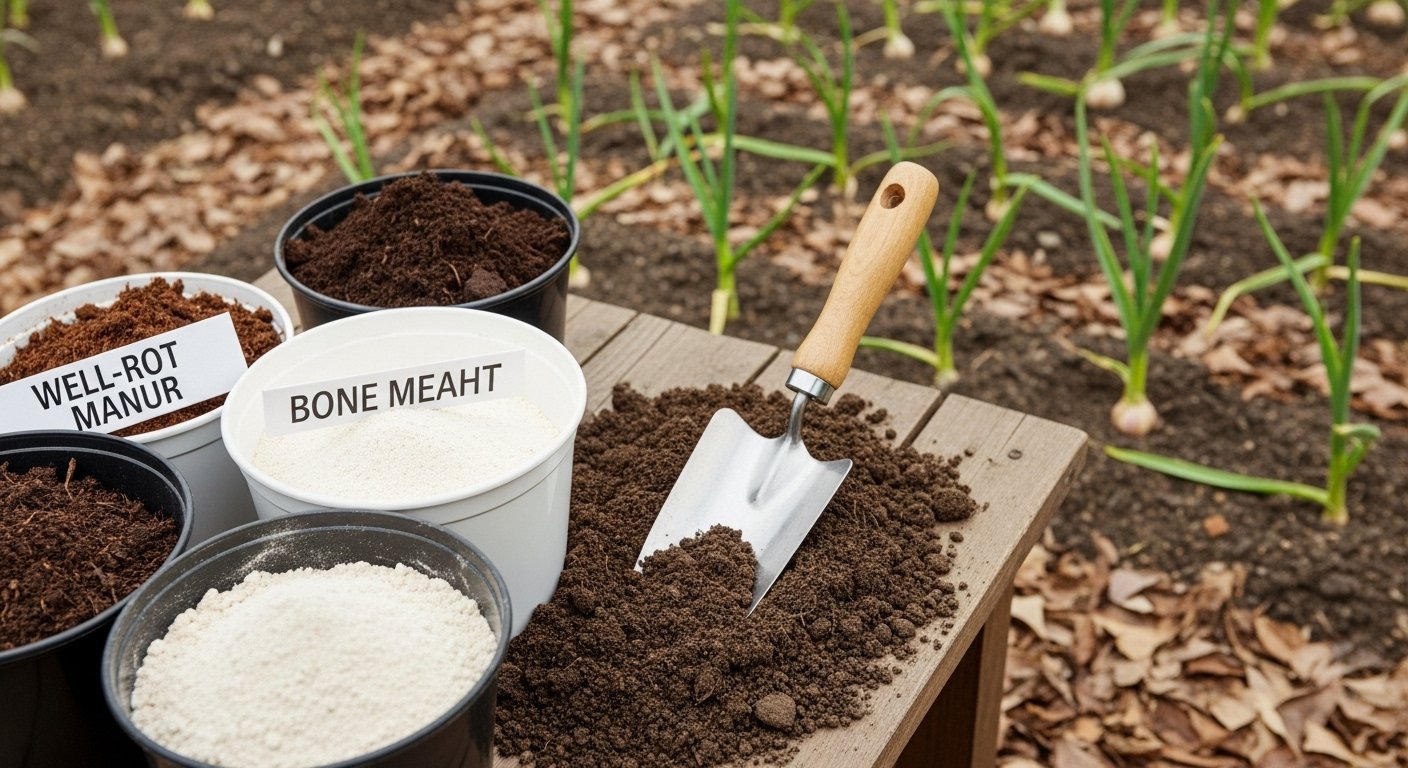
When it comes to fertilizing garlic, both organic and synthetic options can provide solid results, but understanding their differences is key to growing healthy, flavorful bulbs.
Organic fertilizers, like well-rotted compost, aged manure, or specially blended organic garlic fertilizers, enrich the soil’s structure, encourage beneficial microbes, and gradually release nutrients—making them a popular choice for home gardeners aiming for sustainability. In contrast, synthetic fertilizers deliver nutrients in precise amounts and act quickly, which can be convenient for commercial growers or anyone needing a rapid boost.
Garlic thrives on three main nutrients:
- Nitrogen: fuels leaf and stem growth;
- Phosphorus: crucial for strong root development;
- Potassium: helps with overall plant health and resistance to disease.
Early in the season, garlic needs more nitrogen—look for products like blood meal (organic) or a balanced NPK fertilizer with a higher first number (e.g., 10-5-5). As the bulbs start to swell (usually after mid-spring), it’s important to cut back on nitrogen-rich fertilizers and focus on phosphorus and potassium—bone meal (organic) or low-nitrogen synthetics (like a 5-10-10) work well here.
Over-fertilizing is a common mistake; too much nitrogen, especially late in the growing season, can delay bulb formation, resulting in lush green tops but small or soft bulbs susceptible to rot and disease.
A smart strategy is to test your soil before planting and fertilize modestly according to the plant’s needs rather than on a set schedule. Whether you choose organic or synthetic, applying the right type at the right stage—and not overdoing it—is the secret to large, robust garlic bulbs come harvest time.
Preparing Soil for Planting Garlic
Before planting garlic, taking the time to properly prepare your soil pays off with a healthier and more robust harvest. Start by testing your soil’s pH; garlic thrives best in slightly acidic to neutral soil, ideally between 6.0 and 7.0. Home soil test kits are quick and affordable, or you can send a sample to your local extension office for a detailed analysis.
If your pH is too acidic, mixing in garden lime can help bring it up, while sulfur lowers overly alkaline soils. Next, focus on organic matter—crumble a handful of soil, and if it’s compacted or sandy, it likely needs extra enrichment. Work in well-aged compost or manure, spreading at least 2-3 inches over the bed, then mixing it into the top 6-8 inches of soil.
This not only boosts soil fertility but also improves its structure, drainage, and ability to hold moisture—key factors for developing strong garlic bulbs. Organic matter feeds soil microbes and earthworms, creating a living, dynamic environment that makes nutrients more readily available to your garlic as it grows.
As a simple tip, try preparing your garlic bed a few weeks ahead of planting to allow the organic amendments time to settle and blend into the soil. With a little attention to testing and amending, you set the stage for vigorous, productive garlic plants all season long.
When and How to Fertilize Garlic
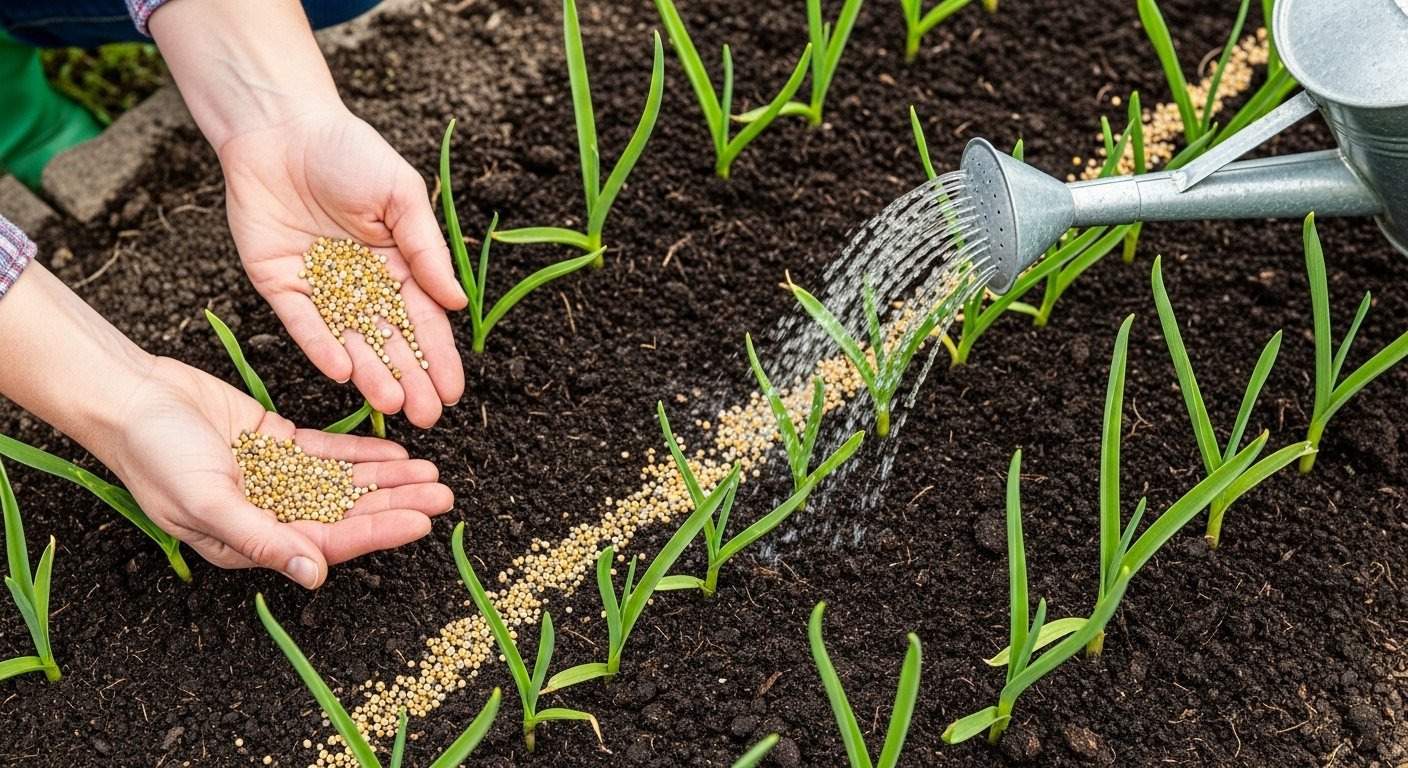
Fertilizing garlic at the right times and with proper techniques can make a big difference in your harvest. Begin before planting in the fall by working a balanced, slow-release fertilizer or well-rotted compost into the soil—this sets the stage for healthy root growth over winter.
In early spring, as new green shoots appear, it’s time for a nitrogen boost: lightly side-dress with a granular fertilizer alongside each row, keeping granules a couple of inches away from the stalks to avoid burning.
For liquid fertilizers, dilute as directed and water directly into the soil around the plants; this helps nutrients reach the roots quickly. Repeat side-dressing in late spring, around the time garlic starts forming bulbs, but stop fertilizing once the leaves start yellowing.
Over-fertilization can cause more harm than good; signs include overly lush, floppy leaves or burnt leaf tips, both of which indicate excess nutrients. Too much nitrogen, for example, can delay bulb development and reduce storage life.
After any fertilizer application, water the garlic thoroughly—this not only activates granular products but also prevents root burn and helps distribute nutrients evenly. Monitoring your plants for healthy, upright green growth is a good indicator you’re hitting the fertilization sweet spot.
Common Fertilizer Mistakes and How to Avoid Them
Many gardeners make fertilizing mistakes when growing garlic, which can harm growth and reduce yield. One common error is applying fertilizer too early or too late in the season—garlic needs nutrients as it begins spring growth, but late-season feeding can delay bulb development and encourage disease.
Using too much fertilizer, especially nitrogen-rich types, can cause lush leaf growth at the expense of bulbs. It also increases the risk of burning roots or creating soggy conditions that promote rot. Choosing the wrong product is another issue; fertilizers high in phosphorus and potassium are best during the later stages to support strong bulb formation.
If you notice yellow leaves or stunted growth, it may signal a nutrient imbalance. Yellow tips can indicate nitrogen deficiency, while droopy or undersized plants might mean the soil is either too rich or too depleted in certain nutrients.
To troubleshoot, test your soil before planting and again mid-season to ensure you’re not overdoing it. Water thoroughly after each feeding to help nutrients reach the roots, and stop fertilizing by mid-June to allow bulbs to mature.
If you’ve already over-fertilized, flush the soil with extra irrigation to dilute excess nutrients, and consider adding a mulch layer to stabilize moisture and slow further leaching. By dialing in both the timing and type of fertilizer, garlic growers can avoid these common pitfalls and look forward to a healthy, flavorful harvest.
Post-Harvest Practices for Long-Term Garlic Health
Curing garlic properly after harvest is essential to preserve its flavor and prevent rot during storage. Begin by gently brushing off excess soil from the bulbs without washing them, as moisture can lead to mold. Hang the garlic in bundles or spread them out on screens in a dry, well-ventilated, and shaded area for two to four weeks.
When the outer skins are papery and the necks are fully dry, trim the roots and tops. Store the cured garlic in mesh bags or open baskets in a cool, dark spot to maximize shelf life.
After harvesting, take time to replenish the soil by adding organic matter like compost or well-rotted manure, which restores nutrients depleted during the growing season. Mixing in a balanced organic fertilizer with potassium and phosphorus can also support future bulb development.
To avoid disease and pest buildup, practice crop rotation: plant garlic in a new spot each year, ideally cycling with non-allium crops like beans or leafy greens. Letting the garlic bed rest, especially if you notice signs of soil fatigue or disease, helps recover soil health.
Consider sowing cover crops such as clover or vetch during these rest periods; they improve soil structure, suppress weeds, and fix nitrogen naturally.
By combining thorough curing, thoughtful soil amendments, and smart rotation, you’ll ensure each year’s garlic crop grows strong, stores well, and remains free of common issues.