Introduction to Growing Cauliflower
Organic cauliflower growing has become a favorite project among home gardeners looking for nutritious, eco-friendly produce for their tables. Cauliflower is not only a versatile vegetable that works beautifully in everything from hearty curries to light salads, but it’s also packed with vitamins, minerals, and antioxidants that boost your health with every bite.
Thanks to a growing awareness of the benefits of organic, chemical-free foods, many backyard gardeners are turning to organic cauliflower growing as a fresher, safer alternative to store-bought options. In this article, you’ll discover the secrets to growing robust cauliflower heads without synthetic fertilizers or pesticides.
We’ll walk you through everything you need to get started, from choosing the right varieties and prepping your soil to managing pests naturally and harvesting for the best taste. You’ll find practical, real-world tips to overcome common challenges, plus advice on how to ensure your cauliflower thrives throughout the season.
Whether you’re an experienced gardener or just starting out, our step-by-step guide will help you enjoy the rewards of healthy, homegrown cauliflower—straight from your garden to your plate.
Choosing the Right Cauliflower Variety
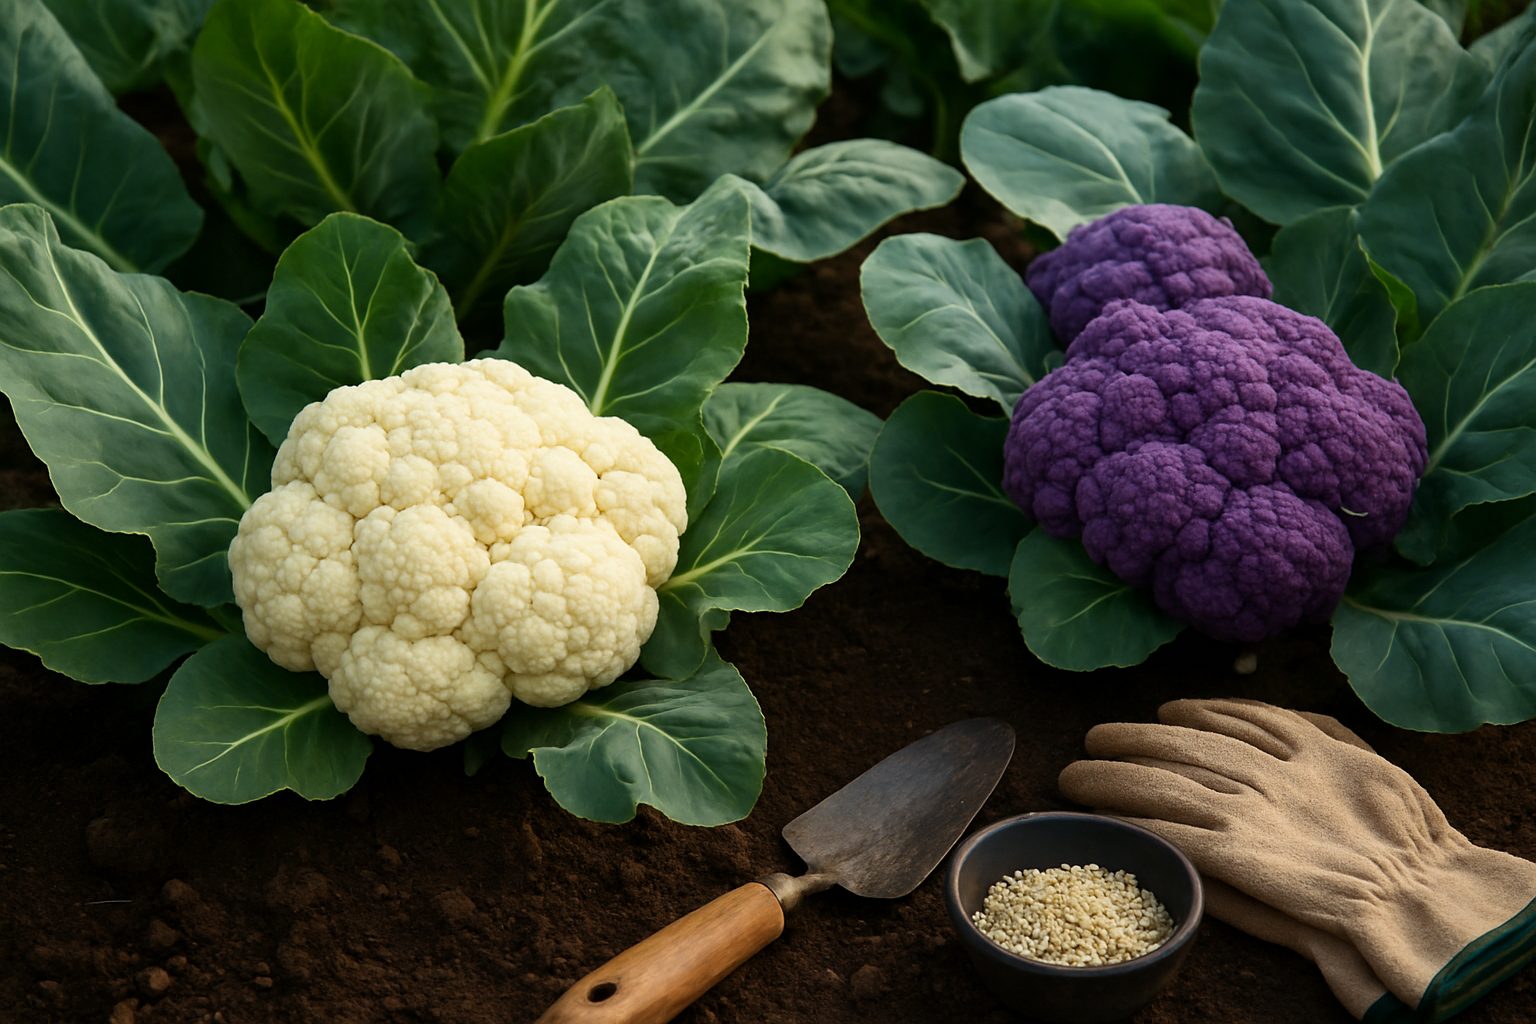
When selecting the right cauliflower variety for your garden, it’s worth considering more than just the classic white heads. Popular options like ‘Snowball’ offer compact plants and quick maturity, making them ideal for gardeners with limited space or shorter growing seasons.
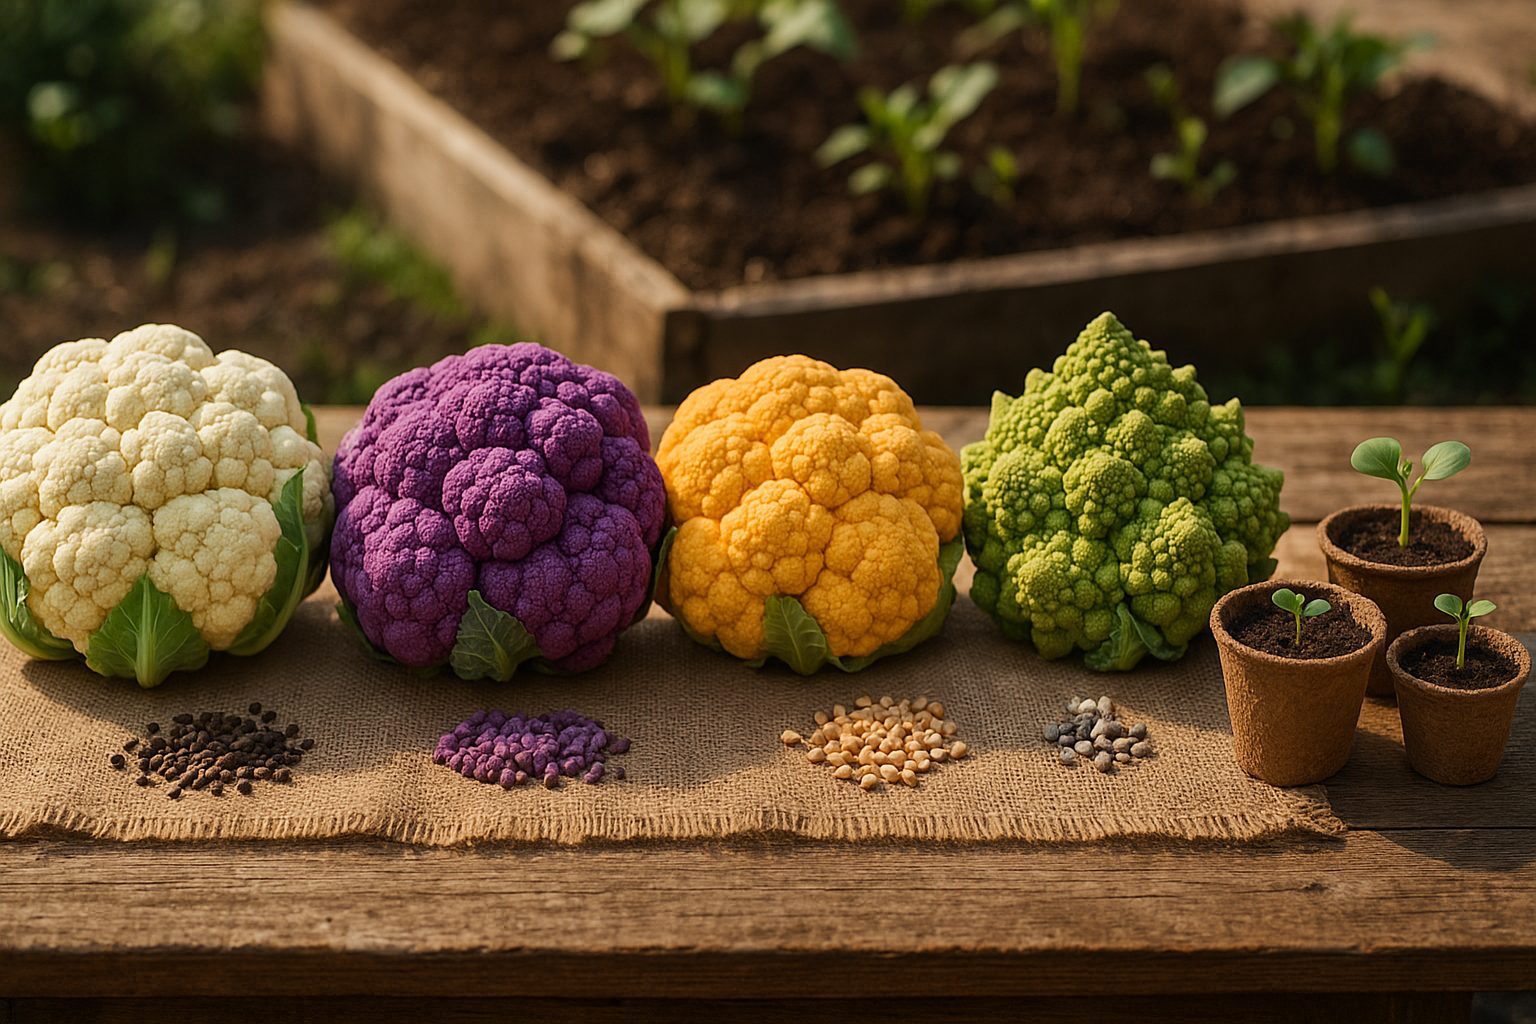
For a splash of color and extra nutrients, try purple varieties such as ‘Graffiti’ or orange types like ‘Cheddar’. These not only stand out in the garden but can also be slightly sweeter or milder than traditional whites.
Climate suitability plays a major role: early-maturing varieties thrive in cooler northern climates where summers are brief, while heat-tolerant types, such as ‘Veronica,’ Romanesco, or ‘Amazing’, are better suited to warmer southern regions.
Consider your available space, too; small raised beds or containers benefit from compact varieties like ‘Mini Cauliflower’ or ‘Attribute’.
Always purchase seeds or seedlings from trusted sources such as Johnny’s Selected Seeds, Baker Creek Heirloom Seeds, or your local nursery, as reliable suppliers ensure better germination and disease resistance.
By matching your chosen variety to your region’s climate and available garden space, you’ll set yourself up for a rewarding harvest that fits both your kitchen and backyard.
Preparing Soil and Planting Cauliflower

Cauliflower thrives in loose, fertile soil with excellent drainage and a neutral to slightly acidic pH between 6.0 and 7.0. Before planting, test your soil with a home kit—if the pH is too low, add garden lime; if it’s too high, work in some sulfur.
For fertility, enrich your beds or containers with 2–3 inches of well-rotted compost or aged manure, mixing it thoroughly into the top 6–8 inches. Remove rocks and break up clumps to create a smooth, crumbly surface. Compacted or waterlogged soil can stunt growth and lead to rot, so consider raised beds if drainage is an issue.
To prepare containers, choose ones at least 12 inches deep with plenty of drainage holes, and use high-quality potting mix.
Sowing Options
You have two main options for sowing: direct seeding and transplanting. In regions with long, cool springs, you can sow seeds directly outdoors 2–4 weeks before the last expected frost, spacing them 18–24 inches apart.
However, most gardeners achieve better results by starting seeds indoors 4–6 weeks before planting out. Sow seeds in trays or pots, keep them moist, and provide bright light. Transplant outdoors when seedlings have 4–5 true leaves and nighttime temperatures consistently stay above 45°F.
Whichever method you choose, water consistently after planting and apply a balanced, slow-release fertilizer to support steady growth. Mulch around your plants with straw or shredded leaves to keep the soil cool and lock in moisture—a real game-changer for healthy cauliflower heads.
Best Practices for Cauliflower Care
For successful cauliflower care, consistency is key—starting with proper watering. Cauliflower needs steady moisture, so aim to give your plants about 1–1.5 inches of water per week, either through rainfall or gentle irrigation. Make sure not to let the soil dry out, as irregular watering can cause heads to split or turn bitter.
Mulching around the base of each plant helps by holding in moisture and suppressing weeds. Use straw, shredded leaves, or compost for a natural mulch layer two to three inches thick.
Feeding is just as important—incorporate a balanced fertilizer or well-rotted compost into the soil before planting. Then, give your cauliflower a light side-dressing of nitrogen-rich fertilizer when the plants are half grown to keep them developing strong, healthy heads.
Sunlight and Spacing
Sunlight is non-negotiable: plants need at least 6 hours of direct sun daily, so place them in the sunniest spot your garden allows. Spacing also matters; keep plants 18–24 inches apart to allow for airflow and help prevent diseases.
Blanching and Support
As the tiny white heads, or curds, start to form, practice blanching—that is, loosely tie the outer leaves together over the head to shield it from the sun and keep it milky white and tender. Tall stems can sometimes flop, so use stakes or mound up extra soil around their bases to keep your plants upright.
Maintenance
Check your cauliflower beds frequently for pests and remove any yellowing leaves to promote healthy growth. With these simple steps, you’ll set your cauliflower up for a robust, tasty harvest.
Managing Pests, Diseases, and Common Problems
Keeping cauliflower healthy means staying ahead of pests, diseases, and growing issues. Cabbage worms are among the most common pests—look for small green caterpillars or holes in leaves. Try hand-picking them off or using organic controls like Bacillus thuringiensis (Bt) spray.
Aphids and flea beetles can appear, too; a strong jet of water or insecticidal soap helps manage both organically, while conventional gardeners may use synthetic pesticides as a last resort.
For diseases, downy mildew and clubroot are frequent offenders. Crop rotation and good drainage go a long way to prevent these, as does removing infected plants promptly. Copper-based fungicides can offer additional control for downy mildew if needed.
Physiological issues like buttoning—where cauliflower forms tiny, stunted heads instead of full crowns—usually stem from temperature stress or nutrient deficiencies. To prevent this, plant cauliflower in early spring or fall when temps are cool, and fertilize regularly with a balanced fertilizer rich in nitrogen and boron.
Poor head development can also result from inconsistent watering or overcrowding, so space plants properly and keep the soil evenly moist.
By actively monitoring your plants and responding quickly to the first signs of trouble, you’ll set your cauliflower up for a healthy, abundant harvest.
Harvesting and Using Your Cauliflower
Knowing when to harvest your cauliflower is key to enjoying its best flavor and texture. Look for heads that are compact, white, and firm—about 6-8 inches across is ideal. If the buds start to separate or the florets look grainy, the cauliflower is past its prime.
To pick, use a sharp knife to cut the head off the main stem, leaving a few outer leaves attached to help protect it. Avoid pulling or twisting the plant, as this can cause unnecessary damage to the remaining foliage and roots.
After harvesting, brush off any loose dirt but avoid washing until you’re ready to eat it, as too much moisture can promote spoilage. Store unwashed heads in a perforated plastic bag in the refrigerator crisper drawer, where they’ll stay fresh for up to a week.
Cauliflower is incredibly versatile—try it raw with hummus, roasted with a little olive oil and spices for a nutty flavor, or riced and sautéed as a healthy alternative to grains. You can even steam and mash it for a creamy, low-carb substitute for mashed potatoes.
With a few simple steps, you’ll make the most of your homegrown cauliflower in both your kitchen and your meals.
Saving Seeds and Planning for Next Season
Saving seeds from your cauliflower crop is a rewarding way to continue your gardening journey and save money. To get started, select your healthiest, best-performing cauliflower plants and allow them to fully mature and flower—cauliflower will bolt and produce seed pods if you resist harvesting the heads.
Once the seed pods turn brown and dry on the plant, cut the stalks and let them finish drying in a cool, well-ventilated area. Gently crush the pods to release the seeds, then store them in a labeled envelope in a dry, cool place until next spring.
As the season wraps up, take time to jot down notes about what went well and any challenges you faced—whether it was pest issues, unexpected weather, or a new mulch that made a difference. These reflections help you tweak your strategy for next year.
Don’t be afraid to shake things up: try a new cauliflower variety, experiment with succession planting, or switch up your fertilizer routine. Many gardeners find that even small changes can lead to big improvements.
Treat each season as a chance to learn and grow, and you’ll build both your skills and the resilience of your garden.