How to Choose and Prepare Brussels Sprout Varieties
Planning your brussels sprouts bed layout is the first exciting step toward enjoying a thriving, homegrown harvest. But before you build the perfect DIY raised bed, you’ll want to think carefully about which Brussels sprout varieties best suit your climate, available space, and gardening style.
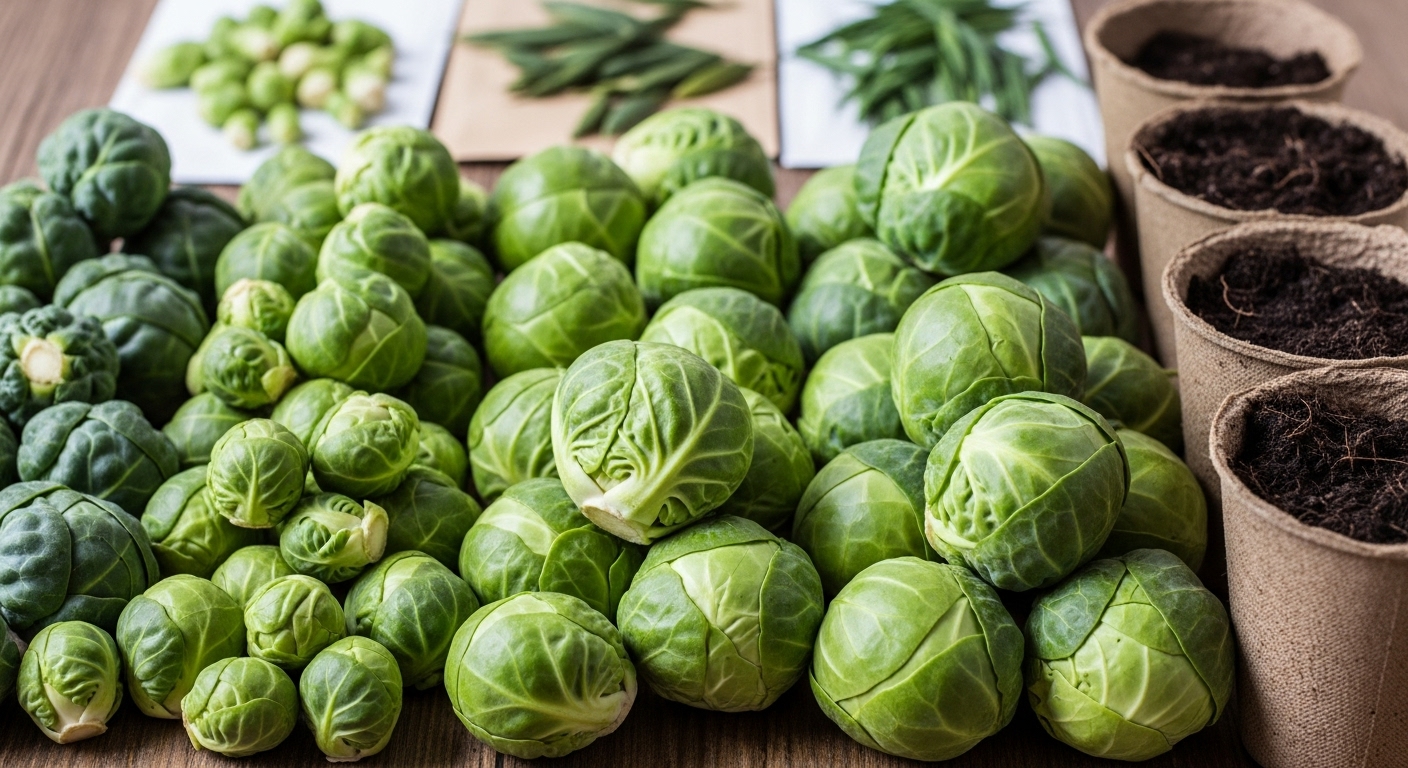
For cooler northern regions, try hardy varieties like Long Island Improved or Diablo, which tolerate early frosts. In warmer zones, heat-tolerant varieties such as Jade Cross can be a better pick. If you’re gardening in tight quarters, compact types like Hestia deliver plenty of sprouts without sprawling.
Next, decide whether to start from seeds or use starter plants. Growing from seed lets you access a greater range of varieties, often at a lower cost, and gives you more control over timelines—it’s perfect if you enjoy nurturing plants from scratch. However, it’s time-consuming and requires indoor starts several weeks before transplanting. Starter plants, on the other hand, jumpstart your season, saving time and helping you avoid seedling mishaps—but can be pricier and usually offer fewer varieties.
Always buy seeds from reputable suppliers—look for freshness, high germination rates, and disease resistance on the packet. When selecting seedlings, choose sturdy, green plants with thick stems and no yellow leaves or pests. Whether growing from scratch or skipping ahead, selecting strong genetics is key to a lush Brussels sprouts bed layout and a bountiful crop.
Ideal Growing Conditions: Light, Soil, and Temperature
For most sun-loving plants, “full sun” means they need at least 6 to 8 hours of direct sunlight per day—ideally more—to thrive and produce healthy blooms or fruit. When choosing a planting spot, pick an area that isn’t shaded by trees or structures to ensure your plants get uninterrupted light; south-facing areas typically offer the best exposure.
The perfect soil for most garden crops is loose, well-draining loam with a balanced texture of sand, silt, and clay. Aim for a soil pH between 6.0 and 7.0—slightly acidic to neutral—as this range allows plants to absorb nutrients efficiently. Before planting, mix in organic compost or well-rotted manure; this boosts soil fertility and supports strong, vigorous growth. Good drainage is just as important: raised beds or slightly mounded rows can help prevent soggy roots.
Optimal temperatures for common sun-loving crops range from 65°F to 85°F (18°C to 29°C) during the day. If you live in a cooler or highly variable climate, consider strategies like using black plastic mulch to warm the soil, planting near heat-retaining walls, or setting up simple row covers at night to shield plants from cold snaps.
With thoughtful attention to these key conditions—light, soil, and temperature—you’ll give your garden the best start for lush, productive growth.
How to Plant Brussels Sprouts: From Sowing to Spacing
Planting Brussels sprouts starts with timing your sowing just right: for a fall harvest, begin seeds indoors about 14–16 weeks before your first expected frost. Fill cell trays or small pots with seed-starting mix, sow each seed a quarter of an inch deep, and keep them moist and warm—around 70°F (21°C) is ideal. Give young seedlings plenty of light to prevent legginess.
If direct sowing outdoors, wait until soil temperatures reach at least 50°F (10°C). Sow seeds half an inch deep in prepared rows, covering them lightly with soil. Make sure your chosen garden spot offers full sun and well-drained, fertile soil, enriched with compost or a balanced fertilizer before planting.
Once seedlings have developed two to four true leaves and outdoor temperatures stay above 50°F, harden them off by setting them outside for a few hours each day over a week. When ready to transplant, carefully remove them from trays, keeping soil around the roots intact.
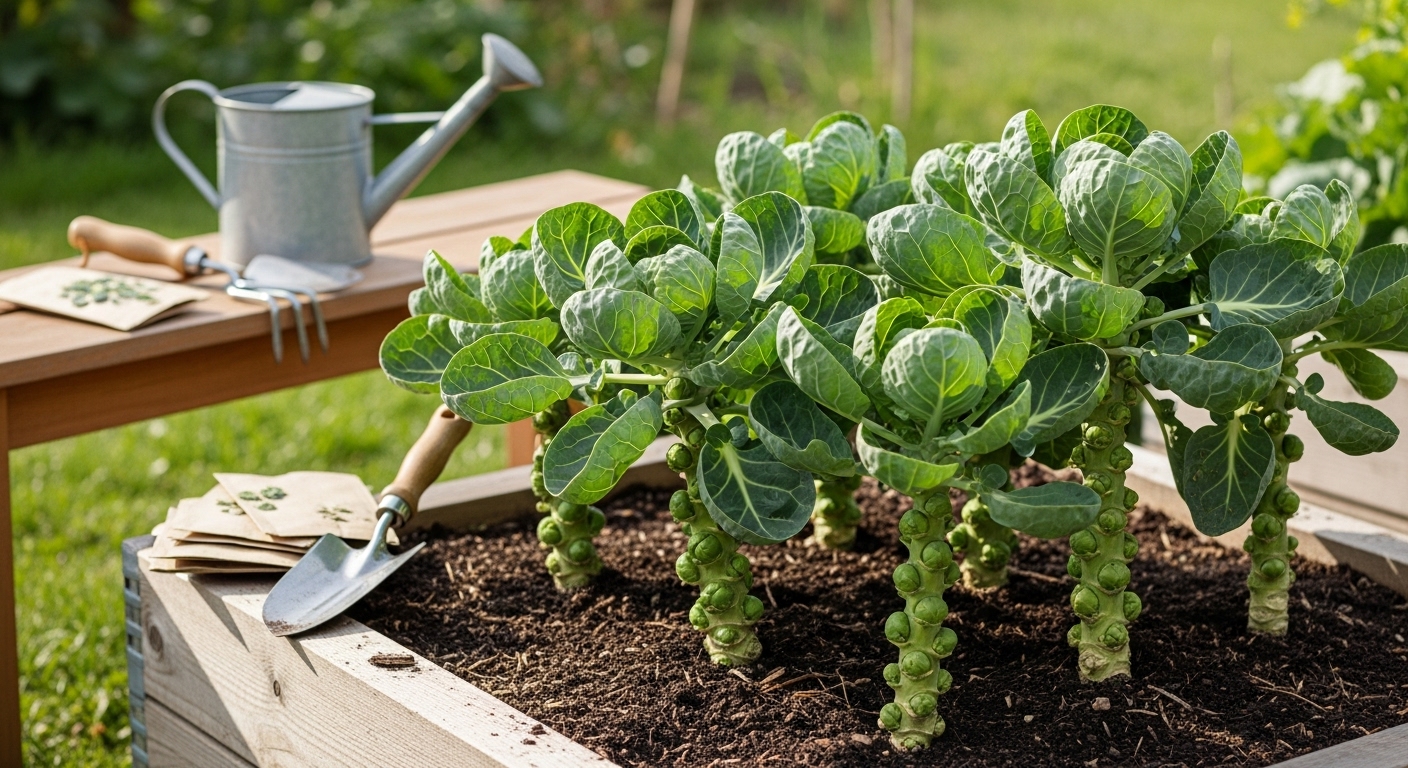
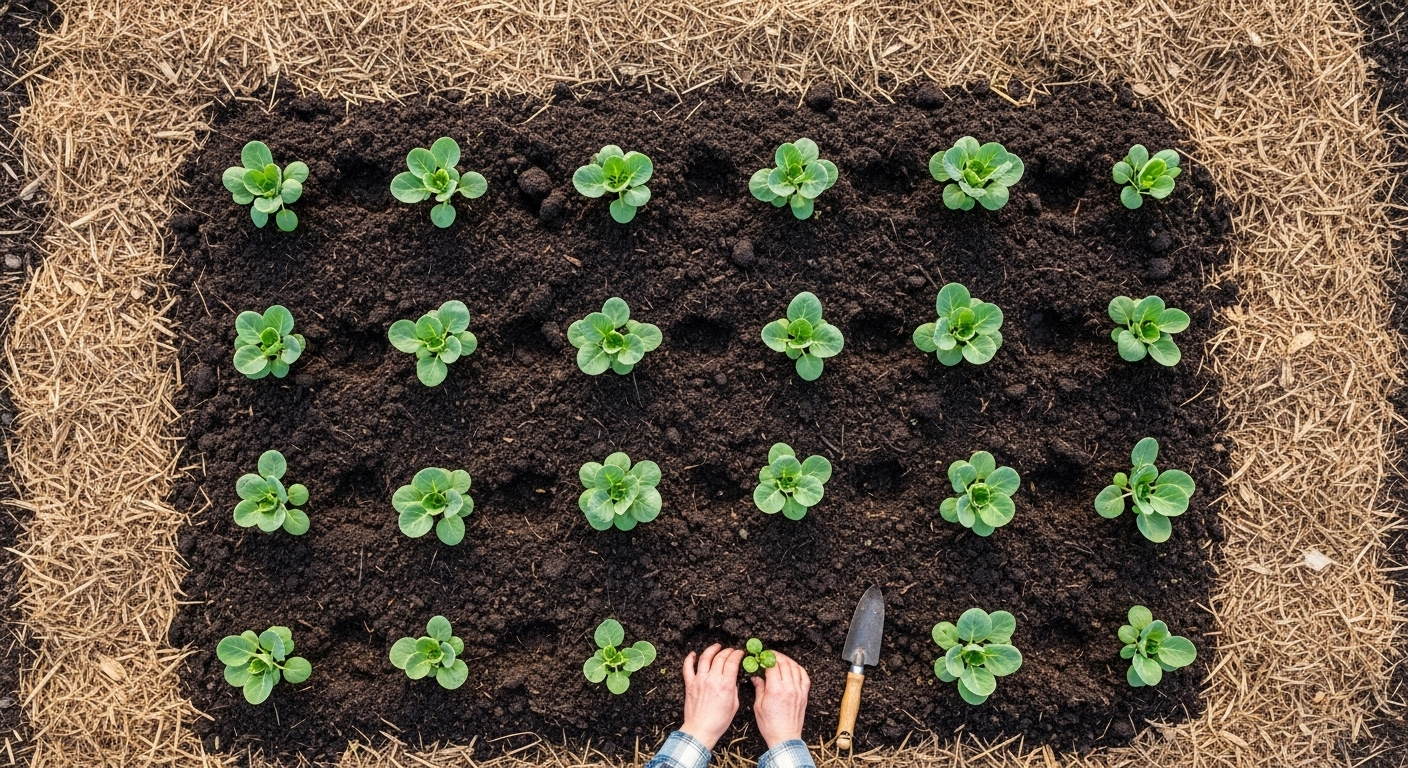
Space plants 18–24 inches apart in rows that are 24–36 inches apart; this generous spacing ensures each plant gets plenty of airflow and room to develop large, sturdy stalks. Before you set them in the ground, work in several inches of compost and a handful of slow-release organic fertilizer per plant, since Brussels sprouts are heavy feeders.
Water thoroughly after planting and mulch around the stems to maintain moisture and suppress weeds. This careful approach—from properly timed sowing and thoughtful bed preparation to correct spacing—will help your Brussels sprouts thrive, producing those tightly packed, flavorful sprouts by harvest time.
Essential Care and Maintenance
Ensuring your garden thrives starts with mastering a few essential care and maintenance practices. For optimal plant health, water consistently—most young plants prefer even soil moisture rather than a cycle of drought and flooding. The easiest way to check is by touching the top inch of soil; if it feels dry, it’s time to water. Use a watering can or gentle sprayer to avoid disturbing the soil and roots.
Alongside watering, feeding your sprouts is crucial. Apply a balanced, water-soluble fertilizer (like a 10-10-10 blend) every two to four weeks during their active growth period; this gives them the nutrients they need to develop strong stems and leaves. Always follow label instructions to avoid overfeeding, which can harm delicate roots.
Supporting practices like mulching and staking also play a big role in plant success. Mulch with straw, wood chips, or shredded leaves to keep the soil moist, suppress weeds, and regulate temperature. Young, leggy sprouts or top-heavy plants benefit from staking—use soft ties and gentle supports to help them stay upright and prevent damage from wind or rain.
By combining consistent watering, regular feeding, and supportive measures, you’ll set up your plants for healthy, vigorous growth all season long.
Preventing and Solving Common Problems
Keeping your vegetable garden healthy starts with knowing how to identify and tackle common pests and diseases. Aphids, cabbage worms, and slugs can quickly damage crops; try handpicking, spraying with a mild soap solution, or releasing beneficial insects like ladybugs for an organic fix. For stubborn infestations, targeted chemical options like neem oil or pyrethrin sprays are effective, but use them carefully to avoid harming pollinators.
Fungal threats such as powdery mildew or blight can be managed by ensuring good air circulation and watering at the base of plants, while copper-based fungicides offer a stronger line of defense if needed.
Prevent issues like bolting (premature flowering) by choosing bolt-resistant varieties, sowing seeds at the correct time, and maintaining even moisture levels, particularly during hot weather. Poor sprout formation often signals compacted soil or nutrient deficiencies, so routinely loosen soil and use balanced, organic fertilizer.
Crop rotation—planting different families of vegetables in new spots each year—prevents the buildup of pests and disease. Finally, make garden cleanliness a habit: remove dead plant debris, sanitize tools, and weed regularly to keep diseases at bay and support strong, resilient plants all season long.
Harvesting and Storing Brussels Sprouts
Knowing when to harvest Brussels sprouts is key to getting the best flavor and texture. Look for firm, bright green sprouts about one to two inches in diameter; they should feel solid when gently squeezed.
Since sprouts mature from the bottom up, you can stagger your harvest by snapping off the largest sprouts at the stem as they reach size, leaving smaller ones to continue growing. For a single harvest, wait until most sprouts have matured, then cut the entire stalk at ground level and pop off the sprouts.
Always harvest in the cool morning hours if possible, as lower temperatures help preserve their crispness.
Storing Fresh Brussels Sprouts
To store fresh Brussels sprouts, don’t wash them until you’re ready to use them—moisture speeds up spoilage. Place unwashed sprouts in a breathable bag in the refrigerator’s crisper drawer, where they’ll stay fresh for up to a week.
Longer Storage Tips
For longer storage, blanch the sprouts briefly in boiling water, cool them in ice water, then pat dry and freeze in airtight bags or containers. This process helps preserve both flavor and nutrients, so you always have tasty sprouts on hand for meals throughout the year.