Best Brussels Sprout Varieties to Grow
Growing brussels sprouts with kids is an exciting way to introduce them to gardening, science, and healthy eating—all while having hands-on fun together. One of the first steps is choosing the right varieties, which can make your educational project more successful and rewarding.
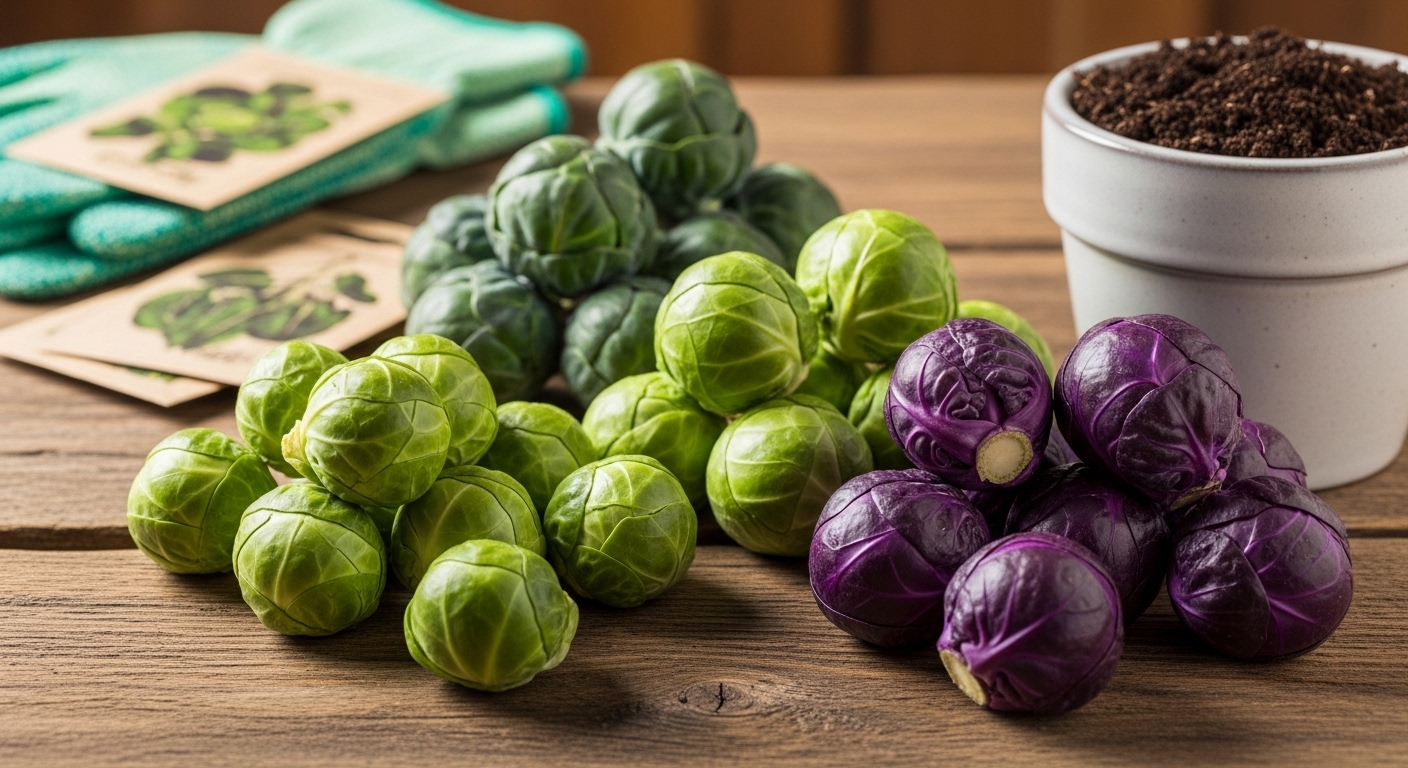
Home gardeners often swear by Jade Cross, a compact option that matures early and produces sweet, mild sprouts perfect for small hands (and picky taste buds). Long Island Improved remains a classic, known for its robust yield and resilience—ideal if your climate is unpredictable or you want a sure bet for classroom projects. Diablo is loved for its uniform, medium-sized sprouts and high disease resistance, meaning fewer worries about pests ruining your lessons.
If you’re feeling adventurous, Bubbles offers big yields and a slightly sweeter flavor that many kids enjoy, while purple varieties bring a pop of color and a milder, nuttier taste to the garden and plate.
When picking seeds, consider your region’s climate:
- A shorter growing season calls for early-maturing varieties like Jade Cross.
- Cooler areas can handle longer-maturing types such as Diablo.
And don’t forget to ask your young gardeners for their input! Letting them choose based on color or flavor can spark extra enthusiasm. Whichever you select, growing brussels sprouts with kids is sure to cultivate curiosity, patience, and a love of fresh veggies.
When and Where to Plant Brussels Sprouts
To get the best Brussels sprouts, timing and location matter more than you might think. In cooler climates, plant seeds in early spring to enjoy a fall harvest when the sprouts taste sweetest after a touch of frost. If you live in a region with mild winters, sow seeds outside in late summer so the plants mature in cool weather.
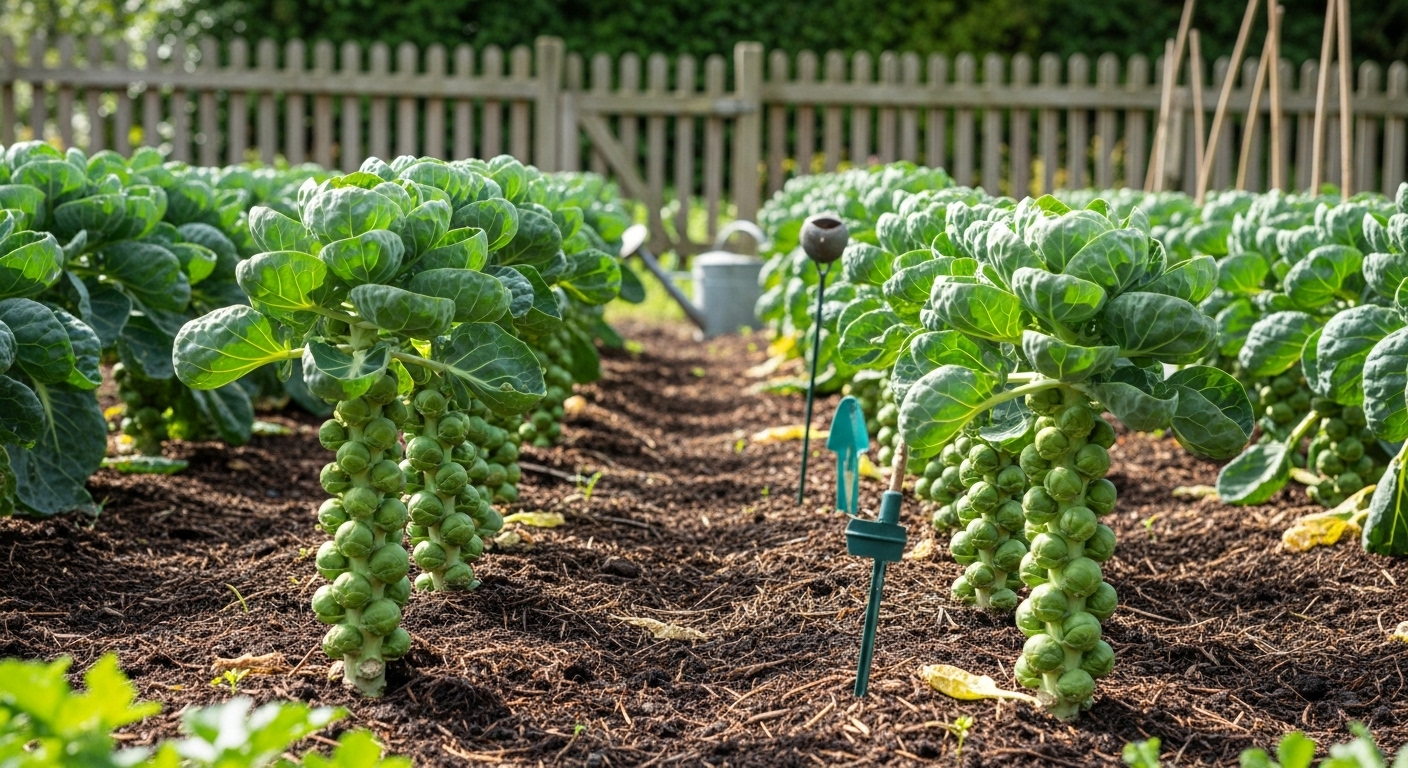
Choose a sunny spot in your garden that gets at least six hours of direct sunlight each day, with soil that drains well and is rich in organic matter. Brussels sprouts grow tall and can be easily toppled by wind, so look for a site with some natural protection, like a fence or hedge.
Before planting, test your soil’s pH to ensure it falls between 6.5 and 7.5—adding lime if it’s too acidic. Mix in a generous layer of compost or well-rotted manure to boost nutrients and improve soil texture. Sow seeds about half an inch deep and space plants 18 to 24 inches apart to give them room to grow and allow good air circulation, which helps prevent disease.
Proper timing is key: sprouts that mature in cooler temperatures develop a sweeter flavor and firmer texture, while heat can make them loose and bitter. By minding the clock and preparing your garden carefully, you’ll set yourself up for healthy plants and a bountiful, delicious harvest.
How to Grow Brussels Sprouts from Seed to Harvest
Starting Brussels sprouts from seed gives you more control and often leads to a healthier harvest. Sow seeds indoors about 6-8 weeks before your last expected frost to avoid cold snaps that can stall germination. This also helps seedlings grow strong in a controlled environment with bright light and consistent temperatures around 65-70°F.
Use seed trays or small pots filled with quality seed-starting mix, planting seeds about a half-inch deep. Once seedlings appear, provide 14-16 hours of light daily—grow lights work well if you don’t have sunny windows—to prevent legginess. Keep the soil moist but not soggy, and fertilize every ten days with a diluted liquid feed.
When outdoor nights reliably stay above 45°F, begin hardening off your seedlings by taking them outside for a few hours each day, gradually increasing their exposure over a week. If you prefer to sow directly outdoors, wait until soil temperatures reach at least 50°F for better germination, though this carries the risk of pests or unexpected cold spells affecting young plants.
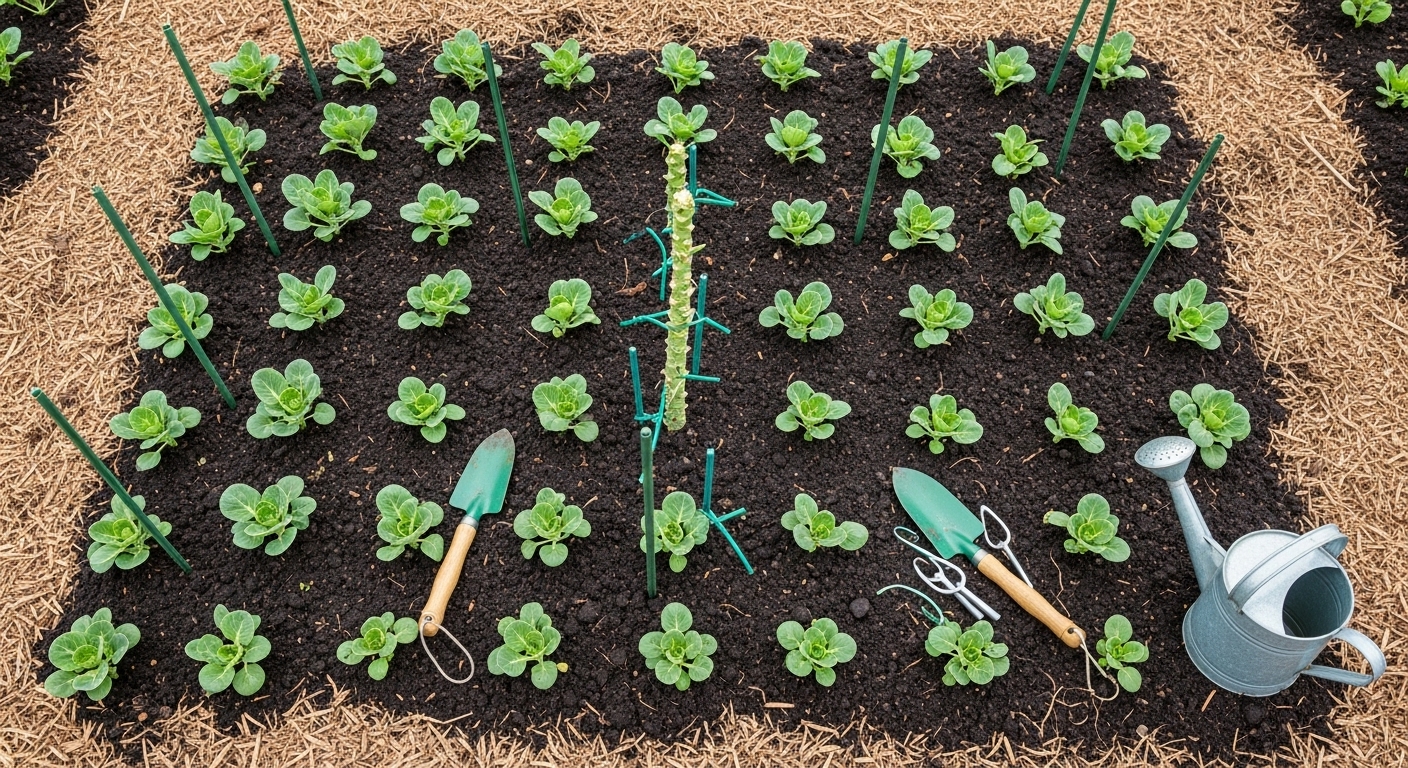
Whether transplanting or sowing, space plants about 18-24 inches apart in rows 2-3 feet apart, as Brussels sprouts need room for airflow and growth. Set seedlings slightly deeper than they grew in pots, and consider using stakes early on—especially in windy areas or when plants become top-heavy.
Mulching around the base helps retain soil moisture, regulate root temperatures, and keep weeds at bay. Water consistently, aiming for about 1-1.5 inches per week and adjusting during dry spells; lapses can lead to bitter, split sprouts. Feed every month with a nitrogen-rich organic fertilizer to maintain steady growth.
In hot months, protect plants with shade cloth during extreme heat and watch for pests like aphids and caterpillars. For winter protection in mild climates, mulch thickly and consider covering plants with row covers to shield them from frost, extending your harvest into early winter.
With these steps, your Brussels sprouts can thrive from seed to a sturdy, delicious harvest.
Common Problems, Pests, and Diseases
Growing healthy Brussels sprouts can be tricky, as they attract several pests and diseases. Aphids, cabbage worms, and caterpillars love feeding on young leaves and sprouts—look for telltale holes, sticky residue, or clusters of small green insects. You might also spot shiny trails from slugs or notice birds pecking at tender shoots.
Early intervention is key: try handpicking caterpillars and slugs in the morning, or use floating row covers that physically block both bugs and birds without chemicals. Neem oil and insecticidal soap offer organic control for aphids, but remember to spray under leaves.
For fungal diseases like powdery mildew or clubroot, watch for yellowing leaves, wilting, or stunted growth; always water at the base and provide plants with good airflow. Nutrient deficiencies can show as purple or yellow leaves (phosphorus or nitrogen shortfall), while leggy sprouts indicate they’re not getting enough light or have been planted too densely.
Sprout splitting often results from inconsistent watering, so keep moisture levels steady. If sprouts bolt—sending up a flower stalk early—it’s usually due to heat stress or fluctuating temperatures.
Practice crop rotation—avoid planting any brassica (cabbage family) crops in the same spot more than once every three years. This breaks the life cycle of soil-borne diseases like clubroot and keeps your soil balanced and healthy for seasons to come.
Ultimately, a vigilant eye and proactive habits go a long way in keeping Brussels sprouts strong and productive all season.
Harvesting and Storing Brussels Sprouts
Knowing when to harvest Brussels sprouts can make a big difference in both flavor and yield. Look for sprouts about one to two inches in diameter, with a firm, tight feel—loose or yellowing sprouts are past their prime. They should be bright green and packed closely against the stalk, showing no signs of wilting or splitting.
For harvesting, start at the bottom of the plant where the sprouts mature first. Snap or cut them off with a gentle twisting motion. After removing the lower sprouts, strip away the plant’s lower leaves to divert energy upward—this encourages the upper sprouts to swell, giving you prized “giant sprouts” at the top later in the season.
To maximize both harvest and flavor, wait until after a light frost to pick; the cold triggers starches in the sprouts to convert to sugars, making them sweeter and milder. Regular picking every couple of weeks keeps the plant productive and the sprouts tender.
Storing Brussels Sprouts
When storing, use clean, dry hands to handle the sprouts. Place unwashed sprouts in a perforated plastic bag in the refrigerator—they’ll stay fresh for three to five weeks this way. For longer preservation:
- Blanch the sprouts in boiling water for three to five minutes.
- Plunge them into ice water immediately.
- Drain thoroughly.
- Freeze in airtight containers or freezer bags.
Always remove any yellowed leaves before storing to prevent spoilage. Whether you’re keeping them for a few meals or stocking up for winter, these steps ensure your Brussels sprouts stay crisp, flavorful, and ready for roasting or sautéing.
Nutrition and Cooking Tips
Leafy greens like kale, spinach, and broccoli pack a serious nutrition punch, loaded with vitamins K and C, fiber, and antioxidants that help support your immune system, bone health, and digestion. Adding these veggies to your meals is easier—and tastier—than you might think.
Try steaming broccoli for a few minutes to maximize vitamin retention, or toss bite-sized kale leaves onto a sheet pan with a drizzle of olive oil and a pinch of salt for quick, crispy kale chips. Sautéing spinach with a splash of garlic and lemon juice is another speedy way to boost flavor while preserving nutrients.
For a creative twist, add a handful of chopped greens to pasta dishes, omelets, or even smoothies for an invisible health upgrade.
Simple Spinach Side Dish Recipe
Warm a nonstick pan with a teaspoon of olive oil, add two cups of fresh spinach, and cook until wilted (about two minutes). Mix in a sprinkle of chopped nuts and a squeeze of lemon for an easy side dish that’s rich in fiber, vitamin C, and heart-healthy antioxidants.
By experimenting with basic cooking methods and adding greens wherever you can, you’ll quickly make nutritious eating a simple, delicious part of everyday life.
Frequently Asked Questions
Many gardeners wonder if Brussels sprouts are perennial, but they’re actually biennials, typically grown as annuals. This means you plant them once per season—after harvesting, you’ll need to replant for a new crop next year.
If your sprouts stay small or their leaves are loose instead of tight, it’s usually due to insufficient spacing, poor soil nutrition, or inconsistent watering. Brussels sprouts need lots of sunlight, rich, well-drained soil, and regular moisture to thrive.
From seeding to harvest, expect a timeline of 80 to 100 days, depending on the variety and growing conditions.
Troubleshooting Tips
- Ensure your plants have at least 18 inches of space on all sides.
- Feed them with a balanced fertilizer midseason to boost sprout development.
- Remove the lower leaves as the sprouts begin to form; this directs energy into producing larger, denser sprouts.
- Inspect your plants regularly for pests like cabbage worms, which can stunt growth.
With a bit of care and attention, you’ll be rewarded with a satisfying harvest of homegrown Brussels sprouts.