Introduction
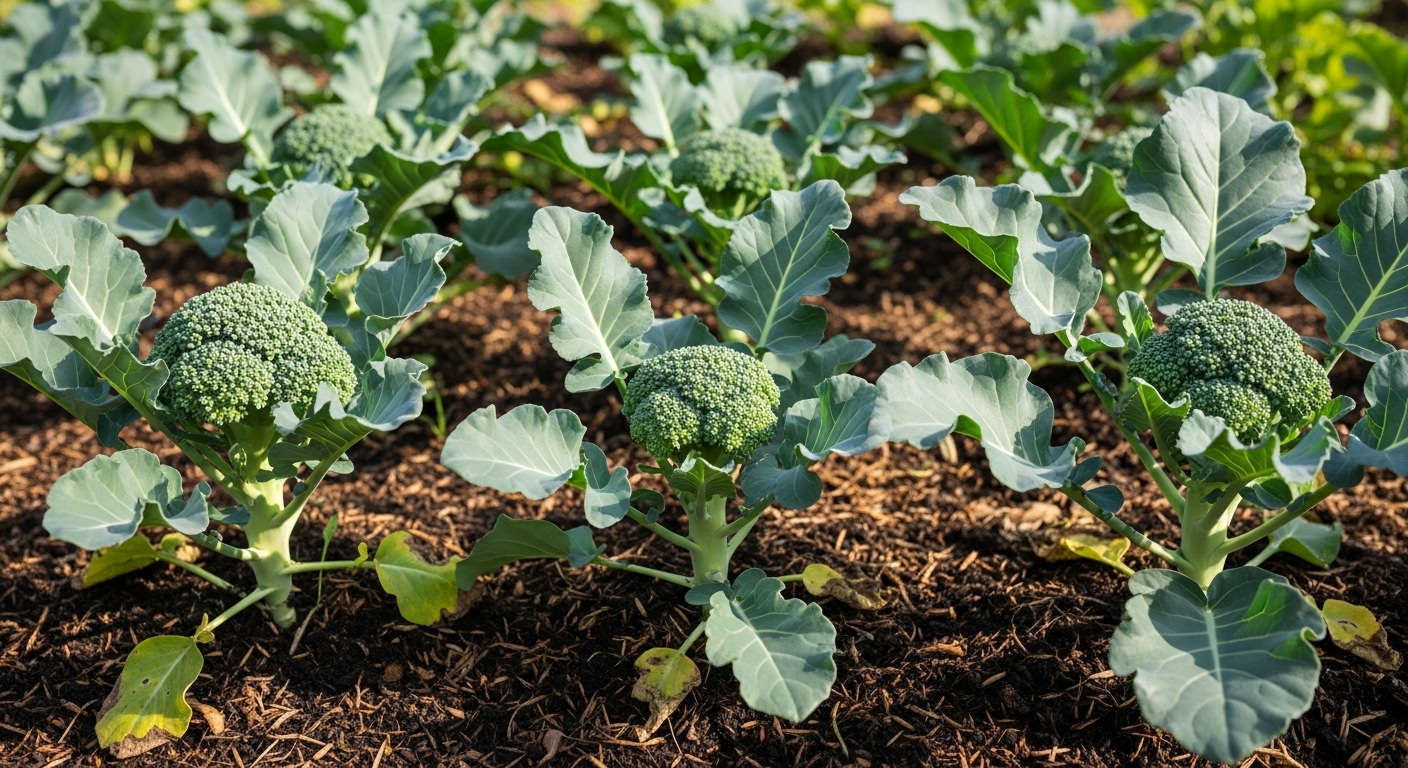
Finding the best soil for broccoli is the first step to growing this nutrient-packed, versatile vegetable in your own backyard. Broccoli’s popularity among home gardeners comes from its robust flavor, health benefits, and ability to thrive in many climates. However, it takes more than tossing seeds in the dirt to ensure a bountiful, tasty crop.
In this post, we’ll walk you through selecting the right broccoli varieties, preparing the best soil, foolproof planting methods, smart care tips, pest management strategies, and how to know when your broccoli is ready to harvest for peak freshness and flavor.
Choosing the Right Broccoli Variety
When selecting the best broccoli variety for your home garden, consider both your local climate and your gardening preferences.
Calabrese broccoli is a classic favorite—it produces large, dense heads and thrives in cooler regions, making it perfect for early spring or fall planting.
For gardeners looking for a longer harvest season, sprouting broccoli is a great choice; this variety offers smaller but numerous shoots that you can pick over several weeks, extending your supply of fresh broccoli.
If you want to add a pop of color and boost antioxidants, try growing purple broccoli, which is not only eye-catching but also packed with nutrients.
Pay close attention to growth habits and days to maturity—calabrese matures in roughly 60–80 days, while sprouting and purple types can take a bit longer, sometimes up to 100 days. Check seed packets or nursery labels for detailed recommendations.
Always select varieties that match your local climate; many seed companies offer regional suggestions. Quality is key, so purchase seeds or starter plants from reputable sources like local garden centers, trusted online retailers, or cooperative extensions.
Look for organic or disease-resistant options for the healthiest plants. Don’t forget to read reviews or ask fellow gardeners to pick a variety that’s tried-and-true in your area.
Preparing Soil and Site
Getting your garden off to a strong start means paying special attention to soil and site preparation. Your ideal soil should be rich in nutrients, well-draining to prevent root rot, and packed with organic matter, which helps retain moisture while feeding your plants.
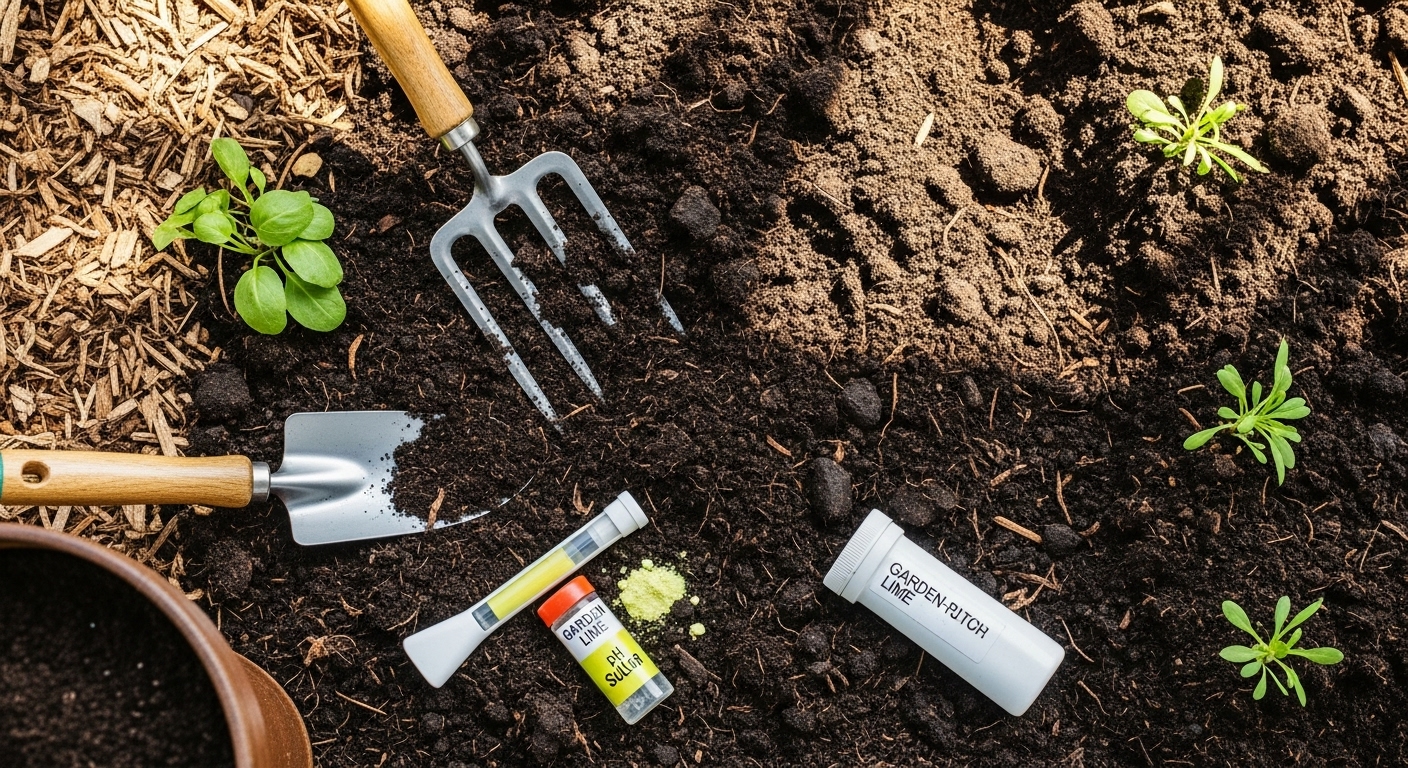
Before planting, it’s smart to check your soil’s pH—most vegetables and flowers thrive in a range of 6.0 to 7.0. You can easily test this with an at-home pH kit or by sending a sample to a local extension office. If your pH is too low (acidic), mix in garden lime; if it’s too high (alkaline), sulfur products can bring it down.
Boost your soil’s fertility and structure by working in several inches of compost or aged manure a few weeks before planting. This natural addition enhances nutrient delivery and supports healthy root growth.
When picking your garden spot, aim for an area that gets at least six hours of direct sunlight a day, since most crops and ornamentals need plenty of sun to thrive. Also, consider a spot that’s shielded from strong winds that can dry out plants or topple fragile stems—placing your plot near a fence or hedge can make a big difference.
Remember, investing a little extra effort into preparing your soil and site now pays off with healthier, more productive plants all season long.
Planting Broccoli: Seeds or Transplants
When it comes to planting broccoli, you have two main options: starting seeds indoors or direct sowing outdoors. Each method has its benefits depending on your climate and growing goals.
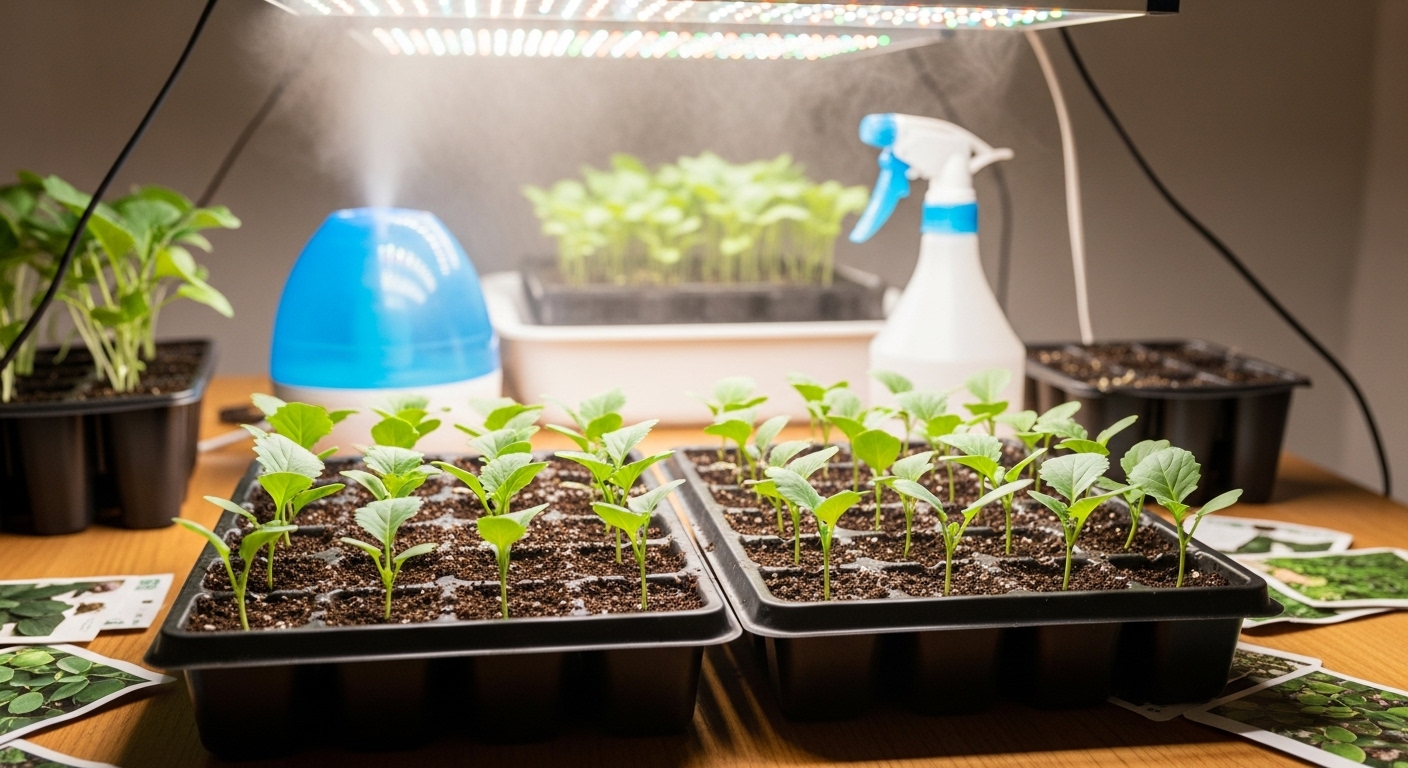
Starting seeds indoors gives you a head start, which is especially important in areas with short growing seasons or unpredictable spring weather. Begin seeds indoors about 6-8 weeks before your last expected frost. Broccoli seeds germinate best at 65-75°F (18-24°C). Use seed trays filled with quality potting mix, and keep the soil consistently moist but not soggy.
Once seedlings have two true leaves, thin them so they’re not overcrowded, and give them plenty of sunlight or use supplemental grow lights. About a week before transplanting, start hardening off by gradually exposing seedlings to outdoor conditions—begin with an hour or two outside and increase the time daily.
When you’re ready to transplant, choose a cloudy day or late afternoon to reduce stress. Plant seedlings at the same depth they were in their containers, allowing 18-24 inches of space between them for good airflow and growth.
For direct sowing outdoors, wait until soil temperatures reach at least 50°F (10°C). Sow seeds half an inch deep, thinning to proper spacing when seedlings are a few inches tall.
In cool climates, aim for spring plantings as soon as the soil can be worked, and try a second sowing in midsummer for a fall crop. In warmer regions, late summer to early fall planting produces the best heads, avoiding the hottest months to prevent premature bolting.
Whichever method you choose, careful timing and attention to seedling care will reward you with robust broccoli plants come harvest time.
Care Throughout the Growing Season
Proper care throughout the growing season is essential for healthy, productive plants. Watering is a top priority—aim to provide a deep soaking once or twice a week rather than frequent light sprinkles, allowing the soil to dry slightly between waterings to avoid root rot. Early mornings are the best time to irrigate, as the cooler temperatures reduce evaporation and plants have ample moisture to start their day.
Installing drip lines or soaker hoses can help deliver water directly to the root zone and minimize disease spread from wet foliage. Fertilizing is just as important; start the season with a balanced, slow-release fertilizer based on your plant’s needs, but don’t overfeed—too much nitrogen can cause lush foliage at the expense of blooms or fruit. Top up nutrient levels every four to six weeks with a diluted liquid feed, and always follow package directions.
Mulching is a powerful ally in the garden: apply a two- to three-inch layer of organic mulch, like shredded bark or straw, to retain soil moisture, suppress weeds, and moderate soil temperatures. To keep weeds at bay, hand-pull new growth regularly or use a hoe for larger beds, being careful not to disturb plant roots.
Supporting healthy growth goes beyond water and nutrients: watch for signs of pests or disease, such as discolored leaves or chewed stems, and act quickly with appropriate organic or chemical treatments. Providing stakes or cages early will help support plants as they grow, minimizing breakage and encouraging upward growth.
Lastly, avoid plant stress by spacing crops properly to ensure good air circulation, rotate crops each year to break pest cycles, and remove any damaged leaves or spent flowers promptly. With consistent attention to these details, you’ll nurture vigorous, resilient plants throughout the season.
Managing Pests and Diseases
Broccoli can fall victim to pests like cabbage worms—those green caterpillars that chew jagged holes in leaves—and aphids, which appear as tiny green or gray clusters on the undersides of stems and cause leaves to curl or yellow. To tackle these common invaders organically, try placing lightweight row covers over your broccoli to block pests from laying eggs.
Handpicking visible worms or aphids early in the morning can help keep their numbers down; simply drop the offenders into soapy water for quick removal. Another effective method is using natural sprays like neem oil or insecticidal soap, making sure to coat the undersides of leaves where pests often hide.
Beyond bugs, broccoli may also face diseases like clubroot, which causes swollen, misshaped roots and stunted plants, or downy mildew, which leaves yellow patches and fuzzy gray mold on leaves. Prevent these diseases by practicing crop rotation—plant broccoli in a new spot each season, ideally following a three-year cycle—and ensure good soil drainage so roots don’t sit in soggy ground.
Clearing away dead plant material and watering the soil (not the leaves) in the morning gives plants a better shot at staying healthy, even during tough seasons.
Harvesting and Storing Broccoli
Knowing when to harvest broccoli is key to getting the best flavor and texture. Keep an eye on the central head—it should be firm, with tightly closed, deep green florets. Harvest before you see any yellow blossoms, since flowering means the broccoli is past its prime and can taste bitter.
Use a sharp knife to cut the main stem about 5-6 inches below the head; this encourages smaller side shoots to develop for future picking. Handle broccoli gently to avoid bruising the florets.
After harvesting, rinse off any dirt and pat dry. Store the broccoli unwashed in the refrigerator’s crisper drawer inside a perforated plastic bag to keep it fresh for up to a week.
For longer storage, blanch broccoli pieces in boiling water for two to three minutes, then transfer them to an ice bath before freezing in airtight containers or freezer bags. This method preserves both flavor and nutrients.
Fresh or frozen, broccoli is super versatile in the kitchen—enjoy it steamed, roasted, or tossed into stir-fries and salads. By following these steps, you’ll maximize your broccoli harvest and minimize waste, ensuring you have delicious veggies on hand for many meals.
Conclusion
Growing broccoli at home is easier than you think—just pick a sunny spot, use nutrient-rich soil, and keep your plants well-watered. Start seeds indoors for a head start, then transplant seedlings to your garden when they’re strong. Watch out for pests, and harvest heads while they’re tight and green.
With patience and a little daily care, you’ll soon enjoy fresh, homegrown broccoli. Don’t hesitate to reach out to local extension offices or gardening groups for advice tailored to your area. With these steps and resources, you’re well on your way to a successful broccoli patch!