Introduction
If you’ve noticed arugula not growing as well as you hoped, you’re not alone. Arugula, with its spicy tang and tender leaves, is a favorite leafy green for home gardeners seeking quick harvests and bold salads. Yet nothing feels more discouraging than watching your carefully planted arugula stall—leaves refusing to fill out, stems looking leggy, or seedlings failing to sprout at all.
This common struggle can trip up even seasoned gardeners, especially when the solution isn’t obvious at first glance. But don’t worry: most arugula issues boil down to a few key factors, from inconsistent watering and poor soil quality to temperature swings and overcrowded beds.
In this post, we’ll walk through the most frequent reasons for lackluster arugula growth and share practical, easy-to-implement fixes to get your crop back on track. Whether you garden in pots or a backyard patch, these troubleshooting tips will help ensure your arugula grows lush, flavorful, and ready for the salad bowl in no time.
Soil Problems: The Foundation of Healthy Arugula
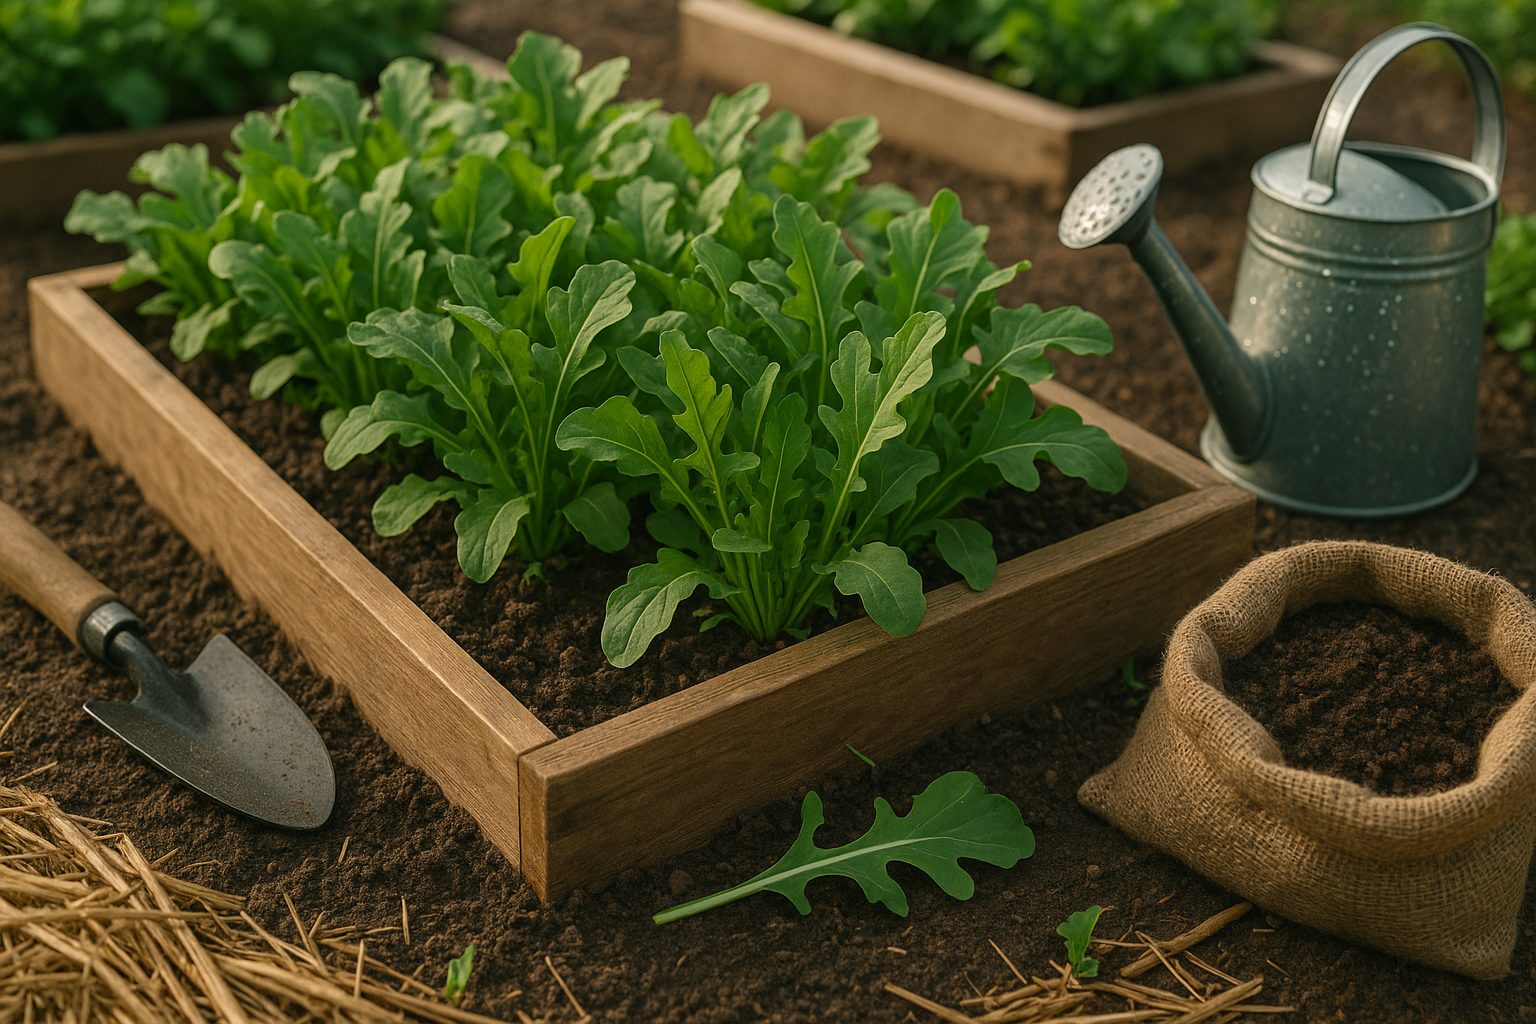
If you’re frustrated because your arugula is not growing as it should, the first place to look is always the soil. Arugula thrives best in loose, fertile, well-draining soil rich in organic matter. When soil is too dense or compacted—often the case with heavy clay—roots struggle to expand, which stunts growth and leaves plants looking weak or yellow. pH imbalances also play a big role; arugula prefers slightly acidic to neutral soil, ideally with a pH between 6.0 and 7.0. If the soil is too acidic or too alkaline, essential nutrients can get “locked up,” making them unavailable to your plants. Poor drainage is another common culprit. Soggy soil suffocates roots, leading to root rot or fungal diseases, and ultimately results in poor or no growth.
To get to the root of these problems, start by testing your soil. Home soil test kits are inexpensive and widely available at garden centers or online, providing a snapshot of your soil’s pH, texture, and nutrient content. You can also observe your garden after rain: if water pools or takes a long time to soak in, drainage is an issue. To fix heavy or poor soil, mix in several inches of compost before planting—it not only nourishes your arugula but also helps loosen heavy soils and improve drainage. For pH imbalances, add garden lime to raise the pH or elemental sulfur to lower it, following the package directions. Healthy arugula starts with healthy soil, so taking these steps greatly increases your chances of a thriving crop.
Watering Mistakes: Not Too Much, Not Too Little
When you notice your arugula not growing as expected, improper watering is often the main culprit. Both overwatering and underwatering can stop arugula growth, but they show different symptoms. Overwatered arugula may have yellowing, soft, or wilting leaves, and the soil often feels soggy or smells musty. Excess moisture suffocates the roots and invites fungal diseases, making it difficult for the plant to absorb nutrients.
On the other hand, underwatered arugula usually has dry, brittle, or brown-edged leaves, and the soil may feel dusty or pull away from the sides of the pot or garden bed. Growth can stall, and the plant might bolt quickly due to stress.
To keep your arugula healthy, aim for soil that is consistently moist but not waterlogged. Water deeply when the top inch of soil starts to dry out—typically every 2–3 days in moderate weather, or daily during hot spells. Early morning watering is best to reduce evaporation and lower fungal risks.
Mulching with straw or shredded leaves helps retain moisture and stabilize soil temperature, reducing the chance of both over- and underwatering. A simple way to check if your arugula needs water is the finger test: stick your finger about an inch into the soil, and if it feels dry, it’s time to water. Using a basic soil moisture meter can also make watering easier.
By watching for these symptoms and adjusting your watering accordingly, you’ll give your arugula the best chance to thrive.
Temperature and Light Challenges
Arugula not growing as expected is often due to temperature and light issues. For successful germination, arugula seeds prefer soil temperatures between 40°F and 70°F, with the ideal range for both germination and steady growth being 55°F to 65°F. When temperatures rise above 75°F, arugula tends to bolt—sending up flowers and turning bitter—making hot summer months less suitable for this cool-season crop. Conversely, planting too early when nights are still freezing can stunt seedlings and slow germination.
Light is just as important: arugula thrives in full sun, but in regions with scorching summers, partial shade can help prevent heat stress and premature bolting. However, planting in deep shade results in leggy, weak plants that struggle to mature.
To manage these conditions, try using lightweight row covers during unexpected cold snaps in early spring or late fall. These covers provide extra warmth and help maintain steady germination. During late spring or summer heat, drape shade cloth over your arugula beds to filter intense sunlight and keep soil temperatures cooler. If you garden in a hot area, choose a spot that gets gentle morning sun and avoids harsh afternoon rays. Planning your planting so arugula matures during mild weather—early spring or late summer into fall—can also greatly improve growth.
Pests and Diseases: Unseen Growth Stoppers
When arugula not growing becomes an issue, it’s easy to overlook pests and diseases as the culprits. But these hidden problems can quietly sabotage your harvest. Two common pests that target arugula are flea beetles and aphids. Flea beetles are tiny, black or brown insects about the size of a sesame seed. They leave behind signature pinhole-sized holes scattered across your leaves—heavy infestations can stunt growth or even kill seedlings. Aphids, on the other hand, are small green, black, or gray insects that cluster on the undersides of leaves or new shoots. You might notice curling, yellowing, or deformed leaves, along with sticky residue (honeydew) that can lead to sooty mold.
Diseases like downy mildew can also hinder growth. This fungal-like problem typically shows up as yellow or pale green patches on the upper leaf surface, with a fuzzy gray or whitish growth underneath—especially in wet, overcrowded conditions.
Recognizing Pest and Disease Symptoms
Spotting these problems early is key. Pest damage usually has distinct signs: pinholes from flea beetles, clusters of aphids, or sticky and deformed leaves. Disease symptoms often include discoloration, wilting, or fuzzy coatings, rather than clear bite marks or bug activity. If you see widespread yellowing with fuzzy undersides but no visible insects, you’re likely dealing with a disease.
Managing Pests and Diseases in Arugula
Integrated pest management (IPM) is an effective, eco-friendly way to tackle these threats. Here’s how you can protect your arugula:
- Regularly inspect your plants and remove damaged leaves.
- Encourage beneficial insects like ladybugs and lacewings that prey on aphids.
- Use floating row covers to block pests while allowing sunlight and moisture through.
- For small infestations, rinse leaves with a strong stream of water or use insecticidal soap.
- Practice crop rotation and ensure good spacing to reduce disease risk by improving airflow.
- Remove plant debris and weeds that harbour pests or pathogens.
- Apply neem oil or copper fungicides to control persistent downy mildew, following all label instructions.
Staying vigilant and using these organic controls will give your arugula the best chance to thrive despite hidden adversaries.
Seed Quality and Planting Techniques
If you’ve noticed your arugula not growing or experiencing patchy germination, one of the first things to check is your seed quality and planting technique. Old or improperly stored seeds often have lower germination rates, which means you’ll see fewer healthy sprouts. Ideally, use seeds that are no older than two years and make sure they’re stored in a cool, dry place. Look for high-quality seeds from reputable suppliers.
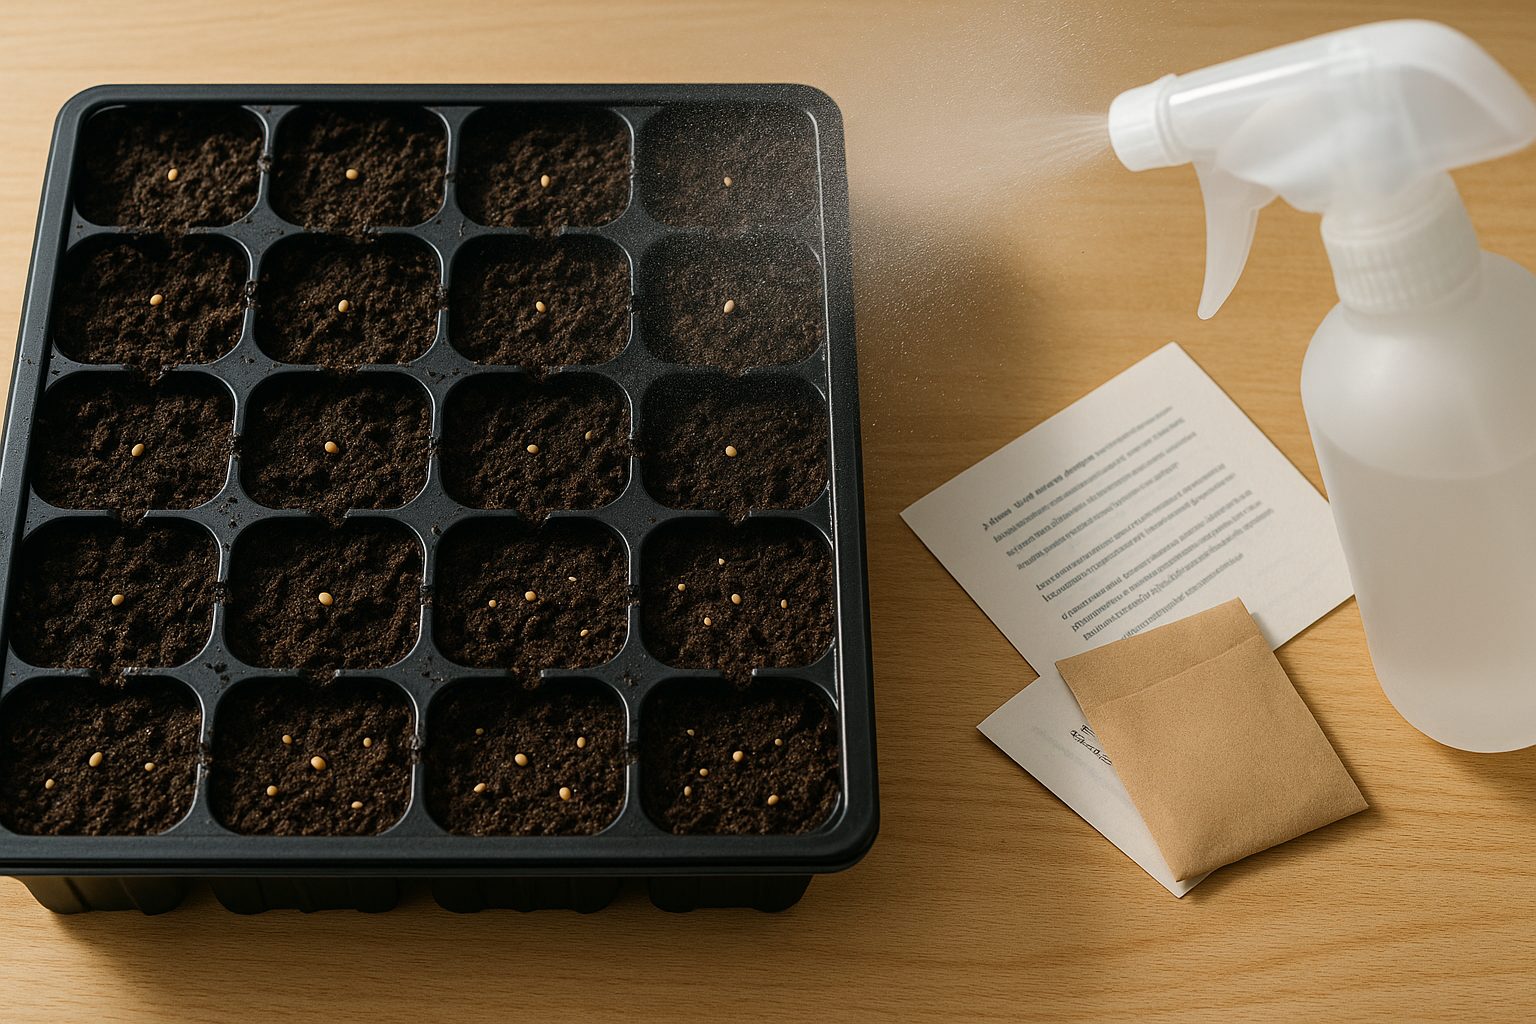
Another common issue is planting the seeds too deep. Arugula seeds only need a thin covering of soil—about 1/8 to 1/4 inch deep. If they’re buried deeper, they’ll struggle to reach the surface, resulting in weak or missing seedlings. When sowing, scatter the seeds evenly, gently pressing them into moist soil or lightly covering them with fine compost.
If germination is slow, make sure the soil stays consistently moist but not soggy—arugula seeds need steady moisture to sprout. For best results, try succession planting: sow a new batch of seeds every two weeks during the growing season. This strategy not only compensates for any early failures but also ensures a continuous supply of fresh greens.
If after a week you still see no sprouts, test seed viability by placing a few seeds on a damp paper towel, sealing them in a plastic bag, and checking for sprouting after a few days. If only a few sprout, it’s time to buy new seeds. With careful seed selection, correct planting depth, and regular sowing, you can greatly improve your chances of growing lush, thriving arugula.
Nutrient Deficiencies and Fertilizer Use
For healthy, vibrant leaves, arugula needs a steady supply of nutrients—especially nitrogen, which fuels lush, leafy growth. If your arugula not growing as expected—with pale, yellowing leaves, slow development, or stunted size—a nutrient deficiency is likely the cause. nitrogen-deficient arugula often shows yellowing on lower leaves and weak stems. Phosphorus shortages may cause purplish hues or sluggish root growth, while potassium deficiencies can lead to scorched leaf edges and poor stress resistance.
To fix these issues, use an organic fertilizer high in nitrogen, such as blood meal, feather meal, or well-rotted compost. A balanced 5-5-5 or 10-10-10 fertilizer can also work, but avoid heavy phosphorus unless a soil test confirms it’s needed. Apply fertilizer sparingly—usually a light top dressing when seedlings develop their first true leaves, and once more halfway through their growing cycle is enough. Over-fertilizing can backfire, producing overly lush, soft leaves that attract pests or even cause root burn.
Water the fertilizer in, but avoid letting it collect around plant stems to prevent rot. For container-grown arugula, use a diluted liquid fertilizer at half the recommended rate every couple of weeks to keep nutrients accessible without overwhelming the plant. Maintaining healthy soil with regular compost additions and crop rotation helps reduce recurring deficiencies and ensures your arugula gets the nutrients it needs to thrive.
Conclusion and Rapid-Fire Reminders
If your arugula not growing has left you scratching your head, remember these key troubleshooting steps: check for well-draining soil, provide your plants with enough sunlight (at least 4-6 hours daily), maintain consistent moisture without overwatering, and ensure your garden isn’t too hot—arugula prefers cooler weather. Don’t forget to watch for pests like flea beetles and avoid overcrowding, which can stunt growth.
For a quick assessment, use this checklist:
- Is my soil loose and fertile?
- Are plants spaced at least 4 inches apart?
- Am I watering regularly but not overdoing it?
- Are temperatures staying below 80°F?
- Can my plants get enough light?
If you answer “no” to any of these, try adjusting your care before giving up. Finally, don’t be discouraged—each growing season is a new chance to learn. Experiment with different planting times or locations, and with a bit of patience, you’ll soon be harvesting fresh, peppery arugula.