Introduction
Saving arugula seeds is a smart way for home gardeners to keep their favorite peppery greens coming back year after year. Arugula is loved for its quick growth and spicy flavor, making it a staple in salads and kitchen gardens everywhere. By learning how to save and store arugula seeds, you’ll not only save money but also preserve your healthiest, most flavorful plants for future harvests.
In this post, we’ll walk you through a simple, step-by-step process for collecting, drying, and storing arugula seeds so you can keep your garden growing strong with minimal effort and cost.
When and Why to Save Arugula Seeds
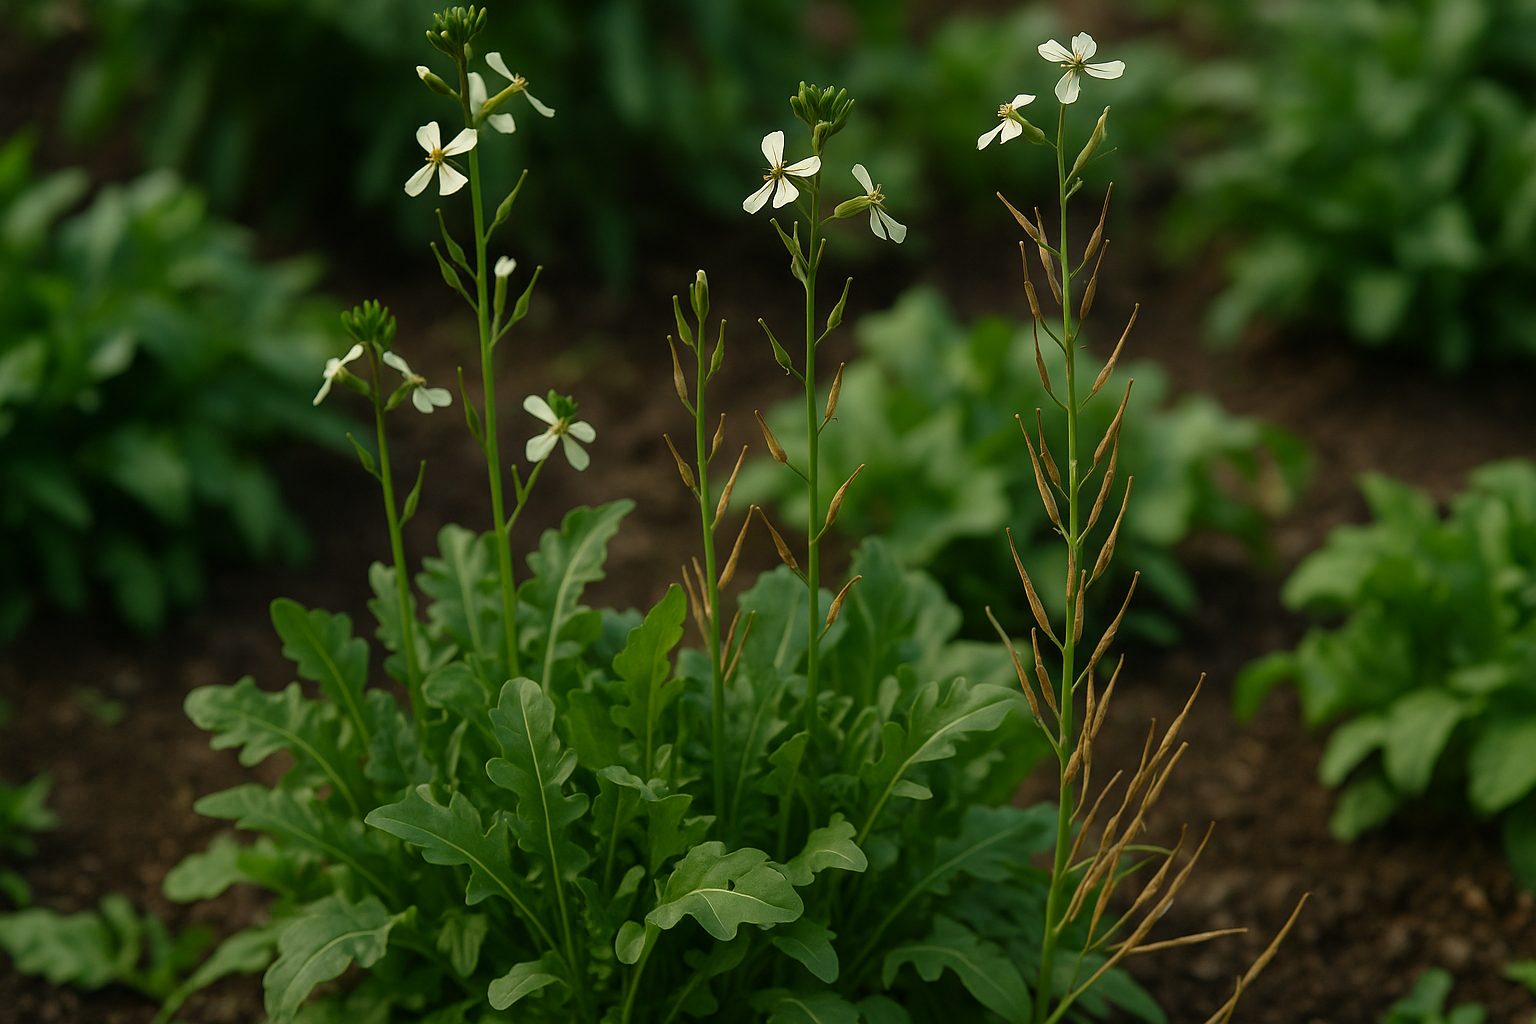
Arugula, like many leafy greens, is a cool-season plant with a predictable life cycle. It starts with leafy growth, but as temperatures rise or the plant ages, arugula “bolts” — shooting up tall stems topped with delicate white blossoms. These flowers eventually develop into slender seed pods that look like tiny green beans.
When the pods begin turning brown and dry on the plant, that’s your sign the seeds are mature and ready to harvest. Letting arugula complete this full cycle means you can collect the seeds for future seasons, which has several practical advantages.
Benefits of Saving Arugula Seeds
- Reduces gardening costs: You won’t need to buy new seed packets each year.
- Adaptation to your garden: Collected seeds tend to adapt to local conditions, making future plants more resilient to pests and weather.
- Supports sustainability: Saving seeds reduces reliance on commercial seed production and cuts down on packaging waste.
How to Harvest and Store Arugula Seeds
Simply snip off the dried pods, let them cure indoors for a week, then gently break them open. Store the tiny seeds in a labeled envelope for planting next season.
Choosing and Preparing Arugula Plants for Seed Saving
When saving arugula seeds, start by observing your patch throughout the season and mark the healthiest, most vigorous plants—those that show strong growth, resist bolting (premature flowering), and have the best flavor in their leaves. Favor plants that haven’t been heavily damaged by pests or disease, as these traits often pass to the next generation.
Taste-testing is important: sample a few leaves from candidate plants to ensure they have the peppery, fresh flavor you prefer. Once you’ve picked your seed parents, give these plants extra care by watering consistently (but not overwatering), mulching around the base to suppress weeds, and using floating row covers to keep pests like flea beetles or aphids at bay.
Protect your arugula from cross-pollination by spacing different arugula varieties far apart or growing only one variety at a time, since arugula is mostly self-pollinating but can still cross with nearby plants.
Allow selected plants to fully mature and set seed—leaving them in the ground until their pods turn brown and dry will yield the best results for future sowings. By being selective and attentive, you’ll ensure your next crop inherits the traits you value most.
How to Collect and Process Arugula Seeds
To collect and process arugula seeds, start by letting a few healthy arugula plants flower and develop seed pods. These pods will turn brown and dry on the stem when mature—usually about 3-4 weeks after flowering.
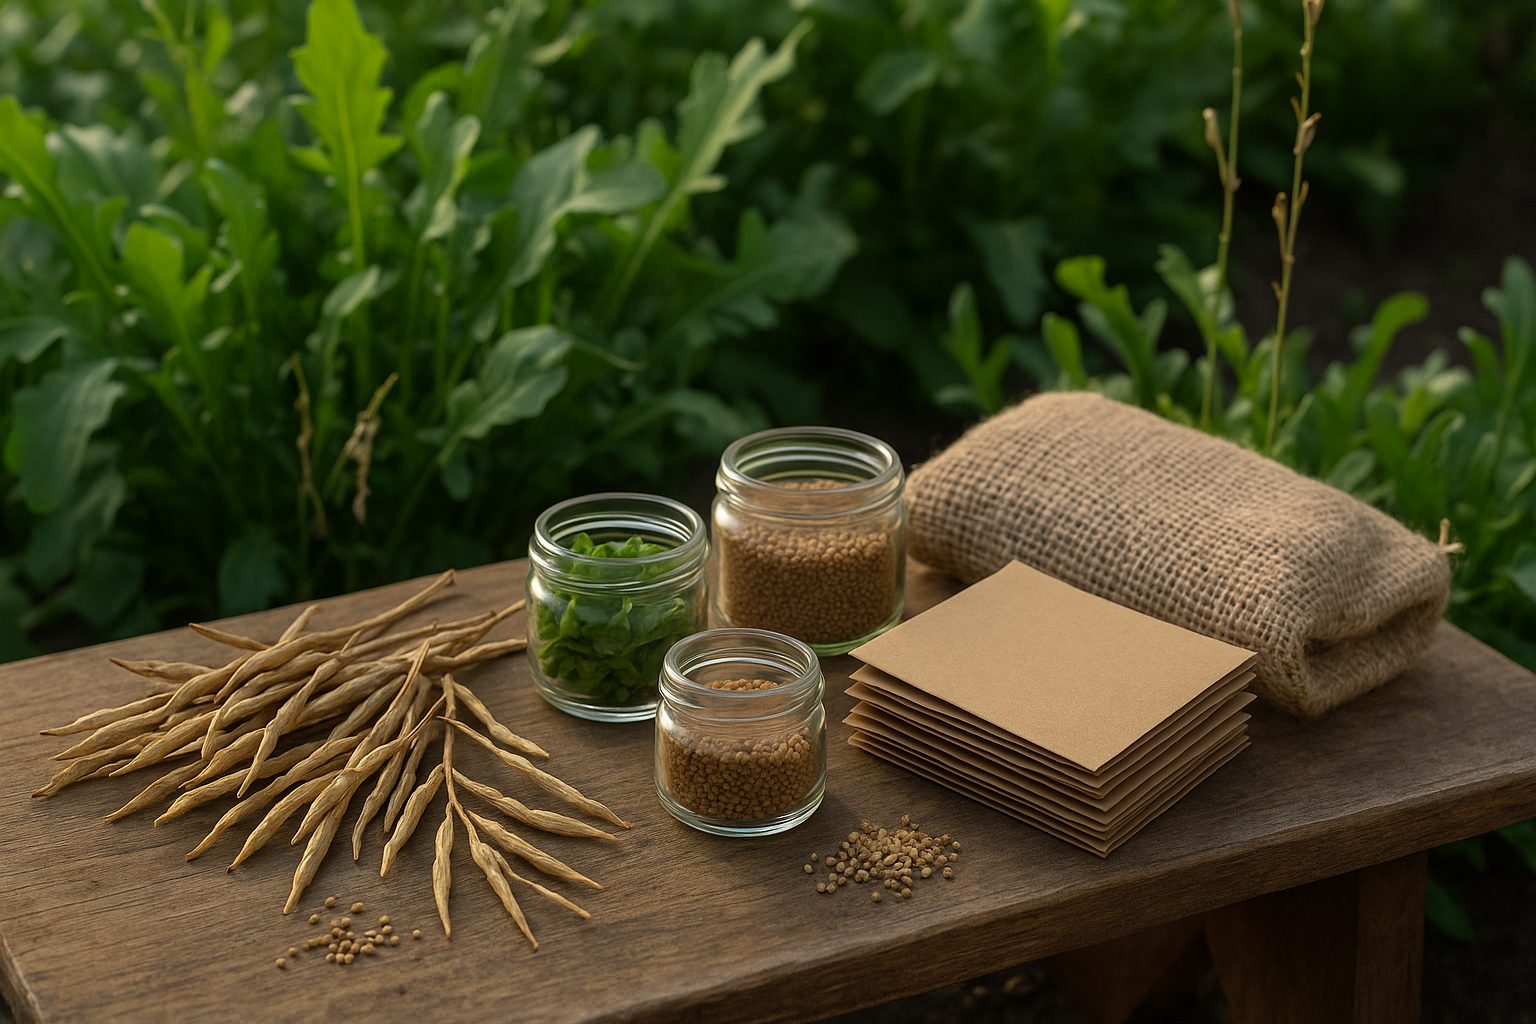
On a dry day, snip off whole stems with brown, papery pods and place them upside down in a paper bag or a breathable container to finish drying for about a week. Avoid plastic bags, as they trap moisture and can cause mold.
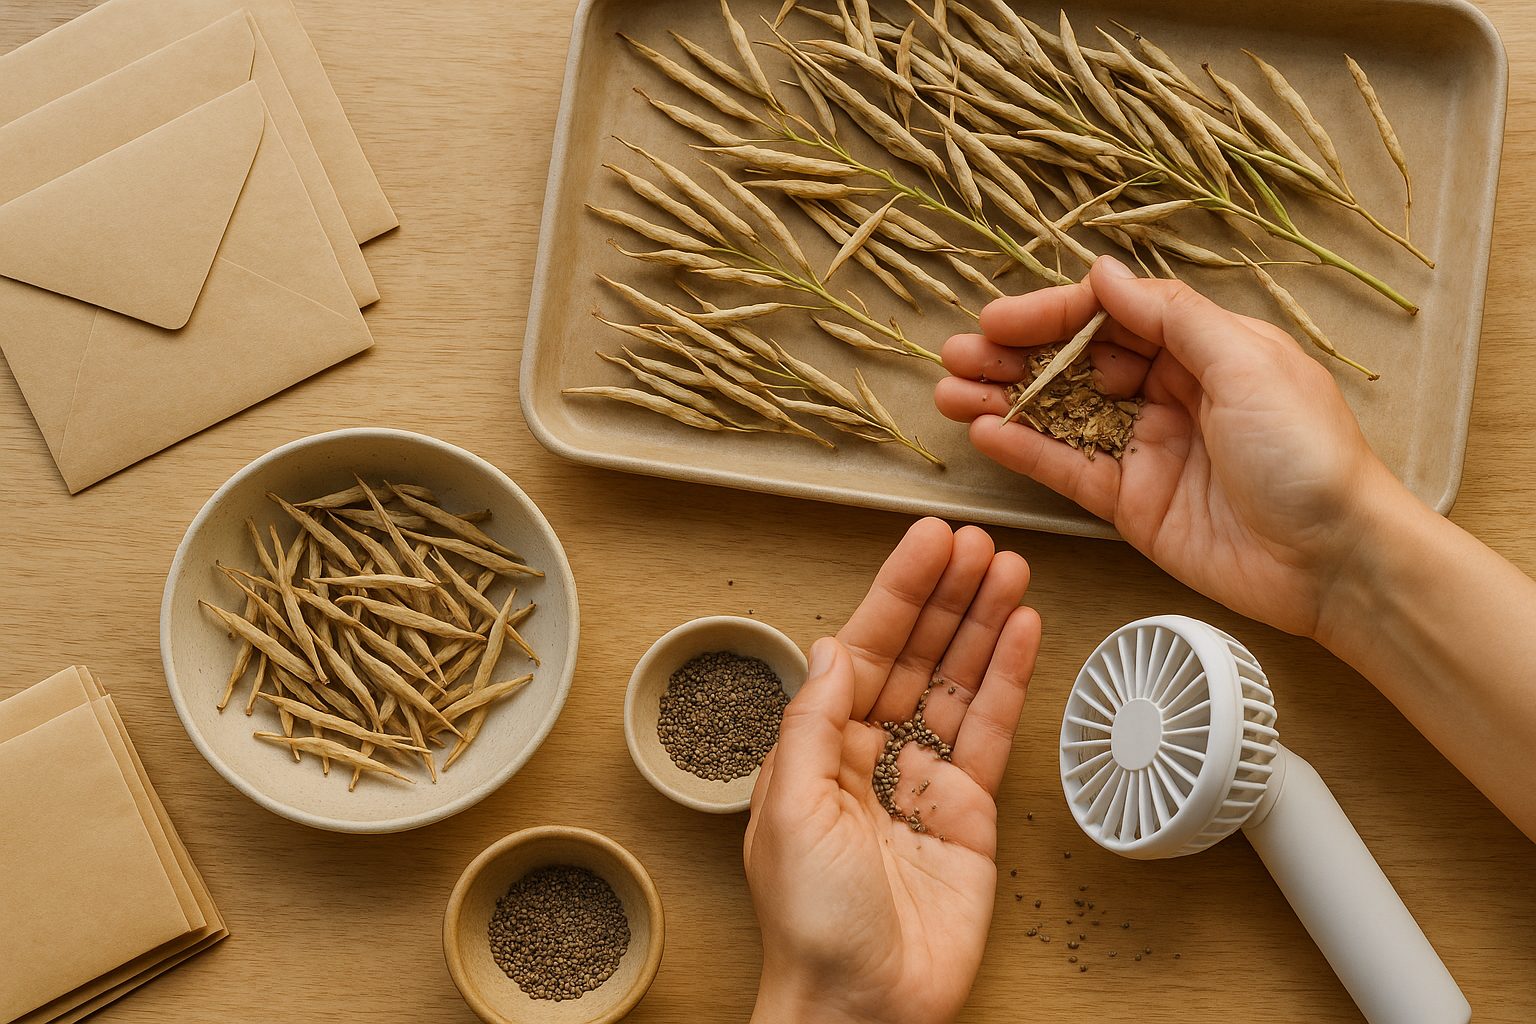
Once the pods are fully dry and brittle, gently crush them by hand or roll them between your palms to release the small, round seeds. Pour the mixture onto a clean tray, then blow gently or use a fan on a low setting to separate the lighter chaff from the heavier seeds. This step makes cleaning faster and easier.
Make sure the seeds are completely dry before storing. If you’re unsure, let them air-dry at room temperature for a few more days in a shallow tray.
Store your cleaned seeds in a labeled paper envelope or a glass jar with silica gel packets in a cool, dark, and dry place. Following these steps helps prevent mold and preserves high germination rates for the next planting season.
How to Properly Store Arugula Seeds
Properly storing arugula seeds starts with ensuring they’re completely dry. After collecting your seeds, spread them out on a paper towel or a fine mesh screen in a single layer. Let them air dry in a well-ventilated area away from direct sunlight for at least a week—this helps prevent mold or rot during storage.
Once fully dry, transfer the seeds to airtight containers such as glass jars with screw-top lids, small plastic vials, or resealable freezer bags. Avoid using paper envelopes for long-term storage, as they may allow moisture in.
Label each container with the arugula variety and harvest date using a permanent marker or sticky label; this simple step helps you track seed age for future planting.
Store the labeled containers in a cool, dry, and dark spot—think pantry shelf, cupboard, or a dedicated seed storage box. For the best longevity, aim for a temperature below 50°F (10°C) and keep your seeds away from humidity and direct light.
For extra protection, some gardeners store seeds in the fridge, but make sure the containers are truly airtight to avoid condensation. With these tips, your arugula seeds should stay viable for up to five years.
Tips for Successful Seed Saving & Common Mistakes to Avoid
Seed saving can be incredibly rewarding, but a few common mistakes can hurt your harvest down the line. One of the biggest pitfalls is not fully drying seeds before storage—moisture can cause mold, ruining your entire batch.
Always air-dry seeds on a screen or paper towel in a cool, dry place for at least a week; they should feel hard and snap, not bend. Prematurely storing seeds before they’re completely dry is another frequent error, so take your time during this stage.
For older seeds, test viability by placing a few on a damp paper towel, sealing them in a plastic bag, and checking after a week to see how many sprout—only keep the ones with a high germination rate.
It’s also smart to practice regular seed rotation: label and use older seeds first to prevent them from getting too old and unreliable.
By focusing on these steps, you’ll set yourself up for healthy yields year after year.
Conclusion
Saving and storing arugula seeds is simple and rewarding — just let a few plants flower and dry, collect the pods, and store the seeds in a cool, dark place. This easy routine not only ensures a fresh supply of arugula every season but also helps you save money on seed packets.
Plus, growing from your own saved seeds is both satisfying and sustainable. Give it a try this season and start a new, budget-friendly gardening habit that keeps on giving year after year. You’ll be amazed at the results!