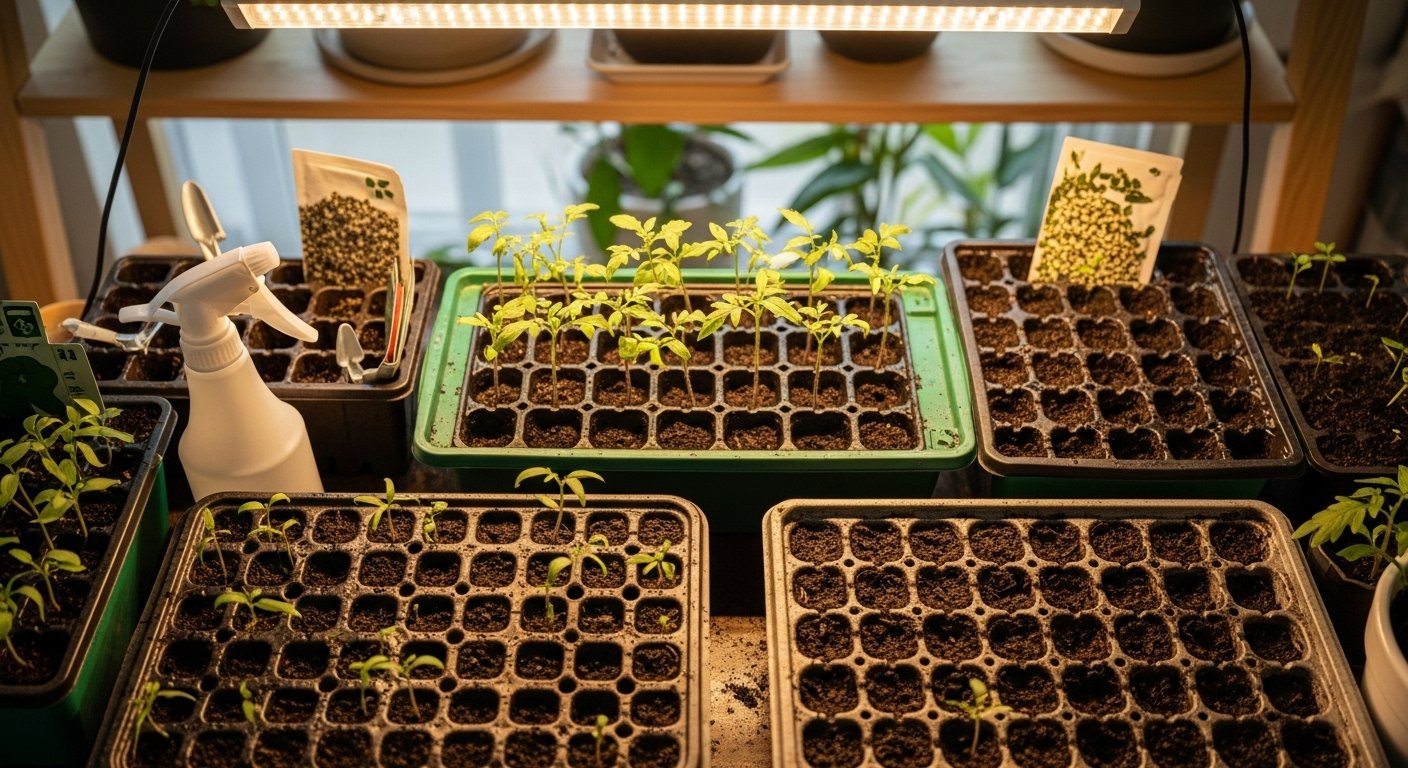
Why Start Tomato Seeds Indoors
Starting tomatoes indoors opens up a world of advantages for both novice gardeners and seasoned green thumbs alike. By starting tomato seeds indoors, you take control of the growing timeline, ensuring your plants hit the garden running just as soon as the last threat of frost passes.
This simple technique allows you to get a head start on the season, harvesting homegrown tomatoes weeks—sometimes months—earlier than your neighbors who plant outdoors or rely on nursery seedlings. Beyond the obvious boost in timing, starting from seed offers impressive cost savings. A single seed packet yields dozens of potential plants for the price of just one or two nursery starts, making it a budget-friendly choice, especially if you dream of a bountiful harvest.
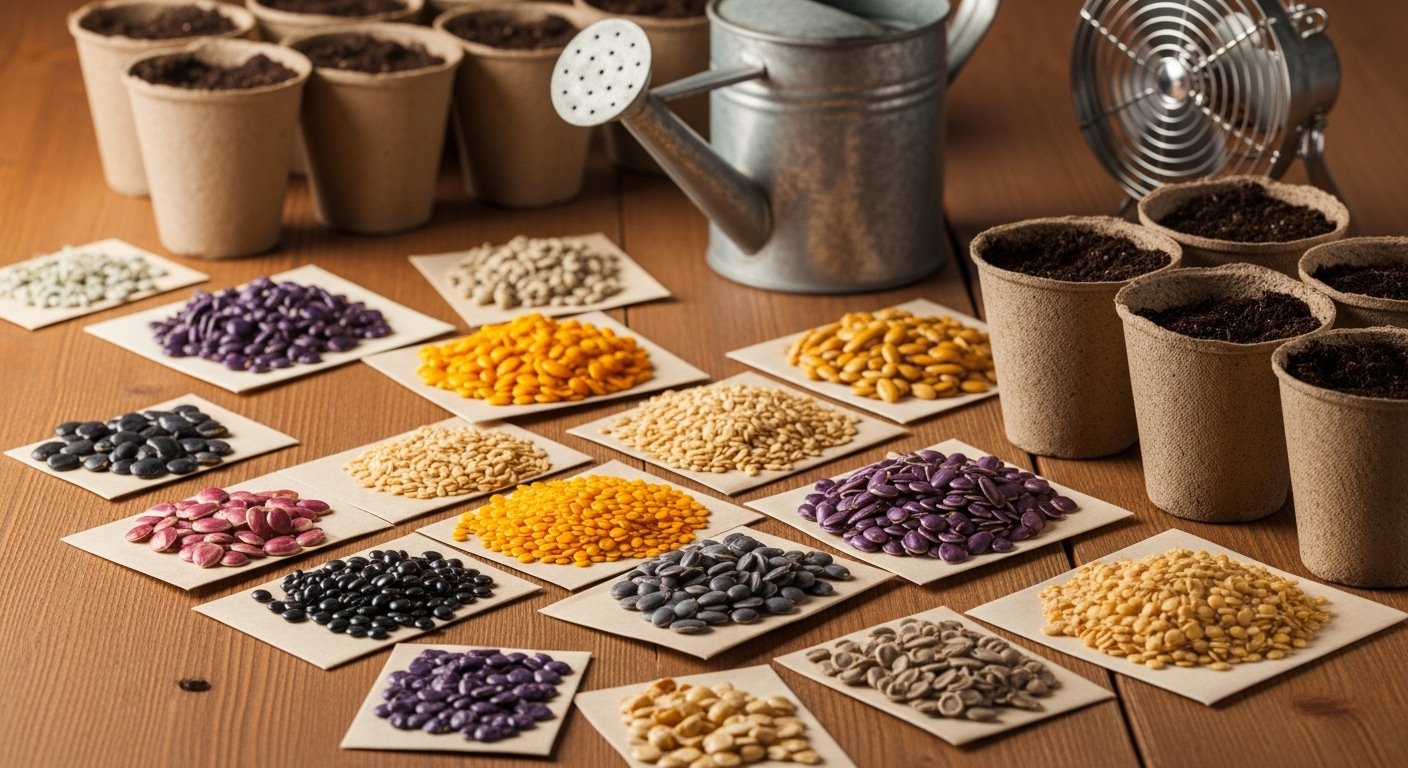
You’ll also enjoy the freedom to experiment with countless unique and heirloom varieties not typically found at garden centers, from bright yellow cherries to deep purple slicers. Health control is another significant benefit; by nurturing your tomatoes from the very beginning, you can monitor for problems, use organic soil, and skip harsh chemicals, breeding healthier, more resilient plants.
For gardeners in colder climates or regions with shorter growing seasons, starting tomatoes indoors is practically essential. It extends your window for growing heat-loving crops, giving plants time to develop strong roots and branches before facing the unpredictable spring weather outside. Whether you’re trying to grow tomatoes at high elevation, in the far North, or anywhere with a tricky climate, starting seeds under grow lights inside means you’re no longer at the mercy of late frosts or soggy spring soil.
Ultimately, starting tomatoes indoors brings better control, variety, and savings—setting the stage for a robust, delicious harvest no matter where you live.
When to Start Tomato Seeds Indoors
Starting tomato seeds indoors at the right time can make all the difference in your garden’s success. The general rule of thumb is to sow seeds 6 to 8 weeks before your area’s last expected frost date, giving the seedlings plenty of time to grow strong before transplanting outside. However, this window can vary depending on your local climate and the type of tomatoes you’re growing.
For example, in colder zones where frost lingers into late spring, you might need to wait until mid to late April to plant seeds indoors. In milder regions, gardeners could start as early as February or March. Always check a trusted gardening calendar or use an online frost date calculator for your ZIP code to find the best timing for your specific location.
Also, pay attention to the variety—dwarf or cherry tomatoes often grow and mature more quickly, so they can be started a little later than large, indeterminate types that need longer to produce fruit.
For a real-world tip, many gardeners jot their seed-starting dates on a wall calendar or set reminders on their phones every spring, helping them stay on track no matter how busy the season gets. This careful timing means your tomato plants will be ready to thrive outdoors as soon as the weather permits, resulting in healthier plants and a better harvest.
Gathering Supplies and Setting Up Your Space
Starting your tomatoes off right begins with gathering the right supplies—think of it as packing your toolkit for gardening success. You’ll need tomato seeds, seed-starting trays or small containers with drainage holes, a sterile seed-starting mix (not regular garden soil, which can carry diseases), plant labels, a humidity dome or clear cover to hold in moisture, and a reliable light source such as grow lights or a sunny windowsill.
A small fan nearby helps keep air moving, which lowers the risk of mildew and encourages strong stems. Always use clean containers and fresh sterile mix; this simple step can make all the difference by preventing common seedling diseases like damping off.
Set up in a warm spot—ideally around 70–75°F—where your setup won’t be knocked over by pets or curious kids. If your best light is in a busy area, consider a shelf or dedicated spot out of regular traffic to keep your tiny plants safe while they grow.
Taking a few extra minutes to prepare your supplies and space pays off with healthier seedlings and a smoother gardening experience.
Step-by-Step Guide: Planting Tomato Seeds Indoors
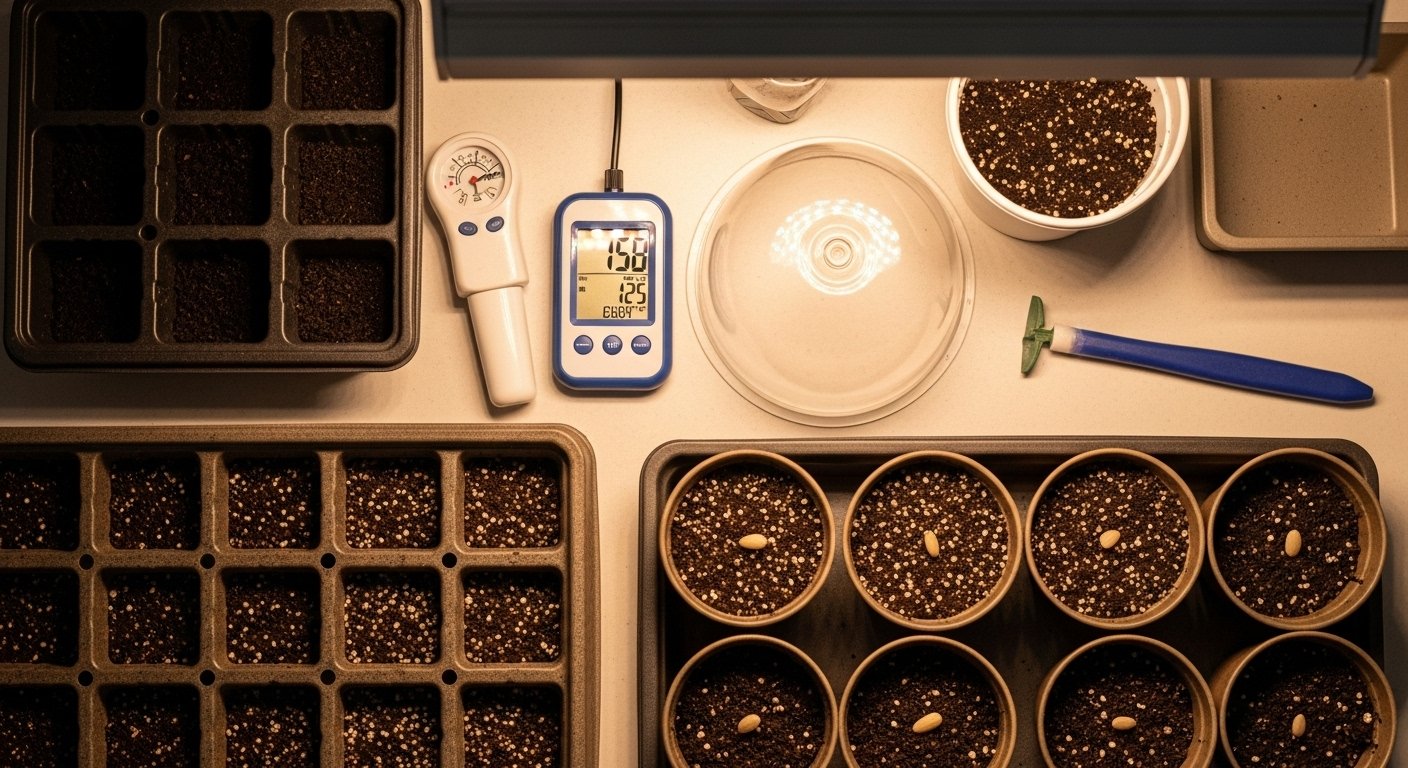
Starting tomato seeds indoors is a rewarding way to get a jump on the growing season. Following a few simple steps will boost your success.
Begin by filling clean seed trays or small pots with a high-quality, pre-moistened seed starting mix—damp but not soggy soil gives seeds the ideal environment to sprout. Gently press two or three tomato seeds about 1/4 inch deep into each cell or pot, then lightly cover them with a thin layer of soil.
To avoid mix-ups later, label each tray or pot with the variety’s name using a waterproof marker or plant stake—this is especially helpful if you’re experimenting with multiple types.
Once planted, cover your trays with a clear humidity dome or plastic wrap to lock in moisture, which helps seeds germinate evenly. Place the trays somewhere warm; tomatoes germinate best between 70–80°F. If your home is on the cooler side, consider using a seedling heat mat for a consistent, gentle heat source right under the trays.
Keep an eye on the soil and mist lightly with water when the surface feels dry, but don’t overwater—excess moisture can cause seeds to rot.
As soon as most of the seeds have sprouted, remove the humidity dome and move the trays into a bright area. If using natural light, position trays near a south-facing window, rotating them daily for even growth. Grow lights offer more control; aim for 14–16 hours of light per day, with lights just a few inches above the seedlings, raising them as the plants grow.
Avoid placing seedlings too far from the light, or they’ll stretch and become leggy.
With careful attention to warmth, moisture, and lighting, your tomatoes will be off to a healthy, vigorous start—ready for transplanting when the weather outside warms up.
Seedling Care: Watering, Lighting, and Potting Up
Caring for seedlings each day starts with closely monitoring soil moisture—seedlings like it moist but not soaked. Check by touching the soil surface, and water gently with a spray bottle or a small watering can to avoid washing out fragile roots. Overwatering is a common pitfall that can lead to root rot and a fungal disease called damping off. You can help prevent these issues by ensuring good air circulation around your seedlings and using clean containers along with sterile seed-starting mix.
Adequate light is another big factor in healthy seedling growth. Most seedlings need at least 12–16 hours of bright, indirect light daily, so consider supplementing with LED or fluorescent grow lights if your windows don’t get enough natural sunshine. Position the lights just a few inches above the seedlings, and move them higher as your plants grow taller—this helps prevent leggy, weak stems caused by stretching for light.
As your seedlings develop their first set of true leaves, begin thinning out the weaker ones so the strongest have space to thrive. Simply snip the extra seedlings at the soil line with scissors rather than pulling, to avoid disturbing roots. Around this time, you can also start feeding with a diluted, balanced liquid fertilizer (about one-quarter strength to start) every 1–2 weeks to provide essential nutrients for steady, healthy growth.
Once your seedlings have several sets of true leaves and you notice roots peeking through the drainage holes, it’s time to “pot up.” Gently loosen the root ball and move each seedling into a slightly larger container with fresh potting mix. This gives roots plenty of room to expand and prepares your young plants for successful transplanting into the garden or final container later on.
By staying attentive to these key steps—proper watering, lighting, air flow, nutrition, and timely potting up—you’ll set your seedlings up for a robust and productive season ahead.
Preparing Seedlings for Transplant: Hardening Off and Next Steps
Hardening off is a crucial step in preparing seedlings for life outside. It means gradually introducing your young plants to outdoor conditions after weeks in the stable environment of your home or greenhouse. Without this process, seedlings can suffer shock from wind, sun, and fluctuating temperatures, which often leads to stunted growth or even plant death.
To properly harden off seedlings, start about 7 to 10 days before you plan to transplant. Begin by placing seedlings outside in a shaded, sheltered area for just 1-2 hours, then bring them back inside. Each day, extend their time outdoors by a couple of hours and slowly increase their exposure to direct sunlight, ideally adding a bit more sun each day.
Always avoid placing delicate seedlings outside during especially windy or cold weather—temperatures below 50°F (10°C) can be harmful, and harsh midday sun or strong gusts can set back progress. If rain is in the forecast during the hardening off period, be sure to shield your seedlings, as heavy downpours can damage or flatten tender foliage.
When choosing your transplant day, pick a mild, overcast day if possible. This reduces stress and allows plants to adjust to their new home without the shock of direct sunlight. Water the seedlings a few hours before transplanting to keep the roots moist and less likely to experience transplant shock.
When you’re ready to plant, gently loosen the seedlings from their container, being careful not to disturb the roots more than necessary. Space them according to each variety’s needs and water well after planting to help them settle. If moving them to containers, make sure your pots have good drainage and use fresh, nutrient-rich potting mix. Mulching garden beds after transplanting can also help retain moisture and protect new roots.
With careful hardening off and gentle transplanting, your seedlings will be far better equipped to thrive outdoors, taking off quickly in their new environment.