Introduction
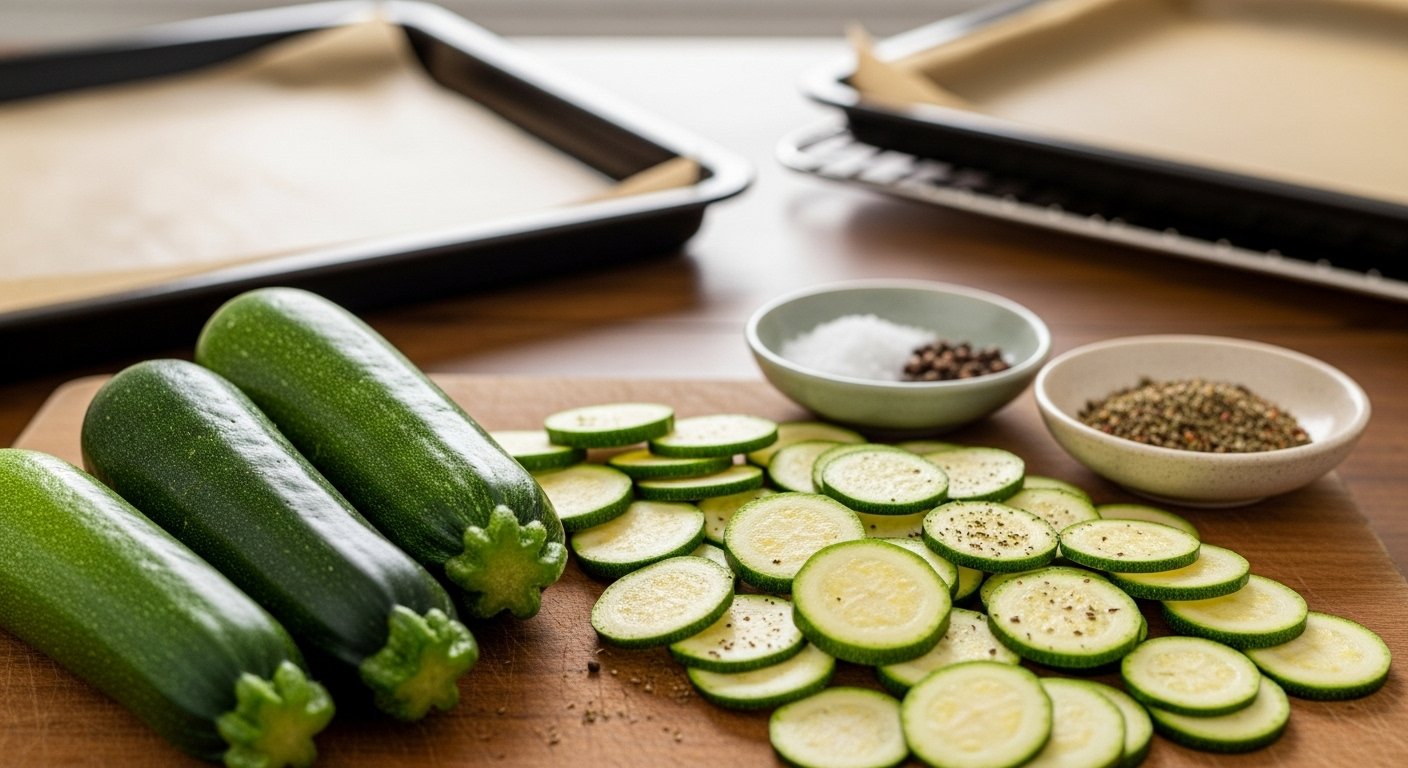
Drying zucchini is a simple and rewarding way to create delicious dehydrated zucchini chips—an irresistibly crunchy, healthy snack that’s perfect for anyone looking to eat better without sacrificing taste. Making these chips at home couldn’t be easier: all you need is fresh zucchini, a sharp knife, and an oven or dehydrator. No fancy equipment required!
Aside from serving as guilt-free snacks, drying zucchini opens up a world of possibilities—you can grind dried zucchini into powder to add nutrition to soups or sauces, or simply stash away slices for long-term storage in your pantry. Not only does this method reduce food waste, but it also lets you enjoy your garden’s summer bounty all year long.
Whether you’re seeking a nutritious alternative to potato chips or a clever way to use up extra produce, drying zucchini is a practical and tasty solution for any kitchen.
Choosing and Preparing Zucchini
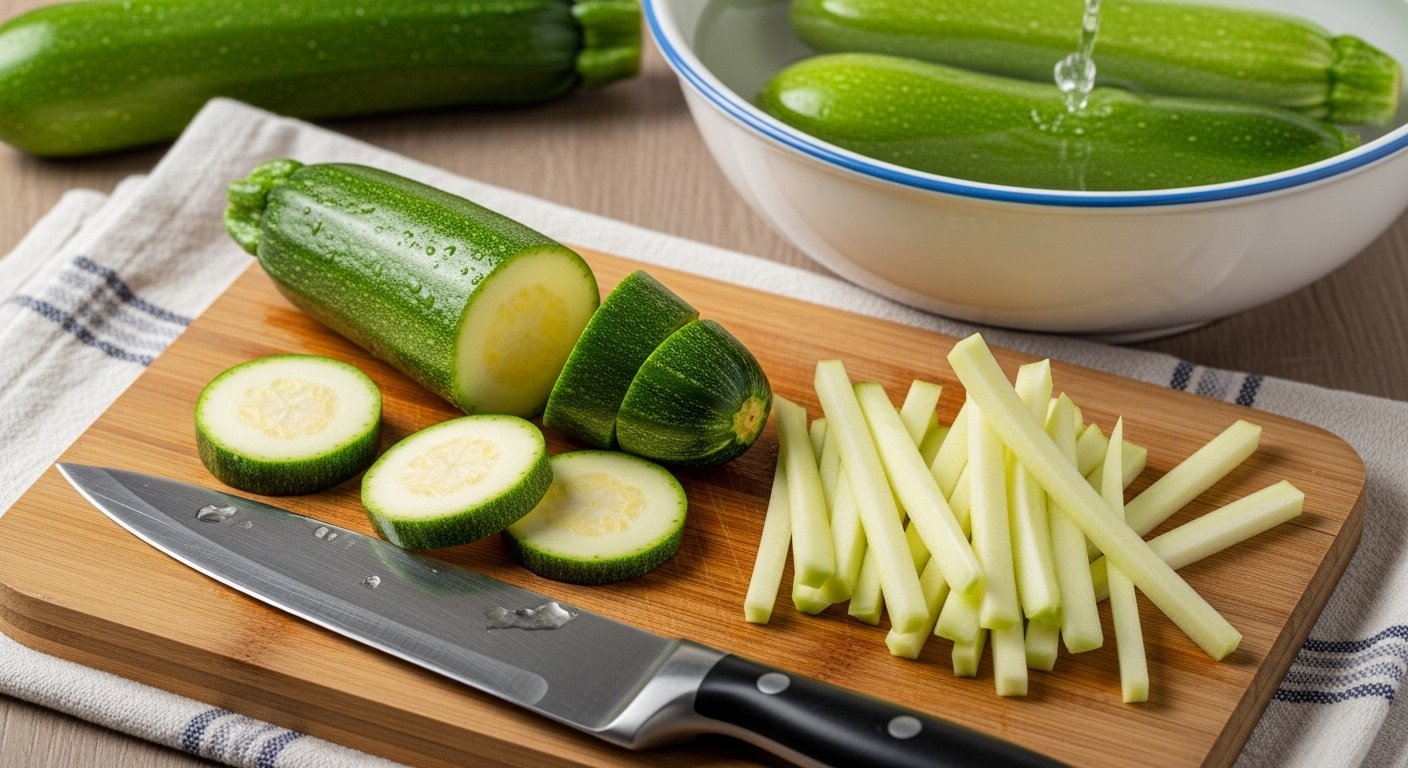
When picking zucchini for dehydrating, look for medium-sized ones that feel firm and heavy for their size, with smooth, glossy skin and no soft spots or blemishes—these signs suggest peak freshness and the best texture. Before prepping, give the zucchini a good rinse under cool running water to remove any dirt, then trim off both ends to discard any woody or bitter bits.
You have a few cutting options depending on your end goal: round slices work well for chips or snacks, while lengthwise strips are perfect for layering in recipes. For fast, even drying, slice the zucchini between 1/8 inch and 1/4 inch thick; thinner slices get crispier and dehydrate quicker, but slice too thin, and they can become brittle. On the other hand, thicker pieces take longer to dry and come out a little chewier.
After slicing, pat the pieces dry with a paper towel before adding seasonings—this simple step removes excess surface moisture, which helps your seasoning stick better and speeds up the drying process. This attention to detail at every step ensures your dehydrated zucchini turns out delicious, crunchy, and perfectly seasoned every time.
Seasoning and Flavor Ideas
Getting the most out of your meals starts with the right basics—never underestimate the power of simple seasonings like salt, pepper, and garlic powder. These staples can boost flavor without overwhelming the dish, and they’re easy to sprinkle on meats, veggies, or grains.
For a creative twist, try mixing up Italian herbs (think basil, oregano, and thyme) for a Mediterranean vibe, or give your food a smoky kick with chili powder or a dash of smoked paprika. Nutritional yeast is another fun option; it adds a savory, cheesy flair that’s perfect on popcorn, pasta, or roasted veggies—plus it’s totally vegan.
When it comes to seasoning, timing makes a big difference. For meats and hearty vegetables, season before and during cooking to let the flavors soak in, but delicate herbs and spices like fresh parsley or lemon zest work best when added right at the end for a burst of freshness.
Don’t be afraid to layer seasonings and taste as you go—this is the easiest way to build bold flavors that make home cooking exciting.
Dehydrating Methods: Oven, Food Dehydrator, and Sun Drying
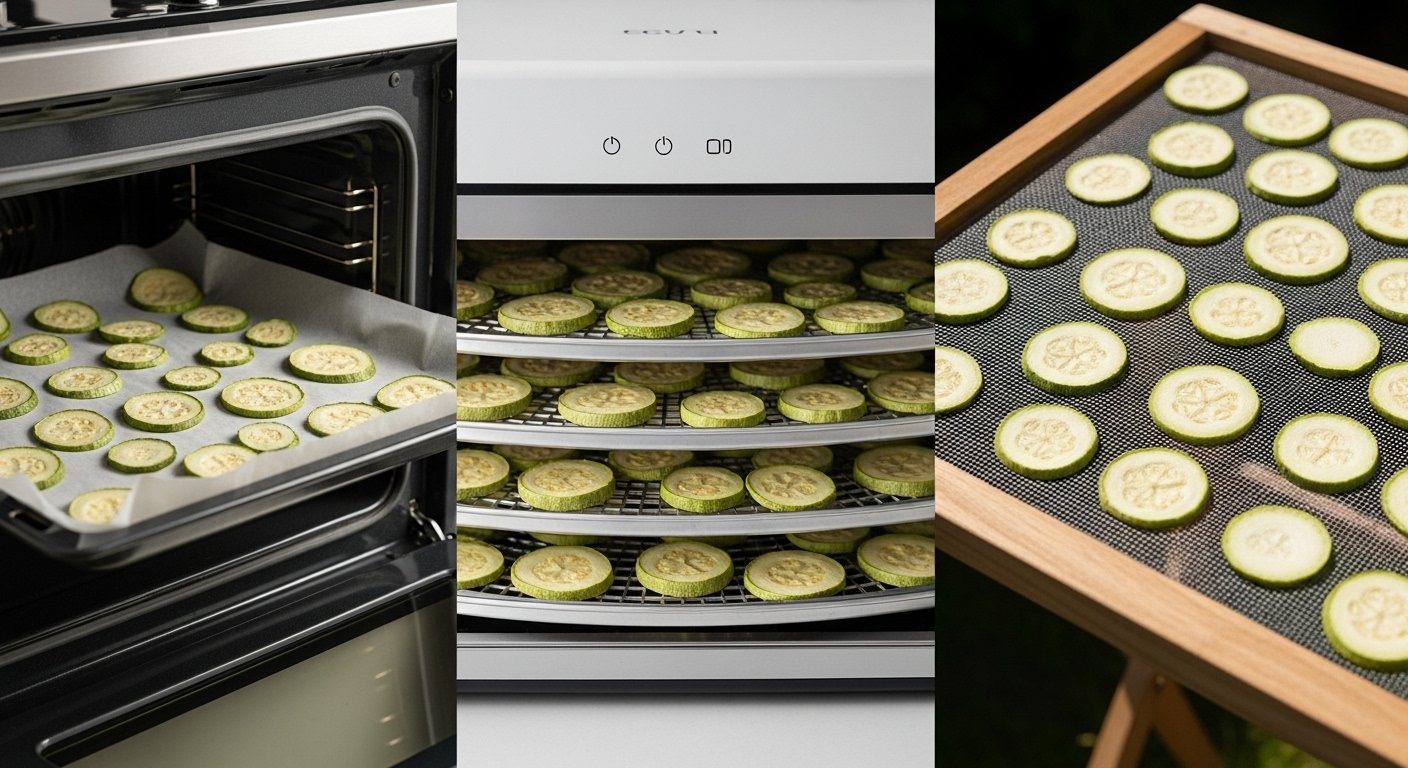
When it comes to dehydrating foods, you have three main options: oven drying, using a food dehydrator, or sun drying.
Oven drying is a convenient method since most kitchens already have an oven. Simply slice your fruits or vegetables evenly, place them on a baking sheet lined with parchment, set your oven to its lowest temperature (usually about 140–170°F/60–77°C), and leave the door slightly open to allow moisture to escape. Rotate the trays every hour, and expect drying times to range from 4–8 hours for fruits and veggies, depending on thickness.
Food dehydrators are designed specifically for this purpose and offer controlled airflow and low, steady heat, usually between 125–135°F (52–57°C). Arrange food in single layers on dehydrator trays without overlapping, and dry for 6–12 hours. Check for crispness and rotate trays if needed.
Sun drying is the oldest (and most eco-friendly) technique: slice food thinly, place it on mesh screens or racks, and cover with a fine mesh to keep insects away. Set trays outside in direct sunlight for 2–4 days, bringing them inside at night to avoid moisture. Aim for hot days above 85°F (30°C) and low humidity, turning food occasionally for even drying.
Dehydrators consistently deliver the best texture and are easiest to use but cost more upfront. Oven drying is accessible but may lead to uneven results and higher electricity use, while sun drying is cost-free but highly weather-dependent and less reliable, especially in humid climates.
No matter the method, remember to cut food uniformly, avoid overlapping pieces, and test a few for dryness before storing to prevent spoilage.
Tips for Perfect Zucchini Chips
Making perfect zucchini chips starts with slicing your zucchini thin and evenly—aim for about 1/8-inch thickness to help the chips dry uniformly.
One common mistake is crowding or overlapping slices on the baking tray, which can trap steam and lead to soggy chips; instead, lay them out in a single, spaced layer.
To boost flavor and crunch, don’t be shy with seasoning—zucchini’s mild taste benefits from a sprinkle of sea salt, pepper, paprika, or even a dusting of parmesan after baking.
Lightly patting the slices dry with a paper towel before baking can also help draw out excess moisture.
Bake at a low temperature (200-225°F) so the chips dry out slowly without burning, and flip them halfway through to ensure even crispiness.
Don’t forget to test a chip or two near the end; oven times can vary, and tasting as you go helps fine-tune both crunch and seasoning to your liking.
Storing and Enjoying Your Zucchini Chips
To keep your zucchini chips crisp and tasty, store them in an airtight container once they’ve fully cooled. Choose a cool, dark spot like a pantry or cupboard to prevent them from becoming stale or soggy—moisture and light are the enemies of crunch!
For longer storage, you can freeze zucchini chips. Simply spread them in a single layer on a baking sheet to freeze, then transfer them to a freezer-safe bag. When you’re ready to enjoy more, a quick pop in the oven will re-crisp them beautifully.
While they’re fantastic for snacking, try crumbling zucchini chips over salads for extra crunch or sprinkling them on soups as a healthy alternative to croutons. You can even crush and mix them into breadcrumbs for a veggie-packed coating on baked chicken or fish, making these chips as versatile as they are delicious.
Conclusion and Final Thoughts
Dehydrated zucchini chips are a simple, tasty snack that makes the most of summer’s bounty while reducing food waste. Their crisp texture and mild flavor pair perfectly with a variety of seasonings, from a sprinkle of sea salt to a spicy chili blend. Plus, these chips store well in airtight containers, allowing you to enjoy garden-fresh flavors long after the harvest.
Don’t be afraid to experiment with thickness or your favorite herbs—every batch can be a new adventure. Tried your own twist? Share your feedback and seasoning tips in the comments; we’d love to hear what works for you!