Introduction to Swiss Chard
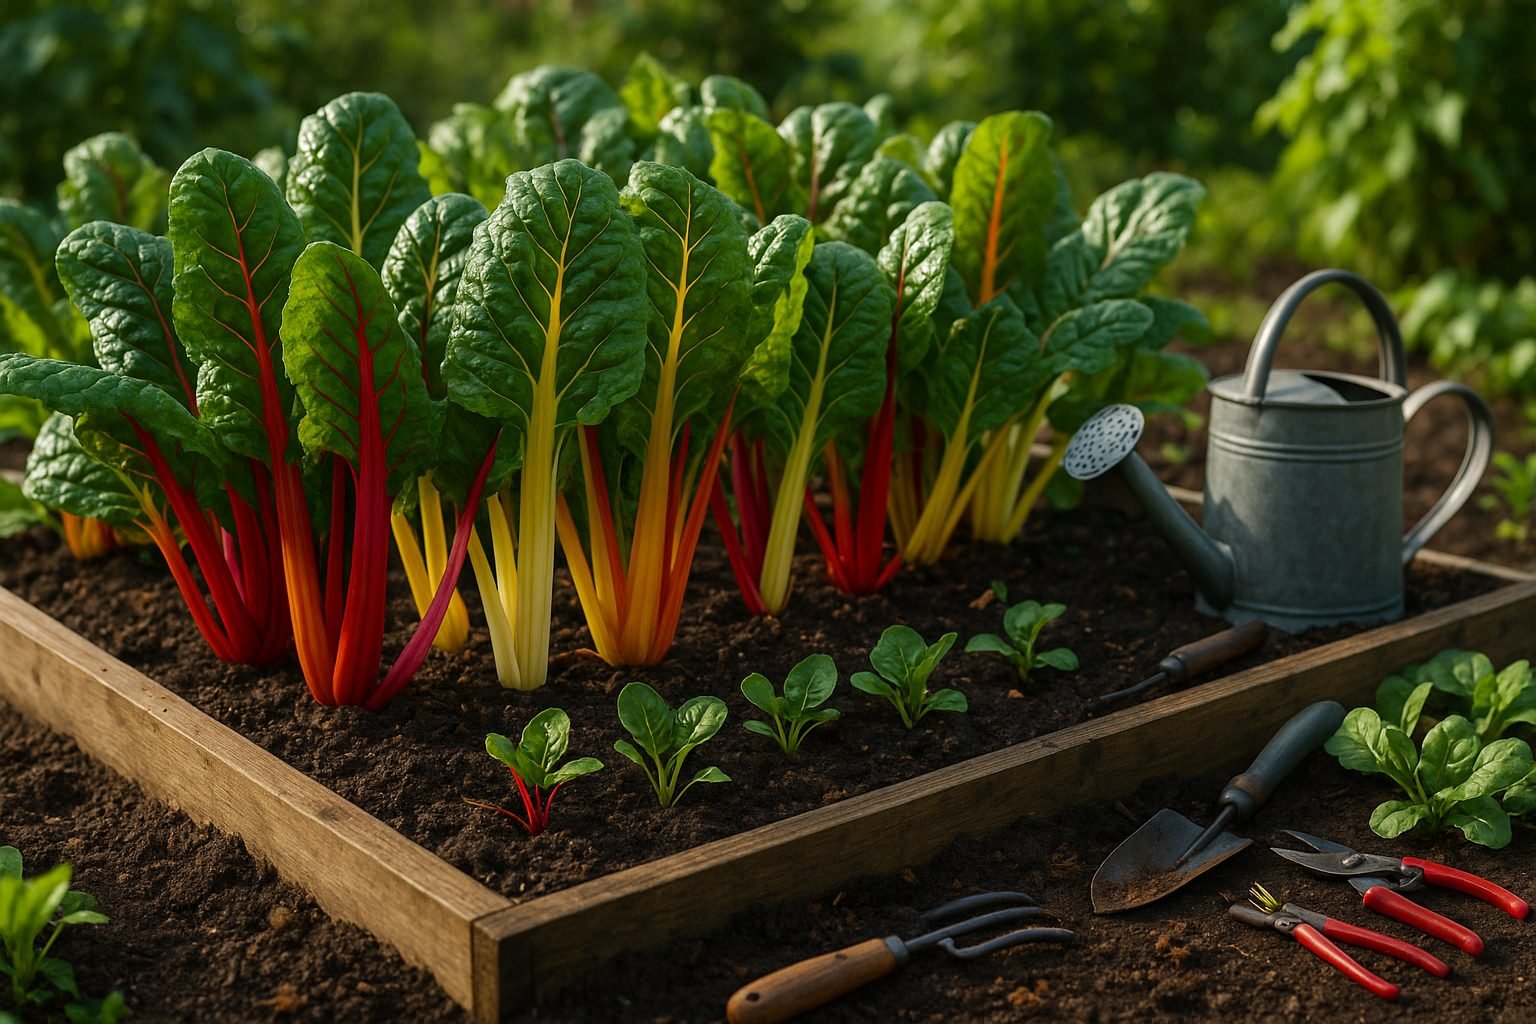
Understanding the swiss chard growth stages is crucial for anyone looking to add this vibrant leafy green to their home garden. Swiss chard, a relative of beets and spinach, comes in an array of striking varieties—from the rainbow-hued Bright Lights to the deep green Fordhook Giant—each offering unique flavors and visual appeal. Unlike other greens, Swiss chard thrives in both cool and warm seasons, making it a versatile crop that brings color and nutrition to your table for much of the year.
Nutrient-wise, Swiss chard is a powerhouse—packed with vitamins A, C, and K, magnesium, potassium, and iron. Just one cup can provide over three times your daily requirement of vitamin K, which is vital for bone health and blood clotting. Its vibrant stalks contain antioxidants like betalains and flavonoids, which help fight inflammation and oxidative stress. Home cooks love how chard’s tender leaves and crunchy stems can be sautéed, tossed in salads, or added to soups, offering both great taste and nourishment.
For home gardeners, Swiss chard is especially rewarding. It’s easy to grow, relatively pest-resistant, and can be harvested continuously through a “cut and come again” approach—meaning you can enjoy fresh greens for months from just a few plants. Its tolerance to a wide range of conditions allows both beginners and seasoned gardeners to succeed. Whether your goal is year-round nutrition, garden beauty, or a low-fuss leafy green, learning about the Swiss chard growth stages will set you up for a bountiful and delicious harvest.
Ideal Growing Conditions & Soil Preparation
Swiss chard thrives in cool, moderate climates, typically between 50–75°F (10–24°C), but it’s also remarkably tolerant of summer heat as long as it gets consistent moisture. For the healthiest, most vibrant leaves, choose a sunny spot—Swiss chard loves full sun but can tolerate light shade, especially in hotter regions, which helps prevent leaves from wilting or becoming bitter.
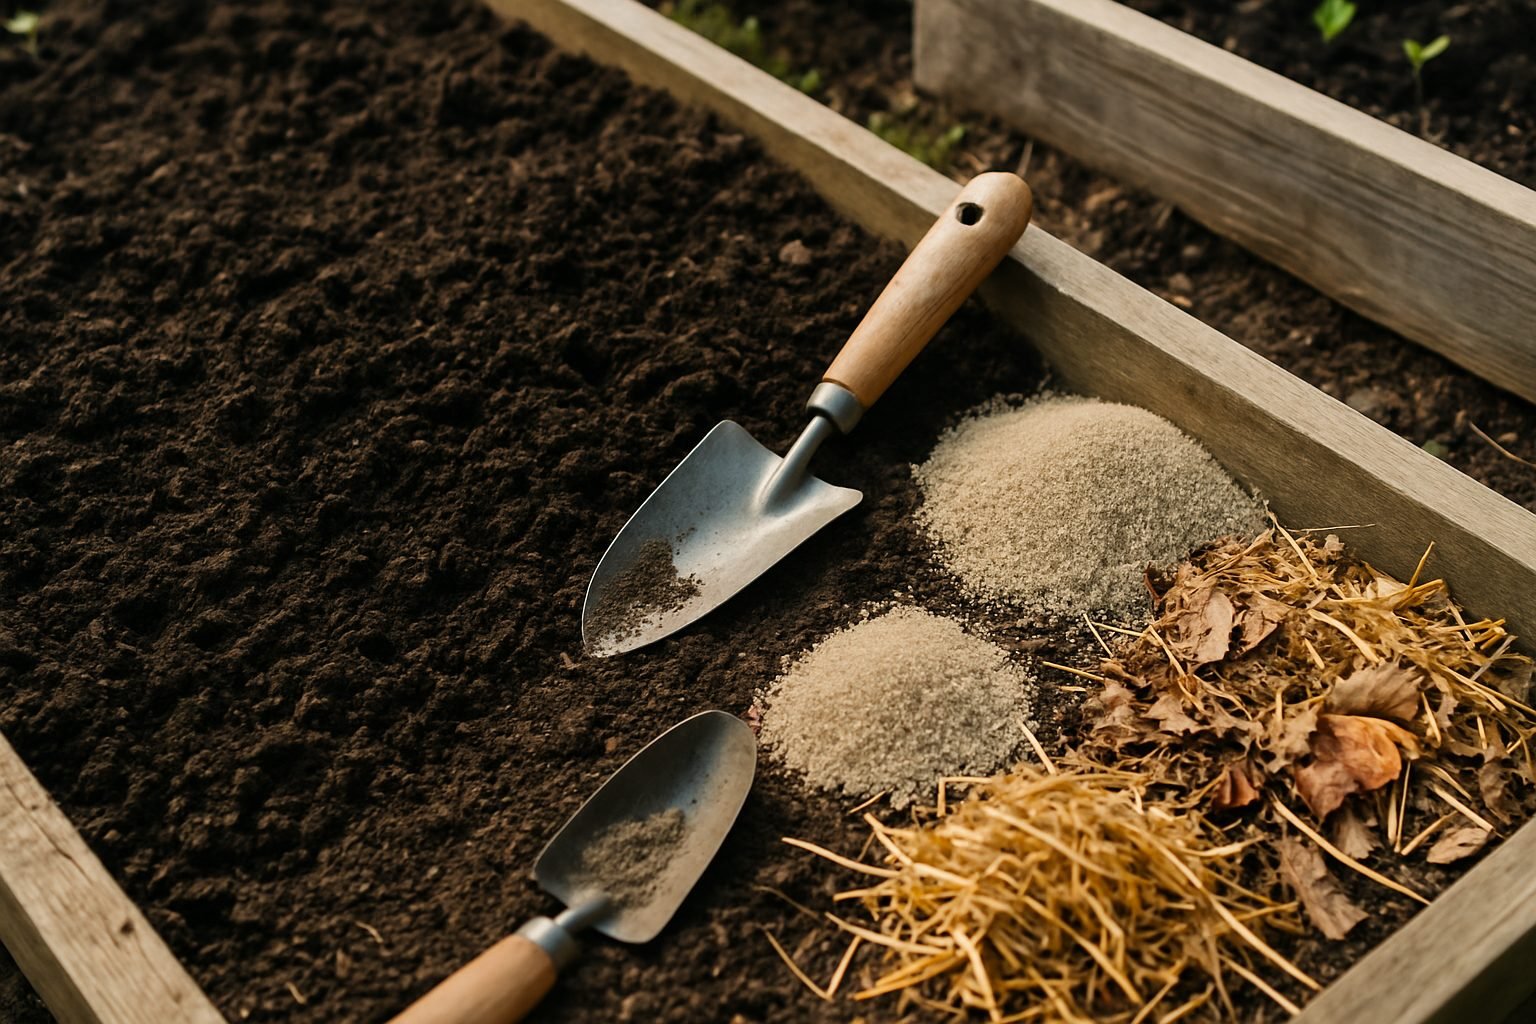
When it comes to soil, Swiss chard prefers a rich, well-draining loam with a pH between 6.0 and 7.0. Before planting, work in plenty of compost or well-rotted manure to provide nutrients and improve soil structure; this organic matter can also boost water retention in sandy soils or loosen up heavy clay.
If your garden soil tends to stay soggy or compacted, consider growing Swiss chard in raised beds filled with a mix of native soil and organic material to improve drainage. You can also mound the soil slightly in rows for better runoff when planting directly in the ground. Avoid planting in areas where water pools after rain, and mix in some coarse sand or perlite if drainage remains a problem.
Whether planting in raised beds or in-ground, aim to keep the soil consistently moist but not soggy. For an added boost, top-dress the planting area with a layer of compost every few weeks throughout the growing season to keep plants productive and vibrant. With these steps, you’ll set your Swiss chard up for a robust and delicious harvest.
How to Plant Swiss Chard: Seeds, Spacing, and Timing
Planting Swiss chard is refreshingly simple, even for first-time gardeners. Start by choosing a sunny spot with well-drained soil, then sow seeds about half an inch deep directly into the garden bed, spacing them 2 inches apart within rows. Rows should be 12 to 18 inches apart to give mature plants room to spread and for easy harvesting.
After seedlings emerge in 7 to 14 days, thin them to 6 to 12 inches apart—don’t toss the thinnings; they make tasty additions to salads! For the best harvest, sow seeds outdoors 2 to 4 weeks before your region’s last expected spring frost, as Swiss chard thrives in cool weather but tolerates heat.
To ensure a steady supply of tender leaves, practice succession planting by sowing a new row every 2 to 3 weeks until midsummer. This technique gives you a longer harvest window and keeps fresh greens coming into early fall.
If your season is short or starts late, you can get a head start by sowing seeds indoors 4 weeks before the last frost date. Transplant seedlings outdoors when they’re about 3 inches tall and have developed several true leaves. While indoor starting lets you control conditions and combat spring chill, direct-sown chard often grows stronger roots and adapts quickly to outdoor conditions.
For most gardeners, direct sowing is easiest and produces healthy results, but if you crave that early harvest or have a colder climate, give indoor starting a try. Remember to keep soil consistently moist—especially until seeds germinate—and mulch around young plants to hold in moisture and keep weeds at bay.
With these simple steps, you’ll enjoy colorful, nutritious Swiss chard all season long.
Caring for Growing Swiss Chard: Watering, Fertilizing & General Maintenance
Swiss chard thrives when its basic care needs are met, starting with consistent watering. The soil should stay evenly moist but never soggy. Generally, an inch of water per week suffices, but check the top inch of soil—if it’s dry, it’s time to water.
Mulching around your plants with straw, compost, or leaf mulch is a smart move, as it helps retain soil moisture, keeps roots cool, and suppresses weeds.
For fertilizing, Swiss chard benefits from rich soil, but you can boost its growth by feeding it an organic fertilizer every four to six weeks. Compost, well-rotted manure, or a balanced organic fertilizer are good choices. Be careful not to overdo it—too much nitrogen can result in lush, floppy leaves and poor flavor. Use a light hand and observe how your plants respond, adjusting as needed.
Maintenance is essential to keep your chard productive:
- Thin seedlings once they have two true leaves, leaving about six to eight inches between plants to allow for healthy airflow and growth.
- Regular weeding prevents competition for nutrients, but be gentle to avoid disturbing chard roots.
- As plants mature, large leaves may start to droop; if you live in a windy area or see bending stems, use small stakes or garden twine to loosely support them.
- Remove yellowing or damaged leaves to encourage new growth and keep pests at bay.
With these straightforward care practices, your Swiss chard will provide lush, tasty harvests for months.
Managing Pests and Diseases
Swiss chard can attract a handful of common pests, including aphids, leaf miners, flea beetles, and slugs. To keep aphids at bay, try blasting them off with a strong spray of water or introducing beneficial insects like ladybugs to your garden.
Leaf miners, which tunnel through chard leaves leaving unsightly trails, can be managed by regularly inspecting plants and removing affected leaves. Floating row covers are another effective, organic option for deterring both flea beetles and leaf miners.
For persistent slugs, scatter diatomaceous earth around your plants or set simple beer traps to catch them.
Swiss chard is also susceptible to diseases like downy mildew, Cercospora leaf spot, and damping-off. Prevent these issues by giving each plant ample space to improve air circulation and by keeping leaves dry while watering—aim for the soil, not the foliage.
Crop rotation is key: avoid planting chard or other beets in the same area two years in a row to reduce disease build-up.
If you spot minor pest or disease issues, act quickly by pruning off affected leaves and disposing of them far from your garden. For soft-bodied pests, a homemade soap spray (a teaspoon of mild liquid soap in a quart of water) can be a safe, quick fix.
Always monitor your plants regularly so you can catch and address problems early, which is the best defense for keeping your Swiss chard healthy and chemical-free.
How and When to Harvest Swiss Chard
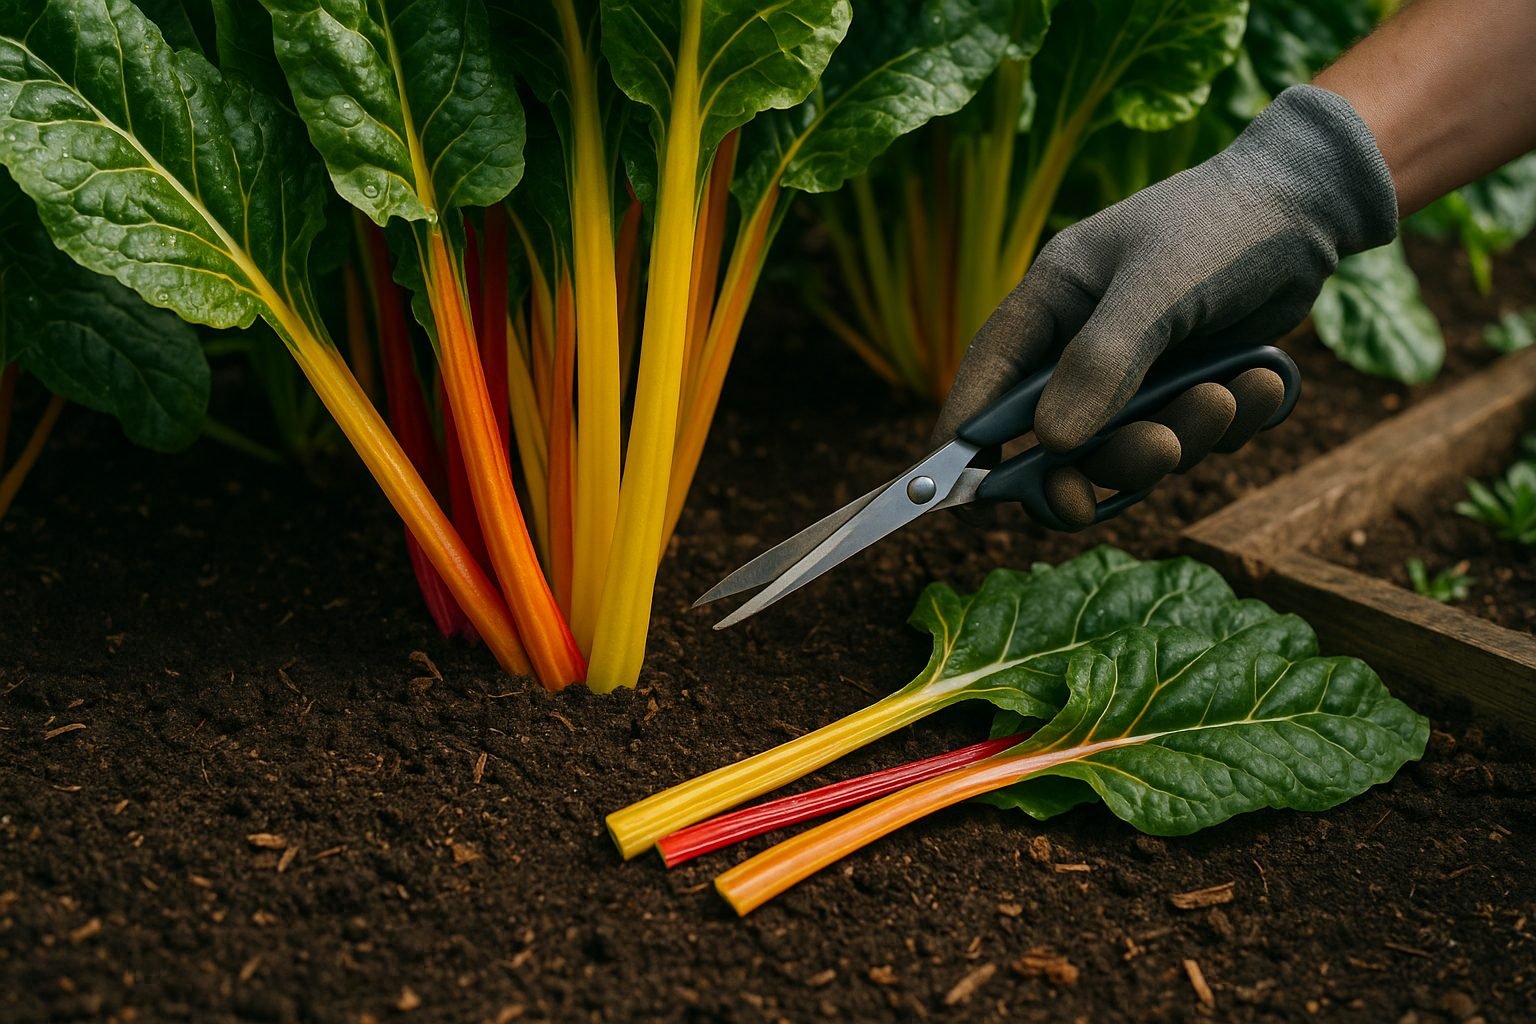
Swiss chard is best harvested when the outer leaves reach about 6 to 8 inches long and feel crisp to the touch. These leaves are mature enough for good flavor but still tender. Be sure to leave the central younger leaves untouched to allow ongoing growth and continual harvesting.
To maximize regrowth, use a sharp knife or scissors to cut individual outer leaves about one to two inches above the base instead of pulling or tearing, which can damage the plant. This technique—known as “cut-and-come-again”—allows the chard to keep producing new leaves for months.
In contrast, cutting the entire plant at ground level provides a large one-time harvest but risks slower regrowth or possibly losing the plant, especially in hot weather or late in the season.
For the best flavor and tenderness, pick chard early in the morning when leaves are at their crispest. Avoid letting leaves get too large or thick-stemmed, as oversized leaves can become bitter and tough. Always harvest before the plant starts to bolt—that is, before it sends up a flower stalk—as bolting makes the leaves less palatable.
Regular, gentle harvesting not only boosts yield but also keeps your Swiss chard plants healthy and productive well into the season.
Storage, Preservation & Enjoying Your Swiss Chard
To keep Swiss chard crisp and vibrant, start by rinsing the leaves thoroughly under cool water to remove any dirt or grit—be sure to check near the stems where soil can hide. After rinsing, gently dry the leaves using a salad spinner or by patting them with a clean kitchen towel; excess moisture can lead to sogginess and spoilage.
Wrap the dry leaves in a paper towel and place them in a loosely sealed plastic bag or reusable storage container in your refrigerator’s crisper drawer. This method usually keeps chard fresh for up to a week.
If you have an abundant harvest, preservation is easy: trim the stems and blanch the leaves in boiling water for two minutes, then quickly transfer them to an ice bath to stop the cooking. Drain thoroughly, squeeze out excess water, and freeze the chard in airtight bags for up to six months. You can also chop and freeze raw chard, but blanching helps retain both color and nutrients.
When you’re ready to enjoy your Swiss chard, try tossing the young, tender leaves into a salad for a fresh twist, or chop and sauté the stems and leaves with garlic and olive oil for a quick side dish. Swiss chard also adds a splash of color and nutrition to soups, omelets, or pasta; simply stir chopped leaves into the pot in the final few minutes of cooking.
With these easy strategies, you’ll always have delicious Swiss chard on hand, whether it’s fresh or preserved.