
Introduction to Growing Garlic
A vertical garlic garden is quickly becoming a favorite solution among home growers who want to make the most of limited space while enjoying the flavor and health benefits of homegrown garlic. With rising interest in sustainable and local food, many gardeners are eager to take control of their own garlic supply—and growing vertically makes it possible to harvest surprisingly abundant crops even on small patios or balconies. Beyond its unmistakable taste in the kitchen, garlic is rich in vitamins, supports immune health, and adds beauty to your garden with its tall, graceful stalks and flowering heads.
Success with garlic starts with understanding a few key requirements. Garlic thrives best in climates with cool winters and mild springs, as it needs a cold period (called vernalization) to form those plump, aromatic bulbs. For sunlight, think big: garlic requires at least 6-8 hours of direct sunlight daily to develop properly, making a south-facing spot ideal if you’re growing vertically against a wall or on a sunny deck. Soil is equally important—garlic digs deep, so you’ll want loose, well-draining soil rich in organic matter, with a neutral to slightly acidic pH (6.0 to 7.0 is best). Whether you’re using stacked planters, hanging pots, or a vertical frame packed with soil and compost, drainage is crucial to prevent rot.
In this article, we’ll walk you through the process of setting up your own vertical garlic garden from start to finish. Whether your goal is to fill a kitchen planter with fresh bulbs or create a living wall of fragrant greens, you’ll learn everything you need for a thriving garlic harvest. We’ll cover the step-by-step setup, share tricks for maximizing output in small spaces, and offer advice on avoiding common pitfalls—so you can grow garlic that’s as robust and flavorful as anything you’ll find at the farmer’s market.
Choose the Right Garlic Variety
When picking the right garlic variety for your garden, start by understanding the two main types: hardneck and softneck. Hardneck garlic is famous for its bold, complex flavors and grows best in colder climates since it survives harsh winters. It also produces scapes—edible flower stalks that are a bonus crop—but generally doesn’t store as long as softneck varieties.
Softneck garlic, on the other hand, prefers warmer environments, has a milder taste, and can be stored for months, making it the type most often found in grocery stores. For best results, select a variety suited to your local climate—ask at farmers markets or local extension offices for region-specific advice.
Beginning gardeners often have success with ‘Music,’ a hardneck known for its large cloves and rich, spicy flavor, or ‘California Early,’ a softneck admired for its long storage life and mild garlic taste. Experimenting with different types can help you discover which flavors and growing habits work best in your kitchen and garden.
Preparing to Plant: Soil, Sourcing, and Set-Up
Picking the right seed garlic is the first step to a successful harvest, so skip supermarket bulbs—they’re often treated to prevent sprouting and may carry diseases. Instead, buy certified disease-free garlic from a local nursery, farmers’ market, or an online seed supplier.
Once you have quality bulbs, focus on prepping your soil well in advance. Garlic thrives in loose, well-drained soil rich in organic matter; heavy clay or waterlogged areas can encourage rot. Work in plenty of compost or aged manure to boost fertility, and consider adding bone meal for phosphorus, which supports strong root growth. Testing your soil’s pH helps too—garlic prefers a range between 6.0 and 7.0. For an organic approach, mulch with straw and use organic amendments like worm castings or kelp meal.
Right before planting, gently separate each garlic bulb into individual cloves, taking care to keep their papery skins intact. Some gardeners go the extra mile by soaking cloves for a few hours in water, or even a mix of water and baking soda or diluted hydrogen peroxide—this can help reduce fungal problems and give cloves a jumpstart.
With soil tended, cloves separated, and healthy seed stock in hand, you’ll be well on your way to a bumper garlic crop.
How to Plant and Care For Garlic
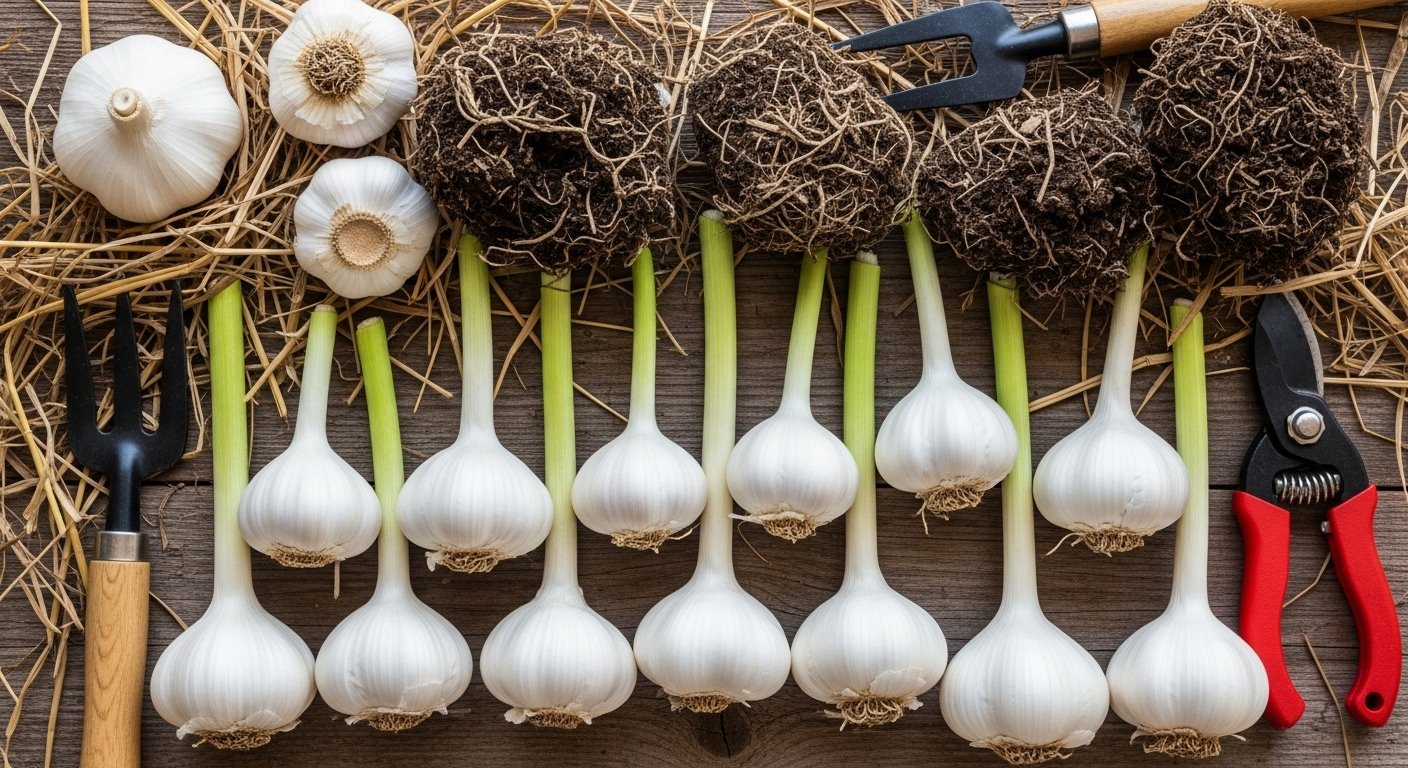
To plant garlic, start by choosing healthy, firm bulbs and breaking them into individual cloves—leave their papery skins on. The ideal planting time is in the fall, about four to six weeks before your ground freezes; this gives the bulbs time to develop roots.
If you’re planting in the ground, loosen the soil to a depth of 8 inches and mix in some compost. Plant cloves pointed end up, about 2 inches deep, and space them 4 to 6 inches apart in rows 12 inches apart. Water immediately after planting, and keep the soil lightly moist (not soggy) because garlic doesn’t like to sit in water.
Once temperatures drop and shoots emerge, add a few inches of straw or leaf mulch to help insulate the soil, retain moisture, and suppress weeds. For weed control, hand-pull any intruders—garlic roots are shallow, so avoid digging around them.
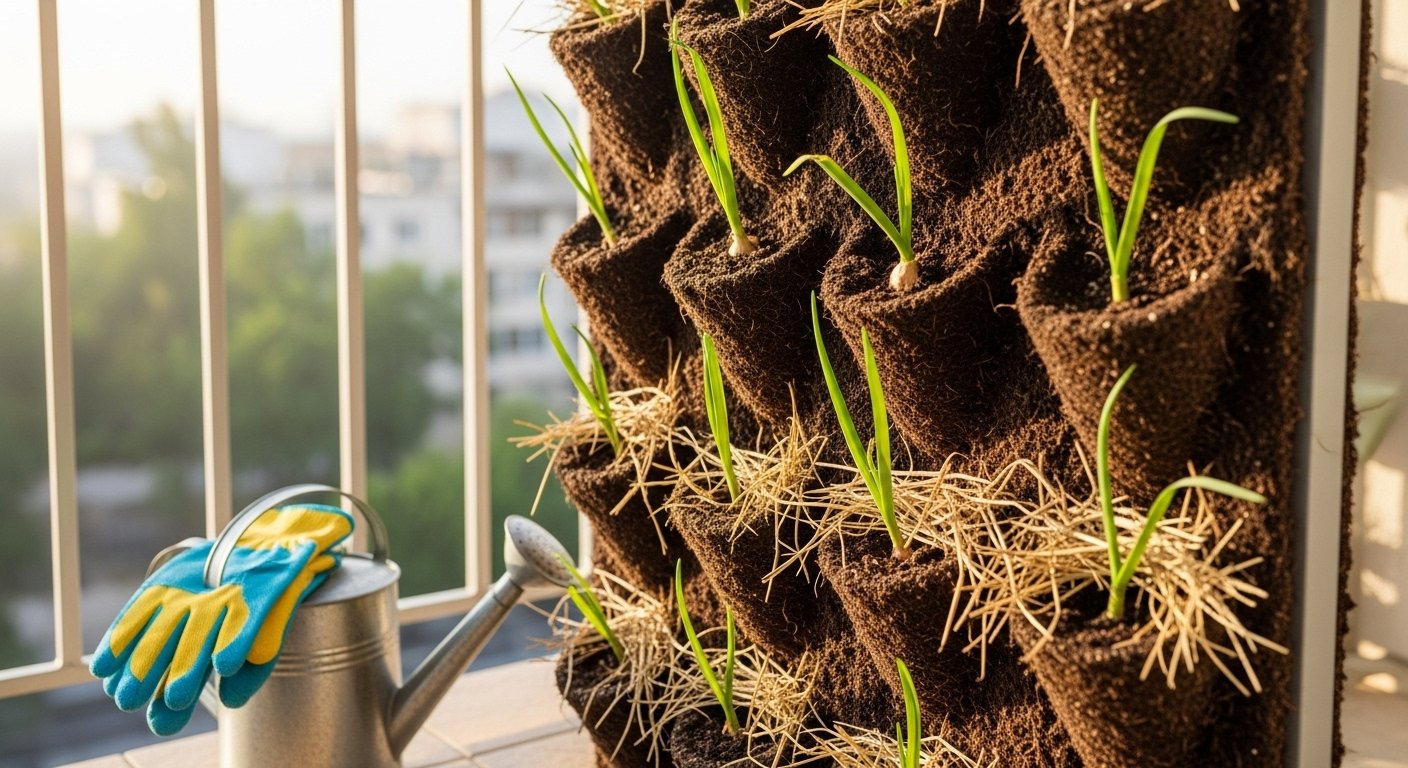
Growing garlic in containers is an option if you’re short on space. Use a pot at least 12 inches deep with good drainage, fill it with rich potting mix, and plant cloves with the same depth and spacing as in-ground. Containers may need more frequent watering but benefit from less weed pressure.
Whether your garlic is in a bed or a pot, keep up with consistent watering (about 1 inch per week), especially during dry spells in spring. Reduce watering as harvest approaches to avoid bulbs getting moldy.
With a little patience and the right care, you’ll be rewarded with aromatic, flavorful garlic that’s so much better than store-bought!
Managing Garlic Pests and Problems
Garlic is a hardy crop, but it can still fall victim to several pests and diseases, with bulb rot, rust, and onion mites being the most common culprits.
Bulb rot typically shows up as soft, discolored cloves and is often caused by overly wet soil. To prevent this, plant garlic in well-drained beds and avoid overwatering.
Garlic rust is identified by small orange or yellow spots on the leaves and thrives in warm, damp conditions. Removing affected leaves and ensuring good airflow between plants can help stop its spread.
Tiny, almost invisible onion mites can stunt plant growth and cause deformed bulbs. Rotating crops each season and applying neem oil or insecticidal soap can keep their populations in check.
Regardless of the issue, watch for wilting, yellowing leaves, or abnormal growth—early detection is key. At the first sign of trouble, trim off and discard infected foliage (never compost it), adjust your watering, and consider natural treatments like garlic spray or baking soda solutions to address fungal spots.
Growing disease-resistant garlic varieties and regularly inspecting your plants are simple steps that go a long way toward keeping your garlic patch healthy and productive.
Harvesting, Curing, and Storing Garlic
Knowing when to harvest garlic is key for the best flavor and storage. Start checking your garlic in midsummer, usually when the lower leaves begin to yellow and dry but the top leaves are still green—typically when four to six leaves remain. To check readiness, gently dig up a bulb and look for plump cloves with well-formed skins. Harvesting too early results in small bulbs, while waiting too long can cause split skins and reduce storage life.
Once harvested, avoid washing the bulbs. Instead, gently brush off loose dirt and hang them in bunches or lay them in a single layer in a dry, well-ventilated spot out of direct sunlight. A shed, garage, or covered porch works well. Let them cure for two to three weeks. This process helps the outer skins dry and harden, protecting the garlic for long-term storage.
Once fully cured, trim the roots and tops, then store the bulbs in a mesh bag, basket, or paper bag in a cool, dark place with good airflow—ideally around 60°F and low humidity. Avoid plastic bags or sealed containers, as these trap moisture and can cause mold. Check stored garlic periodically and remove any bulbs showing signs of sprouting or mold.
Proper curing and storage can keep garlic fresh and flavorful for six months or more, making it easy to enjoy your homegrown harvest throughout the year.
Garlic Companions and Creative Uses
Growing garlic alongside the right companions can boost your garden’s health and productivity. Garlic thrives when planted near tomatoes, carrots, lettuce, and fruit trees, as it helps deter pests like aphids and even rabbits. Be cautious, however, about pairing garlic with beans, peas, or asparagus—these combinations can stunt growth and reduce yields.
Once your harvest is ready, bring that pungent flavor into your kitchen with classic recipes like roasted garlic spread, homemade pesto, or infused olive oils. Homegrown garlic elevates even simple dishes; try adding it to salad dressings, mashed potatoes, or grilled vegetables. For a fun twist, pickle whole cloves or make garlic confit for a rich, mellow flavor.
Don’t be afraid to explore: add minced garlic to pancakes for a savory breakfast or bake it into bread for a fragrant loaf. Remember to dry and cure your bulbs thoroughly to keep them fresh for months. The possibilities are endless—having your own garlic on hand invites creative cooking and deeper flavors in every meal.