Understanding Garlic’s Shelf Life and Storage Needs
Storing garlic properly is the key to enjoying its bold flavor and firm texture long after harvest. Whether you’re an avid gardener with a bounty of freshly dug bulbs or you’ve snagged a good deal at the farmer’s market, knowing how to store garlic can make a real difference in your kitchen. Whole bulbs of garlic can last several months under the right conditions—sometimes up to half a year—whereas peeled cloves usually stay fresh for up to three weeks if refrigerated, and chopped garlic should be used within a week or less. Each form of garlic has a different shelf life, so storing your harvest correctly is vital to avoid waste and preserve quality.
The secret to prolonging garlic’s life? Keep it cool, dry, and dark. Whole bulbs prefer a spot around 60°F (15°C) with low humidity—think mesh bags in a pantry or a basket in a basement, not sealed containers or the fridge, which can encourage sprouting or mold. Avoid direct sunlight, as exposure can dry out the bulbs and diminish their robust flavor.
For peeled or chopped garlic, a tightly sealed container in the refrigerator is best, but be sure to use it quickly, as its flavor and aroma will start to deteriorate soon after peeling. By understanding the shelf life differences and creating the perfect storage environment, you can ensure your garlic delivers lasting flavor to every meal, from soups to stir-fries.
The Best Ways to Store Whole Bulbs at Room Temperature
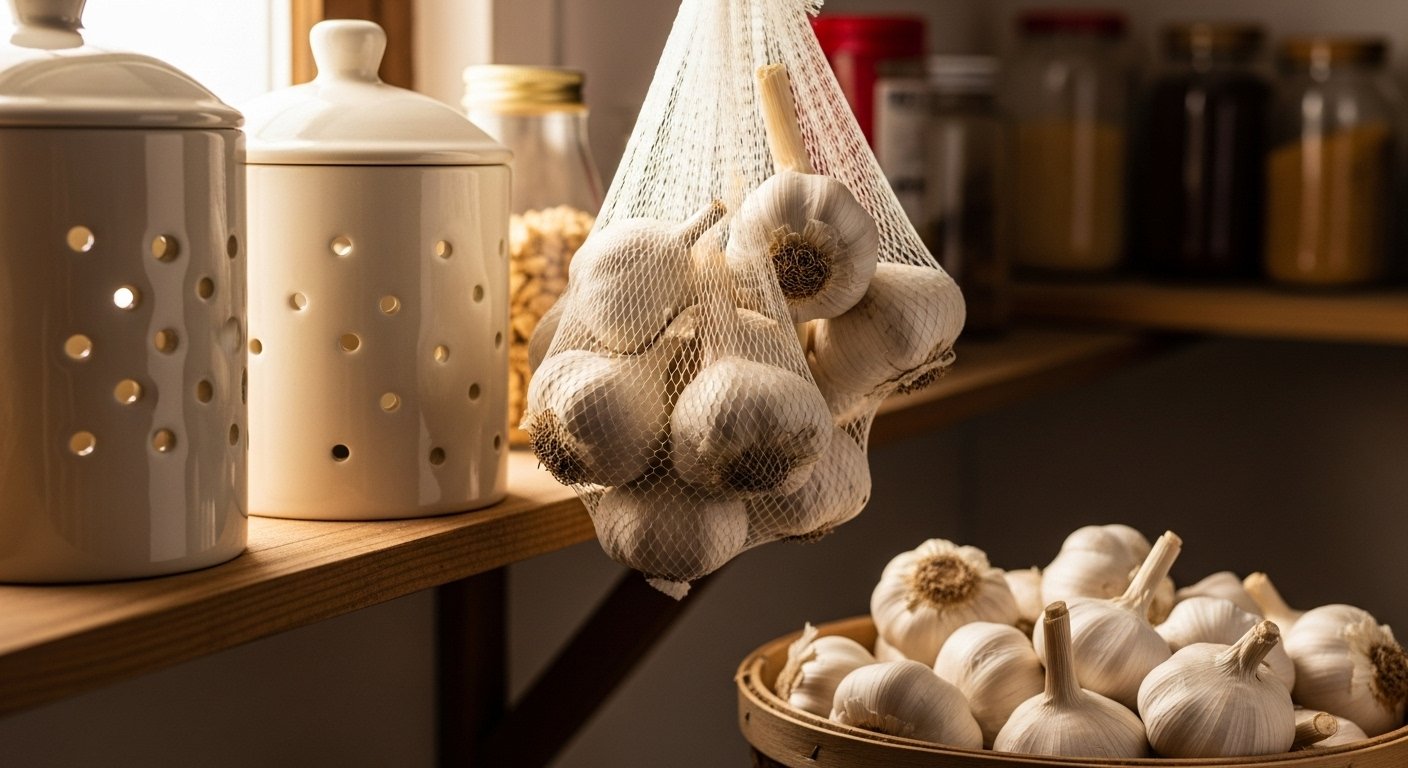
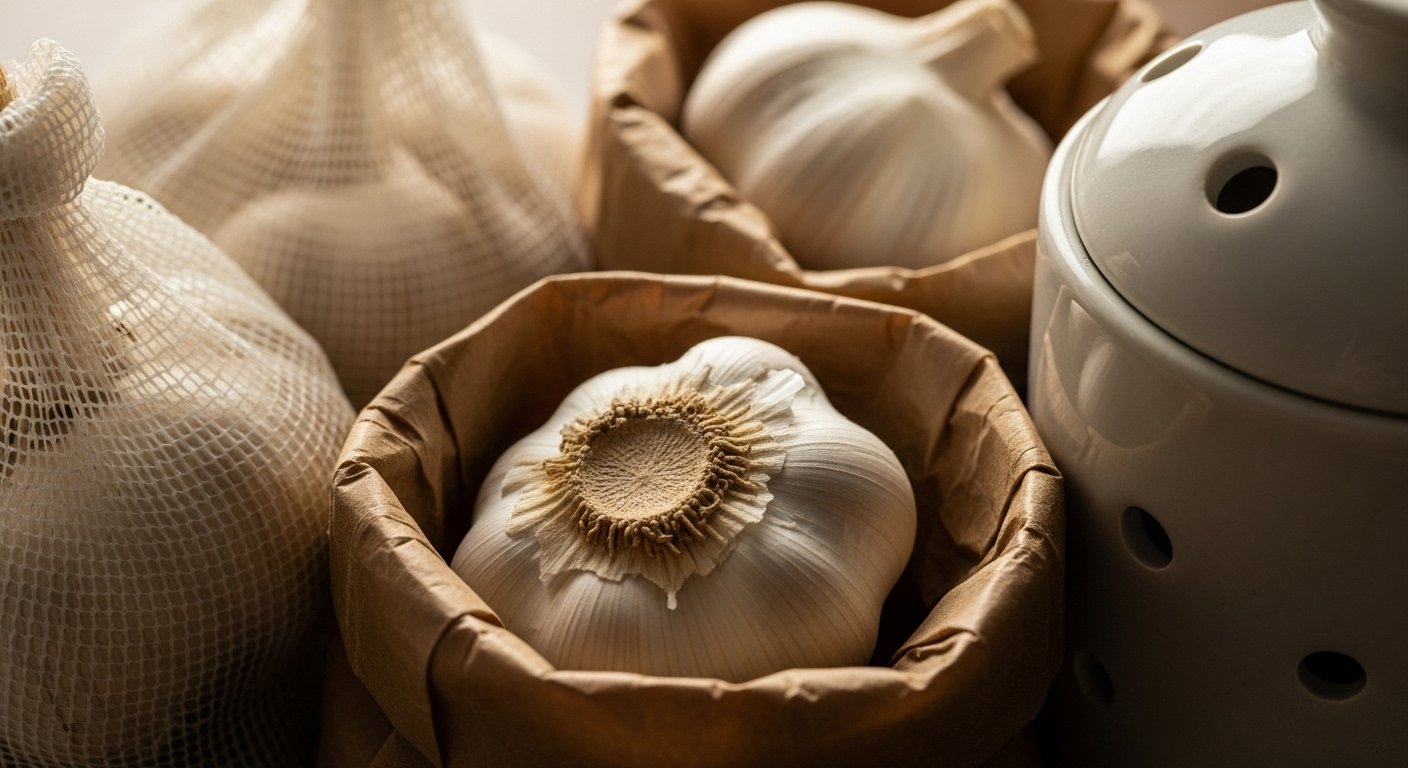
Storing whole garlic bulbs at room temperature is simple if you pick the right containers and spots in your kitchen. Mesh bags, paper bags, and vented ceramic garlic keepers are all great choices. These allow air to circulate around the bulbs, keeping them dry and slowing sprouting or molding.
Place garlic in a cool, dry area like a pantry cupboard or on a countertop away from direct sunlight. Just make sure it’s not too close to your stove or any source of moisture. Avoid sealing garlic in airtight plastic bags or containers, as the lack of airflow encourages mold and rot.
You should also avoid refrigerating unpeeled bulbs—the cold temperatures break their dormancy, causing them to sprout prematurely and develop a bitter flavor.
When stored properly, whole garlic bulbs can last anywhere from three to six months. Check your garlic regularly for signs of spoilage, such as shriveled cloves, spots of mold, or an unpleasant, sour odor. If the cloves feel soft when you squeeze them or start turning green inside, it’s best to toss them.
For the freshest garlic, buy only what you’ll use within a few months and store it in breathable containers in a dark, dry location—your dishes (and your wallet) will thank you.
Storing Peeled, Chopped, or Cut Garlic
Once you’ve peeled or chopped garlic, storing it properly is key to keeping it fresh and safe. For peeled whole cloves or chopped garlic, place them in a small, airtight container or a tightly sealed plastic bag, then refrigerate immediately. This helps lock in the garlic’s flavor and aroma, typically extending its freshness for about a week.
If the garlic develops a funky odor, mold, or any discolored spots, it’s time to toss it out.
Some cooks like to cover chopped garlic with oil for convenience, but this method comes with a serious risk: storing garlic in oil at room temperature—or even in the fridge for too long—can create the perfect conditions for botulism bacteria to grow. If you do use oil, always keep the mixture refrigerated and use it within a week; never store garlic oil at room temperature.
For those who want chopped garlic ready to go, consider making only small batches and label the container with the date. When in doubt, fresh is safest—quickly prepping garlic as you need it may take a minute, but it’s well worth it to avoid any risk of foodborne illness.
Preserving Garlic for the Long Haul: Freezing and Dehydrating
Freezing garlic is a convenient way to always have it ready for cooking, and you can freeze it in several different forms depending on how you like to use it.
For whole peeled cloves, simply spread them in a single layer on a baking sheet, freeze until solid, then transfer to a labeled, airtight bag.
For chopped garlic, finely mince the cloves, spoon portions into ice cube trays, cover, freeze, and pop them out into a labeled freezer bag.
Garlic paste is another great option—just blend peeled cloves with a bit of oil, portion into containers or ice cube trays, and freeze. Be sure to label everything with the date and type for easy retrieval.
When using frozen garlic, add it straight to hot oil or sauces; there’s no need to thaw. While freezing is easy and preserves flavor reasonably well, you may notice the texture softens and the taste can become slightly milder over time. If you’re after a crunchy texture or robust raw flavor for things like salads, freezing may not be ideal.
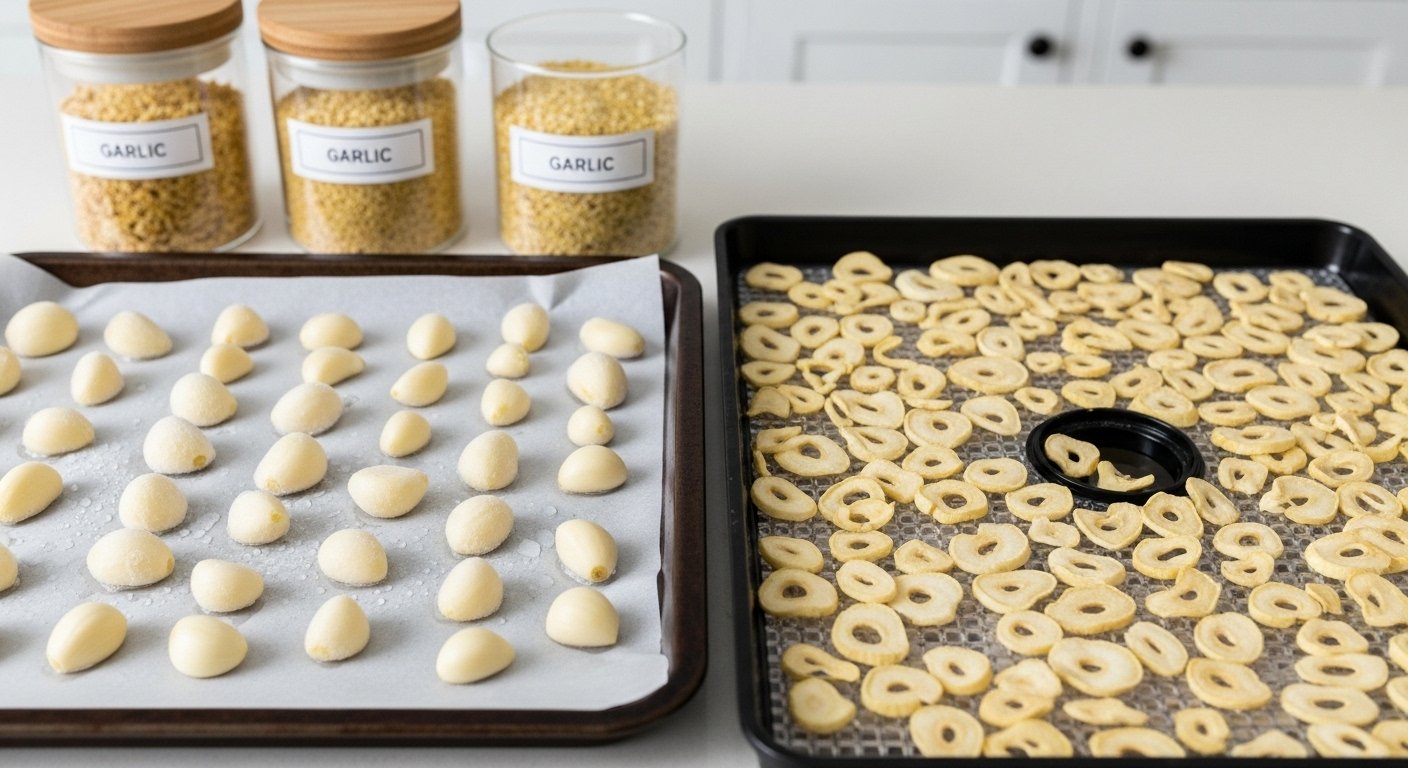
Dehydrating garlic, on the other hand, is fantastic for shelf stability and concentrated flavor.
Slice peeled cloves thinly and dry them in a food dehydrator or a low-temperature oven (about 140°F/60°C) until they’re crisp and brittle—this can take 6-12 hours.
Once dried, store garlic slices or grind them into powder, keeping them in airtight containers in a dark, cool pantry.
Dried garlic is perfect for seasoning blends and recipes where you want to avoid moisture.
Whether you freeze or dehydrate, both methods let you avoid waste and enjoy the convenience of having home-preserved garlic at your fingertips all year round.
How to Cure and Prepare Homegrown Garlic for Storage
Curing garlic is an essential process that involves drying freshly harvested bulbs to toughen their skins and ensure a longer shelf life before storage. This step helps excess moisture evaporate and allows the garlic to develop the rich flavors we love, while also protecting it from mold and rot.
To cure your homegrown garlic, start by gently brushing off excess soil—avoid washing, as too much moisture can encourage mold. Next, bundle the garlic by tying 6–8 stems together and hang them in a well-ventilated, shady spot like a garage or covered porch. Let them dry for two to four weeks; you’ll know they’re ready when the skins are papery and the roots are brittle.
Once cured, snip off the roots and cut the stems unless you prefer to braid them for storage. Store the clean, trimmed bulbs in mesh bags or open baskets at room temperature, away from direct sunlight and humidity.
To keep your garlic fresh for months, check the bulbs regularly for any signs of shriveling or mold, and remove any affected ones immediately. Avoid refrigeration, as it can trigger sprouting.
With these steps, your homegrown garlic will stay flavorful, plump, and ready for all your favorite recipes well into the winter months.
Troubleshooting and Common Mistakes
Storing garlic the wrong way can quickly lead to sprouting, mold, and loss of flavor. One common mistake is refrigerating whole garlic bulbs; the cold, humid environment can actually trigger sprouting and speed up spoilage. Instead, keep whole bulbs in a cool, dry, and well-ventilated spot—think a mesh bag or basket on your kitchen counter, away from direct sunlight.
Excess moisture is another culprit for mold growth, so avoid washing garlic before storage and never seal it in plastic bags or airtight containers. If you’ve broken apart the bulb and have individual cloves left, use them within a week or two for the best quality.
Springy cloves or any sign of green shoots mean your garlic is past its peak, but you can still use the sprouts in cooking if you remove and discard the green core, which can taste bitter.
To sum up:
- Store whole, unpeeled bulbs in a dry, dark place with plenty of airflow.
- Keep them out of the fridge.
- Always check for soft spots or mold.
Following these simple guidelines will help ensure you always have fresh, aromatic garlic ready for your favorite recipes.