Choosing the Right Garlic Varieties for Winter
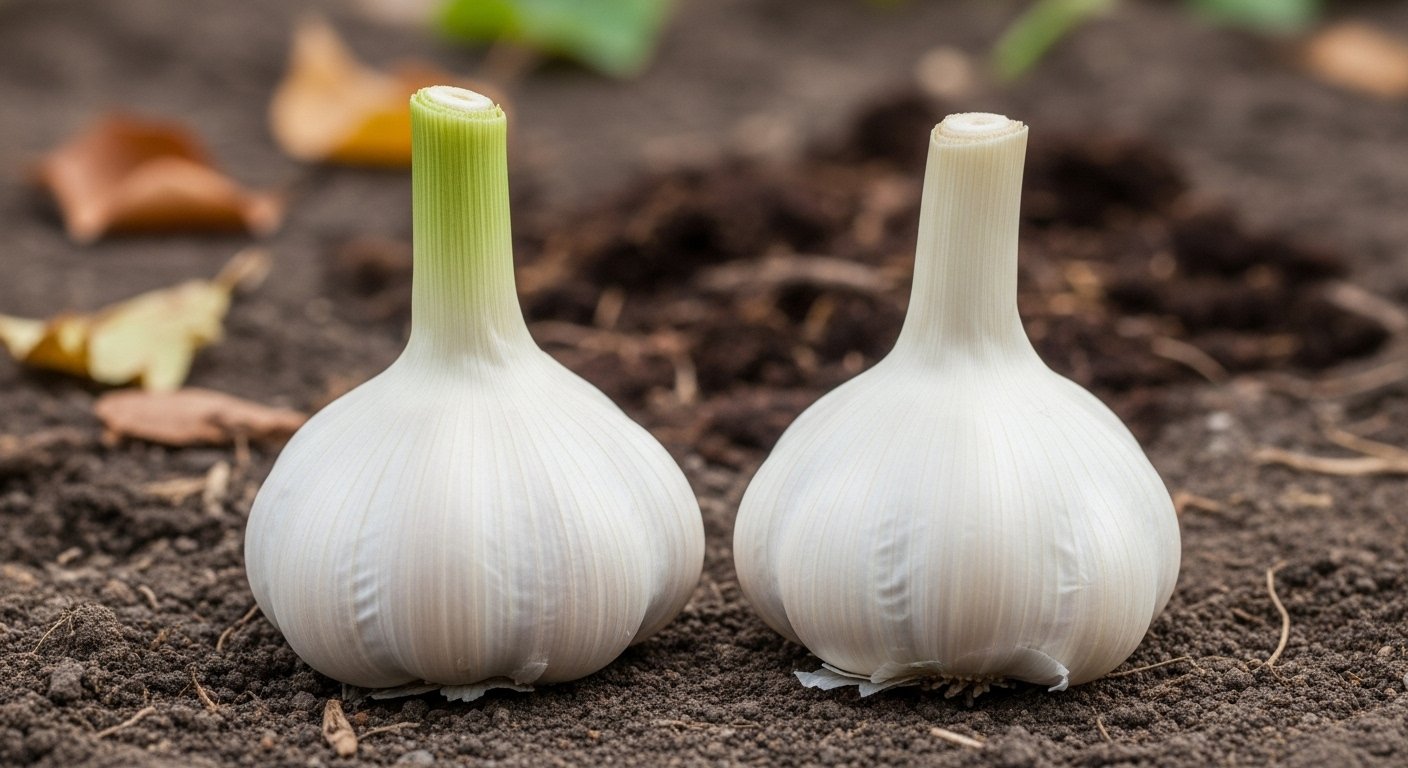
Overwintering garlic is a smart way to get a head start on the growing season, especially if you live in a cold climate. If you’re planning to plant garlic for harvest next summer, the first step is choosing the right garlic varieties. The two main types are hardneck and softneck garlic. Hardneck garlic is generally better suited for overwintering because it is more resilient to freezing temperatures and harsh weather. It grows well in cold climates and often produces larger, flavor-packed cloves. In contrast, softneck varieties can struggle with winter stress and are better suited for milder regions.
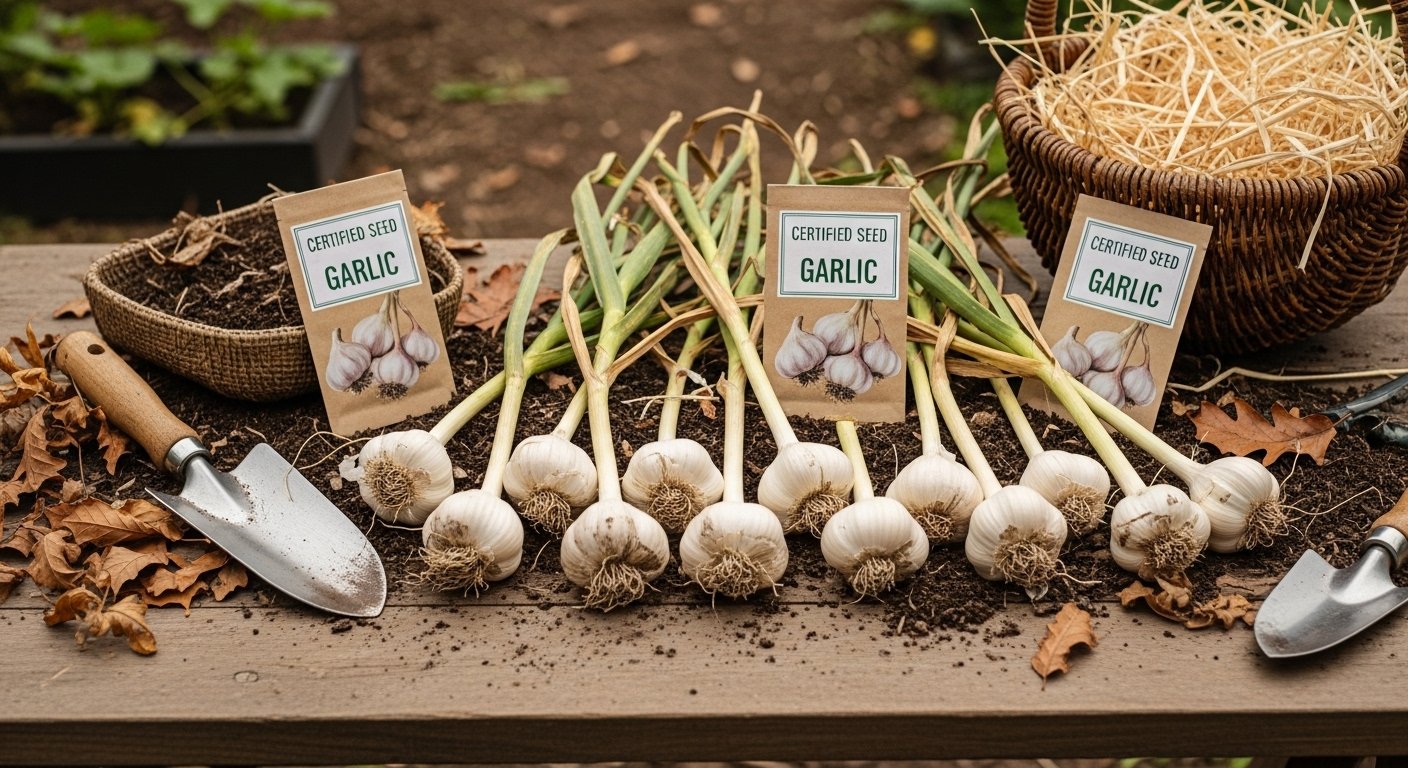
When selecting garlic for overwintering, always source healthy, disease-free seed garlic bulbs. While it might be tempting to plant cloves from the supermarket, this is risky—store-bought garlic is often treated to prevent sprouting and may carry diseases, so it won’t perform as well in the garden. Instead, look for certified seed garlic from reputable nurseries or local farmers’ markets. These bulbs are specifically grown for planting and offer the best chance for a successful, disease-free crop.
Timing matters, too. To give your garlic the best chance of thriving over winter, plan to acquire your seed garlic in late summer or early fall, as supplies can sell out quickly. Plant the cloves about 2 to 4 weeks before the ground freezes—usually from late September through October, depending on your zone. This timing allows the bulbs to establish roots without sending up green shoots that might be damaged by frost. By making smart choices now, you’ll set yourself up for a robust garlic harvest next summer.
Preparing the Soil for Garlic
Garlic thrives in loose, well-draining soil with plenty of organic matter. Before planting, take some time to assess and prepare your growing space. Aim for a sandy loam that’s never soggy, as garlic bulbs are prone to rot in heavy, wet soils.
Test your soil’s pH and adjust if needed—garlic prefers a near-neutral range of 6.0 to 7.0. For fertility, mix in a 2- to 3-inch layer of compost or well-rotted manure, working it down at least 6 inches deep to improve both nutrient content and soil structure. If you have heavy clay soil, consider adding coarse sand or growing garlic in raised beds to boost drainage.
To get started, here’s a quick checklist:
- Remove weeds
- Break up any large soil clumps
- Test and adjust pH if necessary
- Mix in organic amendments
- Rake the bed surface until smooth and level
For raised beds, fill them with a blend of garden soil and compost, ensuring good drainage. Following these steps will create a healthy foundation that supports robust garlic growth and bigger bulbs at harvest.
Planting Garlic in Autumn
Planting garlic in autumn sets you up for a generous harvest the following summer. Start by choosing healthy, firm garlic bulbs from a reputable source—avoid grocery store garlic, which may be treated to prevent sprouting. Break the bulb apart just before planting, keeping the papery skin on each clove.
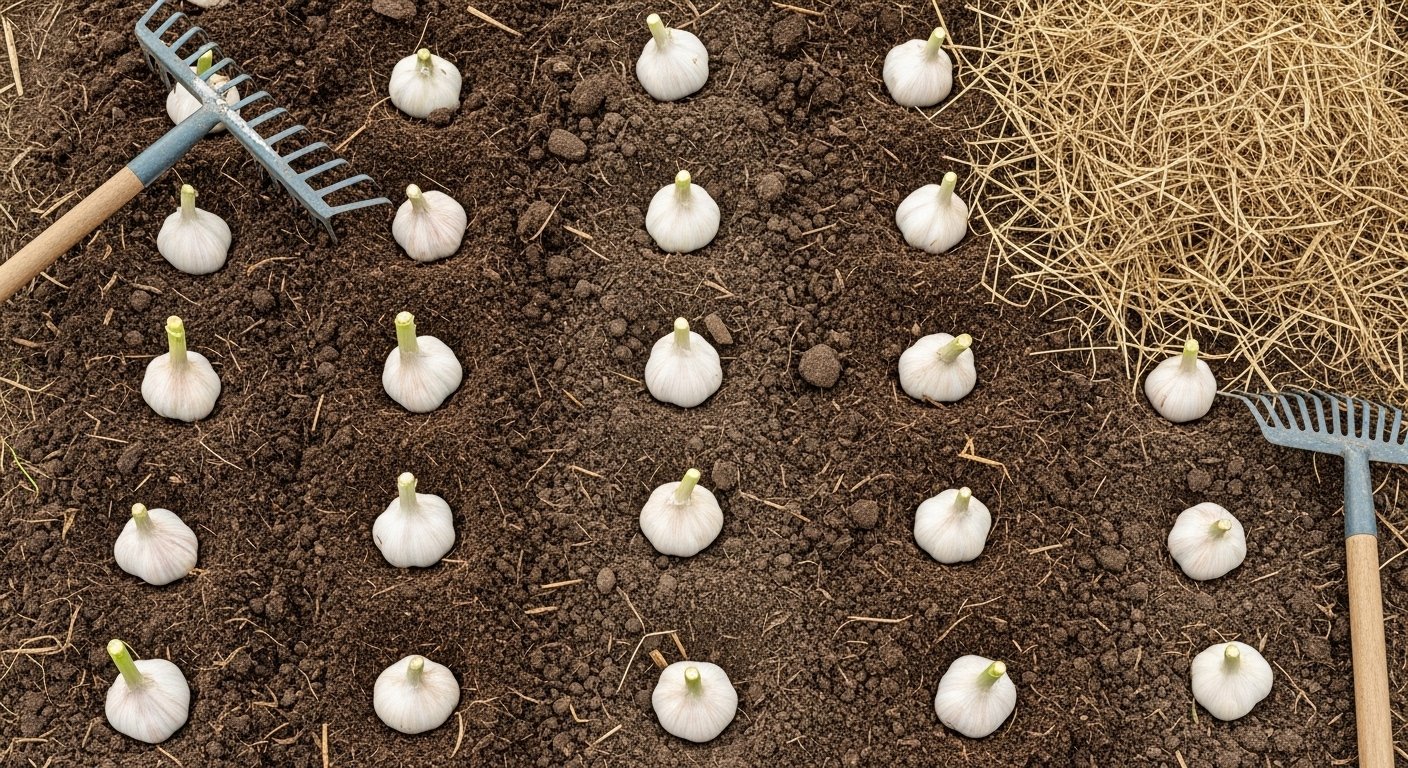
Pick a sunny, well-drained spot in your garden and loosen the soil to a depth of about eight inches, mixing in some compost for added nutrients. Plant each clove pointy end up, about two inches deep, spacing them four to six inches apart in rows that are one foot apart; this allows the bulbs room to grow and makes weeding and harvesting easier.
After planting, water the area lightly to help settle the soil, but don’t overwater—wet soil can cause the cloves to rot. Immediately after watering, apply a three- to four-inch layer of mulch using straw, shredded leaves, or grass clippings. Mulching deeply protects the cloves from harsh temperature swings and suppresses weeds, while also helping the soil retain moisture through fall and winter.
As the season progresses, the mulch acts as a cozy blanket, ensuring your garlic gets off to a strong start before sprouting in early spring. Come late June or July, you’ll reap the benefits with plump, flavorful garlic bulbs ready for your kitchen.
Caring for Garlic Through Winter
Mulching is your garlic’s best friend through winter—spread a 3- to 6-inch layer of straw, shredded leaves, or clean grass clippings over the planted cloves right after the first frost. This thick blanket provides insulation from temperature swings, prevents soil from heaving, and keeps pesky winter weeds at bay.
Check your mulch periodically; if it gets compressed or blown away, replenish it as needed to maintain a consistent cover.
When it comes to watering, garlic generally doesn’t need much during the colder months since growth slows down. However, you want to make sure the soil never dries out completely. If you live in a region with dry winters, water lightly every few weeks when the ground isn’t frozen—just enough to keep the soil slightly moist.
In rainy or snow-heavy climates, the key is drainage. Raise beds or amend heavy soil so excess water won’t pool around the bulbs, which could cause them to rot.
For frost protection, garlic is surprisingly tough and actually benefits from cold exposure, as this helps form large, robust bulbs. Generally, the mulch provides enough protection for most climates. But if an extreme cold snap is coming—especially with little snow cover—consider adding an extra layer of mulch or using frost blankets temporarily.
Avoid un-mulching or fussing over every freeze—over-intervening can disrupt the natural hardening process that makes garlic cloves their healthiest by spring.
Common Problems and Garlic Companions
Growing garlic in winter comes with its own set of challenges, like rot caused by overly wet soil, pesky pests such as onion maggots, and fungal diseases including white rot and downy mildew.
To prevent rot, plant garlic in well-drained soil and avoid overwatering; using raised beds is especially helpful during wet winters. If pests are an issue, mulching with clean straw can deter maggots, and rotating crops yearly helps break their life cycle. Fungal diseases often strike in damp conditions, so proper spacing between cloves improves airflow, and removing affected plants quickly can prevent the spread.
Garlic thrives alongside companion plants like carrots, beets, and lettuce, which don’t compete heavily for nutrients. It also pairs well with roses and tomatoes, offering natural pest repellence. However, avoid planting garlic near peas, beans, and asparagus because they can stunt each other’s growth or share similar susceptibility to diseases.
For a quick fix to yellowing leaves, side-dress plants with compost or a balanced fertilizer in early spring, and keep an eye out for weeds, as they compete for nutrients and crowd the bulbs. With attentive care, garlic can power through most winter problems and reward you with a robust summer harvest.
Harvesting and Storing Garlic
Knowing the right time to harvest garlic is key to enjoying big, flavorful bulbs. In late spring or early summer, check your garlic plants—if the lower third of the leaves have turned yellow or brown while the upper leaves are still green, it’s harvest time.
To avoid damaging the bulbs, gently loosen the soil with a fork instead of pulling them out by hand. Carefully lift each bulb, brush off any loose dirt, and resist the urge to wash them.
Next, arrange the garlic in a single layer or tie them in small bundles and hang them in a dry, airy spot out of direct sunlight for two to four weeks. This curing period helps your garlic last longer by toughening the skins.
Once the layers are papery and the necks are dry, trim the roots and tops, and store your garlic in a mesh bag or ventilated basket in a cool, dry place—never the fridge, which encourages sprouting.
If your garlic plants produce scapes—the curly flower stalks—don’t toss them! Clip them off before they straighten and get tough. Use these tender scapes in pesto, stir-fries, or as a mild, garlicky addition to salads and spreads.