Understanding Garlic and Its Types
Growing garlic with kids is a fantastic way to spark curiosity about where our food comes from while creating lasting memories in the garden. Garlic is a staple in kitchens around the world, adding bold flavor to everything from spaghetti sauces to stir-fries, and it’s packed with health benefits too.
But did you know there are several types of garlic, each with its own unique characteristics? The two main varieties are hardneck and softneck garlic.
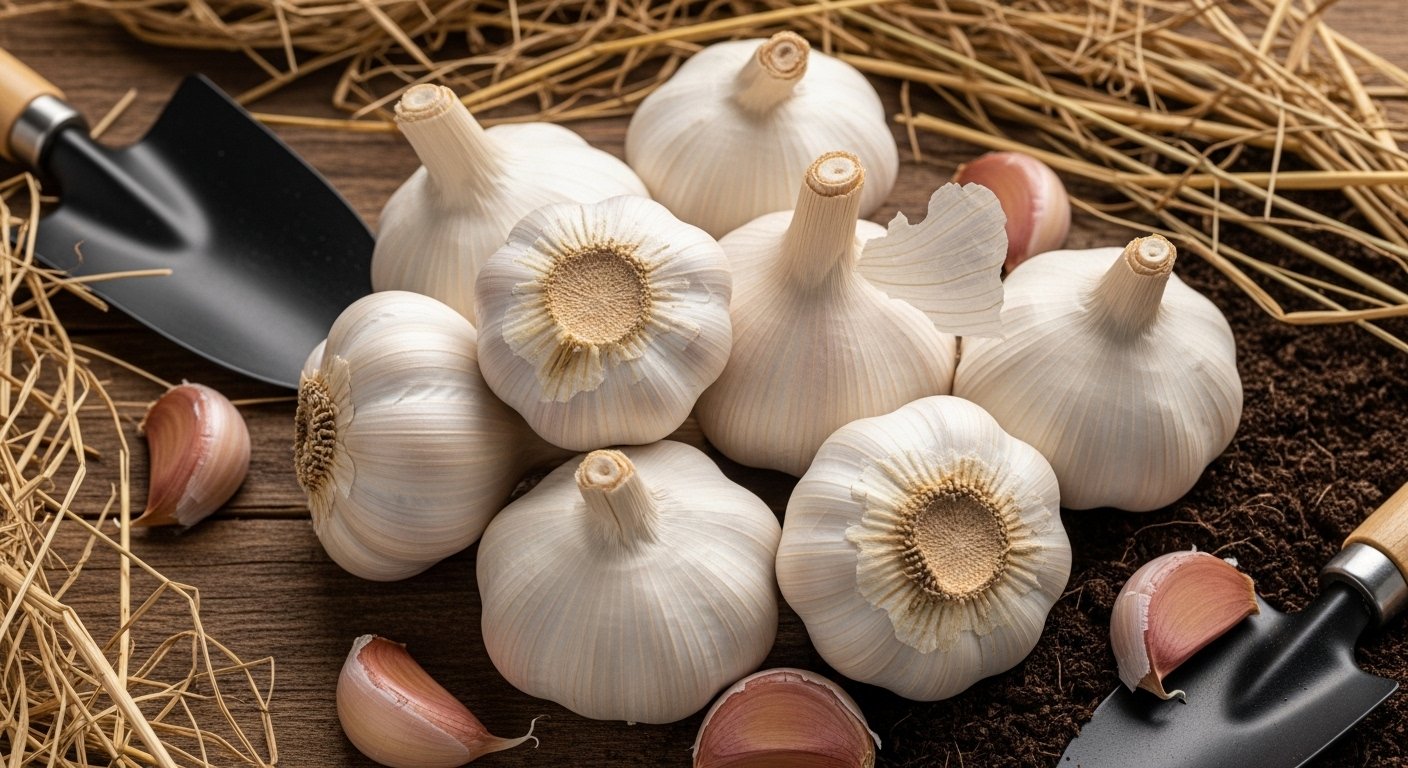
Hardneck garlic develops a central stalk and produces fewer, larger cloves, making it easier for small hands to plant and peel—perfect for younger gardeners! Softneck garlic, on the other hand, lacks a central stalk and has more tender, smaller cloves that are commonly braided for storage.
There’s also green or baby garlic, harvested before the bulbs fully mature, offering a mild flavor similar to scallions—an exciting sensory experience for kids who might be trying garlic for the first time.
Choosing which type to plant can influence your project’s success: hardneck thrives in cooler climates with cold winters, while softneck does better in warmer regions. Introducing these varieties to children not only makes growing garlic with kids fun but also opens up new conversations about taste, tradition, and the science behind the plants we eat.
Preparing to Grow Garlic
Growing garlic successfully starts with understanding its seasonal rhythms and needs. The ideal time to plant garlic is in the fall, about 4–6 weeks before the ground freezes—usually between late September and November, depending on your region.
Garlic thrives in climates with cold winters and warm summers, making it well-suited for most temperate zones. Choose a sunny spot in your garden that gets at least 6 hours of direct sunlight. Well-drained, loose soil is essential; garlic hates wet roots, so avoid areas where water pools after rain.
Work plenty of compost or well-rotted manure into the soil to boost fertility, aiming for a pH between 6.0 and 7.0. When selecting garlic to plant, pick varieties that match your climate—hardneck types are great for colder areas, while softneck varieties do well in milder regions.
Always plant high-quality, disease-free bulbs from a reputable source; supermarket garlic is often treated to prevent sprouting and may carry diseases. Break the bulbs into individual cloves, leaving the papery skin intact, and plant each clove pointed end up.
By paying attention to these basics, you’ll set the stage for a healthy, flavorful garlic harvest next summer.
How to Plant Garlic
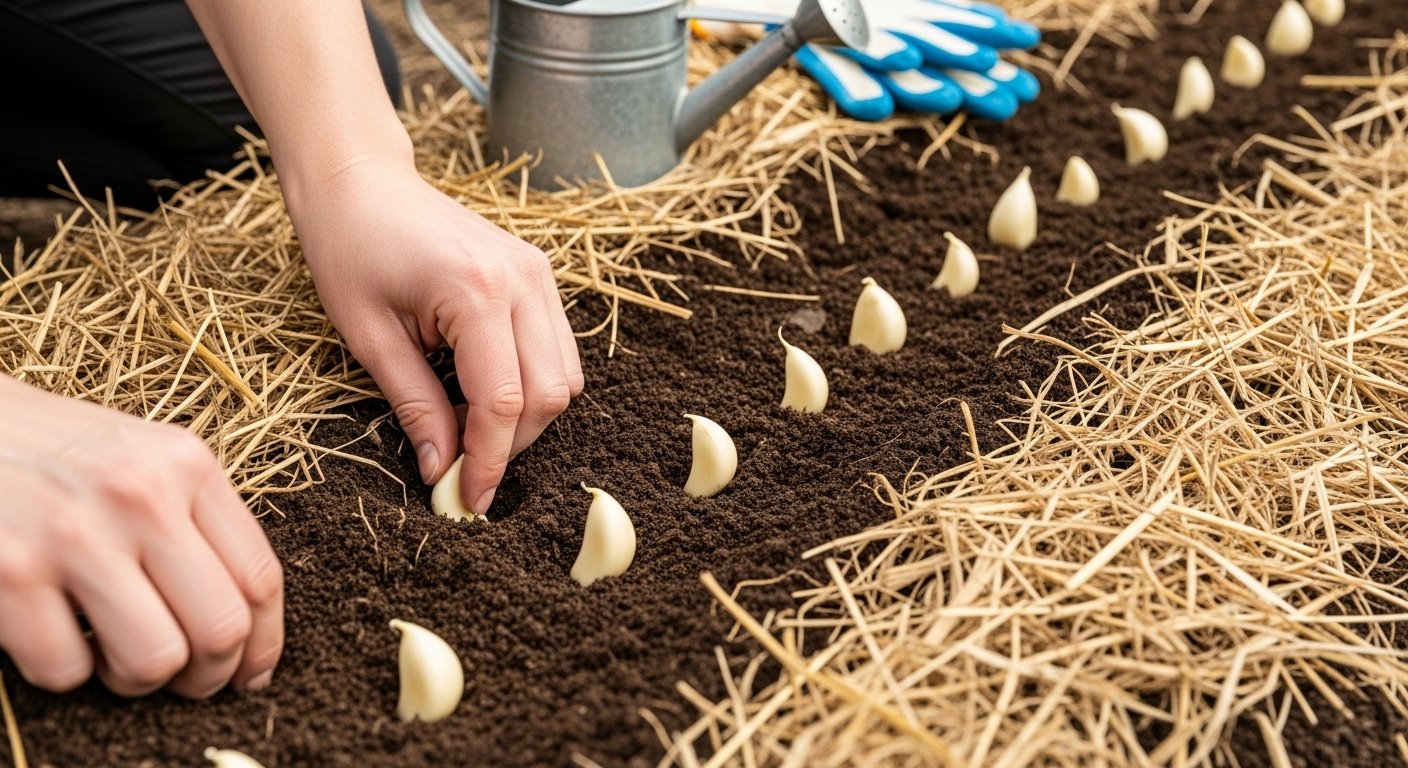
Planting garlic is simple, but following a few key steps will set you up for a great harvest. Start by gently splitting your garlic bulbs into individual cloves, making sure to leave the papery skins on—do not peel them, as the skins protect the cloves from disease in the soil.
Choose a sunny spot with loose, well-drained soil, then lay out your cloves in rows or wide beds. Place each clove upright (pointy end up, root end down) about 2 inches deep, spacing them 4–6 inches apart in the row, with rows about 12 inches apart.
After planting, gently firm the soil over the cloves, then give the area a good, thorough watering to settle the soil and jumpstart root growth. Next, sprinkle on an initial thin layer of mulch—like straw, shredded leaves, or untreated grass clippings—to help retain moisture and reduce weeds, but hold off on adding a thick mulch until all your cloves are planted. This ensures you don’t miss any spots and that each clove gets even coverage.
After every clove is in, layer on 3–4 inches of mulch to insulate the soil, keep weeds down, and protect developing roots, especially if you’re planting in the fall. These steps help create the right environment for garlic to root well before winter, setting the stage for vigorous growth come spring.
Garlic Care and Maintenance
Caring for garlic is refreshingly simple and perfect for gardeners of all ages, including kids who want to help. Garlic prefers soil that stays moist but not soggy, so water your plants about once a week or whenever the top inch of soil feels dry—rainfall can sometimes do the trick for you.
Applying a layer of mulch, like straw or shredded leaves, helps lock in moisture and keeps pesky weeds from stealing nutrients. Every few weeks, check and gently pull unwanted weeds around the garlic, but be careful not to disturb the bulbs.
Watch for common pests such as aphids or onion maggots. You can often prevent problems by planting garlic in a different spot each year and avoiding soggy conditions. If you spot tiny bugs or yellowing leaves, gently rinse the plants with water or remove affected leaves to stay ahead of trouble.
For diseases like white rot or rust, remove and destroy infected plants to stop the spread. Beginners should focus on keeping the area tidy, using clean tools, and handling the plants gently.
Involving children in watering, mulching, and weeding is a great way to teach gardening basics and responsibility while ensuring your garlic grows healthy and strong.
Harvesting, Storing, and Using Garlic
Knowing when to harvest garlic ensures you get bulbs at their most flavorful. Look for leaves: when the lower half has turned brown but a few upper leaves are still green, it’s time to harvest. Don’t wait for all the foliage to die back—overmature bulbs can split and won’t store as well.
To harvest, gently loosen the soil with a garden fork, being careful not to nick the bulbs, then lift them out by the stem. Brush off excess dirt, but don’t wash them—excess moisture can lead to rot.
Cure your garlic by laying bulbs in a single layer or hanging them in bundles somewhere dry, airy, and out of direct sun for two to four weeks. Once the stems and wrappers are papery, trim the roots and tops, and store in mesh bags or open baskets in a cool, dark spot. Avoid refrigerators, as they encourage sprouting. Well-cured garlic can last up to six months.
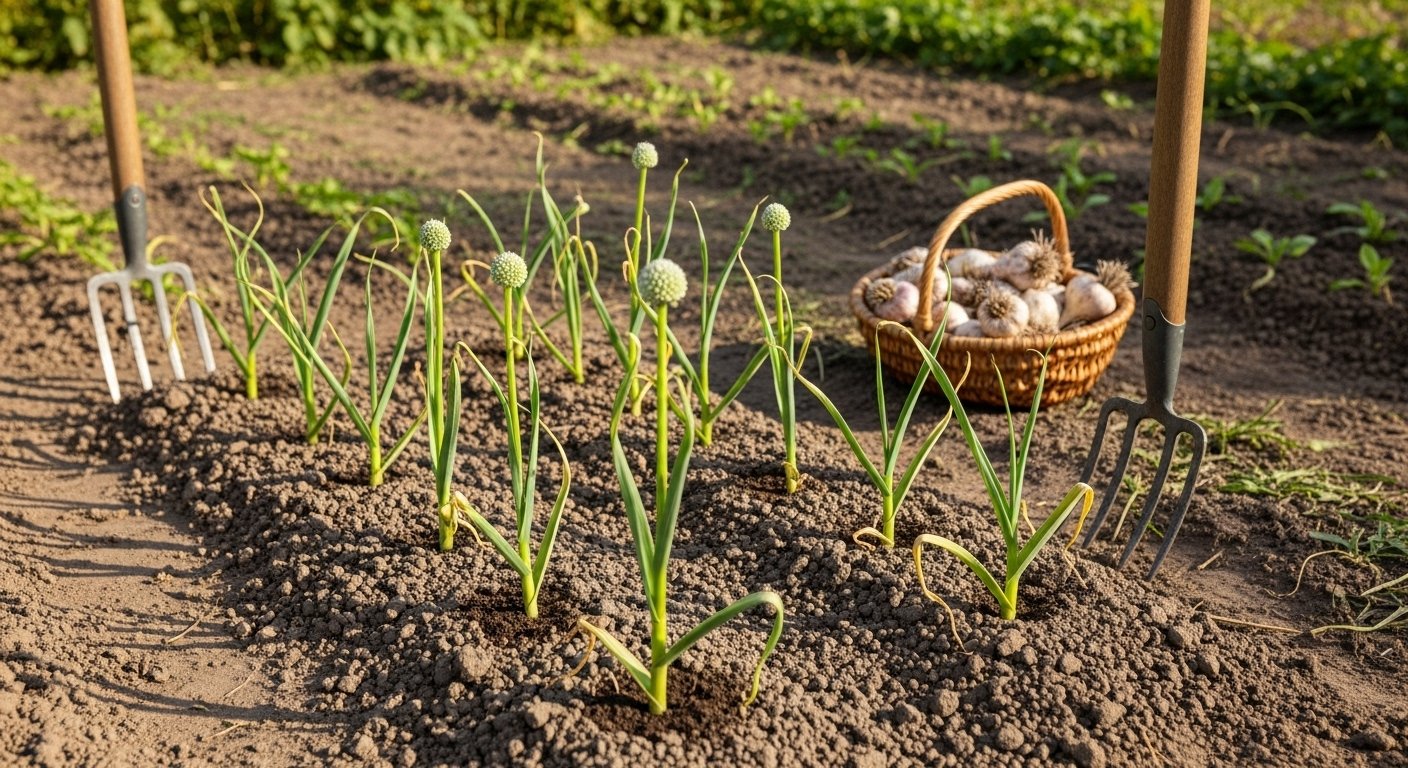
In the kitchen, mature garlic bulbs are a must-have, infusing soups, sautés, marinades, and dressings with rich flavor. For a mellow, sweet touch, try roasting whole bulbs. Don’t overlook young, green garlic or “scapes” (the curly flower stalks)—with a milder, fresh taste, they’re delicious in pesto, scrambled eggs, or sliced into salads.
If harvesting before bulbs fully develop, green garlic can be used much like leeks or scallions. With these methods, you can enjoy your garlic harvest in countless dishes well into the year.
Garlic Companion Planting and Fun Facts
When planning your garden, garlic is a fantastic companion for many vegetables—plant it near tomatoes, carrots, and cabbage to help repel pests and promote healthier growth. However, steer clear of placing garlic close to beans and peas, as it can stunt their development.
An interesting fact about garlic: it’s been used for thousands of years not only for flavor but also for its medicinal properties. Ancient civilizations prized it for fighting infections and boosting strength.
Plus, garlic has natural antibacterial and antifungal powers, making it a valuable addition for the eco-conscious gardener.
Growing garlic at home is surprisingly simple; just plant a clove in well-drained soil and watch it transform into a full bulb over the season.
With so many benefits and an easy growing process, adding garlic to your garden is a win-win—you’ll enjoy tastier meals and a healthier, more vibrant veggie patch.