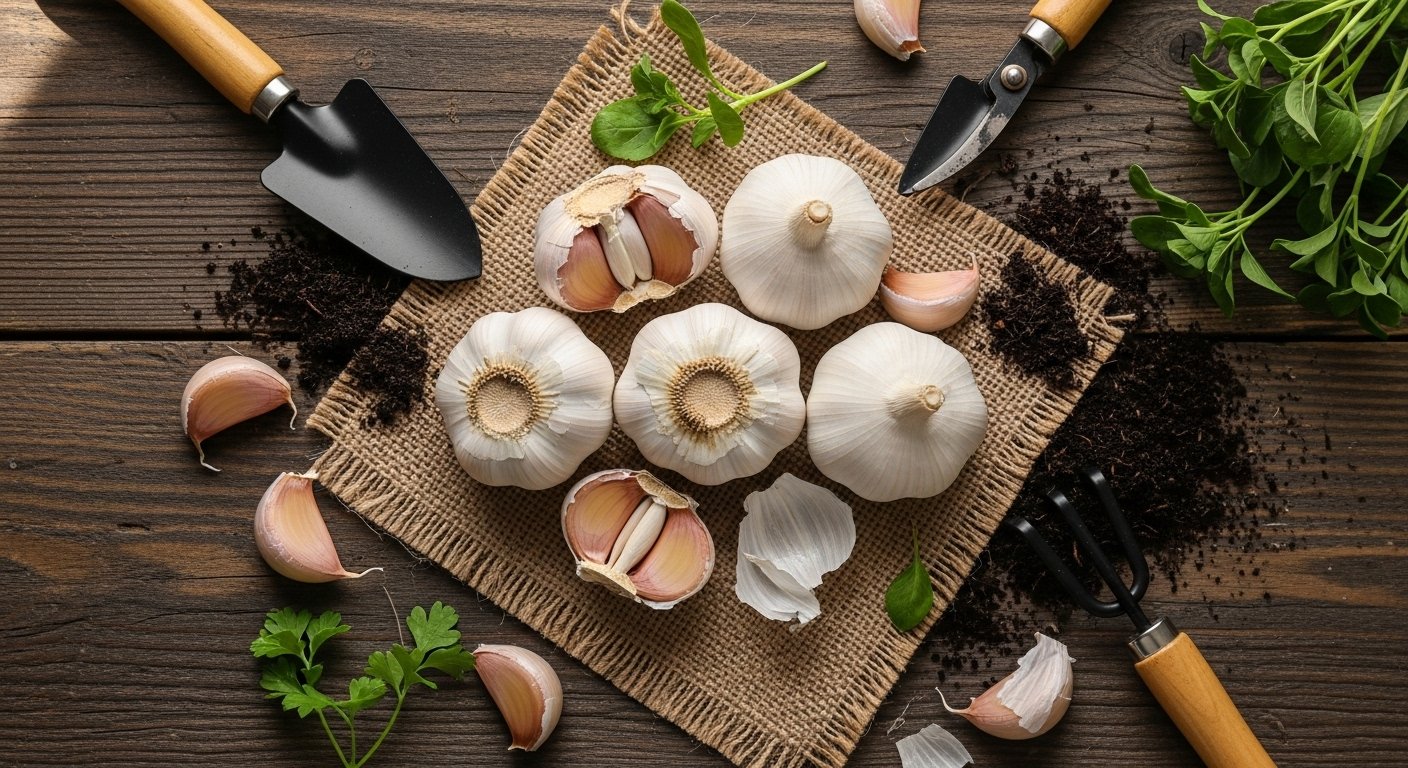
Introduction
garlic growing time is one of the key factors that makes this versatile bulb a favorite among home gardeners. Not only is garlic fairly simple to cultivate, but it also rewards your efforts by transforming meals with robust flavor, offering natural health benefits, and saving money compared to store-bought alternatives. If you’re thinking about adding this all-star ingredient to your backyard plot, you’ll be pleased to know that garlic doesn’t require a green thumb—just a bit of patience and planning.
In this guide, we’ll break down how long garlic takes to grow from planting to harvest, what affects its growth, and tips to make the most of your crop. Whether you’re a seasoned gardener or a curious beginner, you’ll find everything you need to grow healthy, tasty garlic at home.
Choosing the Right Garlic Variety
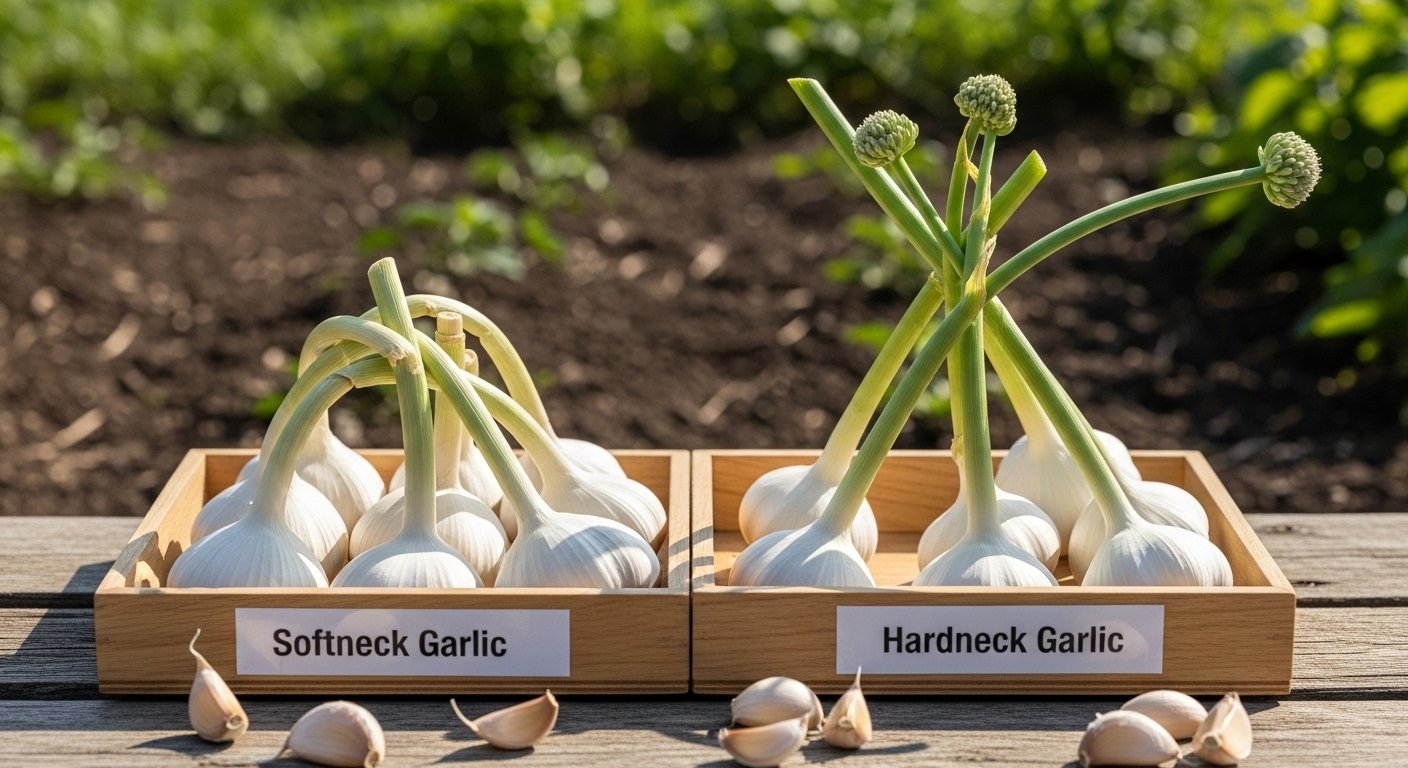
When selecting garlic for your garden, it’s important to understand the two main types: softneck and hardneck. Softneck garlic thrives in mild climates and typically stores longer, making it a great choice for gardeners in southern regions or areas with milder winters. Its flexible stalks are perfect for braiding, and it generally produces more cloves per bulb. Popular softneck varieties like California Early and Silverskin are known for their high yields and long shelf life.
On the other hand, hardneck garlic prefers colder climates. It produces fewer but larger, easier-to-peel cloves and often has a more robust flavor. Varieties such as Rocambole and Music are favorites among northern gardeners. However, they require cold winter periods for proper development and typically have a shorter storage life after harvest.
When choosing which garlic to grow, consider your climate and don’t be afraid to experiment with a few varieties to see which thrives best in your specific soil and weather conditions.
Always purchase seed garlic from reputable sources—such as your local nursery, agricultural extension office, or certified online retailers—to avoid disease and ensure healthy, vigorous plants. Avoid planting grocery store garlic, as it may be treated to prevent sprouting and isn’t guaranteed to be disease-free, which can lead to poor results in your garden.
When and How to Plant Garlic
The best time to plant garlic depends on your climate. In most regions with cold winters, garlic cloves are planted in autumn—typically 4-6 weeks before the ground freezes. This timing allows roots to develop before winter, resulting in larger heads by summer. If you live in a milder climate with less frost, you can plant garlic in early spring, though the bulbs might not grow as large.
Choose a sunny spot with loose, well-draining soil—garlic prefers soil rich in organic matter. Be sure to work in plenty of compost and a balanced fertilizer before planting. Avoid heavy clay soil, as it can retain too much moisture and cause rot.
Preparing and Planting Garlic Cloves
To get started, break apart a healthy garlic bulb into individual cloves, leaving their papery skins intact. Plant each clove pointed side up, about 2 inches deep and 4-6 inches apart within the row, with 8-12 inches between rows to ensure good air circulation. Cover the planted cloves with mulch, such as straw, to insulate them over winter and help retain moisture.
Growing Garlic in Containers
If your space is limited, garlic can be grown in containers—just be sure to use a pot that’s at least 8-10 inches deep and wide enough to space cloves appropriately. Use a high-quality potting mix, water regularly, and place the pot where it receives at least 6 hours of sun per day.
Care Tips
- Avoid overwatering during dormancy (typically winter).
- Water consistently once growth resumes in spring.
With proper timing and care, you’ll be rewarded with robust, flavorful garlic that outshines anything store-bought.
Caring for Your Garlic Crop
Growing a healthy garlic crop starts with consistent but careful watering, especially in the early months. Aim to keep the soil moist but never soggy—water deeply every 5-7 days if there’s no rain, tapering off as the weather warms and the bulbs mature. Overwatering is a common mistake that can cause the bulbs to rot; make sure your soil drains well and let the top inch dry out slightly between waterings.
Mulching is your secret weapon: spread a 2-3 inch layer of straw or shredded leaves over the bed after planting. This helps lock in moisture, keeps weeds down, and insulates the garlic from temperature fluctuations.
Speaking of weeds, hand-pull any competition as soon as it pops up to prevent them from stealing nutrients and space.
Fertilizing is also crucial—apply a balanced, slow-release fertilizer in early spring as shoots emerge, then give a boost with a high-nitrogen feed every few weeks until scapes appear.
Watch for healthy, upright green leaves that multiply steadily through spring, a sign your garlic’s growing strong. Mid-season, the plants should have robust, vibrant foliage, and by late spring, hardneck varieties will send up curly scapes. Remove these scapes to encourage larger bulbs.
If you notice yellowing leaves too early or patchy, stunted growth, check for signs of fungal diseases like white rot or pests such as onion maggot. Remove infected plants promptly and avoid planting garlic or other alliums in that bed for a few years.
If you spot slow growth or misshapen bulbs, review your watering and feeding habits and test the soil’s fertility.
With careful attention, these straightforward steps will help your garlic thrive from sprout to harvest.
Dealing with Garlic Pests and Diseases
Garlic may be a hardy crop, but it’s not immune to pests and diseases. Common pests include onion maggots, thrips, and nematodes, which can stunt growth and cause bulbs to rot. Fungal diseases like white rot, downy mildew, and rust are also prevalent, especially in wet or crowded gardens.
To prevent these issues, start with disease-free seed garlic and avoid planting garlic in the same spot year after year. Rotating crops every three to four years helps break pest and disease cycles. Encourage healthy air circulation by spacing bulbs properly and mulching to keep soil moisture stable without waterlogging.
If you spot signs of trouble, such as yellowing leaves, mushy bulbs, or stunted shoots, act quickly: remove and destroy affected plants to stop the spread, and do not compost infected material.
Organic Treatments
- Release beneficial insects like ladybugs to control thrips.
- Use neem oil or insecticidal soaps to deter pests naturally.
- Manage fungal diseases by applying an organic copper-based fungicide.
- Keep leaves dry by watering at the base of plants.
After a problem season, clean tools thoroughly and consider planting a resistant allium or a cover crop in affected beds. Staying watchful and consistently practicing garden hygiene are your best defenses for a healthy garlic harvest.
Harvesting and Storing Garlic
Knowing exactly when to harvest your garlic is key to enjoying plump, flavorful bulbs straight from your garden. Keep an eye out for the telltale signs: most garlic is ready when the lower leaves have turned brown but the top five or six are still green—usually mid to late summer, depending on your climate. Avoid waiting until all the leaves dry out, as that can lead to split or over-mature bulbs with poorer storage life.
To harvest, use a garden fork or shovel to gently loosen the soil about six inches away from the bulbs, then lift them carefully by the base of the plant, taking care not to bruise or nick the cloves. Shaking off excess dirt is fine, but don’t wash your garlic—moisture can promote rot.
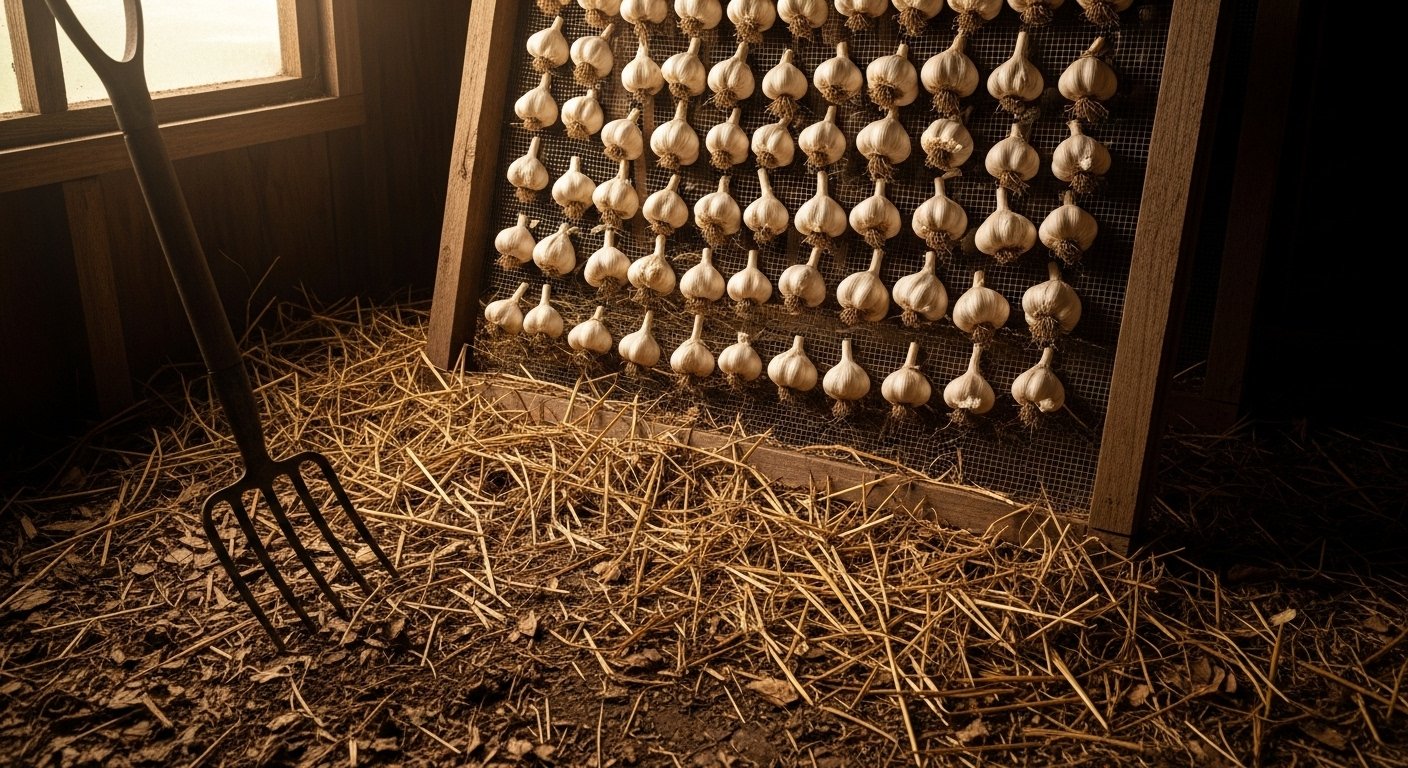
Instead, begin the curing process: lay the garlic out in a single layer in a dry, airy, shaded spot, like a shed or garage, for two to three weeks. Make sure there’s good circulation to avoid mold, and occasionally turn the bulbs for even drying.
After curing, trim the stems to about an inch above the bulb and cut the roots close, then gently brush off any remaining dirt. For long-term storage, keep the clean, cured garlic in a mesh bag, basket, or ventilated container in a cool (around 60°F), dry, and dark place.
Softneck varieties often last for up to 9 months, while hardneck types store best for 3–6 months. Don’t refrigerate unless you plan to plant the cloves, as the cold can trigger sprouting. Regularly check your bulbs and remove any that show signs of rot or sprouting, so your harvest stays fresh and flavorful well into the winter.
Tips for Superior Garlic and Troubleshooting
If you want bigger, tastier garlic bulbs, start by planting the largest, healthiest cloves you can find—usually from hardneck varieties for robust flavor. Space them 4–6 inches apart and plant in well-drained, rich soil loaded with organic matter; garlic loves nutrients and loose earth to form big bulbs. Water regularly but never let the soil get soggy, as excess moisture promotes rot.
Mulching with straw or leaf litter helps retain moisture, suppress weeds, and protect cloves during winter. Remove flower stalks, or “scapes,” as soon as they appear—this redirects the plant’s energy into growing a larger bulb. Fertilize lightly with a balanced organic fertilizer in early spring to support vigorous growth.
If you’re struggling with small bulbs, double-check that you’ve planted at the right depth (about 2 inches); shallow planting or compacted soil can stunt development. Yellowing leaves may mean the soil is too wet or too dry.
For sprouting in storage, make sure to cure garlic after harvest by drying it out of direct sun for 2–3 weeks, then store it in a cool, dry, well-ventilated place—never in the fridge. If you notice mold or soft spots, discard affected bulbs and reassess your storage conditions.
Wondering when to harvest? Wait until the bottom third of leaves turn brown, then gently dig bulbs out and let them cure.
Remember, garlic is both hardy and forgiving—don’t be afraid to experiment with varieties or techniques each season to find what works best in your own garden.
Conclusion
Growing garlic at home is easier than you might think—just choose quality cloves, plant them in well-draining soil, and keep them watered and weed-free. With a little patience and regular care, you’ll enjoy a flavorful harvest in just a few months.
Planning ahead for each season ensures you’ll always have fresh garlic on hand and gives you the chance to experiment with different varieties. Ready to give it a try? Start today, and soon you’ll experience the satisfaction of harvesting your own garlic.
Feel free to share your growing tips or questions in the comments—we’d love to hear about your garden adventures!