Introduction
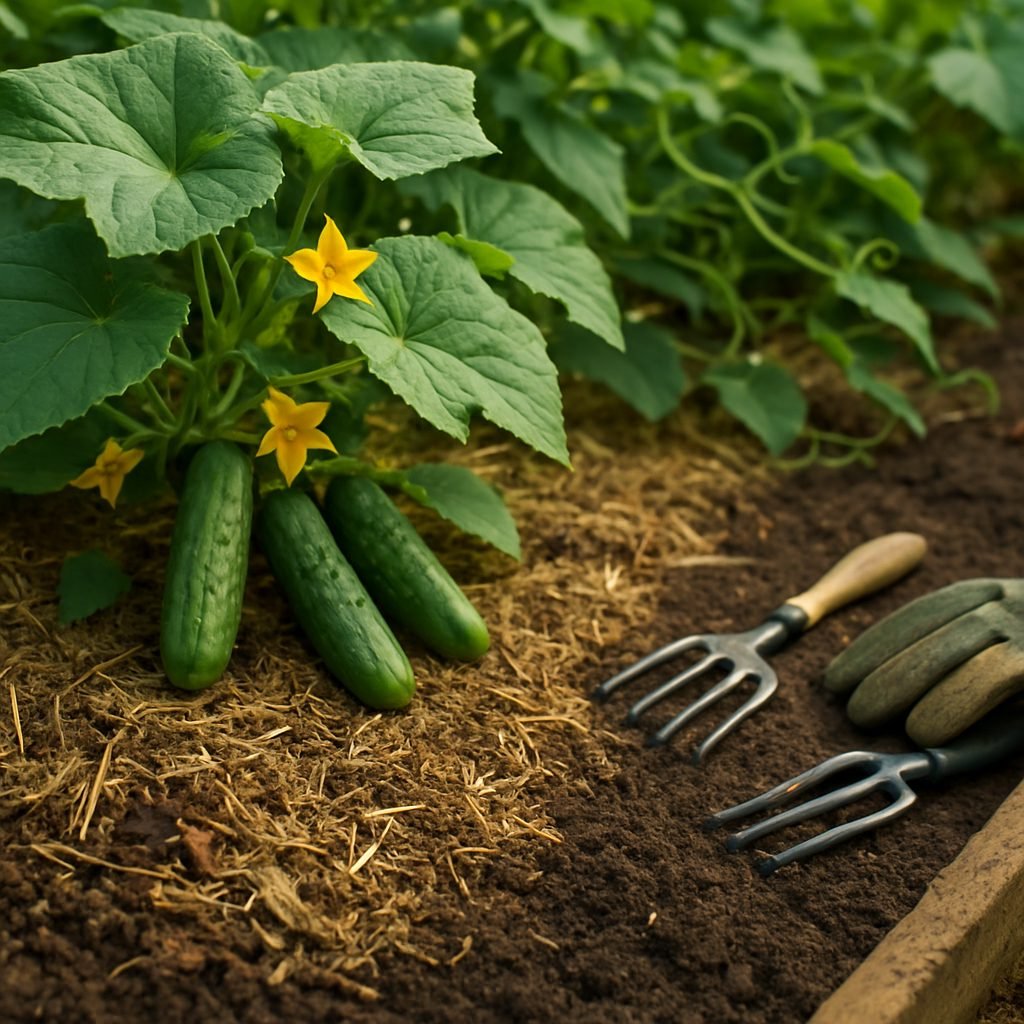
When it comes to growing crisp, healthy cucumbers, one of the smartest steps you can take is mulching your cucumber plants. In vegetable gardening, mulching simply means covering the soil around your plants to help manage temperature, control weeds, and retain valuable moisture. If you’ve ever battled stubborn weeds, spent hours watering thirsty plants during a dry spell, or worried about your soil’s health, mulching might become your new favorite garden habit.
Beyond saving you time, mulching supports soil structure, adds organic matter (if you use certain types), and can even improve your cucumber yields throughout the season. You have plenty of options—organic mulches like straw, grass clippings, compost, and shredded leaves naturally break down to enrich the soil, while inorganic mulches such as black plastic or landscape fabric provide long-lasting weed suppression and warmth.
The key is choosing the right mulch for your garden’s needs and applying it at the right time for maximum benefit. Whether you’re a first-time gardener or a seasoned grower, learning what works best for mulching cucumbers can turn a good harvest into a great one. This season, let’s explore the different mulching methods so you can enjoy healthier soil and tastier cucumbers with less effort!
Why Mulching Matters
Mulching is one of the simplest steps you can take to boost the health and productivity of your vegetable garden. At its core, mulch acts like a protective blanket, covering the soil to help suppress weeds, conserve moisture, and keep soil temperatures more consistent.
By blocking sunlight, mulch makes it harder for weeds to sprout and compete with your vegetables, which means less time spent weeding and more time enjoying your garden. Mulch also helps lock in soil moisture, so you don’t have to water as often—especially valuable during hot, dry spells. In addition, a layer of mulch insulates the soil, shielding roots from extreme temperature swings that can stress young plants.
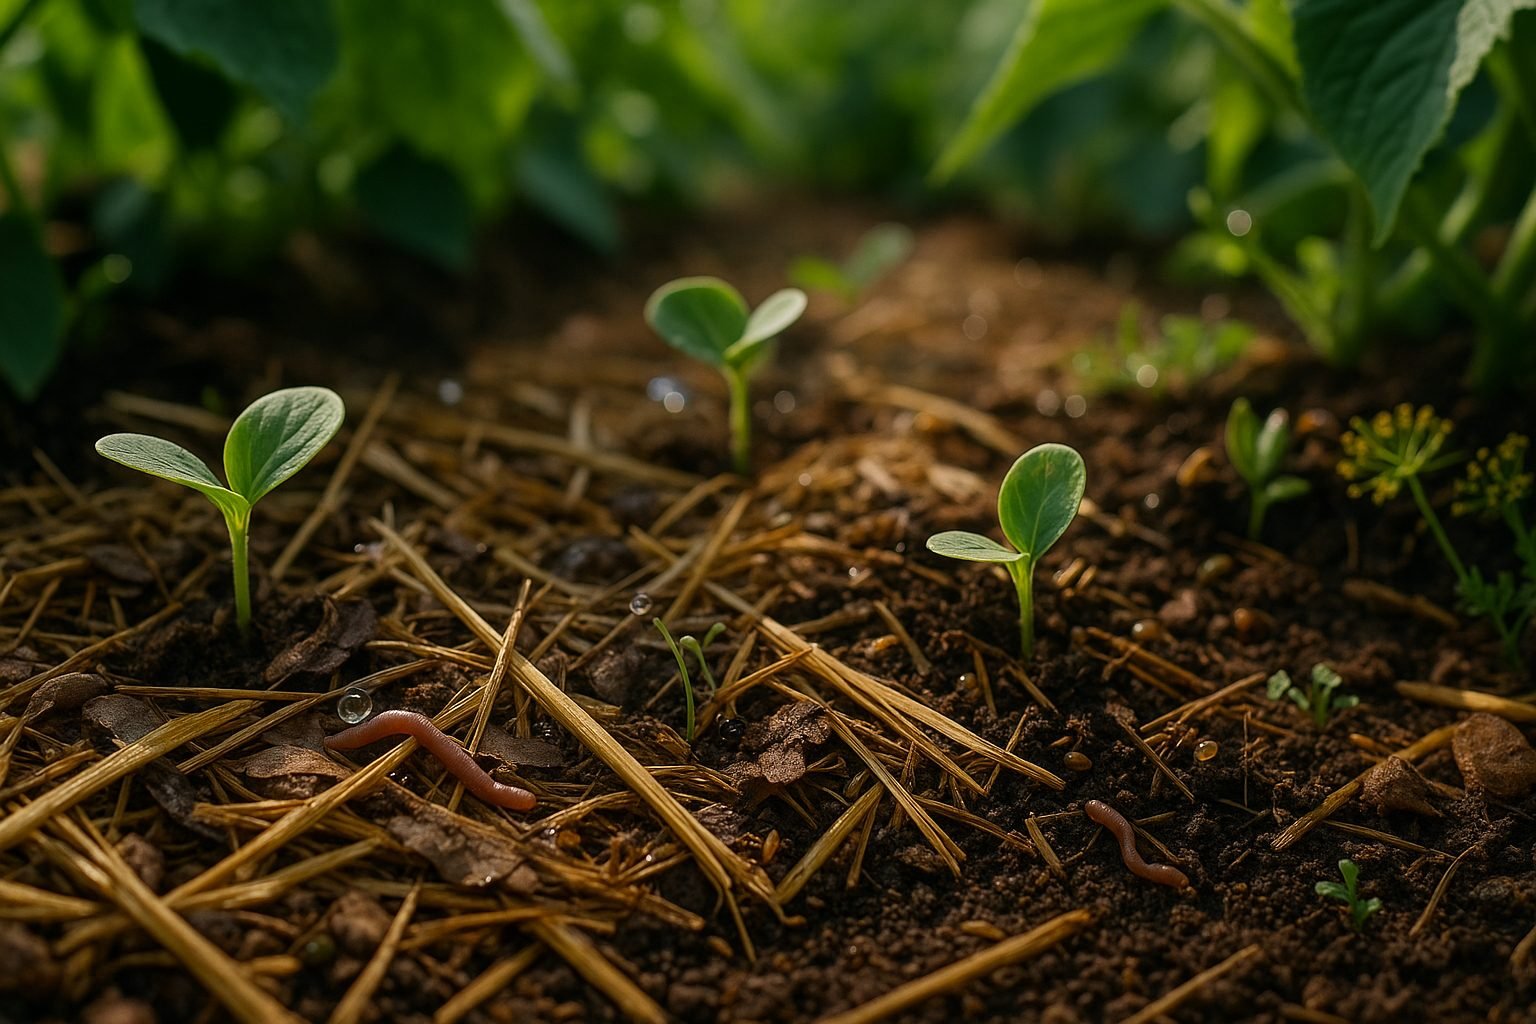
Over time, organic mulches like straw, shredded leaves, or compost slowly decompose, feeding earthworms and adding valuable nutrients right back into your soil. This not only improves soil structure but also encourages a healthy soil ecosystem.
Some gardeners worry that mulch attracts pests or can harm plants, but this is usually a result of using the wrong type or piling it too close to plant stems. Stick to clean, weed-free mulch and keep it a few inches away from stems to prevent problems.
The right mulch makes your garden more resilient, reduces your workload, and helps your vegetable plants thrive from planting to harvest.
Types of Mulch for Vegetable Gardens
When choosing mulch for your vegetable garden, organic options like straw, grass clippings, shredded leaves, compost, and wood chips are widely favored for their ability to enrich soil as they break down.
Straw is easy to spread, keeps weeds at bay, and adds organic matter, but be sure to use seed-free straw to avoid introducing new weeds. Grass clippings are readily available and nitrogen-rich, making them a cheap mulching option; however, apply them in thin layers to prevent matting and unpleasant smells.
Shredded leaves are another free resource in the fall that promotes earthworm activity and improves soil structure—just avoid thick, matted piles that can block water. Compost is considered a gold-standard mulch for edibles, feeding the soil and plants directly while suppressing weeds, though you might need a steady supply or a compost bin at home.
Wood chips offer durability and are best for pathways or around perennials since they break down slowly. Avoid using them right next to tender veggies, as they can tie up soil nitrogen.
In contrast, inorganic mulches like plastic sheeting or landscape fabric don’t improve soil health and can interfere with water flow or temperature regulation. This is why organic mulches are preferred for vegetable gardens.
For sourcing, check local farms, municipal leaf collections, or even your own yard for leaves and grass. Always use untreated grass clippings and avoid mulches from unknown sources to prevent pests or herbicide residues.
A combination of different organic mulches—applied in a layer 2-3 inches thick—can optimize both weed suppression and soil enrichment, setting your vegetables up for a healthy, productive season.
How to Apply Mulch Correctly
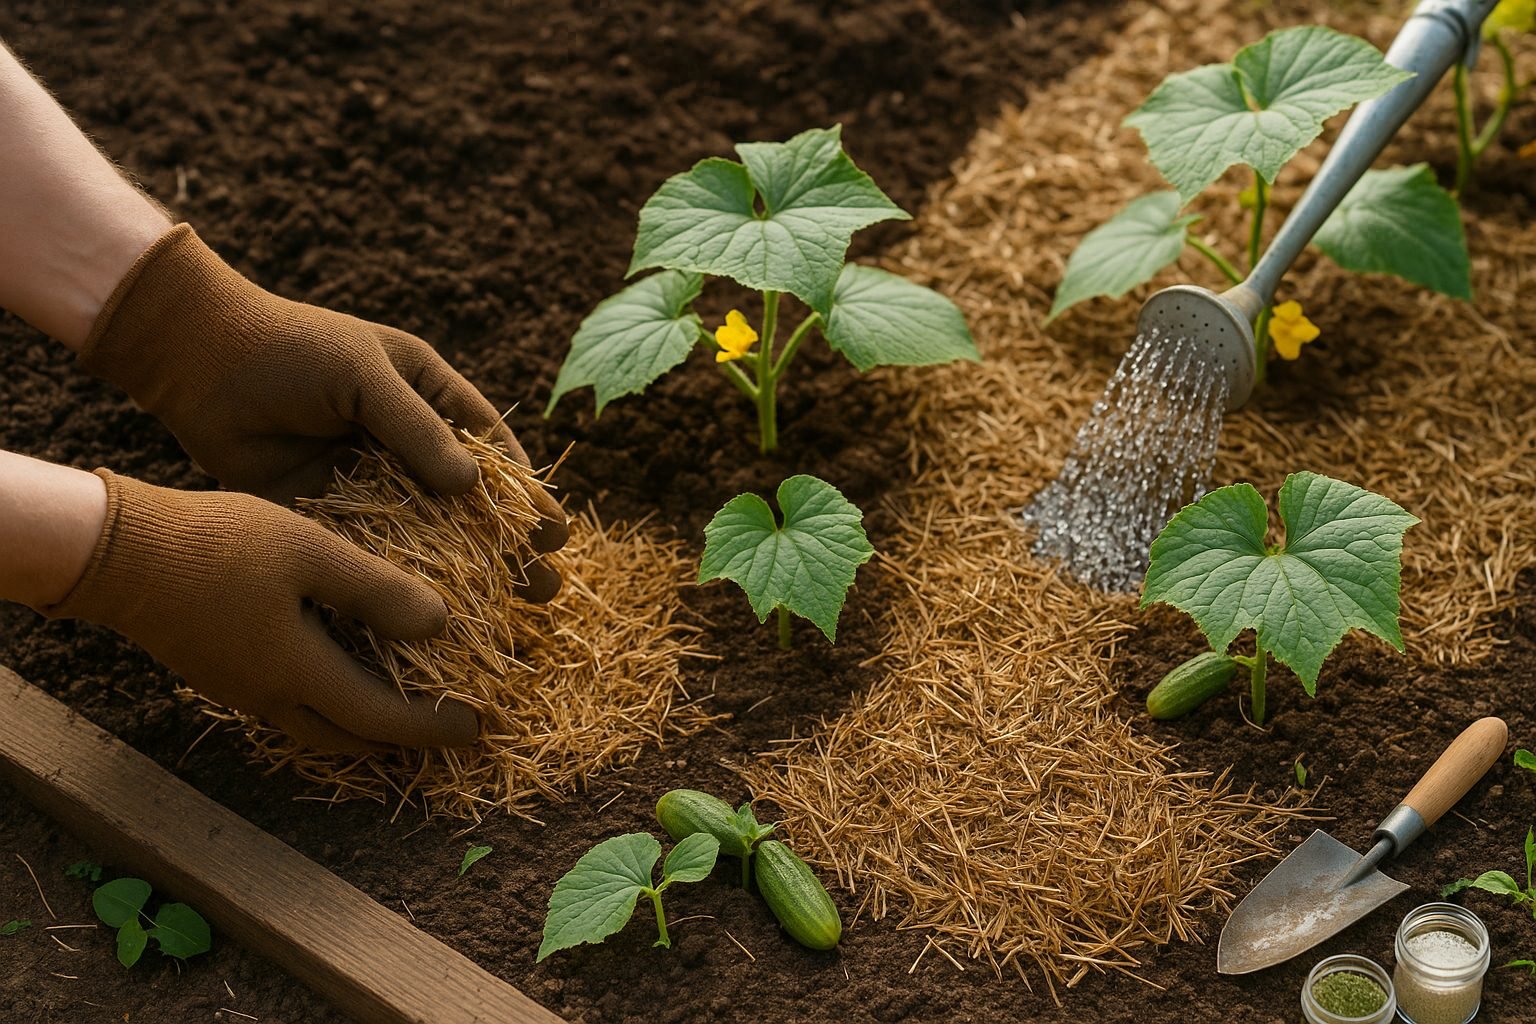
Applying mulch to your vegetable beds is simple, but following a few key steps can make all the difference for your plants’ health. Start by clearing the area of any weeds and watering the soil thoroughly before you mulch; this locks in moisture and gives your plants a great head start.
Spread mulch—like straw, shredded leaves, or wood chips—across your beds to a depth of about 2 to 3 inches. This helps suppress weeds and retain soil moisture without suffocating your crops. Be careful not to pile the mulch directly against your vegetable stems; leave a gap of about 2 inches all around each plant to prevent stem rot and discourage pests.
The best time to lay down mulch is in late spring, once the soil has warmed up and seedlings are a few inches tall. This way, the mulch won’t trap in cold and slow growth. Refresh your mulch layer mid-summer if you notice it thinning out, but again, avoid piling it too high or too close to the plants.
Always use clean mulch from a reliable source to avoid herbicides, weed seeds, or pests that could harm your garden. Many gardeners make the mistake of using fresh grass clippings or unaged manure, which can burn tender plants or introduce weed seeds. Whenever possible, opt for aged or composted organic mulch.
By following these steps and watching out for common missteps, you’ll enjoy flourishing vegetable beds with fewer weeds and healthier soil all season long.
Mulching in Different Climates and Soils
Mulching isn’t one-size-fits-all—your local climate and soil type should shape your choices. In hot, dry climates, opt for thick layers of organic mulch like wood chips or straw to lock in precious soil moisture and shield plant roots from the scorching sun. In humid regions, mulch can sometimes trap too much moisture and invite pests or disease, so consider using lighter layers or materials like pine needles that let air circulate.
Soil also matters. Sandy soils drain quickly and benefit from heavier mulches that slowly break down to add organic matter and retain water. Clay soils hold water and can compact easily, so use looser mulches such as bark nuggets to improve airflow and avoid sogginess around roots. Loam, the “just right” soil, thrives with most mulch types, but rotating materials yearly will keep soils rich and prevent nutrient imbalances.
Regional conditions might mean extra steps—gardeners in rainy areas can pull mulch back from plant stems to reduce rot, while those facing hot winds should mound mulch up snugly to reduce evaporation. Above all, observe how your mulch performs through the season and adjust as needed; local garden centers and extension services often have great mulch advice tailored to your region’s quirks.
By fine-tuning your approach, you’ll boost plant health and get the most from your mulching efforts no matter where you garden.
Maintaining and Supplementing Mulch
Maintaining a healthy mulch layer is key to keeping your garden thriving throughout the growing season. Start by checking your mulch every few weeks to ensure it stays 2–3 inches deep—thick enough to block weeds and retain moisture, but not so thick that it suffocates plant roots.
As mulch breaks down, especially organic types like wood chips or straw, it can compact or thin out. Replenish these areas by gently raking aside old mulch and adding fresh material on top. Aim to do this in late spring or early summer, when soils are warm but not dry.
If you notice mold, don’t panic—most molds are harmless. However, if the growth is excessive or unsightly, stir the mulch to improve airflow and let it dry out.
For stubborn pest problems such as slugs or termites, choose mulch types less attractive to these pests, like cedar, or use a physical barrier beneath your mulch layer.
Since mulch decomposition can temporarily tie up nitrogen in the soil, watch your plants for yellowing leaves that suggest a nutrient deficit. If needed, sprinkle a slow-release, balanced fertilizer under your mulch or water with a diluted liquid feed to replenish soil nutrition without disturbing plant roots.
By routinely monitoring moisture, topping up mulch, and adjusting for nutrients or pests, you’ll keep your garden healthy and resilient all season long.
Conclusion & Quick FAQ
Mulching is a game-changer for vegetable gardens, helping retain soil moisture, suppress weeds, and keep plant roots healthy and cool. Organic mulches like straw, grass clippings, or shredded leaves gradually enrich the soil as they break down, while inorganic options—such as landscape fabric—offer long-term weed control.
When mulching around young seedlings, keep the mulch a few inches away from the stems to prevent rot and give them room to grow. Worried about slugs? Opt for mulch materials like untreated wood chips or cocoa hulls, and try spreading a thin layer so you can spot pests more easily.
A common FAQ is whether you should mulch every crop—yes, most vegetables benefit, but give heat-loving crops like peppers and tomatoes extra space for airflow. Mulching may seem like an extra chore, but the time and water you save make it well worth the effort.
If you haven’t tried it yet, start small this season and see what a difference a good layer of mulch can make in your garden’s health and harvest.