Introduction
If you’ve noticed your leggy cauliflower seedlings stretching tall and looking a bit spindly, you’re not alone. Many gardeners, especially those starting seeds indoors, encounter this problem every spring. Legginess happens when seedlings grow long, weak stems instead of becoming sturdy and compact—it’s a common challenge with cauliflower and other vegetables.
Why does this happen? Indoor conditions like low light levels, too much warmth, or overcrowding often trick young plants into reaching desperately for more light. As a result, seedlings become top-heavy and prone to bending or falling over, making successful transplanting more difficult.
The good news is, you’re not stuck with leggy cauliflower seedlings. In this post, we’ll explore why legginess occurs, examine real-world examples many home gardeners face, and share tried-and-true solutions to help your young cauliflowers stand up strong.
You’ll discover how tweaking your light source, adjusting temperatures, and even handling watering schedules can transform weak seedlings into healthy transplants. Whether you’re a beginner or a seasoned seed starter, there are practical tips here to help you rescue your plants and enjoy a productive cauliflower harvest.
Understanding Leggy Seedlings
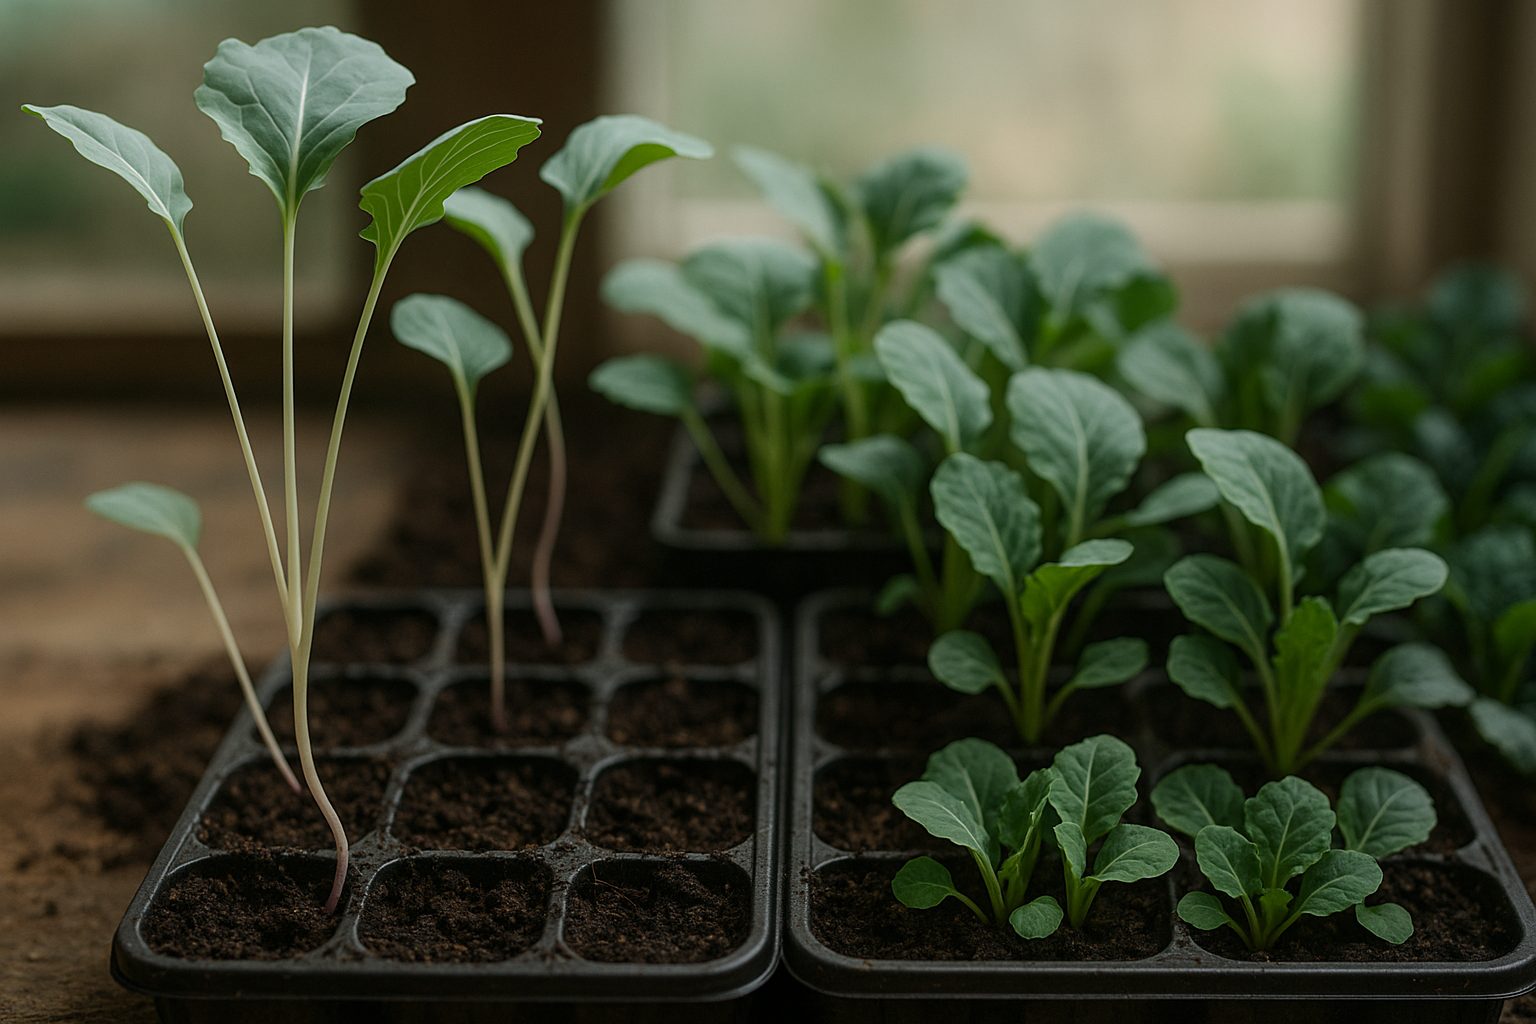
“Leggy” seedlings are young plants that have grown tall and spindly, with long, thin stems and sparse leaves. This stretching often happens when seedlings don’t get enough light, causing them to reach upward in search of a better source. You’ll notice that leggy seedlings look fragile; their stems may bend or flop over, and the space between leaves—called internodes—is much longer than on healthy seedlings.
In contrast, healthy seedlings are compact and sturdy, with short, thick stems and leaves that grow closely together, giving them a strong, bushy appearance.
Legginess is more than just a cosmetic problem—it can set your whole garden back. Leggy plants are weaker, more vulnerable to disease, and less able to stand up straight once moved outdoors. Their thin stems often can’t support their weight, making them prone to snapping in the wind or under their own foliage. This stress can delay growth, reduce yields, or even lead to the death of the seedling.
Preventing and Fixing Leggy Seedlings
To prevent legginess, make sure your seedlings get plenty of bright, direct light—ideally from a grow light placed just a few inches above the plants. Rotate them regularly or adjust their position so they grow evenly.
If you already have leggy seedlings, try transplanting them deeper in the soil when potting up; this encourages new roots along the buried stem and can help strengthen the plant.
By understanding and avoiding stretching, you’ll grow faster, healthier, and more productive plants right from the start.
Key Causes of Leggy Seedlings
Leggy seedlings—a common frustration for indoor gardeners—are often the result of a few preventable factors. The most frequent cause is insufficient or improperly positioned light. When seedlings don’t receive enough direct light, or when grow lights are placed too far above them, they naturally stretch toward the brightest source in a process called phototropism. You might notice stems bending dramatically toward a window or becoming tall and thin under weak lighting.
To counter this, place grow lights just a few inches above the trays and adjust them as your seedlings grow, or set them up near the brightest window available. Excessive warmth, especially from heating mats or sunny window ledges, can also speed up stem growth at the expense of sturdy development. Cooling the area slightly is a simple way to help.
Overcrowding is another culprit—when seedlings are sown too thickly, they compete for both light and nutrients, causing each plant to stretch in search of better conditions. Spending a few extra minutes thinning seedlings or sowing fewer seeds upfront can keep them much stockier and healthier.
Improper watering also plays a part; both overwatering and underwatering can stress young plants, further encouraging leggy growth. Be sure the potting mix stays consistently moist but not soggy, and always use containers that drain well.
Starting seeds too early in the season can also backfire—in late winter, natural light is weaker and days are shorter, making it tough for seedlings to stay compact until they can safely move outdoors. Align your seed-starting efforts with your region’s last frost date to prevent this.
Lastly, while less common, genetics play a role: some plant varieties are naturally more prone to legginess despite your best efforts. If you consistently struggle with one particular species, look for compact or dwarf cultivars better suited to indoor conditions.
Tackling legginess is often about small adjustments—getting these factors right from the start sets your seedlings up for strong, healthy growth.
How Light Influences Seedling Growth
Light plays a crucial role in shaping how seedlings grow, affecting everything from their height to their overall health. Both natural sunlight and artificial lights can nurture seedlings, but their effectiveness depends on several important factors.
First, the intensity of light matters—a bright, south-facing windowsill often supplies enough sunlight for most seedlings, while windows with weaker light may leave plants stretching for more, leading to tall, weak (or “leggy”) growth.
Light duration is just as vital; most seedlings need at least 12-16 hours of light per day. So, if natural daylight is short in your area, supplementing with grow lights on a timer can make a big difference.
The spectrum of light also matters—full-spectrum or “daylight” LED or fluorescent grow lights are ideal, as they closely mimic sunlight and contain the red and blue wavelengths seedlings need to form sturdy stems and healthy leaves.
To check if seedlings are getting enough light, observe their growth:
- If they’re small, compact, and a healthy green, the light is likely sufficient.
- If they’re pale, tilting toward the window, or spindly and tall, that’s a sign they’re craving more.
A simple trick is to hold your hand about an inch above your plants—if you see a clear, strong shadow, the light intensity is probably good.
For indoor setups, place lights just a few inches above the seedlings and adjust them as the plants grow, keeping the gap narrow to prevent legginess. Rotating seed trays regularly also helps ensure all sides get equal exposure, promoting even development.
Ultimately, providing the right combination of light intensity, duration, and spectrum ensures robust, healthy seedlings ready to thrive when transplanted.
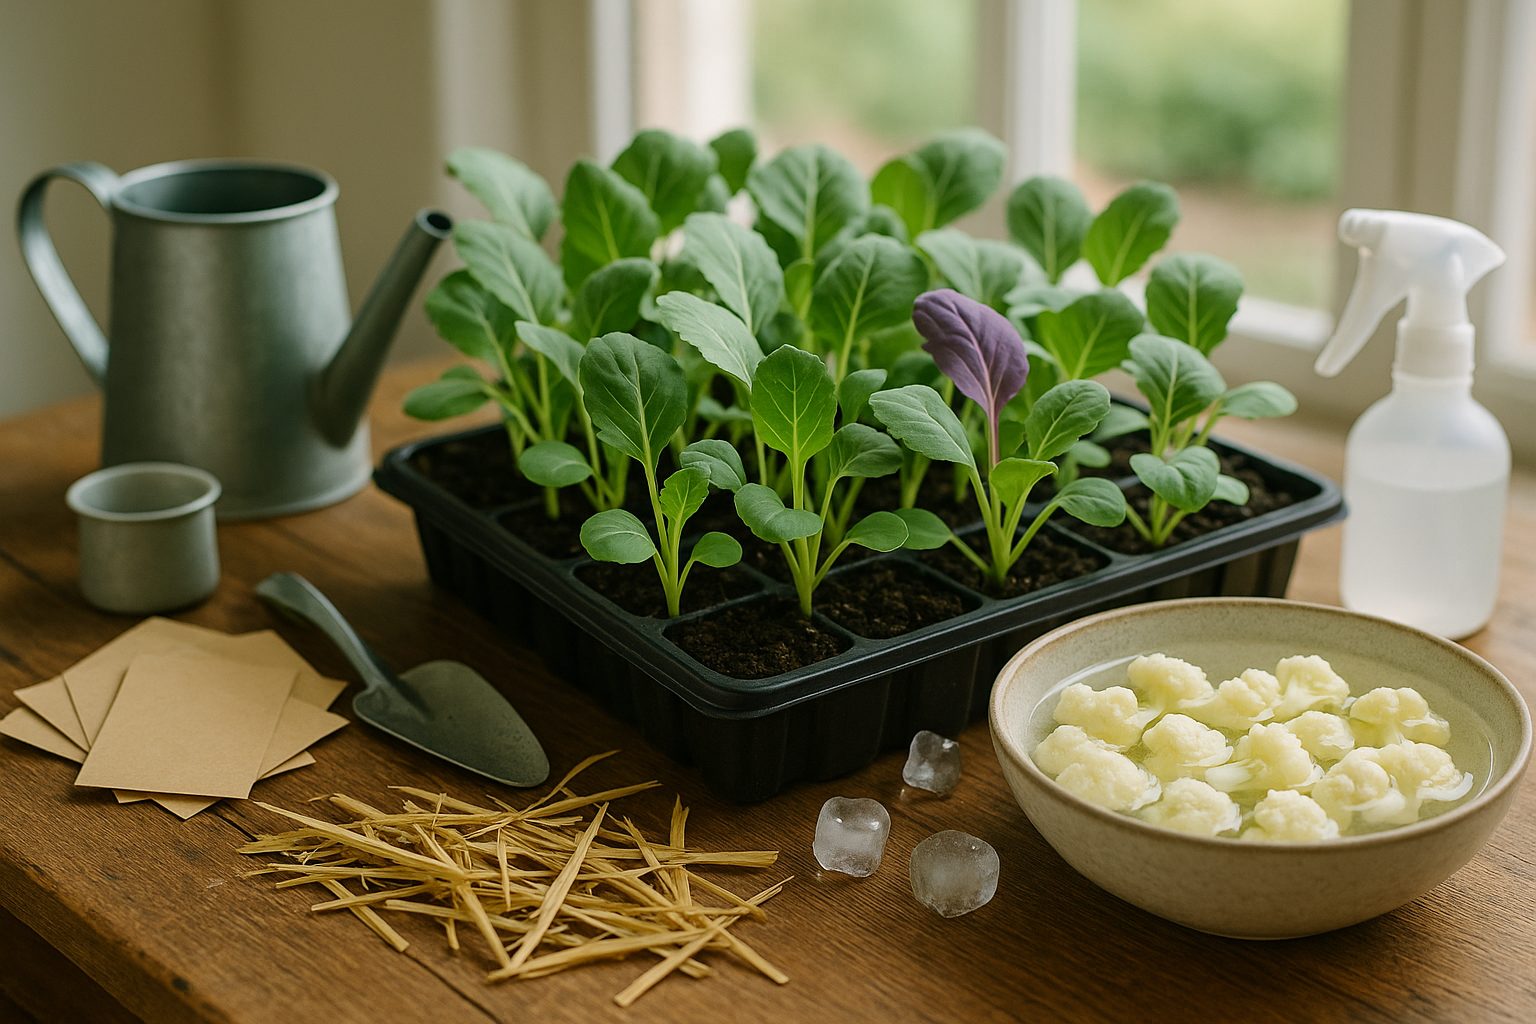
Proper Techniques for Starting Seeds Indoors
Starting seeds indoors requires a careful balance of spacing, depth, and soil conditions to give your plants the best start. Begin by using a high-quality, sterile seed starting mix, which is lighter than regular potting soil and helps prevent disease. Scatter seeds evenly in trays or small pots—most seeds do best with about one to two inches of space between them, but always check the specific seed packet for exact spacing recommendations.
As a rule of thumb, sow seeds at a depth about two to three times their diameter. Tiny seeds might just need a gentle press into the surface without full coverage, while larger seeds can be lightly covered with soil. Consistent moisture is crucial, so gently mist the soil to keep it damp but not soggy; overwatering can lead to rot.
Temperature and Humidity
Temperature and humidity play a huge role in germination success. Most seeds germinate best at temperatures between 65-75°F (18-24°C), so a heat mat under your trays can be a game-changer in chilly spaces. Cover trays with a clear humidity dome or plastic lid to lock in moisture, but remove the cover briefly each day to let in fresh air and prevent mold.
As soon as you see the first signs of sprouting—usually in a week or two, depending on the variety—start phasing out the heat mat and humidity dome. Lift the dome for longer periods daily, and after a day or two of solid seedling growth, remove it entirely. Turn off the heat mat once most seeds have sprouted, since too much warmth can make seedlings leggy.
Light and Growth
Move trays to a bright, warm spot or set them under grow lights for 12-16 hours per day. Giving your seedlings this careful attention early on will help them develop strong roots and sturdy stems, making them far more likely to thrive when it’s time for transplanting outdoors.
Providing Sufficient Light Indoors
Choosing the right lighting for seedlings is essential to ensure healthy, sturdy growth when starting indoors. LED grow lights have become popular among home gardeners because they’re energy-efficient, run cooler, and come in full-spectrum models that mimic sunlight—perfect for helping seedlings develop strong stems and leaves.
Fluorescent lights, such as T5 or CFL bulbs, are another reliable choice; they’re often less expensive upfront than LEDs and provide the right intensity and color for young plants, though they use more power and may need replacement sooner.
For best results, position your lights 2 to 4 inches above the seedlings—close enough to prevent legginess but not so near that they risk burning the tender foliage. As your plants grow taller, raise the light fixtures to maintain this distance, and check the spacing every few days.
Most seedlings thrive with 14–16 hours of light per day, so use an inexpensive timer to automate the schedule and ensure consistency.
If you’re on a tight budget or want to use mainly natural sunlight, place seedlings near a bright south-facing window and rotate the trays daily to encourage even growth. To boost light exposure, consider using white reflectors (like poster boards or aluminum foil) around the plants to bounce additional daylight onto the leaves.
By combining these techniques and adjusting as the seedlings mature, you’ll maximize your indoor growing space and set your plants up for strong, healthy development.
Fixing and Preventing Leggy Seedlings

If your seedlings are already growing tall and spindly—that classic “leggy” look—the first step is to boost their daily light exposure right away. Move them to a bright, south-facing window or, even better, set up a grow light just a few inches above the leaves; keep the light on for 14–16 hours a day to mimic spring’s long days.
Reduce any heat sources nearby, such as radiator heat or sunny spots over 72°F, because warmth without enough light encourages rapid but weak growth. For extra-tall seedlings that threaten to flop, gently repot them deeper into fresh seed-starting soil, burying the stem up to the first set of true leaves. Most vegetables, like tomatoes, will readily grow roots along buried stems, helping stabilize the plant.
For less transplant-friendly seedlings, add support using small stakes or wrap a loop of soft twine around a cluster of seedlings to keep them upright until they firm up.
Preventing Leggy Seedlings Next Year
- Start seeds in a consistently bright location and use adjustable grow lights if possible.
- Give each seedling enough space to prevent overcrowding, which forces stems to stretch for light.
- Monitor soil dampness to avoid overwatering, as wet, heavy soil can weaken stems.
- Use a fan set to low for a few hours daily; the gentle airflow mimics outdoor breezes and encourages stems to grow thick and strong.
With these steps, you’ll turn spindly seedlings into sturdy, garden-ready starts and set yourself up for stronger plants in every season.
Conclusion & Quick Reference Tips
Dealing with leggy seedlings can be frustrating, but with a few simple adjustments, most gardeners can help their plants thrive. Remember, legginess usually results from too little light, overcrowding, or excess warmth. By staying attentive and making small changes, your seedlings can grow strong and healthy.
Keep this checklist handy:
- Provide bright, direct light (use grow lights if needed).
- Rotate seed trays regularly for even growth.
- Avoid overcrowding; thin seedlings when necessary.
- Monitor watering—keep soil moist, not soggy.
- Maintain moderate temperature, avoiding excess heat.
Keep observing and experimenting—each season brings new chances to learn and improve!