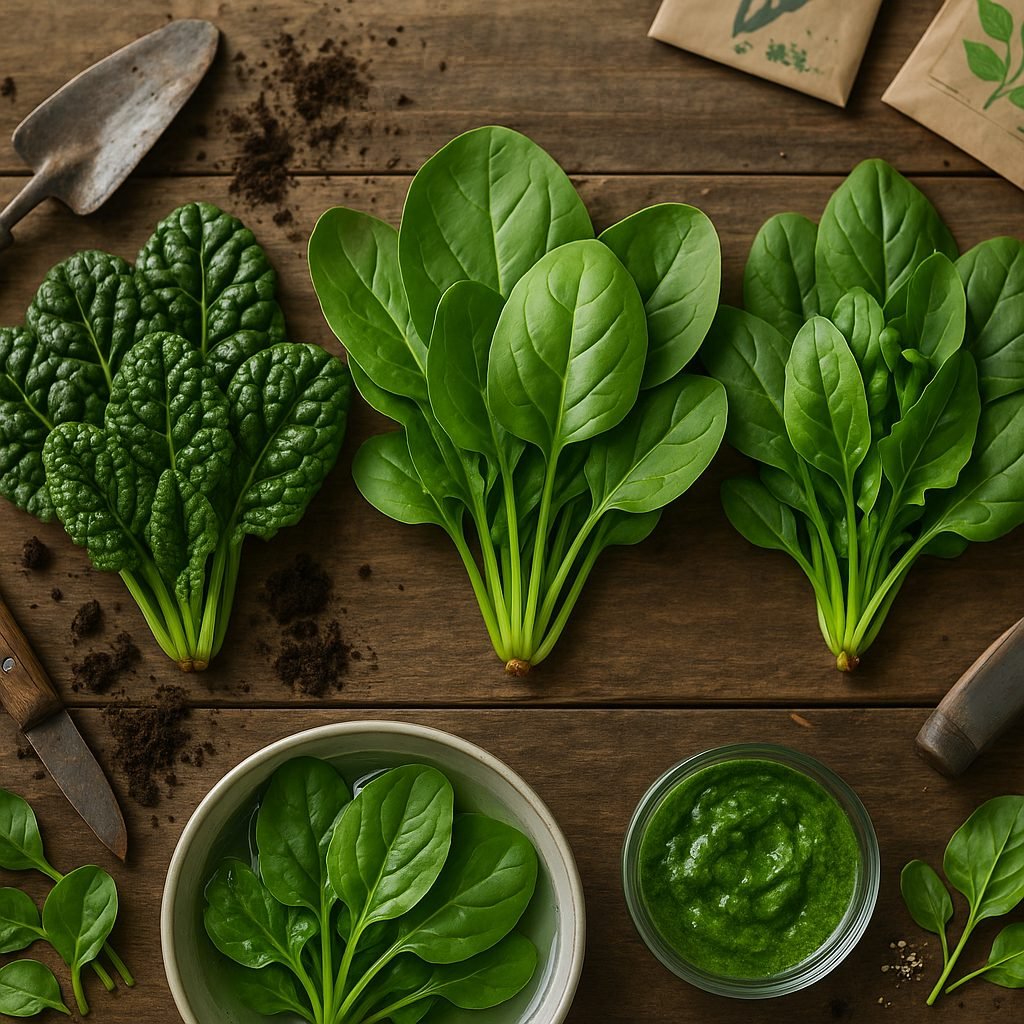
Seed Selection and Preparation
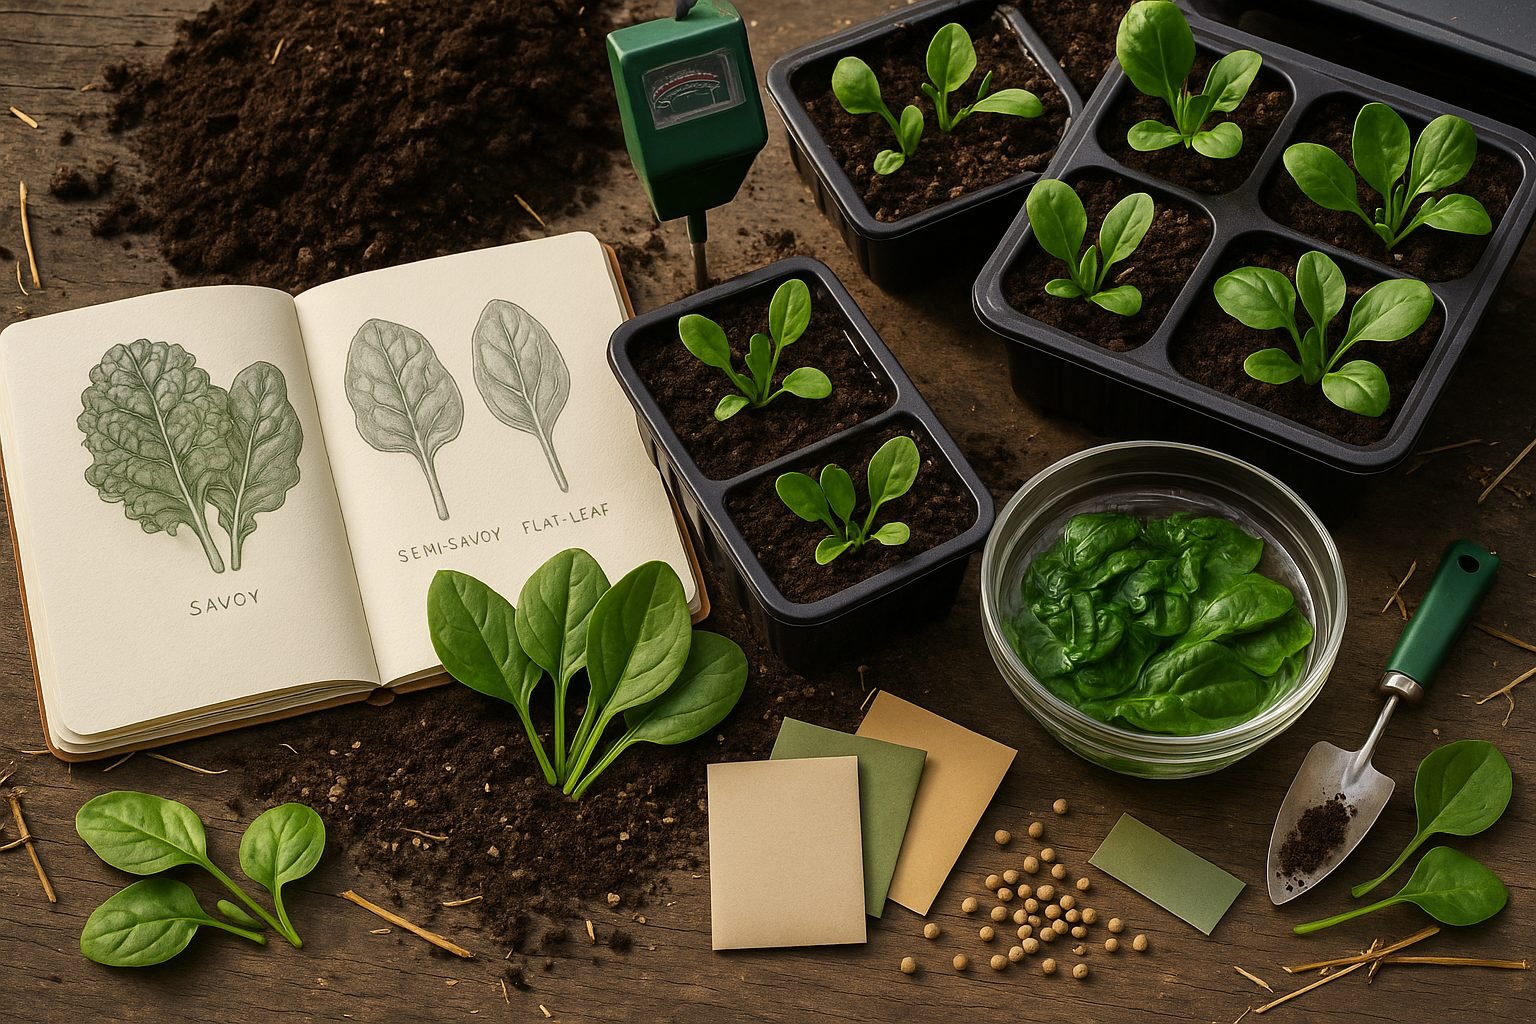
Understanding spinach growth stages begins with making smart choices during seed selection and preparation. The spinach variety you pick—whether savoy, semi-savoy, or flat-leaf—will affect your experience from germination to harvest. Savoy types have crinkly leaves and strong cold tolerance, making them ideal for overwintering or early spring gardens. Semi-savoy offers a balance with mildly crinkled leaves and moderate disease resistance, making it a practical choice for home gardeners and small-scale growers. Flat-leaf spinach features smooth leaves that are easy to wash and quick to mature, perfect for those who want baby spinach or fast successive sowings.
Pay close attention to seed quality to support healthy spinach growth stages. Choose seeds that are plump, firm, and sourced from a reputable supplier. It’s smart to check the packing date since spinach seeds typically lose viability after about a year. Using fresh seeds will improve your germination rates. For an extra boost, soak the seeds in room-temperature water for a few hours before planting; this softens the seed coat and speeds up sprouting, especially in cooler soils.
Don’t overlook soil health. Spinach thrives in well-drained, loose, nutrient-rich soil with a pH between 6.5 and 7.5. Before planting, amend the soil with compost or a balanced organic fertilizer, and break up any clumps to create a fine, crumbly texture—this helps delicate roots push through easily. Investing time in these early steps lays a solid foundation for healthy spinach growth stages and a bountiful harvest.
Germination Stage
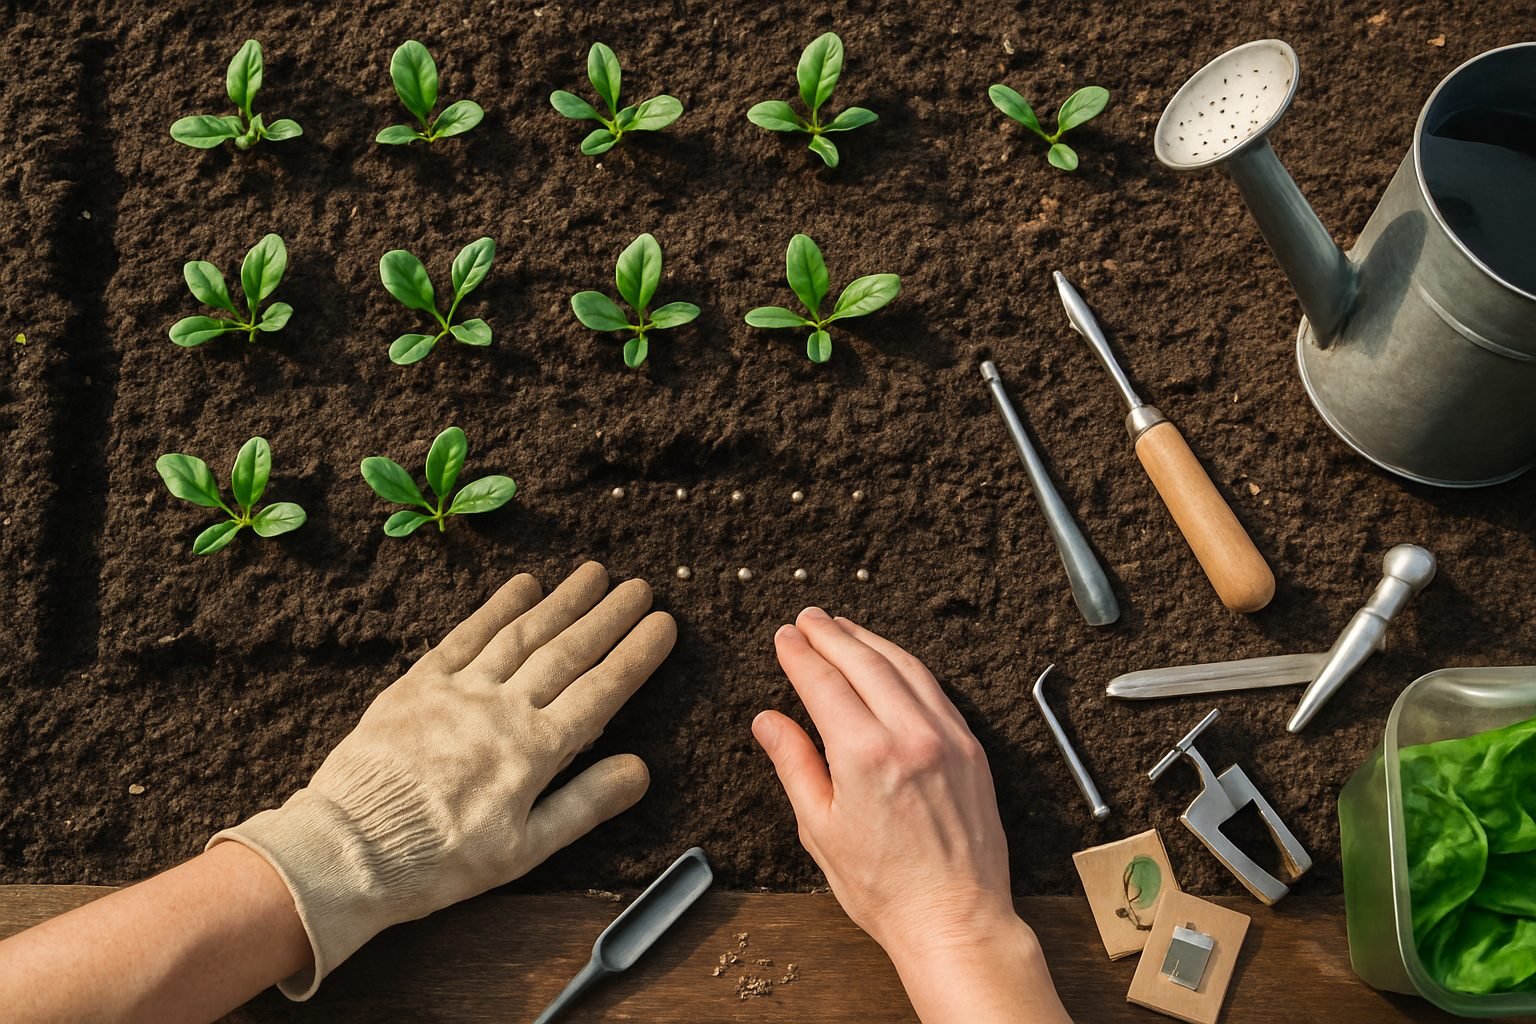
The germination stage is the first and one of the most important spinach growth stages, setting the foundation for a productive harvest. Gardeners can choose to sow spinach seeds directly in the garden or start them indoors. Direct sowing is often preferred since spinach doesn’t respond well to transplanting, but if spring arrives late, starting seeds indoors in biodegradable pots is a good alternative.
For either method, plant seeds about ½ inch deep in loose, fertile soil. Space seeds roughly one inch apart in rows 12 to 18 inches apart to give seedlings enough room to grow. When sowing indoors, use a seed-starting mix in small trays or pots, avoiding overcrowding.
Spinach seeds germinate best in cool soil temperatures around 50–60°F (10–16°C), making early spring or late summer the ideal times to plant. Maintaining consistent moisture is crucial—keep the soil evenly moist but not waterlogged to prevent crusting and promote uniform germination. Light isn’t needed before seeds emerge since germination occurs underground, but once shoots appear, ensure they get plenty of sunlight or strong artificial light.
Germination usually takes 7–14 days, marked by tiny stems and oval-shaped embryonic leaves (cotyledons) rising above the soil. Soon after, the first true leaves with a more familiar spinach shape will develop. Be on the lookout for damping off, a fungal disease that causes seedlings to wilt and die, often due to poor air circulation or overly wet soil. Prevent this by using sterilized pots and soil, watering from below when possible, and avoiding overwatering. Also, excessively warm conditions or dry soil can delay or stop germination.
By carefully managing these conditions during the germination stage, you’ll set the stage for healthy spinach plants that will thrive through all the next spinach growth stages.
Spinach Growth Stages
Seedling Development
After sowing spinach seeds, the first sign of life you’ll notice is the cotyledons—smooth, oval-shaped “seed leaves” that emerge shortly after germination. At this stage, seedlings look delicate and closely spaced, with petite green stems pushing up through the soil in search of light. Over the next week or two, true leaves begin to develop. These are broader, richer green, and have the distinctive crinkled or oval shapes typical of mature spinach.
As the true leaves emerge, the plant focuses on establishing sturdy roots and expanding its foliage, both essential for future leaf production. To support this stage, thin your seedlings so each plant is spaced about 3 to 4 inches apart, giving them enough room to grow without competing for soil nutrients and airflow. Consistent watering is key—spinach prefers evenly moist (not soggy) soil, so water gently and regularly, avoiding both under- and over-watering.
Seedlings thrive best with at least 6 hours of bright, direct light daily. If you’re growing indoors, consider supplementing with a fluorescent grow light. To encourage strong initial growth, feed seedlings with a diluted, balanced liquid fertilizer every two weeks. Watch for common pests like aphids, which can quickly damage young leaves; if you spot them, rinse off with water or treat with organic insecticidal soap.
With attentive care during the seedling stage, your spinach plants will progress smoothly through these critical early growth phases, setting the stage for a lush, healthy crop.
Vegetative Growth (Leaf Formation)
During the vegetative growth phase, spinach plants focus on rapidly expanding their leaves—an essential part of the spinach growth stages for developing a lush, harvest-ready crop. At this point, you’ll notice leaves unfurling and increasing in both size and number, creating a dense, green canopy. This growth burst usually begins two to three weeks after germination, especially in the cool, moist conditions that spinach prefers.
Healthy spinach at this stage displays bright to deep green leaves with a slightly glossy surface and sturdy, upright stems. Leaves should be broad, supple, and free of yellowing, curling, or spots, which can indicate nutrient deficiencies or pest problems.
To encourage optimal vegetative growth, it’s important to maintain consistent watering—keep the soil evenly moist but not waterlogged. Drip irrigation or soaker hoses are ideal as they prevent water from splashing on leaves, reducing the risk of fungal diseases. Mulching with straw or leaf compost around the plants helps conserve moisture, keeps root temperatures stable, and suppresses weeds that compete for nutrients.
Watch out for common spinach pests like aphids or leaf miners by checking the undersides of leaves regularly. If you spot small holes or sticky residue, remove affected leaves or use a gentle water spray to keep pests under control. Floating row covers can also serve as a physical barrier against pests. Additionally, monitor for signs of downy mildew and other fungal diseases, especially in damp conditions. Proper spacing and good air circulation help prevent most issues.
By staying attentive to these needs, you’ll lay the groundwork for vigorous spinach plants and a bountiful harvest during this critical stage.
Spinach Growth Stages: Maturation and Readiness for Harvest
As spinach moves from vigorous vegetative growth into maturation, knowing when to harvest is key for ensuring both quality and yield. Mature spinach plants are typically ready for full harvest about 37 to 50 days after sowing, depending on the variety and growing conditions. Signs of maturity include leaves that have reached their full size—usually 3 to 6 inches long for standard types—and plants with six or more well-developed, deep green leaves. The leaf texture should be tender yet substantial, and the growth dense and bushy, indicating the plant is ready.
If you’re after “baby greens,” which are gaining popularity in salads and gourmet dishes, the harvest window comes much earlier, around 20 to 30 days after germination. At this stage, the leaves are smaller (about 2 to 3 inches), more delicate, and milder in flavor. To harvest baby spinach, use scissors or clean garden shears to snip the outer leaves, leaving the inner leaves and growing point intact. This encourages the plant to keep producing new foliage, often allowing you multiple harvests in a season.
For mature spinach, you can either cut the whole plant just above the soil or selectively remove the larger outer leaves one at a time—a method called “cut-and-come-again.” This technique extends your harvest window and reduces plant stress. Always harvest during the cool morning hours to preserve leaf freshness and minimize wilting.
Be careful not to wait too long, as over-mature spinach develops thicker stems and a bitter flavor. The central stalk may also start to elongate or “bolt” as temperatures rise, signaling the end of the harvestable phase. With gentle handling, proper timing, and regular observation, your spinach crop can provide a steady supply of fresh, healthy greens over several weeks.
Bolting and End of Growth Cycle
Bolting marks the final stage in the spinach growth stages, triggered mainly by rising temperatures and longer daylight as spring transitions into summer. When spinach senses these changes, it shifts from leafy growth to reproduction, sending up a tall central flower stalk. You’ll notice the leaves becoming smaller, thicker, and more bitter, losing the tender texture that makes spinach ideal for salads and cooking.
At this point, the plant directs most of its energy toward seed production, signaling the end of its prime harvest period. To delay bolting, provide ample water, use mulch to keep roots cool, and consider planting slow-bolting spinach varieties. Planting early in spring or late in summer for a fall crop can also help you avoid hot weather.
Once a plant bolts, you can either let it finish flowering and save seeds for the next season—especially if you’re growing heirloom varieties—or remove the spent plants to make room for summer crops, keeping your garden productive. Acting quickly at the first signs of bolting lets you harvest the last tender leaves before quality declines.
Troubleshooting Common Issues During Spinach Growth Stages
Throughout the spinach growth stages, gardeners may face a few common challenges that, if identified early, can be managed effectively. One common issue is poor germination, which often happens when seeds are planted too deeply or the soil is too cool or dry. To improve germination rates, plant seeds just ½ inch deep in moist, well-tilled soil, and aim for soil temperatures between 50–70°F.
Yellowing leaves are another frequent problem, usually indicating nutrient deficiencies, water stress, or poor drainage. Make sure to water evenly—avoiding both completely dry or waterlogged soil—and consider applying a mild, balanced fertilizer if growth seems slow.
Pests like leaf miners can quickly damage young leaves by creating winding trails and causing tissue collapse. To prevent infestations, use floating row covers early in the growing cycle, and promptly remove and destroy affected leaves to break the pest lifecycle.
Premature bolting, where spinach rapidly sends up a flower stalk and stops leafy growth, is often triggered by rising temperatures, long daylight hours, or plant stress. To delay bolting, plant spinach in early spring or late summer, maintain consistent moisture levels, and choose bolt-resistant varieties.
Healthy spinach plants should have deep green, unblemished leaves with sturdy, upright stems and steady, gradual growth. Any stunted growth, discoloration, misshapen leaves, or visible pest damage signals the need for intervention. By closely monitoring your plants at each stage and acting quickly when issues arise, you can enjoy a more successful spinach harvest.
Conclusion and Quick Reference Table
Understanding spinach growth stages is essential for both new and experienced gardeners aiming for healthy, lush harvests. Spinach begins as a tiny seed that germinates quickly in cool soil. During the seedling stage, the first true leaves emerge—at this point, keep the soil moist and free of weeds. In the vegetative stage, spinach experiences rapid growth; regular watering and occasional feeding help keep the leaves tender. The final stage is bulking and harvest, when leaves reach the desired size but before the plants bolt or flower. Paying close attention as spinach grows allows you to spot small changes indicating when your plants need more water, nutrients, or protection from heat.
Here’s a quick reference:
- Seed Stage: Plant in cool soil, water lightly
- Seedling Stage: Thin plants, keep soil damp
- Vegetative Stage: Fertilize lightly, watch for pests
- Harvest Stage: Pick leaves early and often
By closely observing these phases, you’ll catch problems early and enjoy continuous harvests.