Introduction
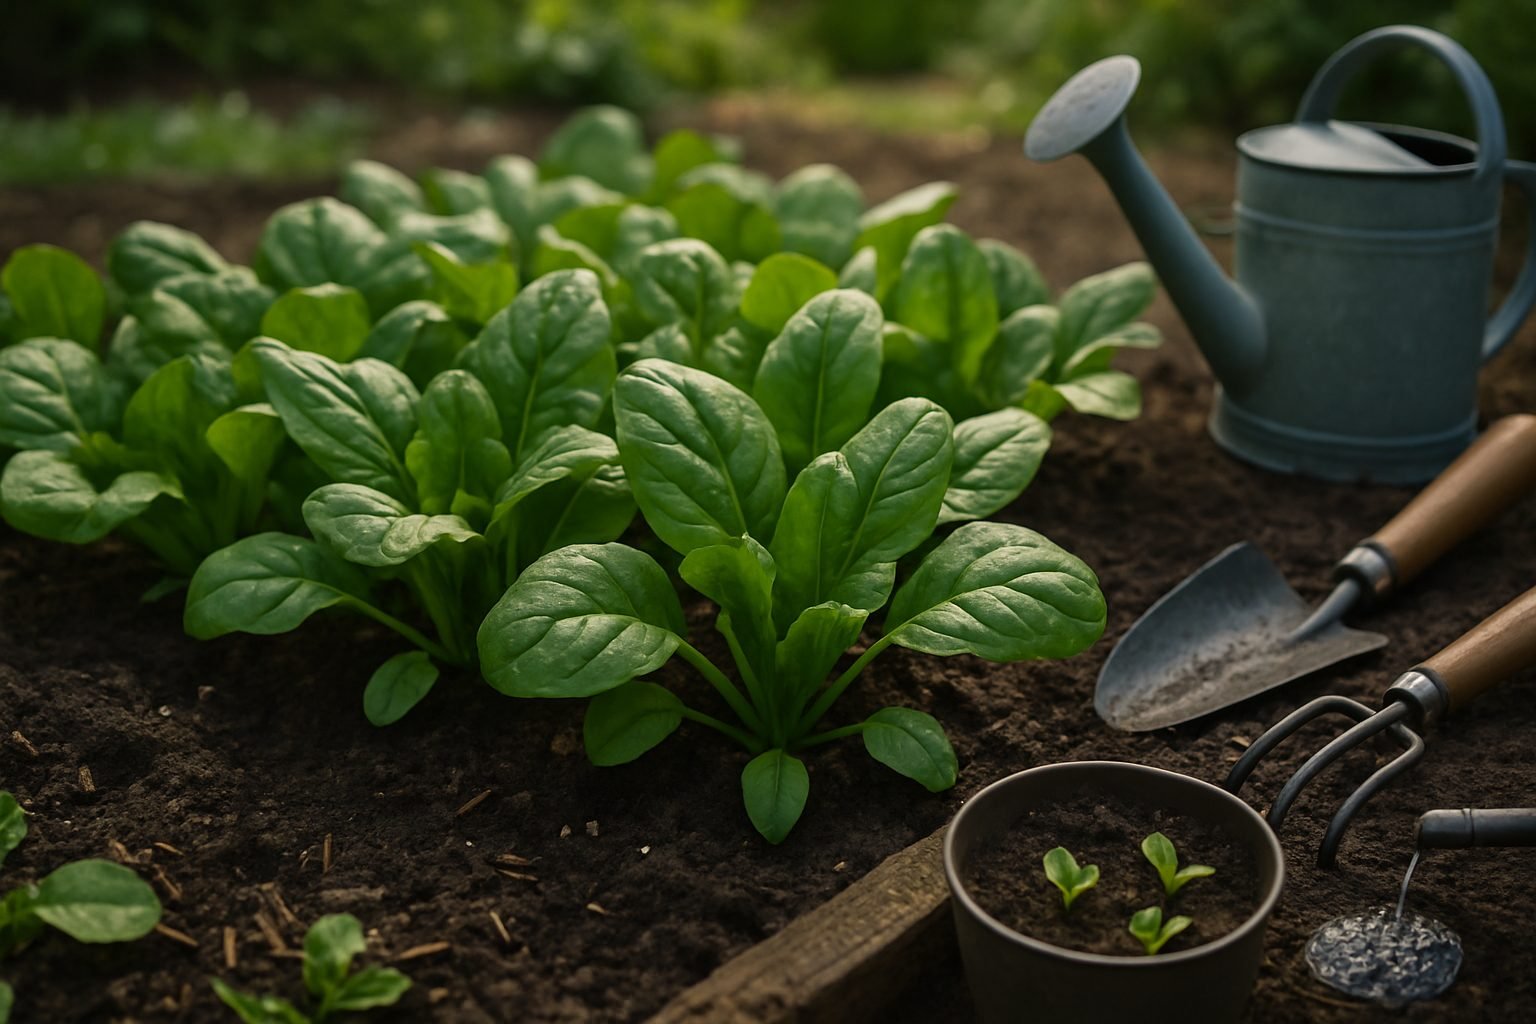
Growing spinach with kids is more than just a fun weekend project—it’s a fantastic way to introduce them to gardening and healthy eating. Spinach, a cool-season leafy green, is loved for its tender texture and mild flavor, making it a favorite for families to grow at home. Packed with vitamins A, C, and K, iron, and fiber, spinach is a nutritional powerhouse that supports growing bodies and boosts immunity. Plus, its versatility in the kitchen—whether tossed into smoothies, salads, omelets, or pasta—means children can enjoy the ‘fruits’ of their labor in countless delicious ways.
In this blog post, you’ll discover simple, educational spinach-growing projects designed especially for young gardeners. We’ll cover everything from selecting easy-to-handle seeds and understanding the basics of planting and soil preparation to hands-on maintenance like watering and weeding. You’ll also find tips on when and how to harvest spinach leaves at their tastiest, along with best practices for storing your homegrown greens to keep them fresh. Whether your goal is to inspire a lifelong love for gardening or sneak more greens onto your child’s plate, this guide will help you make growing spinach with kids an enjoyable and memorable family adventure.
Choosing the Right Spinach Variety
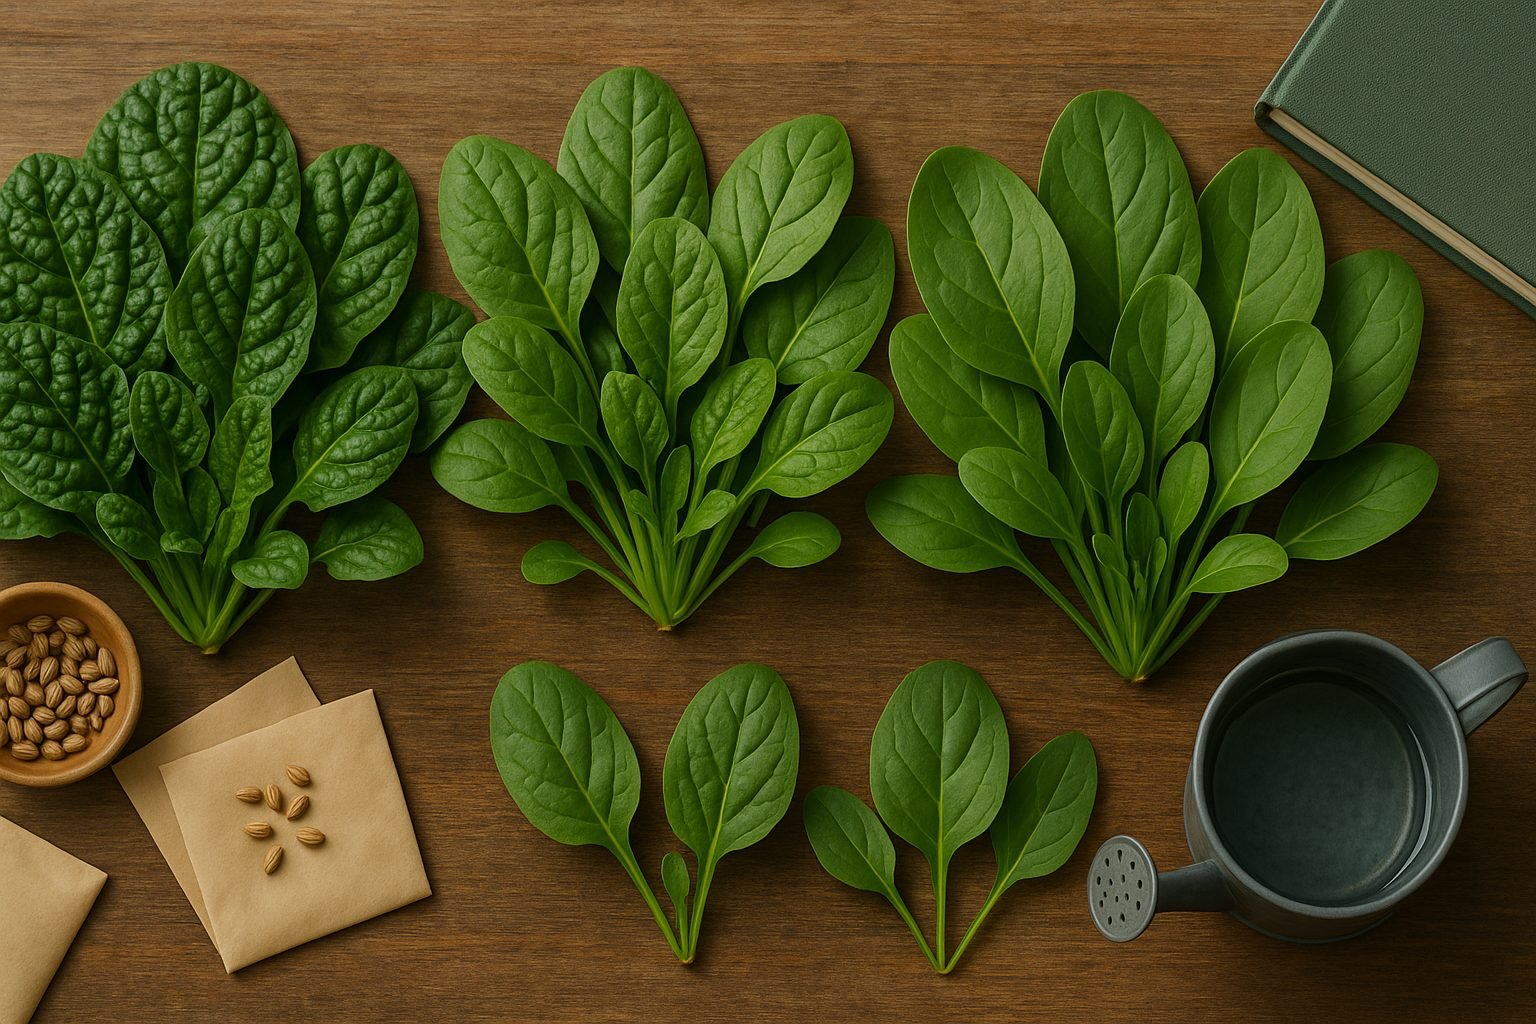
When picking the best spinach for your garden, it helps to know the differences between savoy, semi-savoy, and flat-leaf types.
Savoy spinach has dark green, crinkly leaves and a robust, earthy flavor that stands up well in cooked dishes like sautés and soups. It’s also quite cold hardy, making it a popular choice for outdoor gardens in cooler regions.
Semi-savoy varieties offer a happy medium with slightly crinkled leaves and a milder taste. They’re easier to wash and less likely to trap dirt, which is great if you’re limited on washing time or growing in a container on your patio.
Flat-leaf (or smooth-leaf) spinach shines in salads and for baby greens—its tender, mild-tasting leaves are perfect for eating raw. This type matures quickly, which suits both indoor and small-space growers.
For disease resistance, look for modern hybrids labeled as resistant to downy mildew or bolting (premature flowering), which can otherwise ruin a crop, especially in warm weather.
If you’re aiming for salads, choose fast-growing flat-leaf types like Space or Butterflay. For hearty cooked dishes, Bloomsdale Long Standing or other savoy types perform well. And if you want a flexible choice that handles a range of conditions, semi-savoy varieties like Tyee are reliable.
Always match your selection to your climate and space—hot climates benefit from bolt-resistant varieties, while cool seasons and outdoor gardens can take advantage of savoy’s hardiness.
Preparing and Planting Spinach
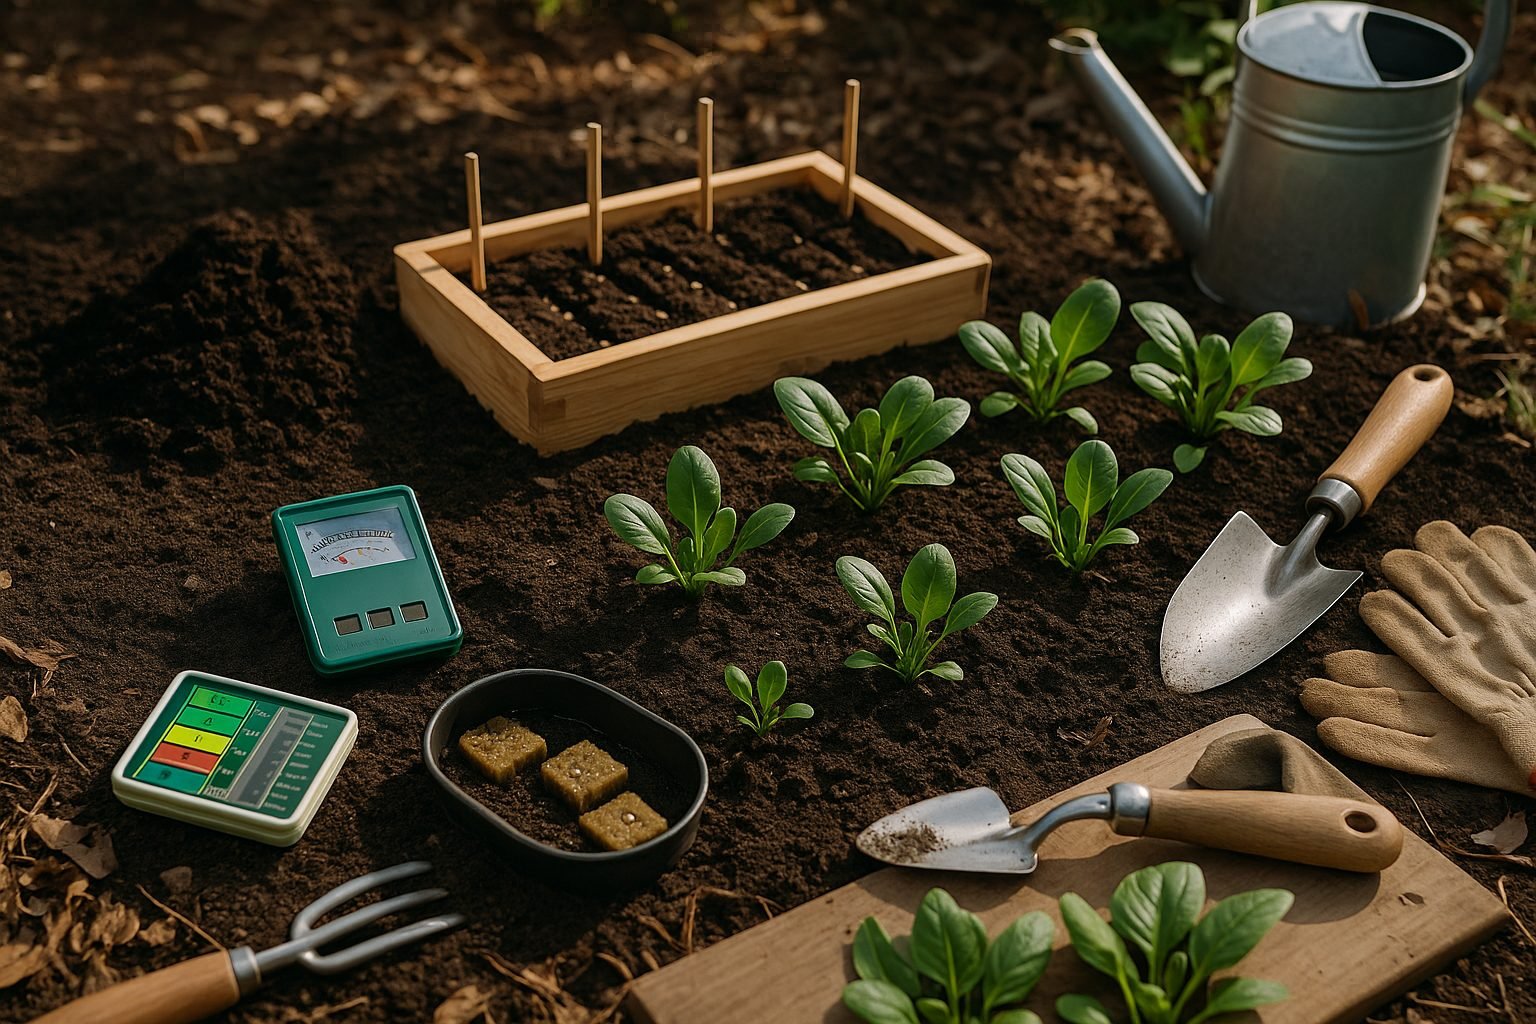
To grow healthy, flavorful spinach, start by choosing a sunny spot with well-draining soil. Spinach prefers a slightly acidic to neutral soil pH of 6.0 to 7.0—grab a simple soil test kit if you’re unsure. Clear the area of rocks and debris, and mix in plenty of organic matter like compost or well-rotted manure to boost nutrients and improve moisture retention. Loosen the top 8 inches of soil so young roots can spread easily.
For timing, spinach thrives in the cool temperatures of early spring and fall, making it one of the first and last crops you can plant. As soon as the soil can be worked—about six weeks before your last expected frost—direct sow seeds half an inch deep and 2 inches apart in rows 12 inches apart.
For a steady harvest, try succession sowing: plant a new row every 10-14 days up to a month before summer’s heat sets in, and repeat as temperatures drop in late summer. While most gardeners sow spinach directly outdoors, you can start seeds indoors 3-4 weeks before planting out; just transplant seedlings carefully to avoid disturbing their sensitive roots.
Companion Planting and Fertilizing
Want to maximize your garden space? Try companion planting: spinach grows well alongside radishes, strawberries, and peas, but avoid heavy feeders like brassicas. Top-dress the rows with a balanced, slow-release fertilizer or side-dress with compost during the growing season for lush greens.
By paying attention to soil health, timing, and smart planting techniques, even beginners can enjoy bountiful spinach harvests all season long.
Caring for Growing Spinach
Caring for growing spinach is all about striking the right balance between water, sunlight, soil fertility, and pest control. Water your spinach consistently, aiming to keep the soil moist but never soggy—usually about 1 to 1.5 inches of water per week, adjusting for rainfall. Early morning watering helps prevent fungal diseases by allowing leaves to dry out during the day.
Adding a layer of organic mulch, such as straw or shredded leaves, keeps the soil cool, conserves moisture, and suppresses weeds. Spinach thrives in cooler weather with at least 4-6 hours of sunshine daily; too much intense afternoon sun can trigger bolting, especially as temperatures rise.
Fertilizing is key: spinach is a leafy green that craves nitrogen. Use a balanced organic fertilizer or apply compost to enrich the soil, but avoid overdoing synthetic nitrogen fertilizers, which can cause excessive leaf growth and lower the plant’s resistance to disease.
Keep an eye out for common pests like aphids—tiny insects that cluster on the undersides of leaves—and fungal foes such as downy mildew. Combat these organically by spraying a mild solution of water and dish soap on aphids or rotating crops and ensuring good air circulation to reduce mildew.
If you spot yellowed, holey, or otherwise damaged leaves, remove them right away to stop the spread of disease and keep the plant productive. Thinning overcrowded seedlings will boost airflow and prevent problems down the line—just snip the weakest ones with scissors, leaving 3-4 inches between healthy plants.
By tending to these small tasks regularly, you’ll help your spinach thrive from seed to harvest.
When and How to Harvest Spinach
Knowing when to harvest spinach ensures you get the freshest leaves and encourages new growth. Generally, spinach is ready when the leaves reach between 3 to 6 inches long. Baby leaves can be picked as soon as they’re big enough to eat, usually about three to four weeks after sowing, while mature leaves appear around six to eight weeks.
You’ll notice the plant is mature when the outer leaves become broad and dark green. However, be careful not to wait too long, as older leaves can turn bitter.
There are two popular harvesting methods:
- Snip off the entire plant at the base, which is great if you want to clear space in your garden.
- Use the “cut and come again” approach. For this, use clean scissors to trim only the outer leaves about an inch above the soil, leaving the center rosette to continue growing. This way, you’ll enjoy several pickings over a few weeks.
To prevent bolting—the process where the plant shoots up a flower stalk and the leaves become tough—harvest promptly when the weather turns warm. Also, try to provide regular moisture and some shade during hotter spells.
For baby spinach, gently pinch off the smallest, tender leaves at the outer edges to encourage the rest of the plant to keep producing. For larger, mature leaves, cut them individually as needed, always leaving behind at least a third of the plant to keep it healthy.
Whether you’re choosing a handful of baby leaves for salads or harvesting a batch for cooking, regular picking keeps your spinach plants productive and flavorful.
Storing and Using Your Spinach Harvest
After harvesting spinach, start by removing any wilted or yellow leaves. Then, give the remaining leaves a good soak in a large bowl of cool water to loosen dirt and grit. Swish the leaves gently, allowing debris to sink to the bottom, and repeat with fresh water if needed.
Dry the cleaned leaves thoroughly using a salad spinner or by gently patting them with a clean kitchen towel—excess moisture can speed up spoilage during storage. For short-term freshness, line a plastic bag or airtight container with paper towels, loosely pack the dry leaves inside, and store them in your refrigerator’s crisper drawer. This method keeps spinach crisp for up to a week.
If you have a larger harvest, long-term freezing is a great option. Blanch spinach leaves briefly in boiling water (about 30 seconds), then plunge them into ice water. Pat dry and pack into freezer bags, squeezing out the air before sealing. Don’t forget to label the bags—your spinach will be ready for smoothies, soups, and stews for months to come.
As for using fresh spinach, it’s incredibly versatile: toss raw leaves into salads and wraps, fold them into omelets, stir them into pasta dishes just before serving, or blend them into green smoothies for an easy nutrient boost. The mild flavor works well in almost any meal, making it simple to add a pop of green—and a dose of vitamins—to your everyday cooking.
Troubleshooting Common Problems
Yellowing leaves often mean your plants are either overwatered or in need of a nutrient boost. A quick fix is to check soil moisture and add a balanced fertilizer if needed.
If you notice your plants suddenly sending up tall flower stalks—called bolting—it’s likely due to hot weather or inconsistent watering. Try providing shade during heat waves and keeping the soil evenly moist.
For pests like aphids or slugs, gently wash leaves with soapy water or hand-pick invaders early in the morning. Fungal diseases can often be controlled by spacing plants for good airflow and removing affected leaves right away.
If these problems won’t go away, consider reseeding in a new spot or practicing crop rotation next season to break pest and disease cycles.
Remember, many common issues are linked to early care—like overcrowding or poor soil preparation—so giving your plants enough space, sunlight, and steady moisture from the start can help prevent headaches at harvest time.
Conclusion & Spinach Success Tips
Growing spinach successfully starts with choosing a spot that gets plenty of sun and preparing fertile, well-drained soil. Plant seeds early in the spring or in the fall, and keep the soil consistently moist for healthy growth.
As soon as the leaves are big enough, begin harvesting the outer leaves and let the inner ones keep growing—this cut-and-come-again method encourages a longer harvest for fresh salads all season. For year-round spinach, try planting new seeds every few weeks or use containers so you can move your greens indoors when temperatures rise or drop.
Watch for pests like aphids and harvest before plants bolt in hot weather for the best flavor. To keep learning, check out university extension sites or gardening blogs, which are packed with advice for every experience level.
With a little care, you’ll have a steady supply of spinach right at your fingertips!