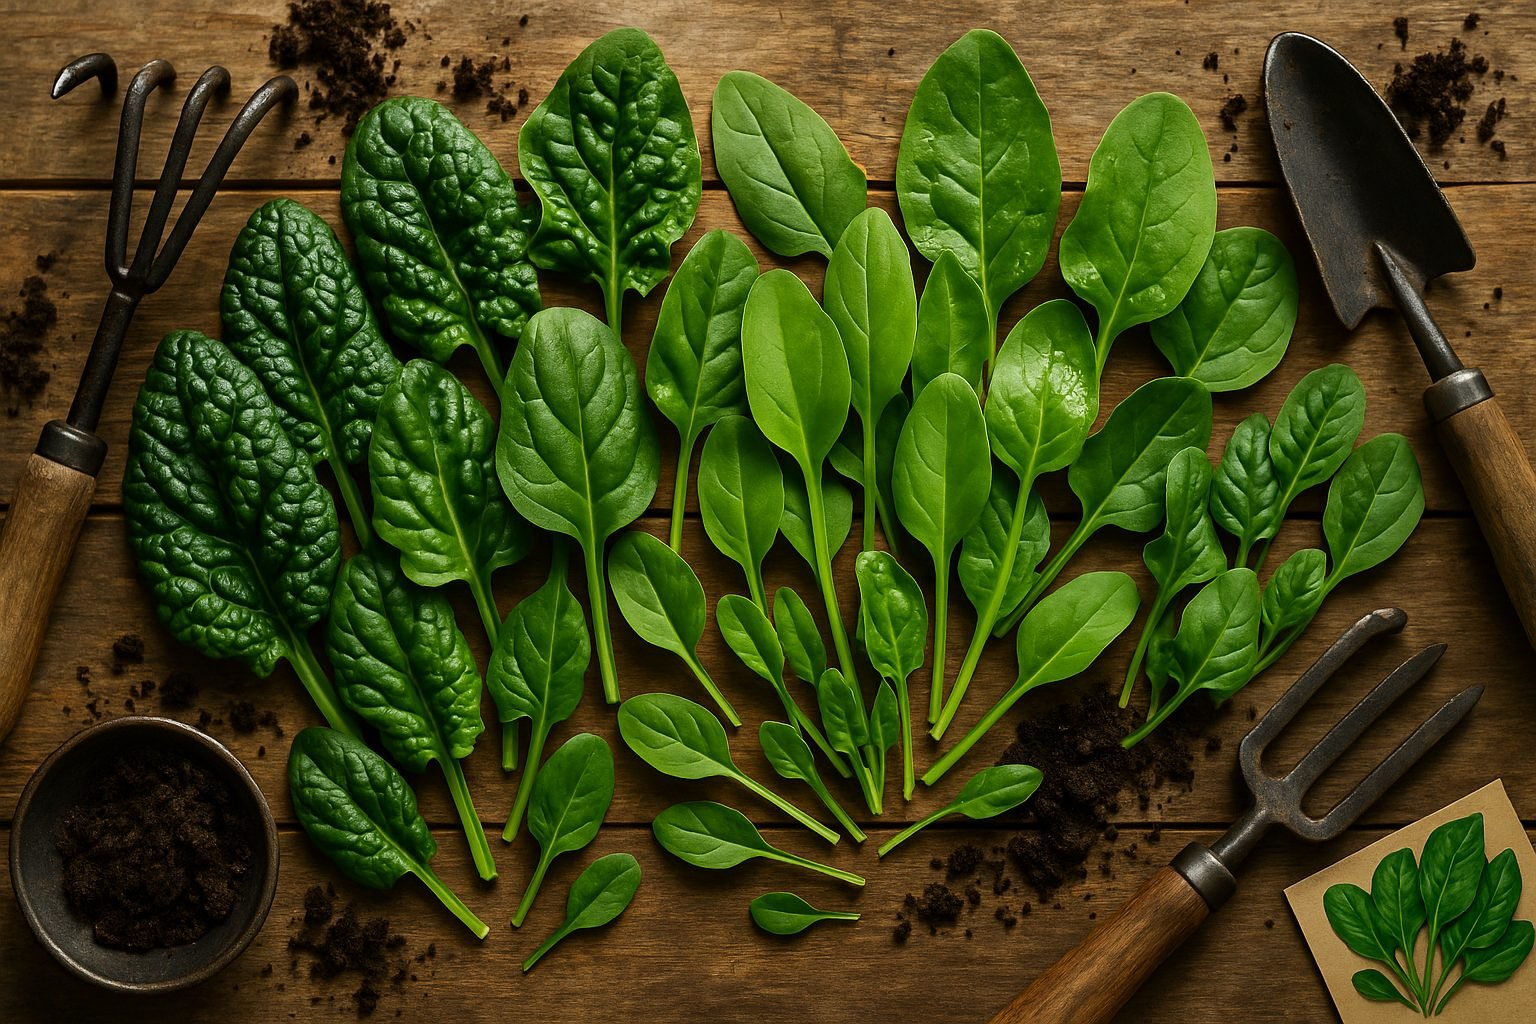
Choosing the Right Spinach Variety
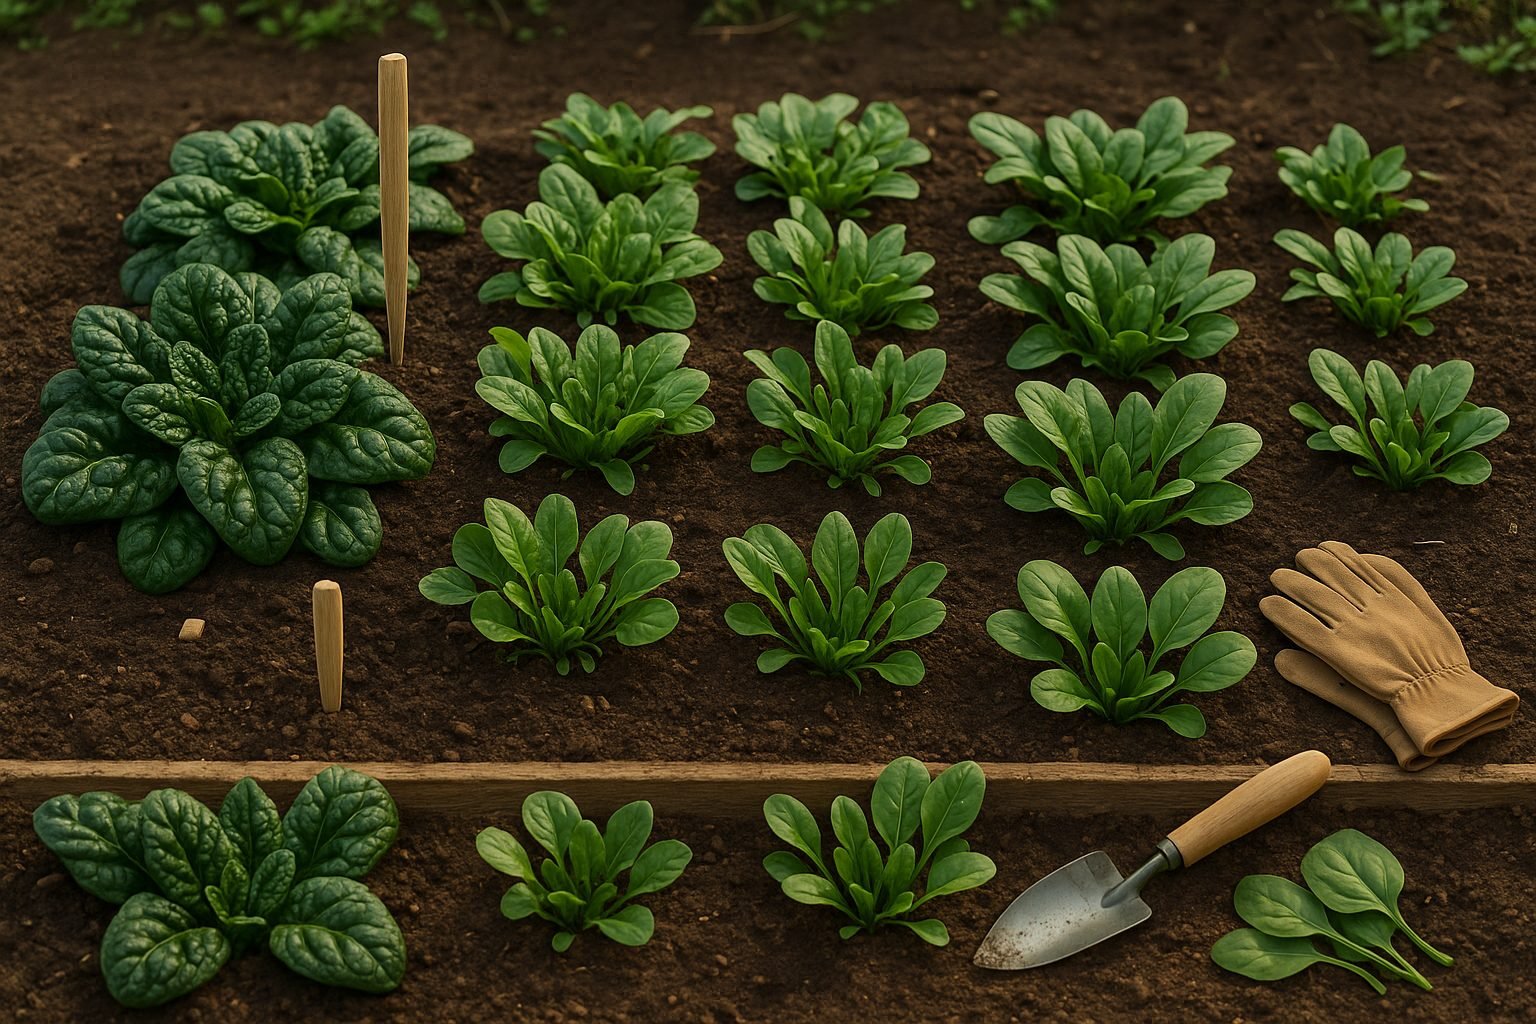
If you’re wondering how to maximize your harvest of cold weather spinach, you’re in the right place. While spinach is famed for thriving in chilly temperatures, choosing the right variety can make all the difference—especially when you garden where frosty nights are the norm.
Cold weather spinach comes in several types: savoy, semi-savoy, and smooth-leafed, each with unique traits suited for different climates and kitchen uses.
- Savoy spinach, with its dark green, crinkled leaves, is exceptionally hardy—perfect for overwintering and coping with harsh, prolonged cold. It’s a go-to for cooked dishes, as the leaves hold up well in sautés or soups.
- Semi-savoy varieties offer slightly less texture but are still robust enough for most cold spells; they’re easy to clean and wonderful for both salads and light cooking.
- Smooth-leafed varieties are your best friend if you prefer tender leaves for fresh eating—think spinach salads or sandwiches. Though often less tolerant of extreme winter, they are easier to wash.
For unpredictable spring or fall weather, look for bolt-resistant varieties that won’t rush to flower as soon as the first warm days hit. But if you’re aiming for a continual supply during cooler months, winter-hardy types like ‘Bloomsdale Long Standing’ or ‘Winter Giant’ can be sown in late summer or early autumn for harvests well into winter.
Ultimately, discovering the right cold weather spinach means thinking about both your local temperature swings and how you love to eat your greens—whether tossed raw in a salad or stirred into a hearty stew.
Preparing the Soil and Location
For healthy, vibrant spinach, start by choosing a sunny location that gets at least six hours of light daily—though spinach can tolerate some partial shade, especially in hot climates. The ideal soil is loose, rich in organic matter, and drains well; soggy or compacted soil can cause root rot.
Spinach thrives in soil with a pH between 6.5 and 7.0, so it’s worth using an inexpensive soil test kit to check your garden’s levels. If you’re planting in the ground, begin by loosening the soil to about 12 inches deep using a shovel or garden fork, breaking up any clumps to keep roots happy and prevent compaction. Mix in two to three inches of well-rotted compost or aged manure to boost fertility and improve soil structure.
For heavy clay soil, add a bit of sand or peat moss to increase drainage, and try to avoid walking on garden beds, which compresses the soil—lay down boards for walking paths if needed.
If you’re planting in containers, use a high-quality potting mix amended with compost, making sure pots have drainage holes. Finish by raking the surface smooth and watering lightly before sowing spinach seeds.
This simple prep sets the stage for lush, productive crops.
Sowing and Planting Spinach Seeds
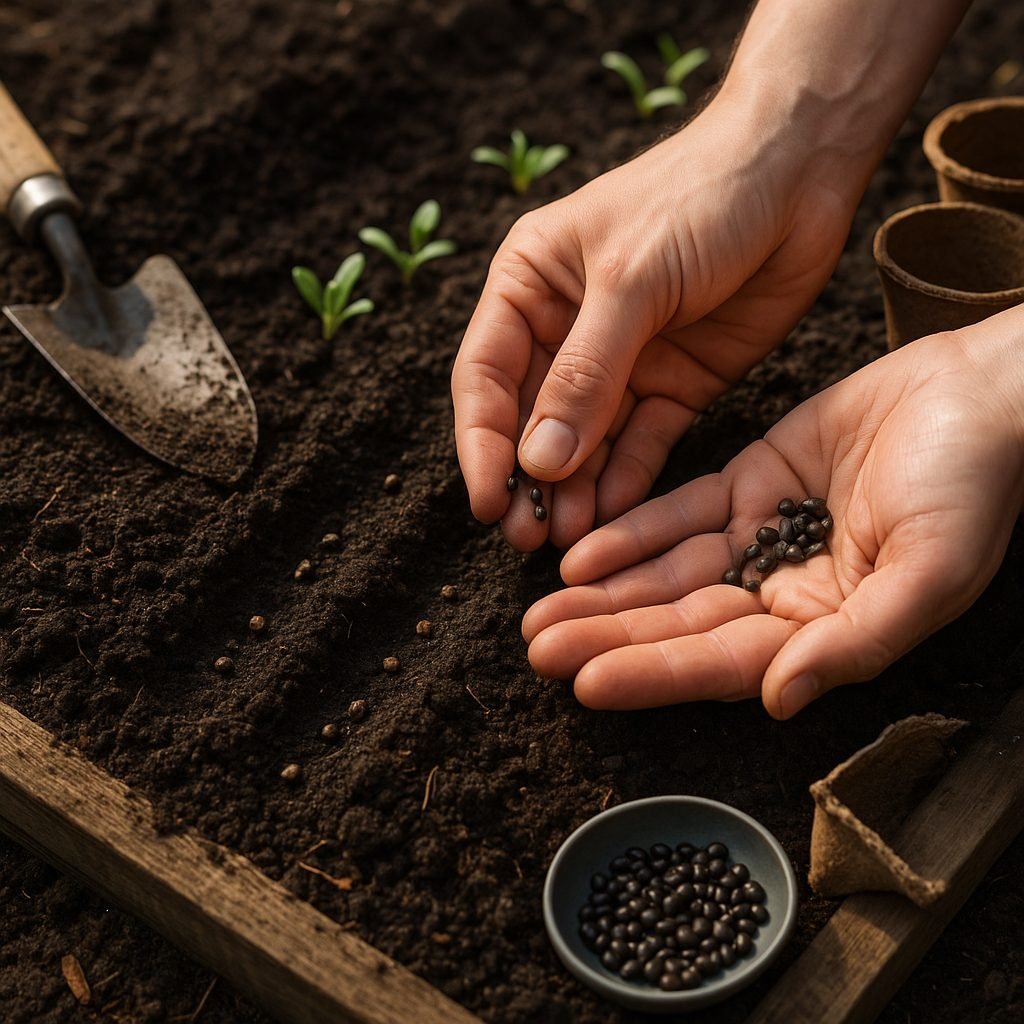
When deciding how to start your spinach crop, you’ll need to choose between direct sowing seeds outdoors or starting them indoors—a choice that depends on your garden space, climate, and schedule. Direct sowing is usually simpler and works best for most gardeners; spinach thrives when its roots are undisturbed, making outdoor sowing ideal.
Wait until soil temperatures are between 40°F and 75°F (4°C to 24°C)—about four to six weeks before your last expected spring frost or eight weeks before your first fall frost. This timing ensures the plants mature before temperatures get too hot or cold, which can cause bolting. In mild climates, sow in late winter or early spring for a spring harvest, and again in late summer for a fall or even winter crop.
If you have a short growing season or want to get a head start, sow spinach indoors about three weeks before your transplant date, using biodegradable pots to limit root disturbance during transplanting.
Regardless of the method, plant seeds about ½ inch deep and space them 2 inches apart in rows that are 12 to 18 inches apart. After seedlings appear (typically in 7–14 days), thin them to 4–6 inches apart so each plant has enough room to develop leaves.
Keep the soil consistently moist—not soggy—to help seeds germinate and young plants thrive. In real-world practice, some gardeners plant a few extra seeds, knowing that not all will sprout, then thin later as the seedlings grow. This increases your odds of an even, healthy spinach bed whether you start seeds inside or out.
Caring for Spinach Plants
Proper watering is key to thriving spinach plants, so aim to keep the soil consistently moist without letting it become soggy. The best approach is to water gently and deeply in the morning—using a watering can with a fine rose or a gentle hose attachment—to avoid splashing soil onto delicate leaves and to give roots time to absorb moisture before the midday sun hits.
Stick your finger into the soil each day; if the top inch feels dry, it’s time to water. Avoid standing water or pools, as spinach roots are prone to rot if left wet for too long.
In addition to smart watering, light fertilization can boost growth, especially in poor soils. Before planting, mix a balanced, slow-release fertilizer into the soil or enrich garden beds with compost. Once seedlings have developed a few true leaves, a diluted liquid feed (such as fish emulsion or half-strength all-purpose fertilizer) every couple of weeks can help keep plants green and vigorous—but stop fertilizing about a month before harvest to avoid leafy bitterness.
Thinning is also essential: when seedlings are about two inches tall, gently remove the weaker ones, spacing the remainder 3-4 inches apart so each plant has room to develop. Use scissors or pinch them off rather than pulling, to avoid disturbing nearby roots.
Regular weeding is just as important; small weeds can be hand-pulled or scratched out with a hoe when the soil is moist, but avoid digging deeply so you don’t damage shallow spinach roots.
Mulching with straw or leaf mold can help keep weeds down and retain soil moisture, making overall spinach care simpler and more successful.
Frequent attention to these basics pays off with a healthy, abundant spinach harvest.
Recognizing and Solving Common Problems
Beginner gardeners often face a few familiar challenges: pests nibbling on leaves, fungal diseases, and the frustrating rush of bolting caused by hot weather. Aphids, slugs, and caterpillars love tender greens, but you can keep them at bay by regularly checking the undersides of leaves and gently rinsing them off with a blast of water.
For persistent bugs, try sprinkling food-grade diatomaceous earth around your plants or introducing natural predators like ladybugs.
Fungal diseases, such as powdery mildew, thrive in humid, crowded conditions, so give plants breathing room, water at the base early in the day, and remove affected leaves promptly to stop the spread. If you notice white spots or mold, mix a simple solution of one part milk to nine parts water and spray it on leaves as a natural remedy.
Bolting—when plants like lettuce, spinach, or cilantro suddenly flower and turn bitter in the heat—can be discouraged by planting heat-resistant varieties, providing afternoon shade, or using mulch to cool the soil. Harvest greens early in the morning and pick them young before temperatures soar or flower stalks emerge.
By regularly observing your garden, acting quickly at the first sign of trouble, and using these low-impact solutions, even novice gardeners can keep their crops healthy and thriving through the season. Remember, most problems look worse than they really are, and a little proactive care goes a long way toward a lush, productive garden.
Harvesting and Storing Spinach
Harvesting spinach at the right time not only ensures the best flavor but also helps the plant keep producing more leaves. For the sweetest, most tender spinach, pick leaves when they’re about three to four inches long—usually around 35 to 45 days after planting.
Baby spinach can be harvested even earlier for salads, but if you want larger leaves for cooking, let them mature a bit longer. To encourage the plant to keep growing, use a pair of scissors or gently pinch off just the outer leaves, leaving the central rosette untouched; this allows the plant to continue producing new growth.
For a continuous supply, you can harvest every five to seven days, especially in cooler weather. Be sure to pick before the plant starts to bolt, which happens when days get longer and warmer—bolted spinach turns bitter quickly.
After picking, don’t wash the leaves if you’re storing them right away. Instead, lay them out dry on a paper towel, roll them up, and place them in a resealable bag in your refrigerator’s crisper drawer.
If you need to wash the spinach first, dry it thoroughly using a salad spinner or towels—moisture can speed up spoilage. Properly stored in the fridge, fresh spinach can last up to a week while still holding its flavor and nutrients.
For longer storage, blanch leaves in boiling water for about 30 seconds, then cool quickly in ice water, dry, and freeze in airtight containers or bags. This way, you can enjoy your homegrown spinach even after the season ends.