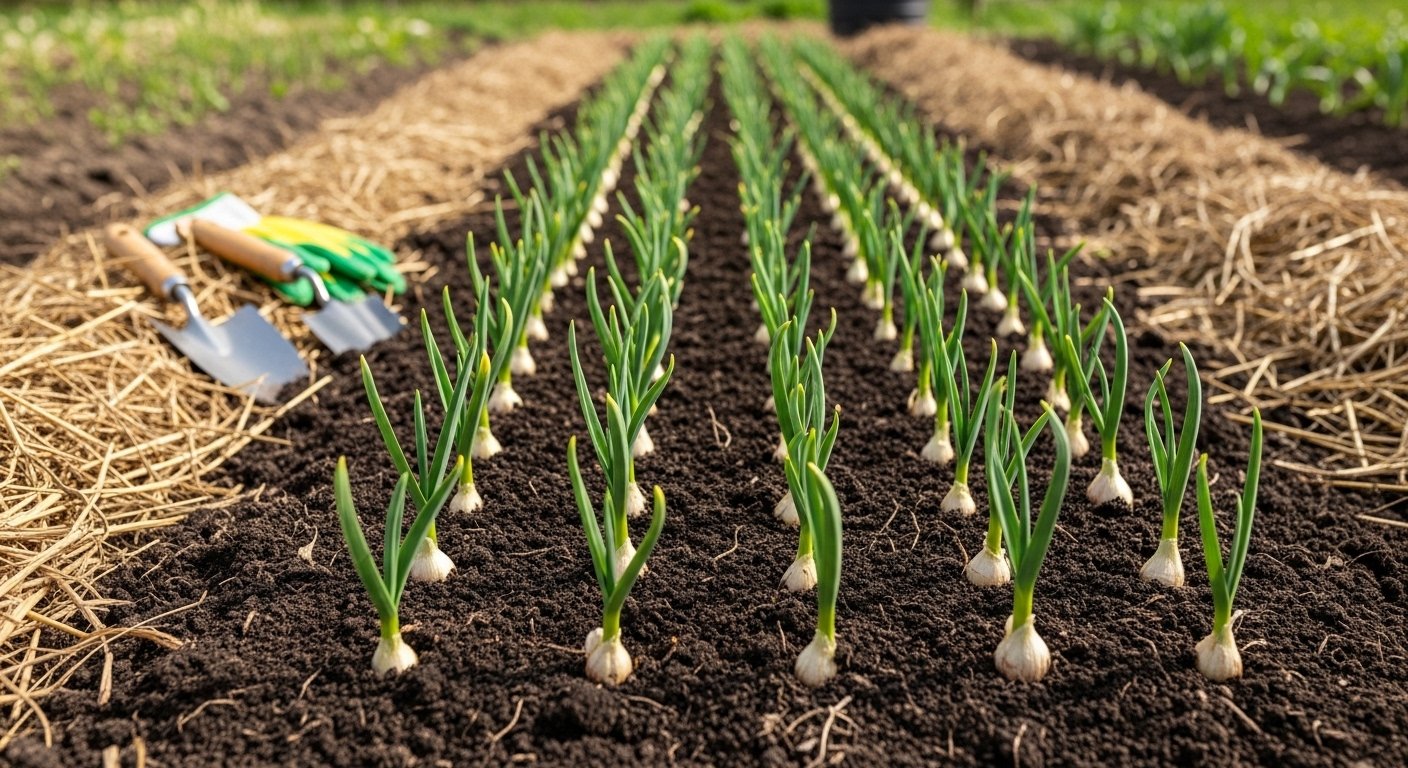
Introduction to Garlic Growing
Wondering when to plant garlic for a bountiful homegrown harvest? You’re not alone—garlic is one of the most rewarding crops in any home garden, no matter your level of experience. Many gardeners love growing garlic for its unbeatable flavor in the kitchen, its well-known health benefits, and its ability to thrive even with minimal fuss. Whether you’re a first-time grower or a seasoned pro, you’ll find that garlic is surprisingly forgiving and incredibly tasty.
But here’s the trick: knowing when to plant garlic can make all the difference between a healthy, robust crop and a disappointing one. Because climate and geography play important roles, garlic planting times vary depending on the zone you live in. In this article, you’ll learn exactly how to figure out your planting window, the different types of garlic (and which one might suit your needs best), and step-by-step guides to planting, caring for, and harvesting your crop. You’ll also pick up essential storage tips to keep your garlic fresh long after harvest.
So if you’ve ever eyed those plump garlic bulbs at the farmer’s market and thought, “Could I grow these myself?”—the answer is a resounding yes. With the right know-how and a little patience, you can transform ordinary cloves into your own culinary treasure. Let’s dig in and discover everything you need to know to successfully grow garlic in your garden, no matter where you live.
Types of Garlic: Softneck vs Hardneck
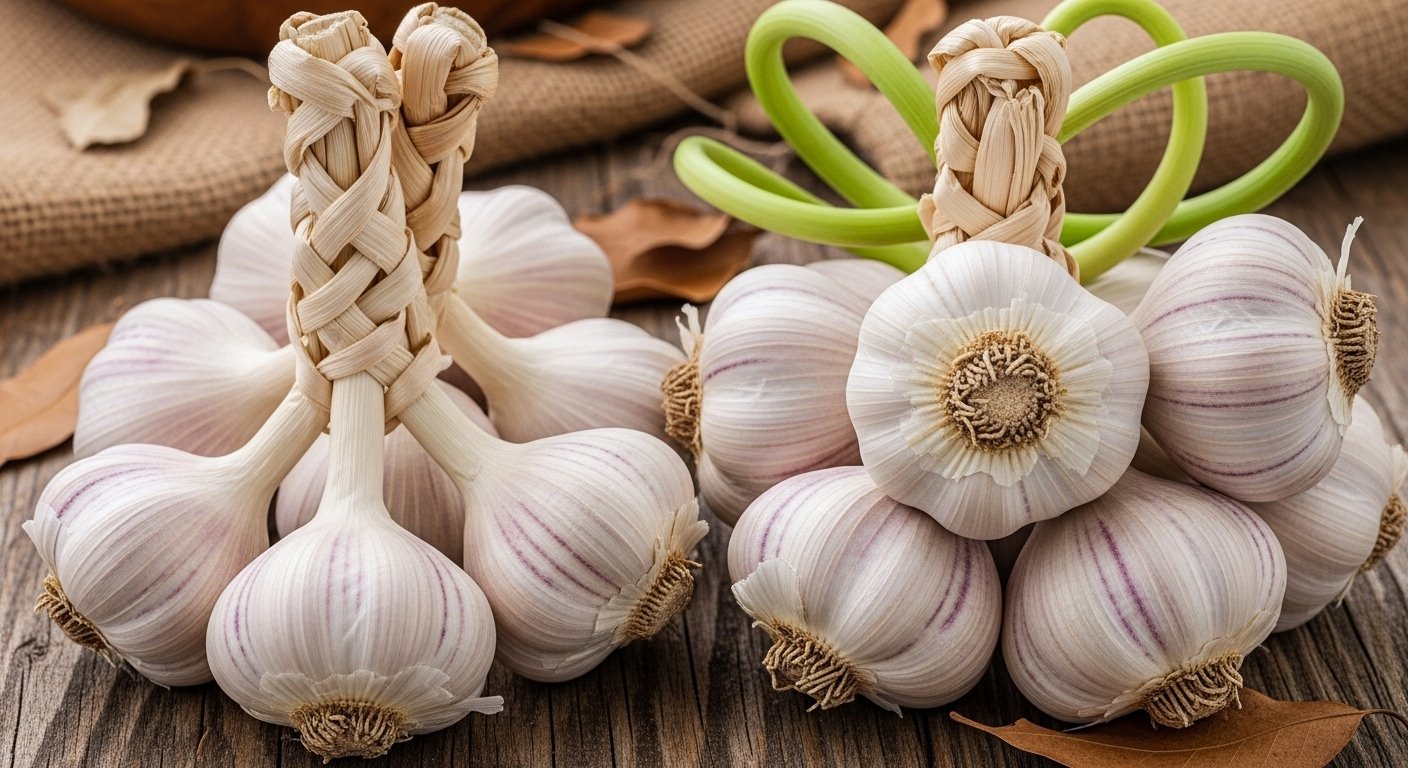
When choosing garlic for your garden or kitchen, it helps to know the difference between softneck and hardneck varieties. Softneck garlic, the most common in grocery stores, boasts a milder flavor and a longer storage life—sometimes lasting up to nine months. It’s better suited for warmer climates because it doesn’t require a true winter chill to grow well. The pliable neck of softneck bulbs also makes them perfect for braiding.
In contrast, hardneck garlic offers a more robust, complex flavor and produces edible flower stalks called scapes, which are delicious in stir-fries or pesto. However, hardneck bulbs don’t store as long—usually three to six months—and they thrive best in regions with cold winters.
For home gardeners, softneck types are low-maintenance and yield bigger harvests in mild climates but tend to lose flavor intensity over time. Hardneck types reward you with gourmet taste and variety but require more attention and do best in frosty zones.
When deciding, consider your climate first:
- If winters are mild, stick with softneck.
- If you get deep freezes, hardneck will flourish.
For cooks, choose softneck for subtle flavor and long-term storage, and hardneck for bolder taste or if you love using scapes. If space allows, growing both can give you the best of all worlds—a steady kitchen supply, variety in flavors, and the fun of trying new garlic recipes year-round.
How and When to Plant Garlic
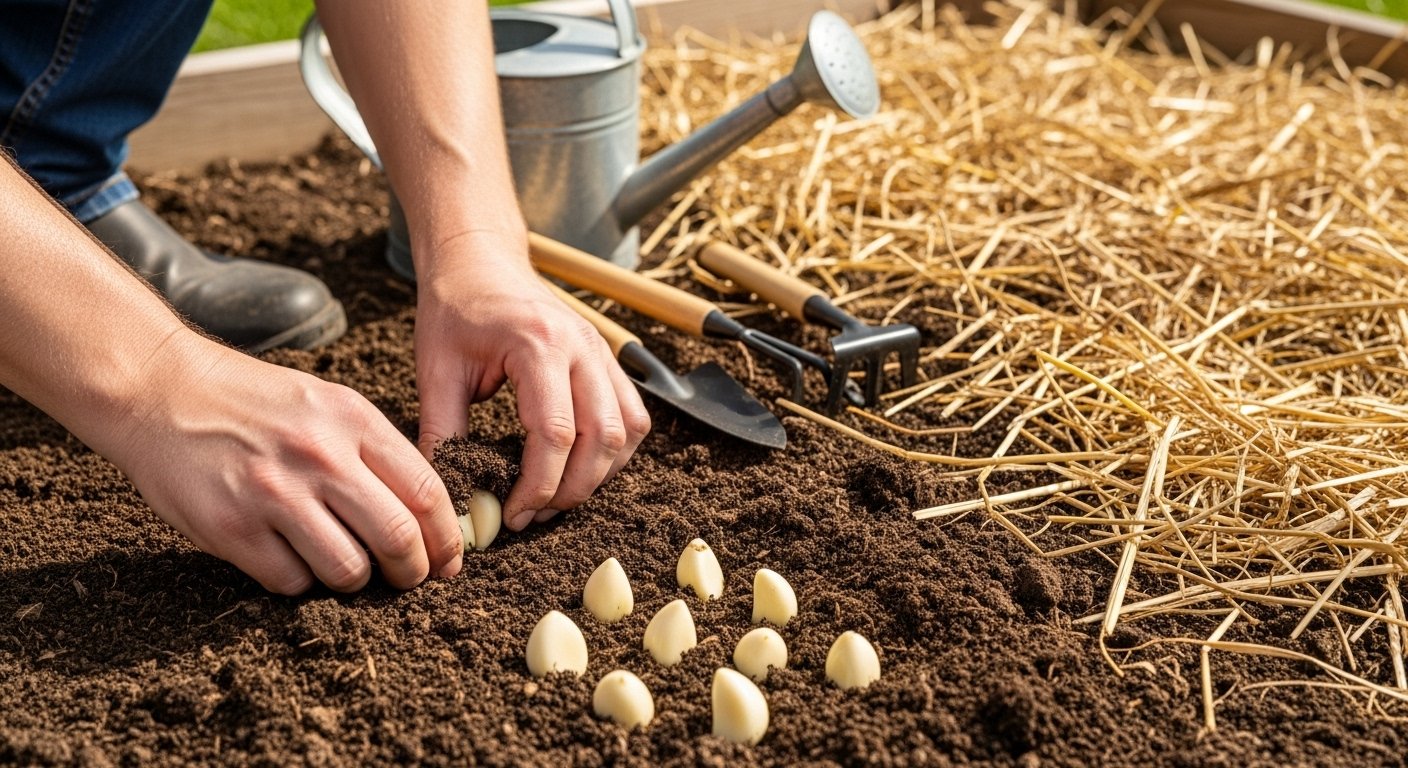
Planting garlic is simple and rewarding when you get the timing and details right. For most gardeners, fall is the best time to plant—about four to six weeks before the ground freezes in cold-winter climates, and between late October and November in temperate zones. In mild-winter regions, you can wait until late December or even January.
Start by sourcing garlic bulbs specifically labeled for planting from reputable garden centers or online suppliers, since store-bought garlic is often treated to prevent sprouting and may carry diseases. Before planting, carefully break apart the bulbs into individual cloves, keeping the papery skins on each clove. This helps protect them from rot and pests. Choose the fattest, healthiest cloves for planting, as these will produce the strongest plants.
Prepare your soil by loosening it at least 6 to 8 inches deep and mixing in compost for better drainage and nutrients. Plant each clove with the pointed end facing up and the root end down. In cold climates, plant cloves about 2 inches deep; in mild-winter areas, 1 inch deep is fine. Space cloves 4 to 6 inches apart in rows that are about a foot apart.
Water well after planting to help settle the soil, and mulch with straw or leaves for insulation in colder zones. Remember, patience is key—garlic spends the winter developing roots and emerges in spring for a summer harvest. By following these steps and matching your planting time to your climate, you’ll set yourself up for a healthy, flavorful garlic crop.
Preparing Soil and Choosing the Right Spot
Garlic thrives in well-draining, fertile soil with a neutral to slightly acidic pH, ideally between 6.0 and 7.0. Heavy clay soils or areas prone to pooling water can lead to rot, so aim for rich, crumbly earth that allows roots to breathe.
Before planting, loosen your soil to a depth of 8-12 inches and mix in plenty of compost or well-rotted manure—this boosts nutrients and improves texture. If your garden soil is sandy or lacking in organic matter, add aged compost or peat moss to improve moisture retention and fertility. For acidic soils, a handful of garden lime sprinkled into the bed can help raise the pH.
Garlic also prefers soil free from rocks or debris, which can interfere with bulb development, so take the time to sift and smooth the area where you’ll be planting.
As for location, pick a spot in your yard that receives at least six hours of sunlight a day. South-facing beds are often ideal, as sunlight helps bulbs grow large and healthy.
It’s best to avoid planting garlic where onions, leeks, chives, or other alliums were grown in the past three years, since soil-borne pests and diseases specific to the allium family can linger and weaken your harvest. Rotating crops and mulching with a thin layer of straw after planting will further improve your chances of a robust garlic bed.
If space is tight, garlic also does surprisingly well in raised beds or large containers, as long as you can provide the right soil mix and plenty of sun.
Take these steps to set the stage for a bountiful, low-maintenance garlic crop that tastes as good as anything you’ll find at the farmers’ market.
Caring for Garlic Plants
Proper care is essential for healthy garlic plants and a satisfying harvest. Throughout garlic’s growth cycle, water deeply but infrequently to encourage robust root development. In the early stages, aim for about an inch of water per week—either from rain or irrigation—ensuring the soil stays moist but never soggy.
Overwatering can lead to yellowing leaves and bulb rot, while underwatering often causes stunted growth and dry, papery foliage. As the bulbs begin to mature, usually around mid-June, gradually decrease watering and stop entirely two weeks before harvest to promote curing.
To retain moisture and suppress weeds, apply a 2-3 inch layer of mulch such as straw or shredded leaves right after planting; this also helps buffer temperature swings. Weeds compete aggressively with garlic for nutrients, so check your patch weekly and hand-pull invaders or use a hoe carefully to avoid damaging the shallow roots.
Fertilize garlic at planting with a slow-release, balanced fertilizer (like 10-10-10), then side-dress with a nitrogen-rich amendment—such as blood meal or fish emulsion—once shoots emerge in spring. Repeat this every 3-4 weeks until the bulbs begin to swell. Never apply fertilizers directly onto the leaves, as it can burn the tender foliage. Instead, sprinkle fertilizer along the rows, lightly work it into the soil, then water thoroughly.
Keep an eye out for pests like onion maggots, thrips, and nematodes. Rotating crops and removing plant debris helps minimize their impact. Common diseases such as white rot or downy mildew can often be prevented by planting disease-free seed garlic, practicing crop rotation, and ensuring well-drained soil.
Early action and attentive garden habits are key: quickly remove affected plants, improve airflow by spacing, and never reuse contaminated soil. These steps go a long way to keep your garlic patch thriving all season long.
Harvesting and Curing Garlic
Knowing exactly when to harvest garlic is key to getting plump, flavorful bulbs that store well beyond the summer. The best indicator is the state of the leaves: when the bottom third to half of the leaves have yellowed and dried, but the top half is still green, your garlic is ready. Avoid waiting until all the leaves are brown, as overmature bulbs can split or lose quality.
To harvest, use a garden fork or shovel to gently loosen the soil a few inches away from the plant—don’t just pull the stalk, as this can damage the bulb. Carefully lift each bulb, keeping as much of the protective outer wrapper intact as possible. Brush off excess soil without washing, since moisture at this stage can invite mold.
Once you’ve collected your garlic, it’s time for curing—a vital step for long-term storage. Bundle or lay the plants in a dry, well-ventilated, shaded spot, like a shed or covered porch. Hang them in bunches, or arrange on a mesh rack, ensuring good airflow around each bulb. Let them cure for two to four weeks; you’ll know they’re done when the wrappers are papery and the necks are dry.
Curing is essential because it toughens the outer layers, sealing in flavor and reducing the risk of rot. Only after curing should you trim the roots and foliage, then store your garlic in a cool, dry place out of direct sunlight. Taking your time with these steps means you’ll enjoy homegrown garlic all year—and avoid the disappointment of moldy or sprouting bulbs.
Storing Garlic and Using Your Harvest
Once your garlic has finished curing—usually after two to three weeks in a dry, shaded, well-ventilated spot—it’s ready for storage. Keep the bulbs intact and avoid washing them to extend their shelf life.
Store your harvest in mesh bags, paper bags, or loosely woven baskets to allow airflow and prevent mold; avoid plastic containers that trap moisture. Ideal conditions are cool (about 60°F), dry, and dark, such as a pantry, basement, or cupboard away from sunlight.
Under these settings, hardneck garlic typically keeps for four to six months, while softneck varieties can last up to a year. Expect flavors to mellow and cloves to dry out gradually over time, so use your freshest, juiciest bulbs first.
For easy preservation, try freezing peeled cloves or whole bulbs—just chop and freeze, or roast them first for rich, spreadable garlic. Roasted garlic keeps in the fridge for about a week or can be frozen for later use.
If you’d like to grow garlic again next season, set aside your healthiest, largest bulbs to use as seed garlic; store these in the same cool, dry conditions until it’s time to plant.
Adding minced garlic to sautéed veggies, whisking it into salad dressings, or baking whole heads for a sweet, mellow flavor will help you savor every bit of your homegrown bounty.
Companion Planting and Troubleshooting
Garlic thrives when paired with certain companion plants that boost its growth and health. Tomatoes, carrots, and peppers benefit from garlic’s natural ability to deter pests like aphids and spider mites, while garlic enjoys the shade and rich soil these neighbors provide.
Herbs such as dill and chamomile are also good partners, as they attract beneficial insects and help improve garlic’s flavor. Avoid planting garlic near beans, peas, or asparagus—these crops can interfere with garlic’s growth by competing for nutrients or inhibiting each other’s development.
When growing garlic, watch out for common issues like yellowing leaves, which may indicate overwatering or poor drainage. To fix this, ensure the soil is well-draining and consider watering less frequently. Fungus or rot can occur if bulbs stay too wet for too long, so always plant garlic in raised beds or loose, sandy soil.
Garlic is also susceptible to pests like onion maggots; combat these by rotating crops each year and promptly removing any diseased plants. Regular weeding and mulching not only keep the soil moist but also prevent both competition and fungal growth, leading to a strong, healthy garlic harvest.