Understanding Garlic Varieties and Their Uses
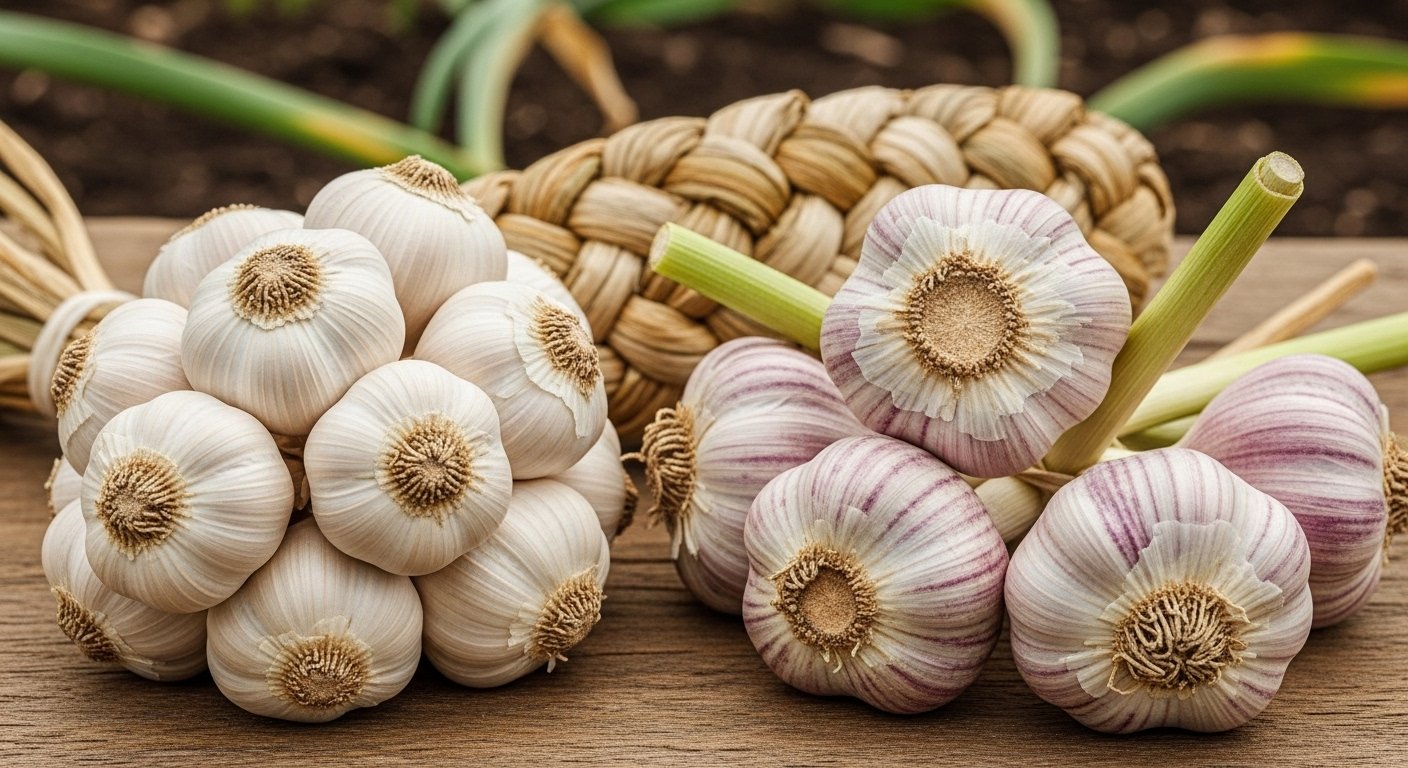
If you’re curious about garlic yield per plant, understanding the differences between garlic varieties is key to maximizing your harvest. There are two main types of garlic: softneck and hardneck.
Softneck varieties, like ‘California Early’ and ‘Artichoke’, are known for their mild flavor and impressive storage life, sometimes lasting up to nine months when kept in cool, dry conditions. These are the types you’ll most often see braided in markets, and they thrive in milder climates with less severe winters.
On the other hand, hardneck garlic, including popular varieties like ‘Rocambole’ and ‘Purple Stripe’, offers richer, more complex flavors and produces scapes—edible flower stalks that add another layer of use in the kitchen. However, hardneck types generally have a shorter storage life and are best grown in colder regions, where a hard frost is common.
Your regional climate should strongly influence your choice: choose softnecks for warm winters and hardnecks for chilly ones. Also, consider your intended use. If you want long storage or enjoy braiding garlic, go for softneck. If flavor complexity and culinary flexibility are your priorities, hardneck is the way to go.
By matching the variety to your region and needs, you’ll make the most of each plant’s yield.
Preparing Your Soil and Choosing a Planting Site
Selecting the right spot and preparing your soil sets the stage for healthy, vibrant bulbs. Start by scouting out a location that receives plenty of sunlight—at least six hours a day—and offers good air circulation, which helps prevent fungal diseases and encourages sturdy growth.
Check the soil; bulbs thrive in well-draining, fertile earth with a slightly acidic to neutral pH (around 6.0 to 7.0 is best). If water tends to pool after rain, consider raising your beds or choosing a different area.
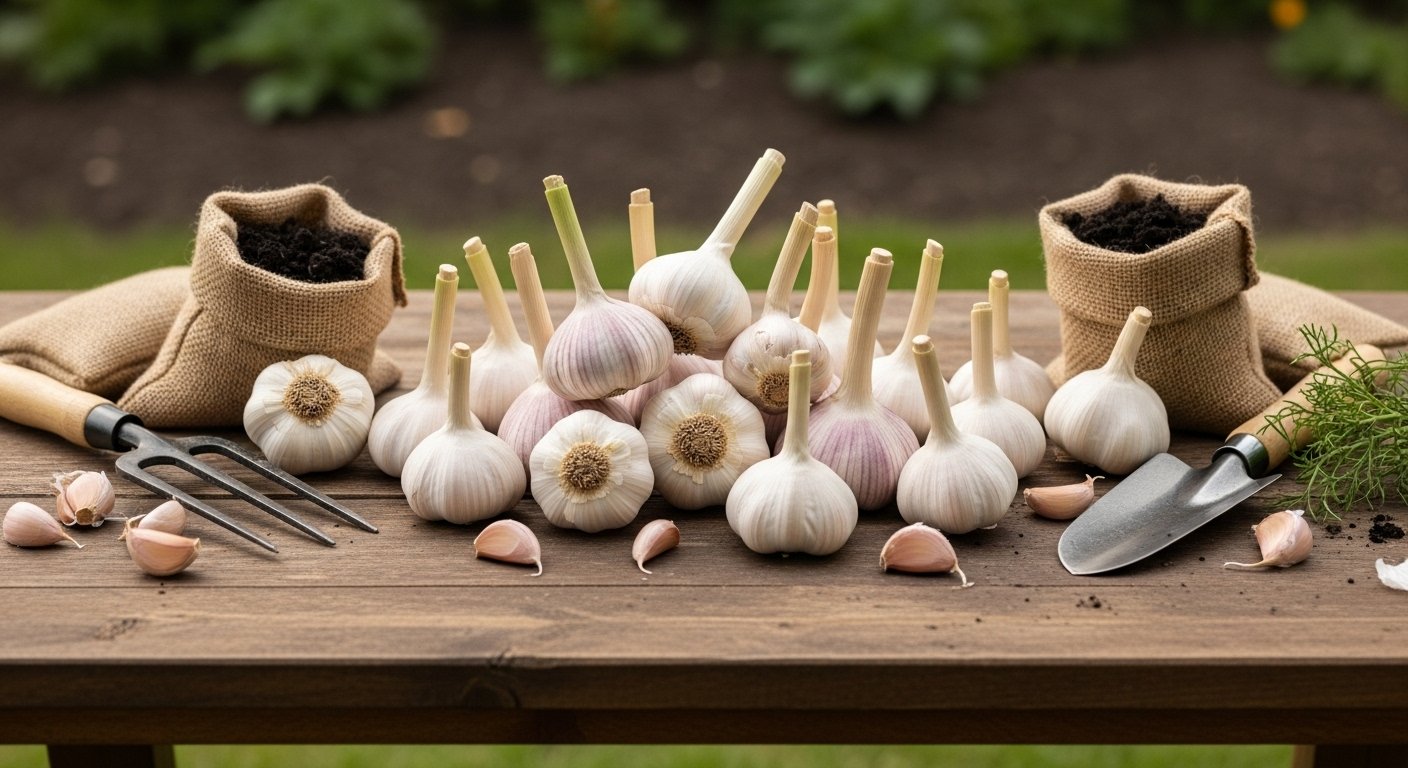
Before planting, remove weeds and any debris so your bulbs won’t have to compete for nutrients. Loosen the soil to about 12–14 inches deep using a garden fork or tiller—this encourages roots to establish more easily.
Mix in several inches of compost or well-rotted manure to boost fertility and improve soil texture. Add amendments like garden lime or sulfur to adjust pH as needed (test kits from garden centers make this step simple). Rake the surface smooth before planting.
Taking the time to create optimal soil conditions not only improves drainage but also gives your bulbs the best chance to absorb nutrients and flourish in the seasons to come.
Planting Garlic: Timing, Seed Selection, and Spacing
For the best garlic harvest, timing is key—most gardeners plant garlic in the fall, about 4-6 weeks before the ground freezes. Fall planting lets cloves establish roots before winter, resulting in larger, more flavorful bulbs by summer. In mild climates or if you missed the fall window, you can plant garlic in early spring as soon as the soil is workable, but expect smaller bulbs.
Always start with quality seed garlic from a trusted nursery or seed supplier. Grocery store garlic isn’t recommended since it might be treated to prevent sprouting or could introduce disease into your garden. When you’re ready to plant, gently separate each garlic bulb into individual cloves, leaving the papery skins intact for protection.
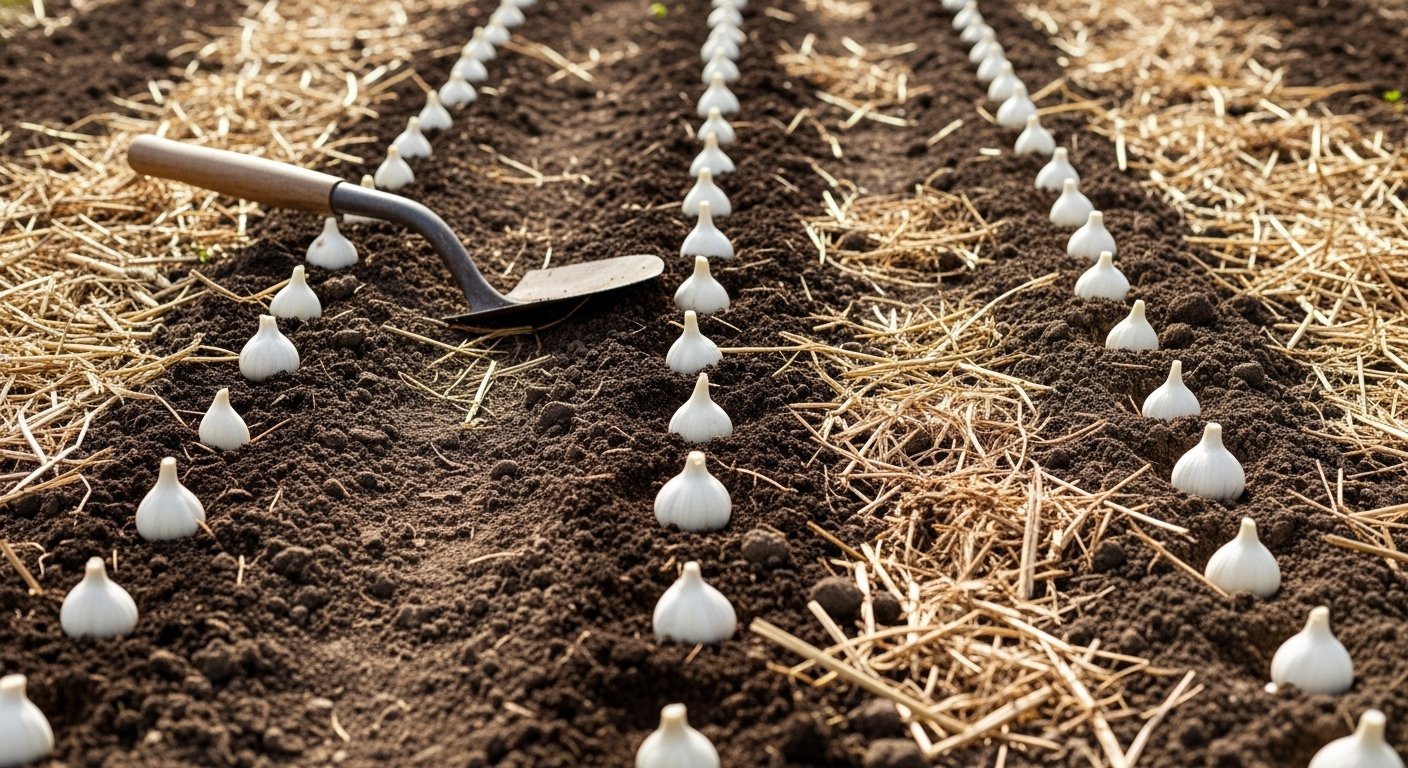
Plant each clove upright (pointy end up), spacing them about 4-6 inches apart in rows spaced 12 inches apart. Push each clove 2 inches deep into well-drained soil and cover with mulch to insulate through the winter. Proper spacing ensures each plant gets enough air and nutrients, decreasing the risk of disease and maximizing bulb size.
With these steps, you’ll set your garlic up for a healthy and productive growing season.
Garlic Crop Care: Watering, Mulching, and Fertilizing
Caring for your garlic crop starts with finding the right balance in watering. Garlic needs consistent moisture, especially during germination and bulb formation, but overwatering is a common mistake that can cause rot and fungal diseases. Aim to keep the soil evenly moist but not soggy; a good rule of thumb is about an inch of water per week, adjusted for rainfall. Watering early in the morning allows the foliage to dry during the day, reducing the risk of disease.
Mulching is another smart move for garlic growers. A 2- to 4-inch layer of straw, shredded leaves, or grass clippings helps lock in soil moisture, suppress weeds, and moderate soil temperature. This is especially beneficial in regions with fluctuating spring temperatures or dry spells.
Fertilizing is just as important—garlic is a heavy feeder and responds well to a top dressing of compost or well-rotted manure at planting time. If your garlic shows slow growth or yellowing leaves, it may be low in nitrogen or sulfur. Natural fertilizing options like diluted fish emulsion or a side-dressing of blood meal can help, but avoid over-fertilizing, especially with high-nitrogen fertilizers late in the season, as this can hinder bulb development.
Regular, moderate care is the key to plump, healthy garlic bulbs.
Managing Pests, Diseases, and Weeds
Garlic can be vulnerable to pests like onion maggots, thrips, and nematodes, as well as diseases such as white rot and downy mildew. To manage these organically, start by planting disease-free cloves and rotating your garlic crop every year—ideally, avoid planting in the same spot for at least three years to break pest and disease cycles.
Regularly inspect your plants; if you spot aphids or thrips, spraying them off with a strong jet of water or applying neem oil can help. For fungal diseases, keep garlic beds well-drained and avoid overhead watering.
Controlling weeds is crucial since they compete for nutrients and can harbor pests. Mulch with straw or compost to suppress weed growth and make weeding easier.
Lastly, good sanitation matters: always remove and destroy any diseased plants and clean tools between uses to prevent spreading pathogens. These practices boost your garlic yields while maintaining a healthy, organic garden.
Harvesting, Curing, and Storing Garlic
Knowing when to harvest garlic is key to getting plump, healthy bulbs. Look for leaves that are mostly yellow or brown, leaving a few green at the top—the lower leaves should be dried out, signaling maturity. Gently loosen the soil with a garden fork and lift bulbs by their stems instead of pulling, which reduces the risk of damage.
After harvesting, cure the garlic by tying bunches and hanging them in a dry, well-ventilated, shady spot for two to three weeks. This step is crucial—curing allows the layers to dry and form protective skins, helping to prevent mold and sprouting.
Once the bulbs are fully dry and the wrappers are papery, trim the roots and cut off the stems (or braid them for softneck varieties). Store garlic in a cool (about 60°F), dry place with good airflow, such as a mesh bag in a pantry. Avoid refrigerating, as cold temperatures encourage sprouting.