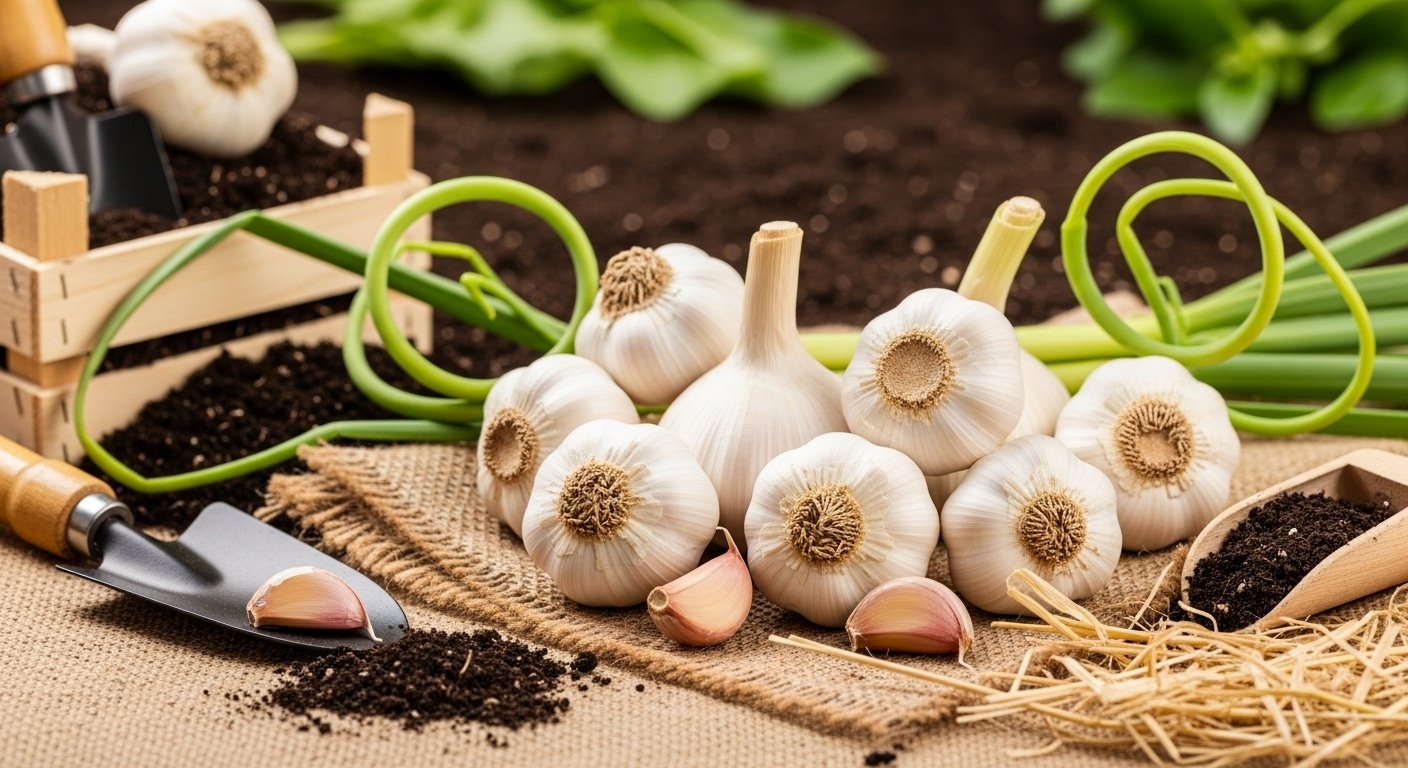
Choosing the Right Garlic Varieties
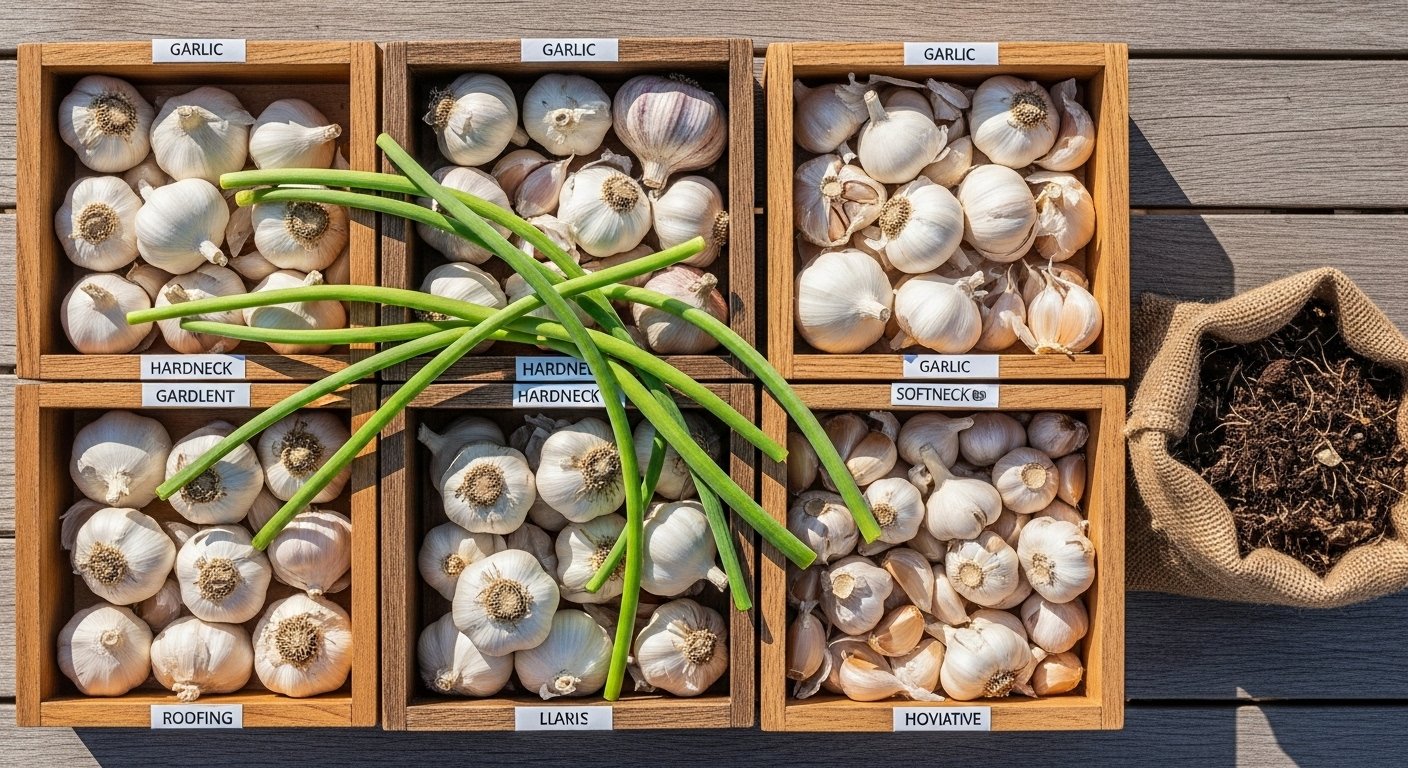
When it comes to no dig garlic growing, the first step to success is choosing the right garlic varieties for your garden. Garlic generally falls into two main types: hardneck and softneck.
Hardneck garlic thrives in cooler climates, producing a strong, complex flavor and tall flowering stems known as scapes—perfect for gardeners in northern regions who want robust, flavorful bulbs and an extra harvest from the edible scapes. Softneck garlic, on the other hand, prefers milder winters and is the kind most often found at grocery stores; it stores longer and offers a wider bulb with more cloves, making it ideal for southern growers or those aiming for a longer shelf life.
Your local climate should play a big role in your decision, but don’t overlook your flavor preferences or how you’ll use your harvest. If you crave bold, spicier garlic for roasting or cooking, look for hardneck types like ‘Rocambole’ or ‘Purple Stripe’. If you want mild, versatile garlic that stores well, try softneck varieties such as ‘Silverskin’ or ‘Artichoke’.
Specialty varieties like ‘Music’ (hardneck) or ‘California Early’ (softneck) are favorites among home gardeners for their reliability and rich taste.
Lastly, consider your growing goals: are you looking for large bulbs, vibrant scapes, or rare varieties? Local farmers’ markets or seed catalogs often offer unique heirloom garlics like ‘Spanish Roja’ or ‘Elephant Garlic’ (technically a leek) for gardeners eager to experiment.
By matching the right garlic variety to your climate and kitchen needs, you set your no dig garlic patch up for a bountiful, stress-free season.
Getting Started: When & How to Plant Garlic
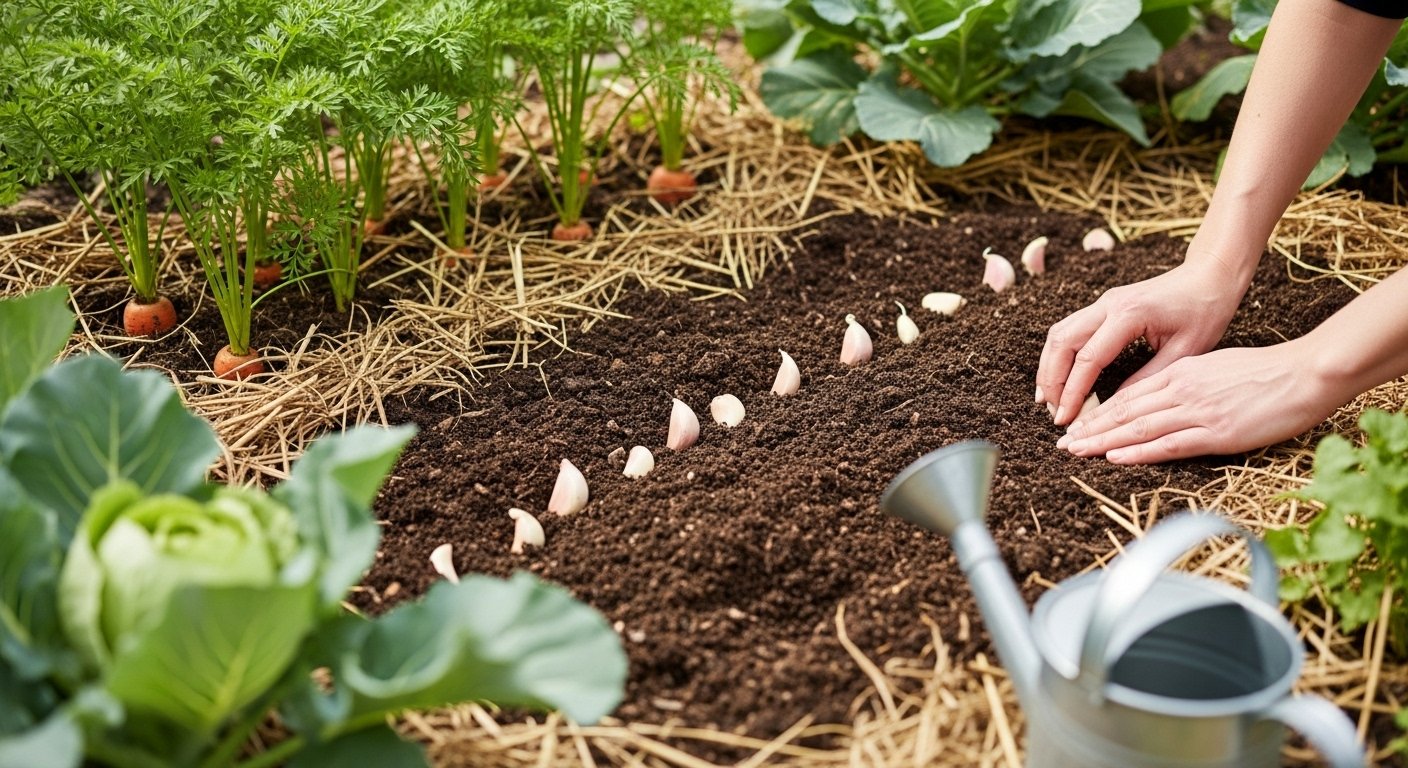
Planting garlic at the right time is key to a healthy crop. In most Northern regions, fall planting is best—aim for about 4-6 weeks before the ground freezes, typically mid-September to early November. This gives the cloves time to establish roots before winter. If you live in milder Southern areas where winters are short and mild, you can plant in late fall or even early spring when the ground is workable.
To get started, choose a sunny spot in your garden that gets at least six hours of light each day, or use a large container if you’re short on space—the deeper, the better, as garlic bulbs need ample room to expand. Prep your soil by loosening it to at least 8 inches deep and mixing in compost for good drainage; garlic hates wet feet!
Break apart the garlic bulb into individual cloves, keeping the papery skins intact, and select the largest, healthiest ones for planting. Plant each clove pointed end up about 2 inches deep and 4-6 inches apart. In containers, be sure not to crowd the cloves so each bulb has room to grow.
Water well after planting, and lay down a light layer of mulch if you’re planting outdoors to help protect the cloves through winter. With these simple steps, you’ll be set for a bountiful summer harvest—even if you’re working with a small balcony or backyard.
Caring for Garlic Plants
Caring for garlic plants throughout their growth cycle requires attention to a few key factors that can make a significant difference in the harvest.
Watering
Water your garlic consistently—about one inch per week during the growing season is ideal. Avoid overwatering, as soggy soil may lead to bulb rot. As the weather warms, especially after bulbs start to form in late spring, gradually reduce watering to help the cloves mature and avoid splitting.
Mulching
Mulching is a smart move for garlic beds. Apply a two- to three-inch layer of straw or shredded leaves after planting in the fall, and refresh this layer in spring. This helps keep moisture steady, blocks weeds, and insulates garlic roots from sudden temperature swings.
Weeding
Weeds can quickly crowd garlic, but be careful when removing them. Hand-pulling is safest because hoes or trowels can nick the shallow bulbs. Check weekly and remove weeds while they’re still small, preferably after watering when the soil is loose.
Fertilizing
A monthly dose of balanced liquid fertilizer—preferably high in nitrogen—can boost early leafy growth. However, taper off feeding once bulbs begin to swell around late May or June.
Frost Protection
If late frosts threaten in spring, protect tender shoots by covering beds with old sheets or row covers at night, removing them once temperatures rise.
Common Issues and Maintenance
- Watch out for yellowing leaves, which can signal overwatering or nutrient deficiency.
- Keep an eye out for pests like onion maggots.
- Good air circulation, crop rotation, and clean tools help keep diseases at bay.
By paying attention to these basics, you’ll give your garlic a strong start and ensure a healthy, flavorful harvest.
Companion Planting: Good and Bad Neighbors for Garlic
Garlic is a powerhouse in the garden, known for naturally repelling pests like aphids, spider mites, and even rabbits. Growing it alongside certain vegetables can lead to healthier plants and bigger harvests.
Great companions for garlic include:
- Tomatoes, which benefit from garlic’s pest-repelling properties
- Carrots and beets, which enjoy the improved soil conditions
- Strawberries, which produce sweeter fruit when planted nearby
- Brassicas like cabbage and broccoli, where garlic helps deter cabbage loopers and other destructive insects
However, not all neighbors are friendly. Avoid planting garlic near:
- Legumes such as peas or beans, as garlic can inhibit their growth
- Sage and asparagus, which can suffer from stunted development due to root competition
To maximize your garden’s potential, try these strategies:
- Alternate rows of garlic with rows of tomatoes or carrots
- Border your strawberry patch with garlic bulbs to form a natural pest defense
- Use garlic as an edging plant in raised beds or between taller vegetables that won’t shade it out if space is tight
Strategic placement of these allies and rivals not only helps control pests naturally but also improves soil health and increases your overall yield without the need for chemicals.
Dealing with Garlic Pests and Diseases
Garlic, while generally hardy, can fall prey to pests like onion thrips, nematodes, and diseases such as white rot and downy mildew. Watch for pale, twisted leaves—these can signal thrips, which suck sap and weaken plants. Nematode infestations show up as stunted growth or swollen bulbs. White rot causes yellowing, wilting, and a telltale white, fluffy fungus at the base, while downy mildew appears as pale yellow spots or purple fuzz on leaves.
Prevention starts with crop rotation—avoid planting garlic or other alliums in the same spot for at least four years. Select disease-free seed garlic from trusted suppliers. Keep your beds weed-free to reduce pest habitats and improve air circulation to prevent fungal issues; space cloves 4-6 inches apart and avoid overhead watering to limit leaf wetness. Mulching with clean straw helps suppress weeds and conserve moisture.
If pests strike, organic sprays like neem oil can help, and removing infected plants quickly reduces disease spread. At season’s end, clean up all plant debris to break pest and disease cycles. For long-term success, enrich your soil each fall with well-rotted compost and test occasionally to correct imbalances, since strong, healthy plants are better able to resist most problems.
With consistent care, annual observation, and a focus on prevention, your garlic beds can stay lush and productive year after year.
Harvesting and Curing Garlic
Knowing exactly when to harvest garlic is crucial for both flavor and storage longevity. The best visual cue is the state of the leaves: when the bottom third of the leaves have turned brown but the top leaves are still slightly green, your garlic is ready. This usually happens in early to mid-summer, depending on when you planted. Avoid waiting until the entire plant has browned, as the bulbs may split and won’t store well.
On harvesting day, choose a dry morning and gently loosen the soil with a garden fork or small shovel about four inches away from the stalk—you don’t want to puncture the bulbs. Lift each plant carefully, shaking off loose dirt but leaving the outer layers intact to protect the cloves. Don’t wash them; moisture can cause rot during storage.
Next, cure your garlic by tying the plants in bunches or spreading them out in a single layer in a warm, airy, shaded space—like a garage or shed—for two to three weeks. Good airflow helps dry the papery skins, which is key for long-term storage.
Once the stems and roots are thoroughly dry, trim them back, brush off any remaining dirt, and store the bulbs in mesh bags or baskets in a cool, dry place out of direct sunlight. Avoid storing garlic in the fridge, as this can cause premature sprouting.
Properly cured and stored, your garlic can last for several months, ready to add fresh flavor to meals all winter long.
Bonus Tips for Bigger, Better Garlic Bulbs
To grow bigger, better garlic bulbs, start by choosing high-quality seed garlic from a reputable source and selecting the largest cloves for planting—this simple move sets the stage for robust growth. Plant cloves 4-6 inches apart in well-drained, nutrient-rich soil, giving each plant plenty of space to expand.
Keep your garlic well-watered but not soggy, especially during the bulb-forming months of late spring; overwatering can cause rot, while underwatering stunts bulb development. Once garlic sends up scapes (the curly flower stalks), snip them off as soon as they appear—this redirects energy from seed production to bulb growth and can truly boost bulb size.
Mulching with straw helps control weeds and maintains even soil moisture, both important for healthy bulbs. Many growers make the mistake of harvesting too early; wait until at least half the leaves have turned brown.
For exceptional results, conduct a soil test in the offseason and amend your planting bed as needed, aiming for a pH between 6.0 and 7.0. Joining a local gardening group or checking university extension resources can offer tailored advice for your region’s conditions.
With these steps and a little extra care, you’ll be enjoying impressively plump garlic come harvest time.