Choosing the Best Brussels Sprouts Varieties to Grow
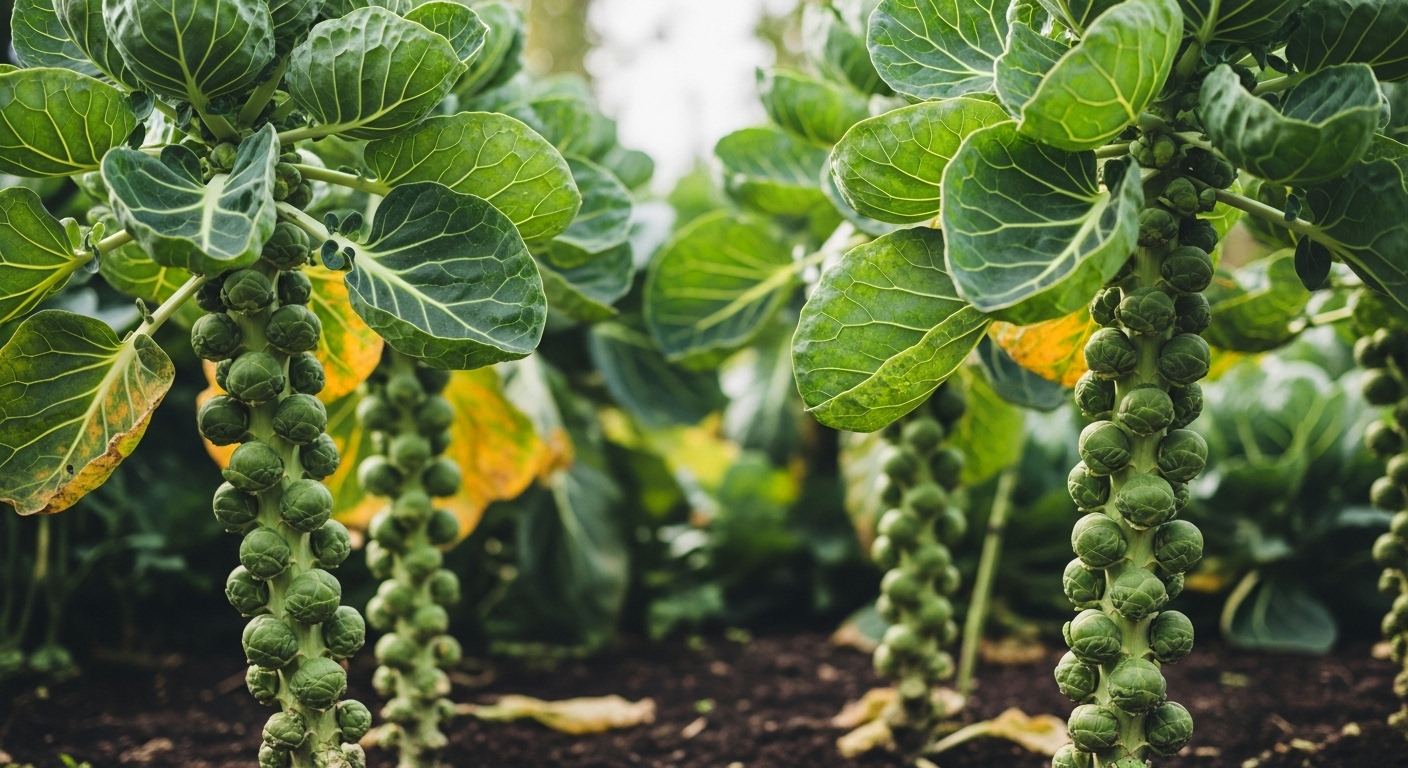
If you’ve ever wondered why brussels sprouts sometimes blow open and what you can do to prevent it, the variety you choose to grow plays a huge role. Different Brussels sprout cultivars mature at varying times—early, mid-season, and late-maturing types—each with their own strengths when it comes to resisting common problems like splitting or “blowing.”
Early-maturing varieties such as ‘Catskill’ or ‘Jade Cross’ are great if you have a short growing season or unpredictable early frosts. However, they’ll need vigilant moisture and temperature management to avoid stress that can lead to sprouts bursting.
Mid-season options like ‘Hestia’ or ‘Falstaff’ strike a good balance, typically offering a steadier harvest window and better tolerance to mid-fall conditions.
If you’re gardening somewhere with a milder climate and a longer growing season, late-maturing varieties like ‘Long Island Improved’ or ‘Diablo’ are robust choices. They often produce the firmest, tightest buttons—ideal for minimizing the risk of splitting as they hang longer on the stalk.
No matter which timing suits your climate, picking disease-resistant cultivars will pay off. Look for varieties labeled as tolerant to downy mildew or clubroot, common problems that cause unhappy plants.
Always match your crop’s needs to your actual garden conditions: sandy soils, strong winds, or frequent rains can all influence which types perform best. For reliable results, source your seeds or seedlings from respected suppliers—think Johnny’s Selected Seeds, Baker Creek Heirloom Seeds, or your local agricultural extension service. These outlets offer the freshest genetics and are more likely to sell cultivars proven in gardens like yours.
With the right variety, your harvest is far more likely to be filled with compact, delicious sprouts that resist blowing open, even when the weather isn’t perfect.
Starting Brussels Sprout Seeds Successfully
Getting a great Brussels sprout harvest starts with proper seed timing and care. In cooler climates, it’s best to start seeds indoors about 6–8 weeks before your last expected spring frost—this gives plants enough time to mature before hot weather, which sprouts dislike. In mild regions with longer cool seasons, seeds can be sown outdoors 4 months before your first fall frost for a late-season crop.
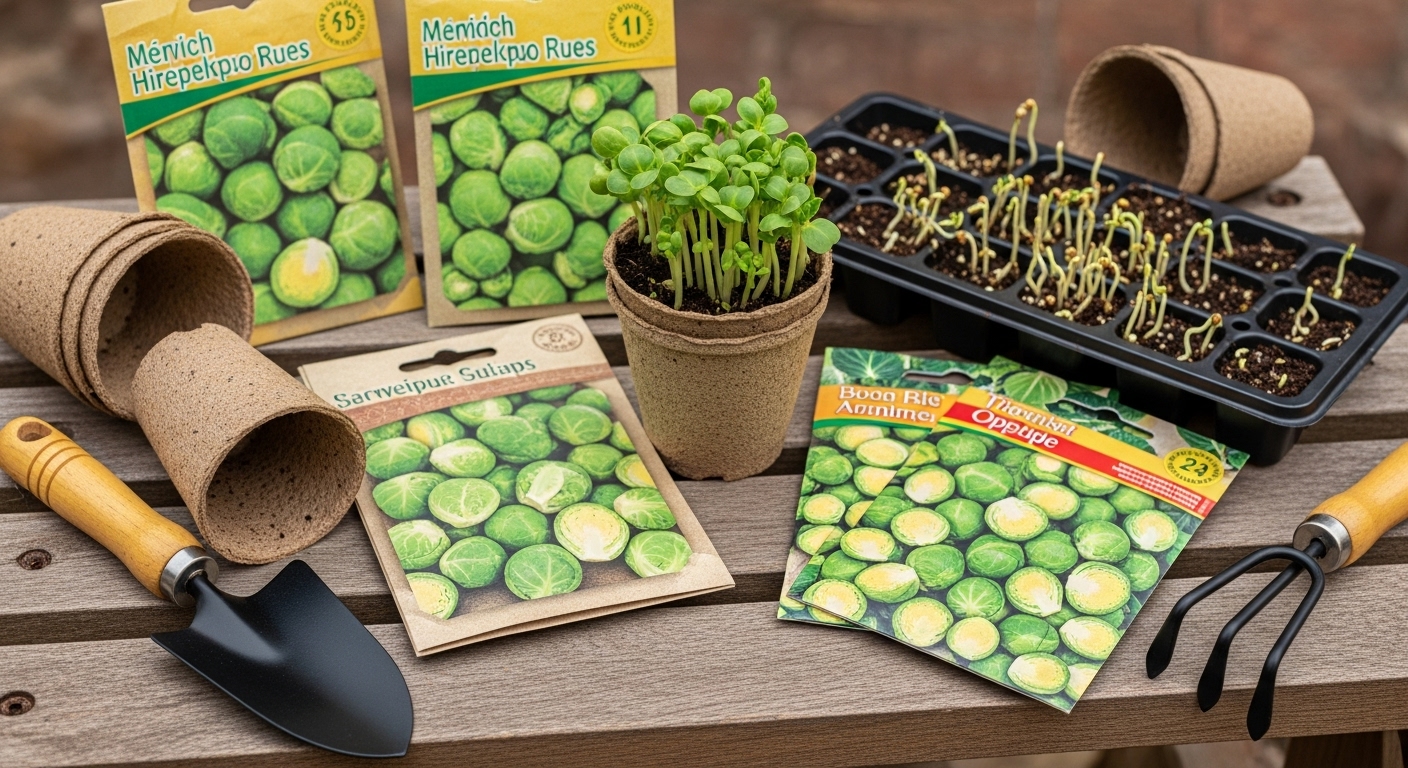
To prepare, use a high-quality seed starting mix—either in trays or small pots. Fill the containers, moisten the soil so it’s damp but not soggy, then sow seeds about ¼ inch deep. Space them at least an inch apart to allow airflow and easy transplanting later. After covering the seeds lightly with soil, keep the trays in a warm spot (65–75°F/18–24°C)—a sunny windowsill works well, or use a heat mat if your house is cool.
For strong germination, ensure the soil stays consistently moist but not waterlogged; mist with a spray bottle if needed. Brussels sprouts usually sprout in 7–14 days. Once seedlings appear, move them into bright light or under grow lights for 12–16 hours each day to keep them sturdy and prevent legginess.
When the first true leaves appear, thin out weaker seedlings so each has enough space (about 2–3 inches apart), and gently brush your hand over the tops daily to simulate wind, which builds strong stems.
Finally, before transplanting outdoors, harden off the plants by gradually introducing them to outside conditions over a week, protecting them from midday sun and chilly nights. This patient, step-by-step care helps ensure robust, healthy Brussels sprouts ready for your garden.
Planting Out: When and Where to Transplant Brussels Sprouts
Transplant young Brussels sprout seedlings outdoors when they have at least four to six true leaves and nighttime temperatures consistently stay above 45°F (7°C). This usually means planting about two to four weeks before your area’s last expected spring frost.
Choose a sunny spot where the plants can receive at least six hours of direct sunlight daily, as Brussels sprouts need plenty of sun to develop sturdy stalks. The soil should be rich, well-draining, and slightly alkaline (pH 6.5–7.5). It’s a good idea to mix in compost and test your soil before planting.
About a week before transplanting, start hardening off the seedlings by setting them outside for a few hours at a time, gradually increasing their exposure to wind and sun each day. This helps prevent transplant shock.
When planting, space each seedling about 18 to 24 inches apart, leaving 2 to 3 feet between rows. This extra room ensures good airflow, which helps keep diseases at bay and allows each plant plenty of space to grow tall, healthy stalks filled with sprouts.
If you’re gardening in a hot climate, consider a spot with light afternoon shade to protect the plants from scorching. In most regions, though, full sun is best. After planting, mulching helps keep roots cool and retain moisture, setting your Brussels sprouts up for a productive season.
Caring for Brussels Sprouts Throughout the Season
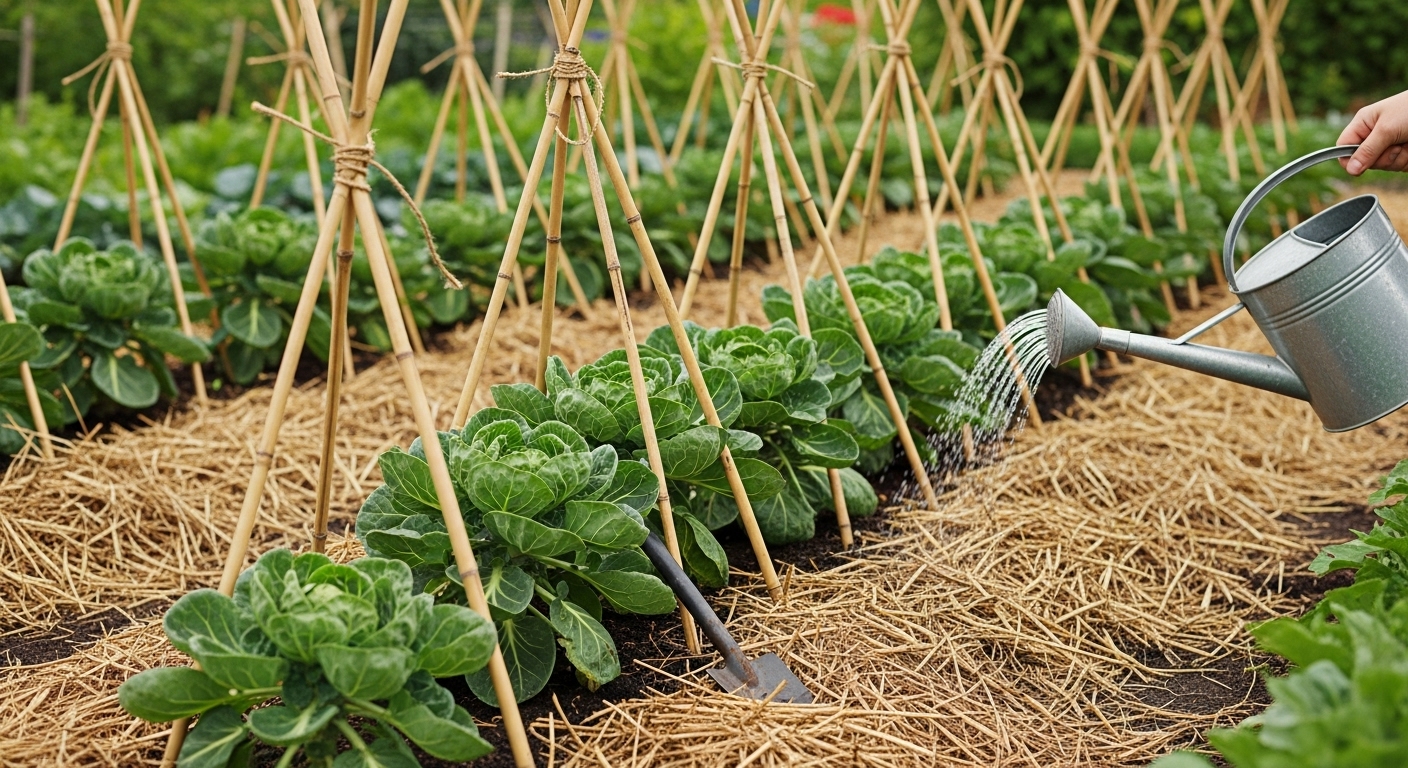
Caring for Brussels sprouts is all about consistency and attention to detail as the season progresses. Start by watering evenly—aim for about 1 to 1.5 inches per week, keeping the soil consistently moist but never soggy. Mulching with straw or shredded leaves helps retain moisture, suppress weeds, and regulate temperature, which Brussels sprouts love.
Feed your plants every four weeks with a balanced fertilizer, or side-dress with aged compost mid-season to ensure a steady nutrient supply. Watch for pale or yellowing leaves, which often indicate nitrogen deficiency—apply a dose of fish emulsion or organic blood meal to give them a quick boost. If lower leaves start turning purple, that could point to a phosphorus shortage, easily remedied with a sprinkle of bone meal.
Brussels sprouts have tall, top-heavy stalks that are prone to wind damage and toppling, especially as sprouts grow bigger. Support each plant by staking them with bamboo canes or garden stakes early on, loosely tying the stalk for stability. For large plots, stringing twine between stakes along a row works well.
Finally, to prevent “blown” sprouts (loose, leafy heads instead of tight buttons), make sure your plants aren’t overfed with nitrogen and are spaced at least 18 inches apart for good airflow. Regularly removing yellowing lower leaves also keeps energy focused on bud formation and discourages pests. With these simple maintenance steps, your Brussels sprout plants are primed for a robust and flavorful harvest.
Identifying and Managing Common Pests and Problems
Cabbage caterpillars, aphids, and slugs are some of the most frequent pests threatening Brussels sprouts, often leaving ragged holes in leaves or causing stunted, sticky plants. These pests can be managed organically by checking your plants regularly and handpicking caterpillars or slugs early in the morning. You can also introduce natural predators like ladybugs to tackle aphids or use neem oil sprays as a gentle deterrent. Slug traps—such as shallow dishes filled with beer—are surprisingly effective for reducing slimy visitors without chemicals.
When it comes to diseases, watch out for clubroot, which causes swollen, deformed roots and wilting leaves, and downy mildew, which creates yellowish spots on foliage. Both thrive in poorly drained or compacted soils, so rotating crops yearly, testing and adjusting soil pH (aim for slightly alkaline soil above 6.5), and spacing plants for good airflow can help prevent outbreaks.
Preventing “Blown” Brussels Sprouts
A frequent problem many gardeners encounter is “blown” Brussels sprouts, where the sprouts form loose, open heads instead of tight, compact ones. This usually happens when plants are stressed by irregular watering, fluctuating weather, or an overload of nitrogen fertilizer. To avoid this, keep your watering schedule consistent—deeply soak the soil once a week during dry periods rather than frequent, shallow watering. Use balanced, organic fertilizers such as well-rotted compost to avoid nutrient spikes, especially early in the growing season.
Sprout quality is also influenced by timing: planting too early or too late can result in loose heads. Try to stick to your local planting calendar, usually getting transplants in the ground from late spring to midsummer for a fall harvest.
By staying alert to pests and problems, using preventative tactics, and providing steady care, you’ll be more likely to enjoy a generous harvest of firm, delicious sprouts.
Harvesting and Storing Brussels Sprouts for Freshness
Knowing when to harvest Brussels sprouts is key to enjoying their best flavor and texture. Look for sprouts that are firm, bright green, and about one to two inches in diameter—bigger sprouts may become tough and bitter.
Start checking from the bottom of the stalk, since sprouts mature there first, and simply twist them off by hand or snip them with garden shears. To keep your harvest coming, remove yellowing lower leaves as you go; this directs the plant’s energy toward growing new sprouts up the stem.
Pinching out the growing tip (the plant’s top few inches) about a month before your first expected frost can also encourage the sprouts to mature more evenly, resulting in a larger final yield.
After picking, keep Brussels sprouts fresh by refrigerating them unwashed in a perforated plastic bag, where they’ll last up to two weeks.
For winter storage, blanch sprouts in boiling water for three to five minutes, then plunge them into ice water. After drying thoroughly, freeze them in airtight containers—this preserves both taste and nutrients.
Pulling up the entire stalk and hanging it upside down in a cool, humid place can also extend freshness and is a handy trick if you need to store sprouts without a freezer.
By paying attention to harvest timing and following a few simple storage steps, you’ll enjoy homegrown Brussels sprouts well past their picking season.