Introduction
brussels sprouts are enjoying a surge in popularity, not just for their unique flavor but also for their impressive health benefits—they’re packed with vitamins C and K, fiber, and antioxidants that make them a powerhouse addition to any meal. However, if you’ve ever tried growing these little green gems, you know how quickly Brussels sprouts diseases can threaten your harvest. Fungi, bacteria, and pests can all wreak havoc, turning vibrant plants into patchy, stunted crops practically overnight.
The key to a bountiful, healthy crop lies in understanding and preventing these common diseases before they take hold. In this blog post, you’ll discover everything you need to know about the most frequent Brussels sprouts diseases, how to spot the warning signs early, and proven organic solutions to keep your plants thriving.
We’ll walk you through real-world tips for identifying symptoms—like yellowing leaves, strange spots, or blackened stems—and easy, effective practices to prevent problems before they start. Whether you’re a home gardener hoping for a few crisp stalks in your backyard or tending a larger plot, you’ll find practical advice tailored for every skill level.
Plus, we’ll share organic care strategies, from crop rotation and soil health to companion planting and natural sprays, so you can protect your plants and the environment. By the end, you’ll be armed with the knowledge and confidence to give your Brussels sprouts the best chance at a healthy, delicious season.
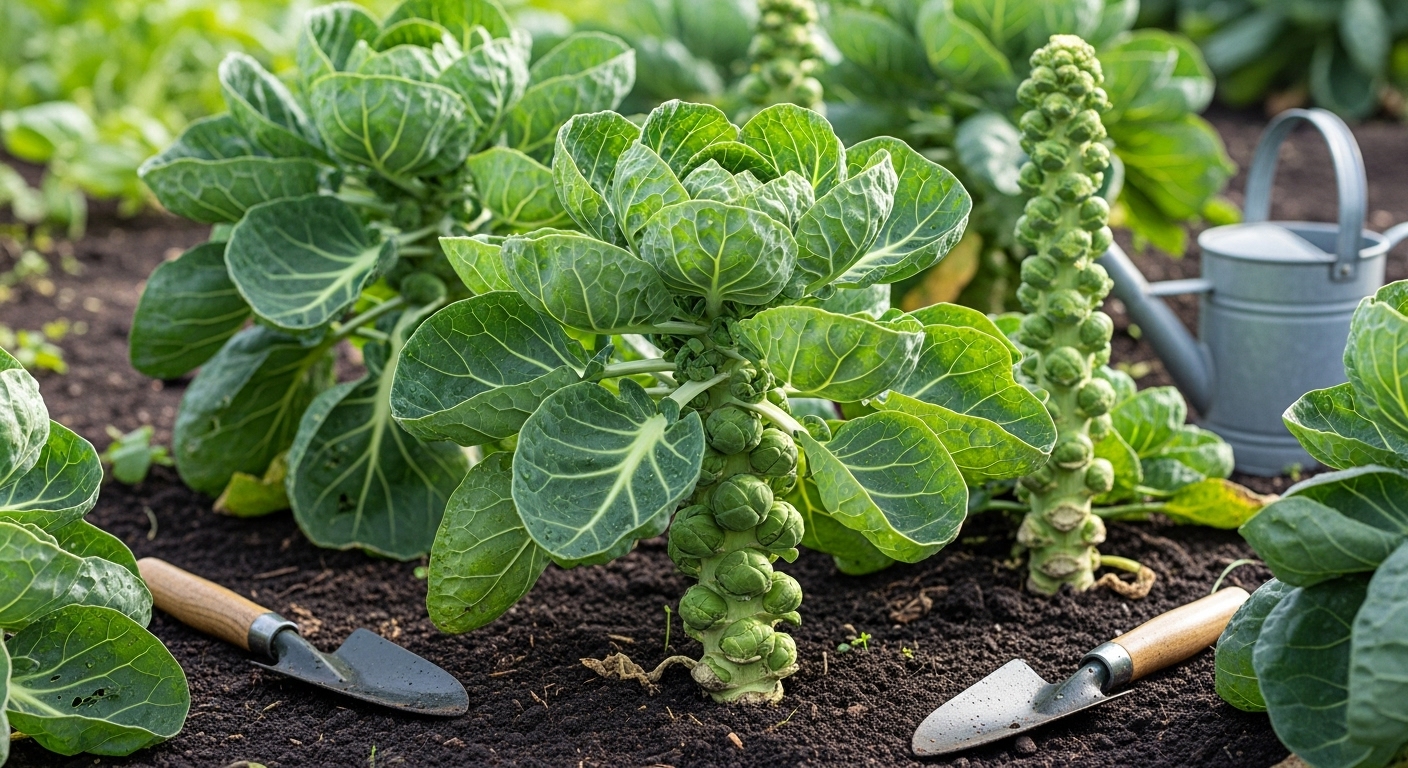
Best Practices for Preventing Brussels Sprouts Diseases
Preventing Brussels sprouts diseases begins with a few simple yet effective cultural practices. First, practice crop rotation by avoiding planting Brussels sprouts or other brassicas (like cabbage or broccoli) in the same spot year after year—ideally, give each bed a three- to four-year break. This helps starve out soil-borne pathogens that tend to build up and linger.
Healthy soil is also essential: incorporate compost regularly to encourage strong root growth and boost beneficial microbes, which help suppress disease. Properly spacing plants about 18 to 24 inches apart ensures good airflow, making it harder for fungal problems to take hold.
Sanitation plays a crucial role in disease prevention. After harvest, clear away all old leaves and stems from the garden, since decaying plant matter can harbor pests and diseases over the winter. Clean your gardening tools and gloves with a mild bleach solution between uses to avoid spreading spores from one plant to another.
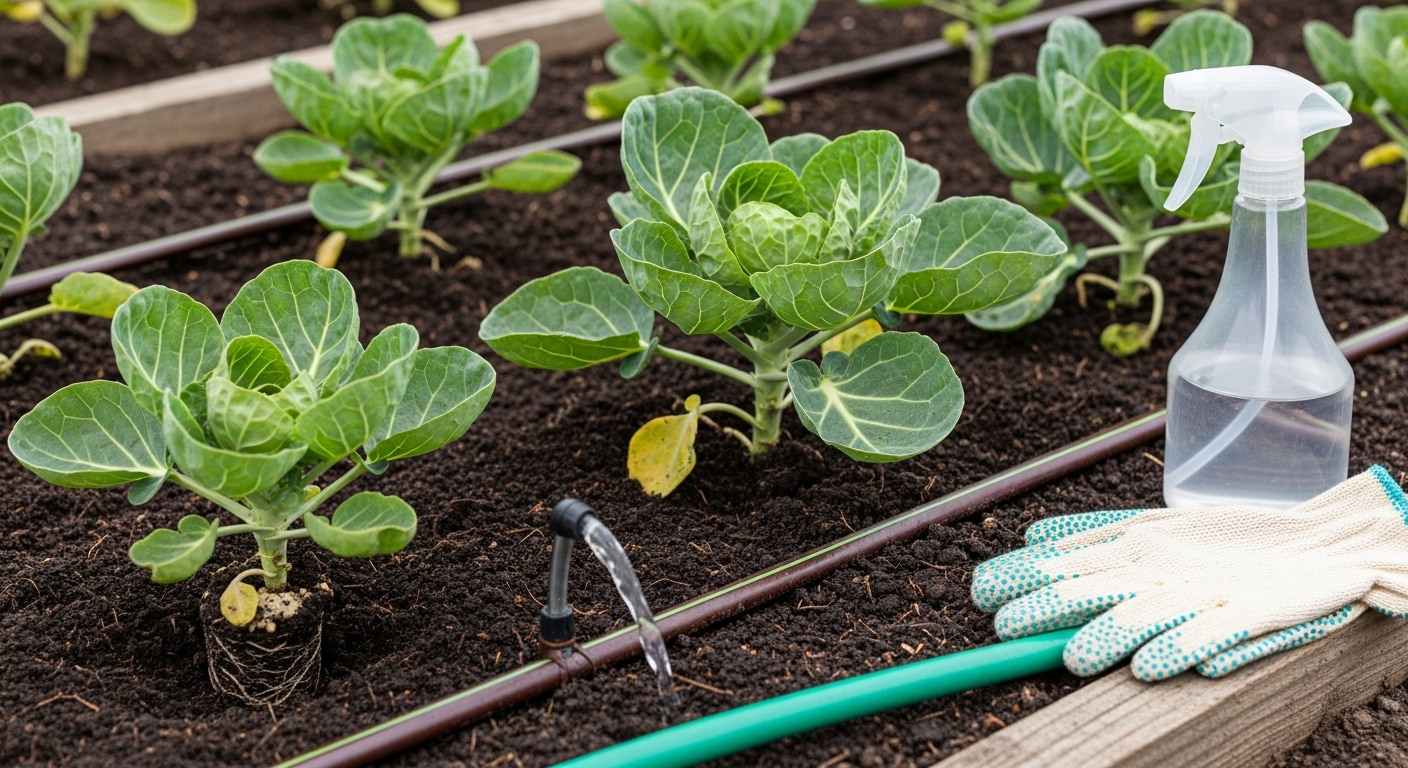
Water at the soil level using a soaker hose or drip irrigation, and avoid overhead sprinkling—wet leaves are an open invitation for fungal infections like downy mildew and black rot. When possible, choose disease-resistant varieties of Brussels sprouts, which are often listed in reputable seed catalogs; these varieties are bred to withstand common threats.
Start your crop with healthy, vibrant seedlings, whether grown yourself or bought as transplants. Avoid plants that look wilted, spotted, or unhealthy, as early problems can snowball once they’re in the soil.
By sticking to these basics—rotation, soil care, proper spacing, vigilant sanitation, and healthy plant choices—you’ll dramatically reduce the risk of common diseases and enjoy a thriving Brussels sprouts patch season after season. Even small home gardens benefit from these practices; just a little extra attention now can lead to robust, trouble-free harvests later.
Recognizing the Most Common Brussels Sprouts Diseases
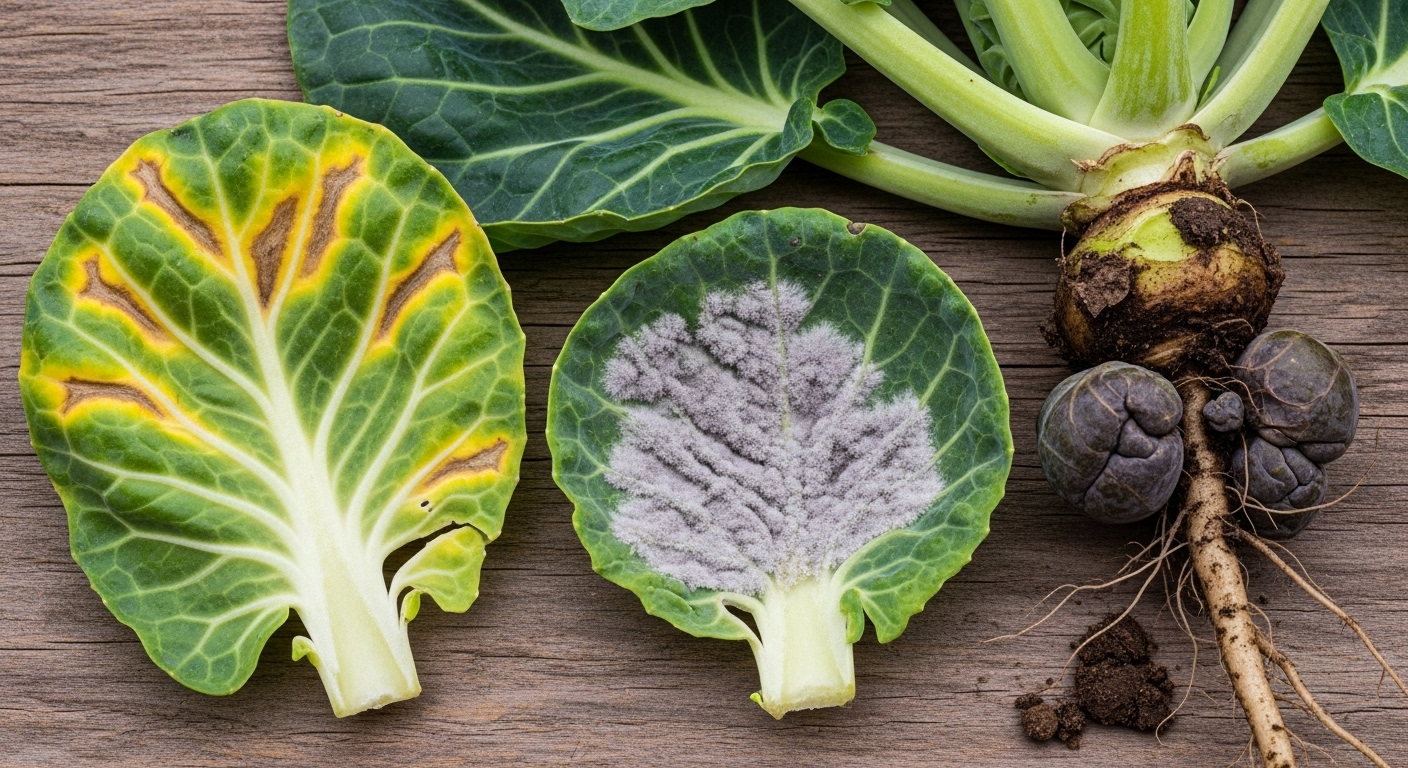
Recognizing diseases early is key to saving your Brussels sprouts crop, as common issues like club root, black rot, and downy mildew each show distinct symptoms.
Club root is notorious for causing swollen, distorted roots that make plants wilt and stunt growth. If you notice yellowing leaves drooping despite adequate watering, gently dig up a plant and inspect the roots for knobby galls.
Black rot often reveals itself through yellow, V-shaped lesions at the edges of leaves, which can turn brown or black as the disease progresses. This bacterial infection might cause veins inside the leaves to darken, and the whole plant can eventually wither and die.
Downy mildew looks a bit different; this fungal disease starts with yellow spots on the upper leaf surface, while underneath, you’ll find a fuzzy, grayish-purple mold. Over time, the leaves may brown and drop prematurely, reducing yield and exposing sprouts to sunscald.
It’s easy to mistake these diseases for problems like nutrient deficiencies or normal aging, but with diseases, you’ll often see unusual spotting, moldy patches, or abnormal wilting that persists even when soil moisture and feeding are adequate.
For example, mature leaves may yellow and drop as part of the plant’s life cycle, but if all the leaves begin to yellow from the base upward or you spot odd growths or discolored veins, disease is likely the culprit.
Regularly inspect your plants from stems to sprouts—healthy Brussels sprouts should have firm, green leaves and tight, compact buds.
By knowing these key differences, you’ll be better equipped to act quickly and protect your harvest before diseases spread.
Pest-Related Problems and Their Impact on Disease
Gardeners often battle persistent pests like cabbage root flies, cabbage white caterpillars, and aphids when growing brassicas. Cabbage root flies lay eggs at the base of plants, and their larvae tunnel into roots, making plants vulnerable to bacterial infections and stunted growth. Cabbage white caterpillars chew through leaves, not only reducing the plant’s ability to photosynthesize but also creating wounds that serve as entry points for fungal diseases like black rot. Meanwhile, aphids cluster on leaves and stems, sucking sap and excreting sticky honeydew. This not only weakens plants but also promotes mold growth and spreads viruses between plants as aphids feed.
To address these issues, it’s important to use integrated pest management (IPM) by combining methods for lasting control.
- Start by regularly inspecting plants for eggs or larvae, removing pests by hand when possible, and encouraging natural predators like ladybugs and lacewings.
- Use physical barriers, such as fine insect mesh, to keep adult flies and butterflies from laying eggs on plants.
- Practice crop rotation to prevent pests from building up in the soil year after year.
- For aphids, a strong jet of water can dislodge them, or you can apply insecticidal soaps that target soft-bodied insects but spare beneficial pollinators.
- Maintain healthy, well-spaced plants to improve airflow and resilience, making crops less susceptible to both pests and disease.
By combining these tactics, gardeners can limit pest populations, reduce the need for harsh chemicals, and help ensure robust, disease-resistant cabbage and other brassicas throughout the season.
What to Do When Disease Strikes: Treatment and Recovery
When you spot early signs of disease in your garden—like discolored leaves, unusual spots, or wilting—the first step is to act quickly to limit the spread. Start by isolating affected plants if possible, and sterilize your gardening tools with rubbing alcohol before and after use. This simple habit can prevent the unintentional transfer of pathogens.
Next, assess the severity of the symptoms. For mild issues, organic treatments such as neem oil, compost tea, or a baking soda spray can often control fungal and bacterial problems without harming beneficial insects. These remedies are gentle on the environment but require consistent application—spray every few days, especially after rain.
For persistent or severe cases, chemical fungicides and bactericides may be necessary. Always choose products labeled as safe for edible or ornamental plants, and carefully follow usage instructions to avoid harmful residue or resistance buildup. Compare options by reading labels and checking product reviews to find solutions that balance safety and effectiveness.
Sometimes, if the disease is advanced or has significantly spread, the best course is to remove and properly dispose of the affected plants—do not compost them, as this can reintroduce pathogens. After removal, amend the soil with compost or a biofungicide to rebuild healthy microbes and reduce future risks.
Consider rotating crops in your garden beds and avoid overcrowding to improve air circulation, which can further prevent disease outbreaks. By staying observant and responding rapidly, you can save much of your garden and ensure healthy growth for the seasons ahead.
Storing and Using Healthy Brussels Sprouts
To get the healthiest Brussels sprouts, start by harvesting when the small buds are firm, bright green, and about one to two inches in diameter. Use a sharp knife to cut them from the stalk, and pick off any yellowing or damaged outer leaves to prevent disease from spreading during storage.
Before storing, rinse the sprouts gently under cool water to remove dirt and insects, then dry them thoroughly with a clean towel. Moisture can quickly lead to mold or sliminess.
Store unwashed sprouts for up to a week in a breathable produce bag in the fridge’s crisper drawer for best freshness.
If you have more than you can use, Brussels sprouts freeze beautifully. Just blanch trimmed sprouts in boiling water for three to five minutes, cool them in an ice bath, then pat dry and store in airtight freezer bags labeled with the date. Whenever you’re ready to cook, simply cook from frozen or thaw in the fridge.
Keep an eye out for any mushy texture, unpleasant sour odor, black spots, or slimy coatings—these are sure signs the sprouts have spoiled and should be tossed. Damaged or diseased sprouts not only taste unpleasant but may also harbor bacteria, so when in doubt, it’s safest to discard them and start fresh for your next meal.
With the right care, Brussels sprouts can go from harvest to table while keeping their crispness, nutrition, and flavor intact.
Key Takeaways for a Disease-Free Brussels Sprouts Garden
Keeping your Brussels sprouts garden disease-free starts with a few key habits. Always practice crop rotation, as planting brassicas in the same spot each year gives pests and pathogens a foothold. Choose disease-resistant varieties whenever possible, and give your plants room to breathe by spacing them well—a crowded bed invites fungal problems.
Mulching is another real-world trick, helping to block soil-borne diseases from splashing onto leaves during rain or watering. Regularly scout your plants for early signs of trouble, like yellowing leaves or unusual spots; spotting issues early makes intervention far more effective. Whether it’s handpicking pests, removing affected leaves, or applying organic treatments, early action is key.
Don’t forget to water at the base of plants, not overhead, to reduce leaf moisture. Clean your gardening tools after each use to avoid inadvertently spreading disease. Finally, remove plant debris at season’s end so harmful organisms don’t overwinter in your soil.
By keeping a watchful eye and acting promptly, you’ll foster healthier, more productive Brussels sprouts and enjoy a plentiful harvest with far fewer setbacks. Consistency in these practices is your best defense—think of it as regular maintenance for a thriving vegetable garden.