Choosing the Right Brussels Sprout Variety
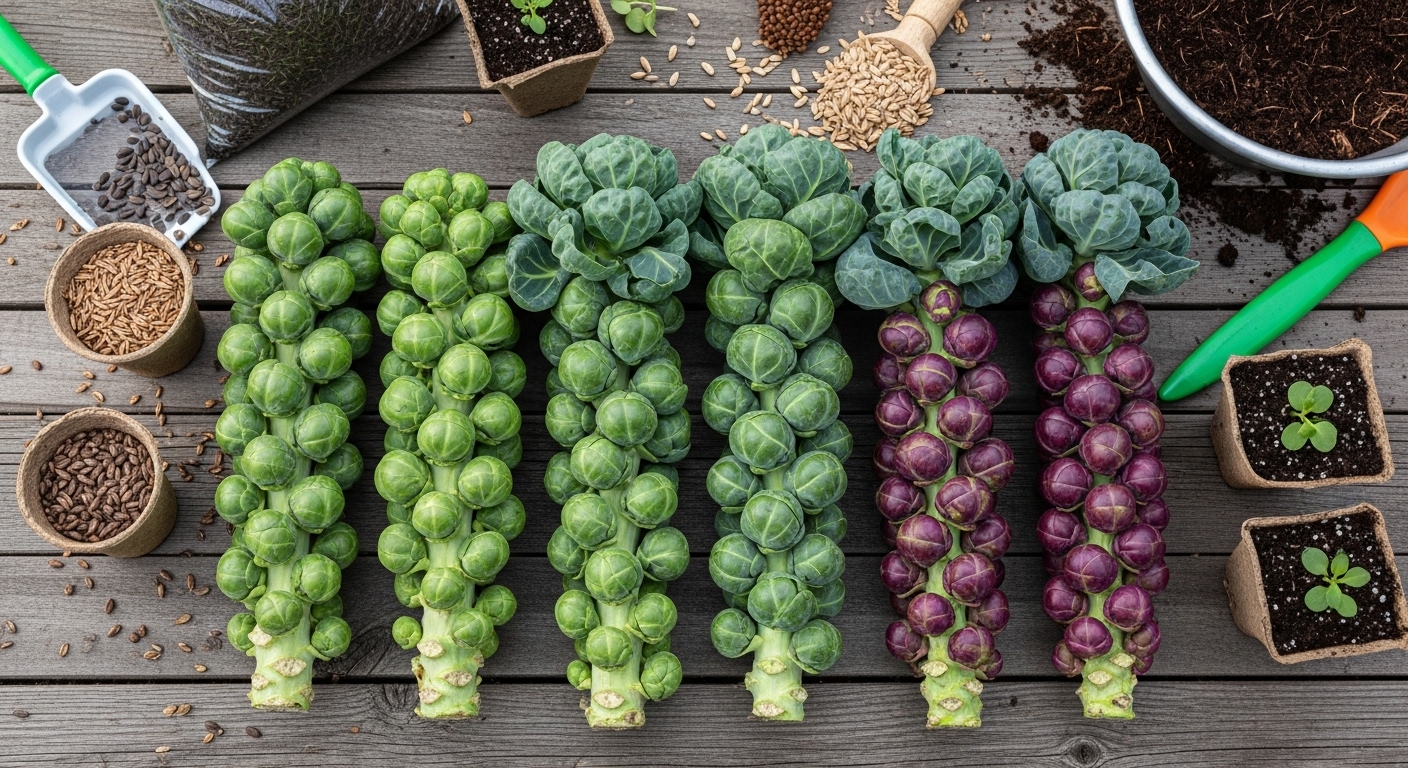
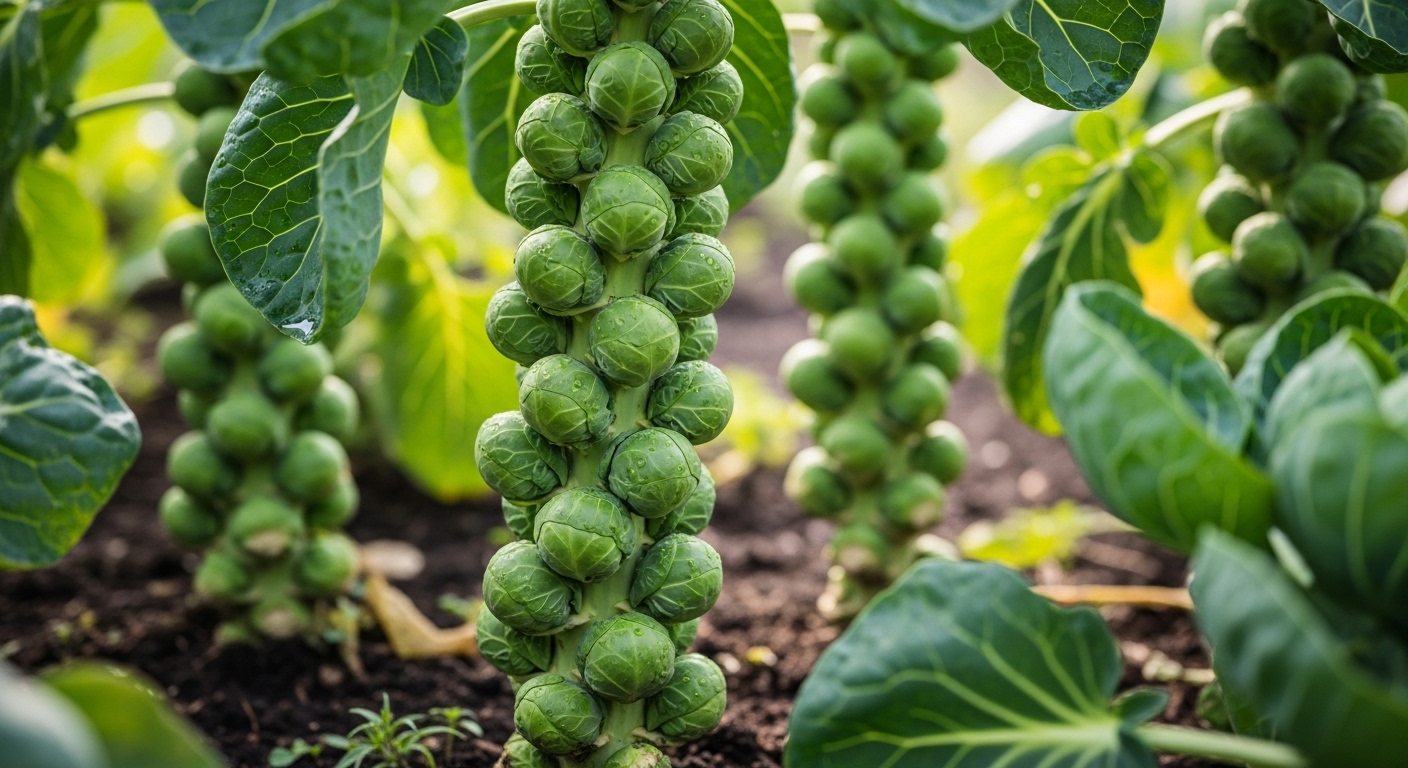
brussels sprouts growing mistakes often start with choosing the wrong variety for your climate or gardening goals. With so many options available, it’s easy to grab any packet off the shelf—only to be disappointed by flavor, yield, or plants that just don’t thrive. Popular Brussels sprout varieties like Jade Cross or Diablo are known for their compact growth and sweet, nutty flavor, making them crowd favorites for both taste and appearance. For gardeners seeking big, bold sprouts, Long Island Improved offers larger yields and a traditional taste, while Red Ball adds a pop of color and a slightly sweeter flavor to your plate.
Selecting the right variety depends heavily on your local climate and desired harvest window. Early-season varieties like Jade Cross mature faster and are perfect for gardeners in regions with shorter growing seasons or early frosts. Those in milder climates with longer falls might prefer mid- to late-season varieties—Diablo or Octia—which allow for an extended harvest and often develop better flavor after a frost or two. If disease has thwarted your Brussels sprout ambitions before, look for disease-resistant varieties like Hestia or Gustus. These are bred to withstand common issues and are especially friendly to beginners just starting their Brussels sprout journey.
For the best results, match your Brussels sprout selection to your region’s climate map and aim to stagger harvests by planting a mix of early, mid-, and late-season types. Avoiding these Brussels sprouts growing mistakes from the start sets you up for a successful, flavorful harvest.
Planting Brussels Sprouts: Timing, Location, and Soil Preparation
Brussels sprouts thrive when planted at just the right time, so start by considering your local frost dates and growing season length. These cool-weather crops need a long season—about 80 to 100 days—to mature and develop their flavorful sprouts. Aim to sow seeds indoors about 6 to 8 weeks before your last expected spring frost, or transplant young seedlings outdoors around two weeks before that frost hits.
In milder southern climates, fall planting is often ideal; start seeds in late summer for a winter harvest, giving them time to mature in the cooler months they love. Choose a sunny spot that gets at least six hours of light daily, as Brussels sprouts require full sun for robust growth.
The soil should be rich, well-drained, and loose to a depth of at least 12 inches—heavy clay soils impede root growth and trap water, inviting rot. Before planting, work compost or well-rotted manure into the soil for added nutrients, and test the pH; Brussels sprouts prefer slightly acidic to neutral soil (pH 6.5–7.0). If your soil’s pH is off, agricultural lime can help raise it, while elemental sulfur can help bring it down.
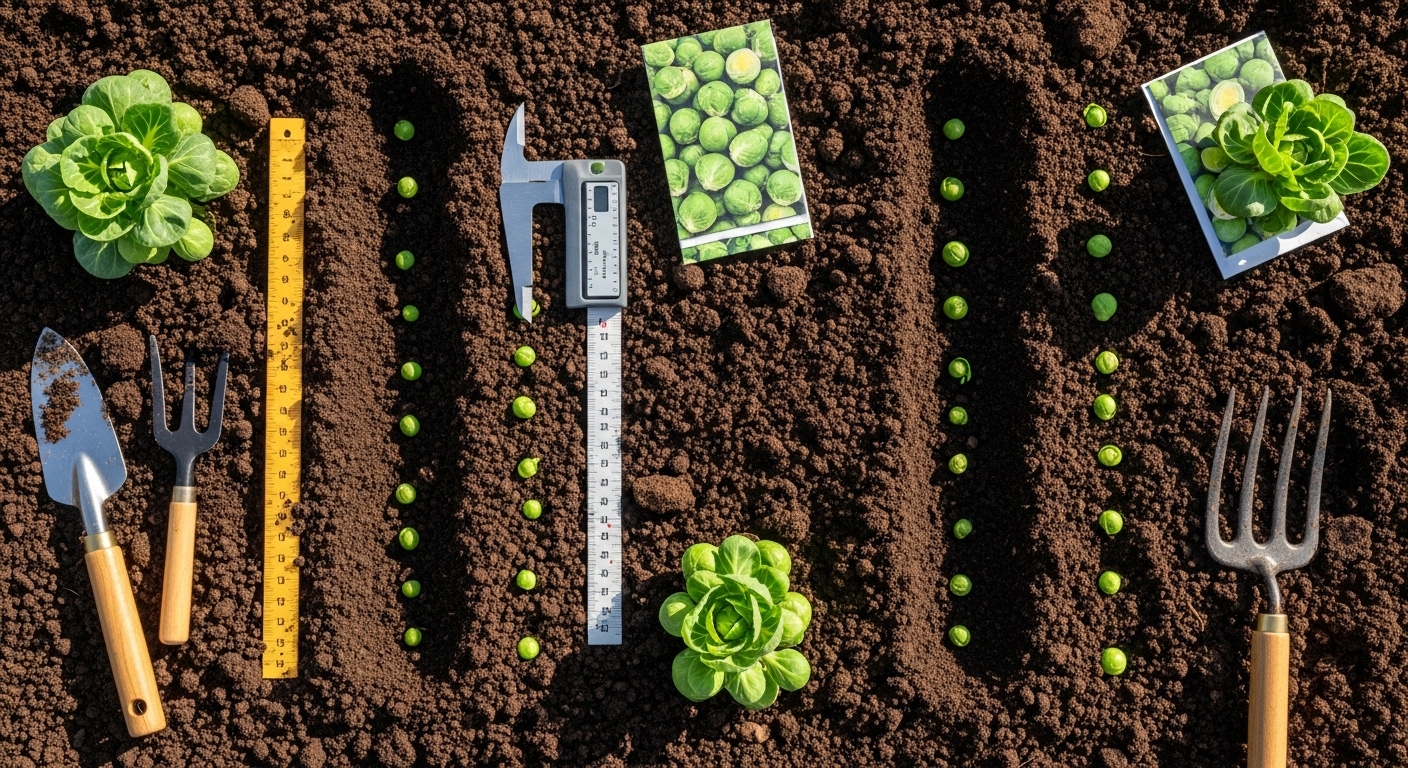
For direct sowing, place seeds about half an inch deep and 2 inches apart in rows 18 to 24 inches apart. Thin seedlings once true leaves appear so plants are spaced 18 to 24 inches apart, ensuring adequate airflow and room to grow. If transplanting nursery seedlings, plant them at the same depth as they were in pots, and keep those same spacing measurements.
Proper planning and preparation at this early stage pay off with tall, healthy plants and abundant, delectable sprouts when harvest time rolls around.
Caring for Brussels Sprouts During the Season
Consistent care is essential for healthy, productive Brussels sprouts. Throughout the growing season, keep the soil evenly moist by watering deeply about once a week—aiming for an inch of water, and more often during hot spells.
Mulching with a two- to three-inch layer of straw or shredded leaves helps retain soil moisture, suppress weeds, and keep roots cool. All of these reduce plant stress and encourage robust growth.
Early in the season, lightly side-dress with a balanced slow-release fertilizer after seedlings establish, then repeat every four weeks to support vigorous foliage and sprout development.
As plants grow taller, their top-heavy nature makes staking important. Simply tie the main stem to a sturdy stake using soft twine to prevent wind damage and keep them upright.
For improved airflow and sprout quality, carefully remove the lower yellowing leaves once the sprouts have formed along the stem. This not only helps direct the plant’s energy upward but also reduces the risk of fungal disease.
Toward the end of the season, you can ‘top’ the plant—snipping off the growing tip—about a month before the first hard frost. This encourages the remaining sprouts to mature and fill out.
Regularly inspect for pests like aphids and cabbage worms; pick them off by hand or use a gentle spray of water.
With these simple routines, your Brussels sprouts will thrive, providing a bountiful and delicious harvest for your table.
Common Problems: Pests, Diseases, and How to Avoid Them
When growing Brussels sprouts, a few common pests and diseases can threaten your harvest. Aphids are small, green or black insects that cluster on leaves and stems, sucking sap and causing leaves to curl or yellow. Caterpillars, especially cabbage loopers, chew through leaves and bore into sprouts, leaving ragged holes and frass (insect droppings).
For fungal diseases, downy mildew appears as yellow patches on leaf tops and fluffy white or gray mold underneath, while black rot shows as black V-shaped lesions along leaf edges. Quick identification is key—check your plants weekly for sticky residue (from aphids), holes (caterpillars), or discoloration (fungal infections).
To prevent infestations, rotate crops yearly, avoid planting Brussels sprouts where other brassicas (like cabbage) grew, and space plants far enough apart for airflow. Natural pest control includes blasting aphids off with water, releasing beneficial insects (like ladybugs), or handpicking caterpillars.
Sprays like neem oil or insecticidal soaps work well without harsh chemicals, but if infestations are severe, selective pesticides or fungicides labeled for food crops can provide fast relief—just follow label directions carefully. Healthy soil and mulch also help minimize splash-related fungal problems.
Regular monitoring and early intervention are your best defenses for keeping Brussels sprouts healthy and productive.
Harvesting and Storing Brussels Sprouts
For the best flavor and texture, harvest Brussels sprouts using the bottom-up method as soon as the sprouts at the lowest part of the stalk reach about 1 to 1.5 inches in diameter and feel firm. Begin by snapping or cutting off the mature sprouts at the bottom, then work your way up the stalk as more sprouts reach the right size over several weeks. This gradual approach ensures you pick each sprout at its peak rather than all at once.
After harvesting, keep Brussels sprouts fresh for up to a week by placing them unwashed in a perforated plastic bag in your refrigerator’s crisper drawer. Washing before storage can introduce moisture and cause premature spoilage.
For longer-term storage, blanch cleaned sprouts in boiling water for 3–5 minutes, then immediately plunge them into ice water to stop the cooking process. Dry thoroughly and freeze in airtight containers or freezer bags—this method preserves their vibrant color and nutrients for several months.
To maintain maximum freshness, only cut what you need for each meal, and try to use refrigerated sprouts within a week for the best taste.
Cooking Tips
Brussels sprouts are versatile in the kitchen:
- Roast them with olive oil and garlic for caramelized edges.
- Add halved raw sprouts to salads for a crunchy bite.
- Sauté them with bacon for rich, savory depth.
These tips will help you enjoy a steady supply of delicious, garden-fresh Brussels sprouts throughout the winter months.
Nutritional Benefits and Why Grow Your Own
Brussels sprouts are little nutritional powerhouses, packed with vitamins C and K for immune support and bone health, along with fiber that promotes good digestion. They’re also rich in folate, potassium, and antioxidants, making them a great choice for supporting heart health and fighting inflammation.
Growing your own Brussels sprouts boosts these advantages even further. Homegrown sprouts often taste sweeter and have a more tender texture than store-bought varieties, especially when picked after a light frost, which brings out their natural sugars. Another plus is food safety: you control how your sprouts are grown, so you can skip pesticides or chemicals that are sometimes found on commercial produce.
There’s something truly rewarding about harvesting your own Brussels sprouts—imagine tossing just-picked sprouts into a roasting pan with olive oil and garlic for a fresh, flavorful dinner side. Plus, kids and adults alike enjoy discovering how these mini-cabbages grow up the stalk, making gardening a fun family activity.
With these nutrition and taste benefits, plus the joy of eating what you’ve nurtured from seed to table, growing Brussels sprouts at home turns an ordinary meal into something special and healthy.
Troubleshooting FAQs for Brussels Sprout Growers
If your Brussels sprouts are forming loose heads instead of tight, compact ones, the cause is often inconsistent watering or a lack of nutrients in the soil. Make sure to keep the soil evenly moist, especially during dry spells, and add compost or a balanced fertilizer early in the season for stronger growth.
Worried about frost? Mature Brussels sprouts can tolerate light frosts and often become sweeter after cold snaps, but it’s best to harvest them before temperatures plunge below 20°F (-6°C).
Pests like aphids and cabbage worms are common. Checking weekly and removing them by hand or using an organic spray, such as neem oil, helps keep them under control.
Yellowing leaves usually mean the plant needs more nitrogen or is experiencing water stress, so feed accordingly and don’t let the soil dry out completely.
To improve sprout development, remove lower leaves as you harvest and top the plant (snap off the growing tip) six weeks before your final expected harvest.
For step-by-step help, the Old Farmer’s Almanac and your local cooperative extension offer excellent vegetable-growing advice and troubleshooting guides.