What Are Bell Peppers?
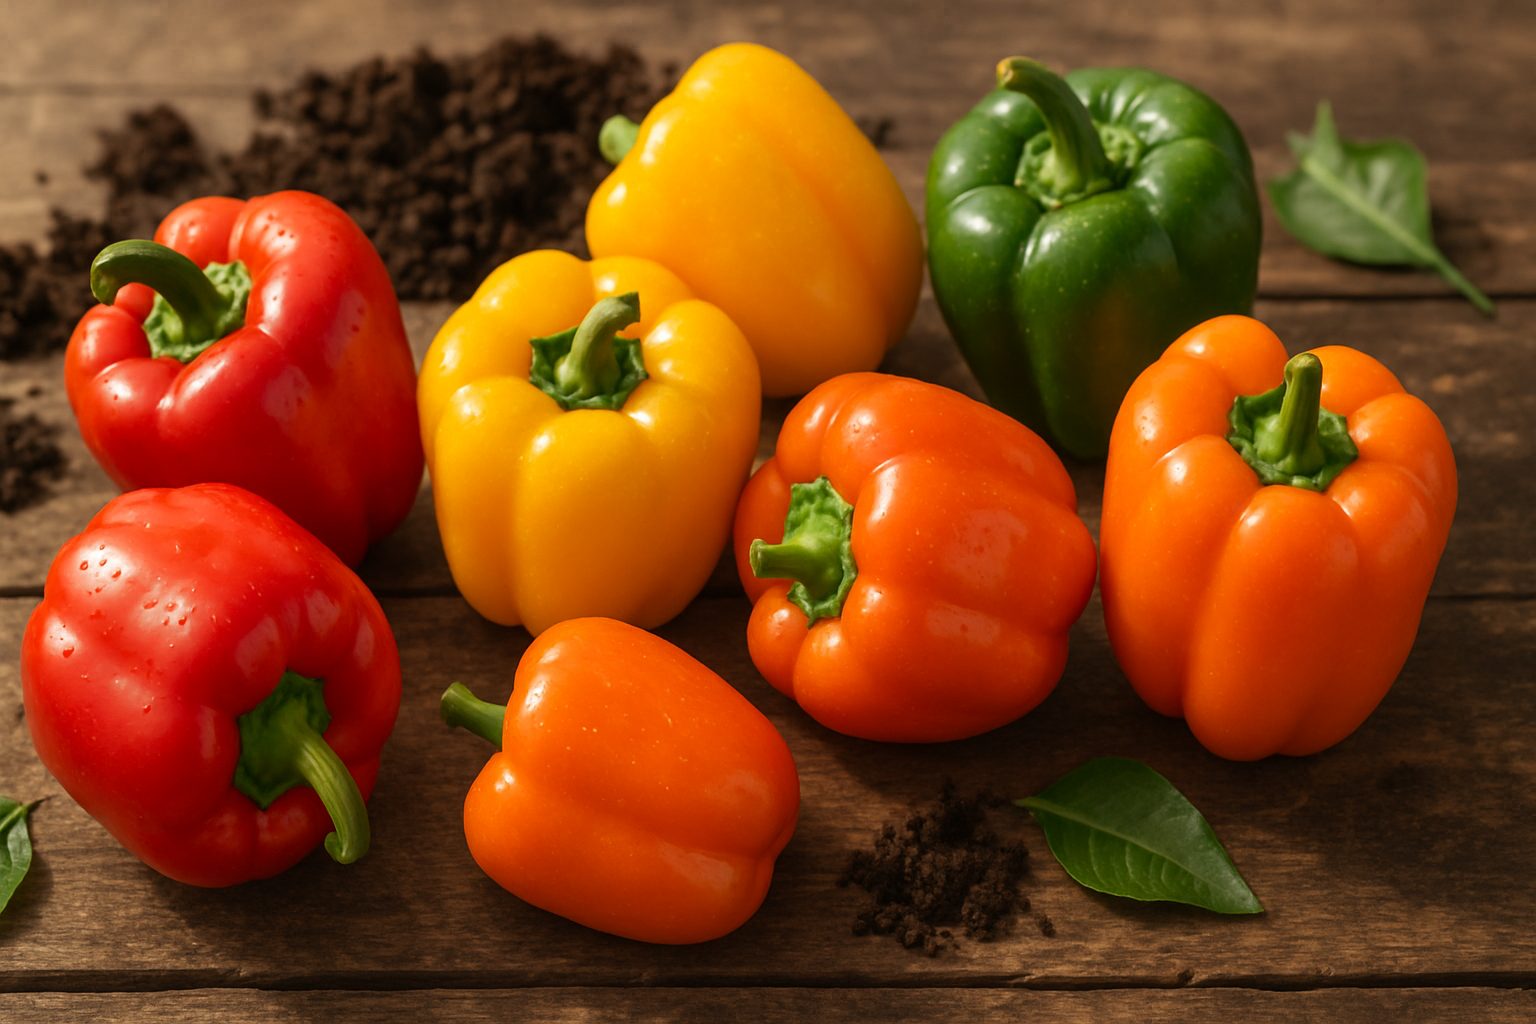
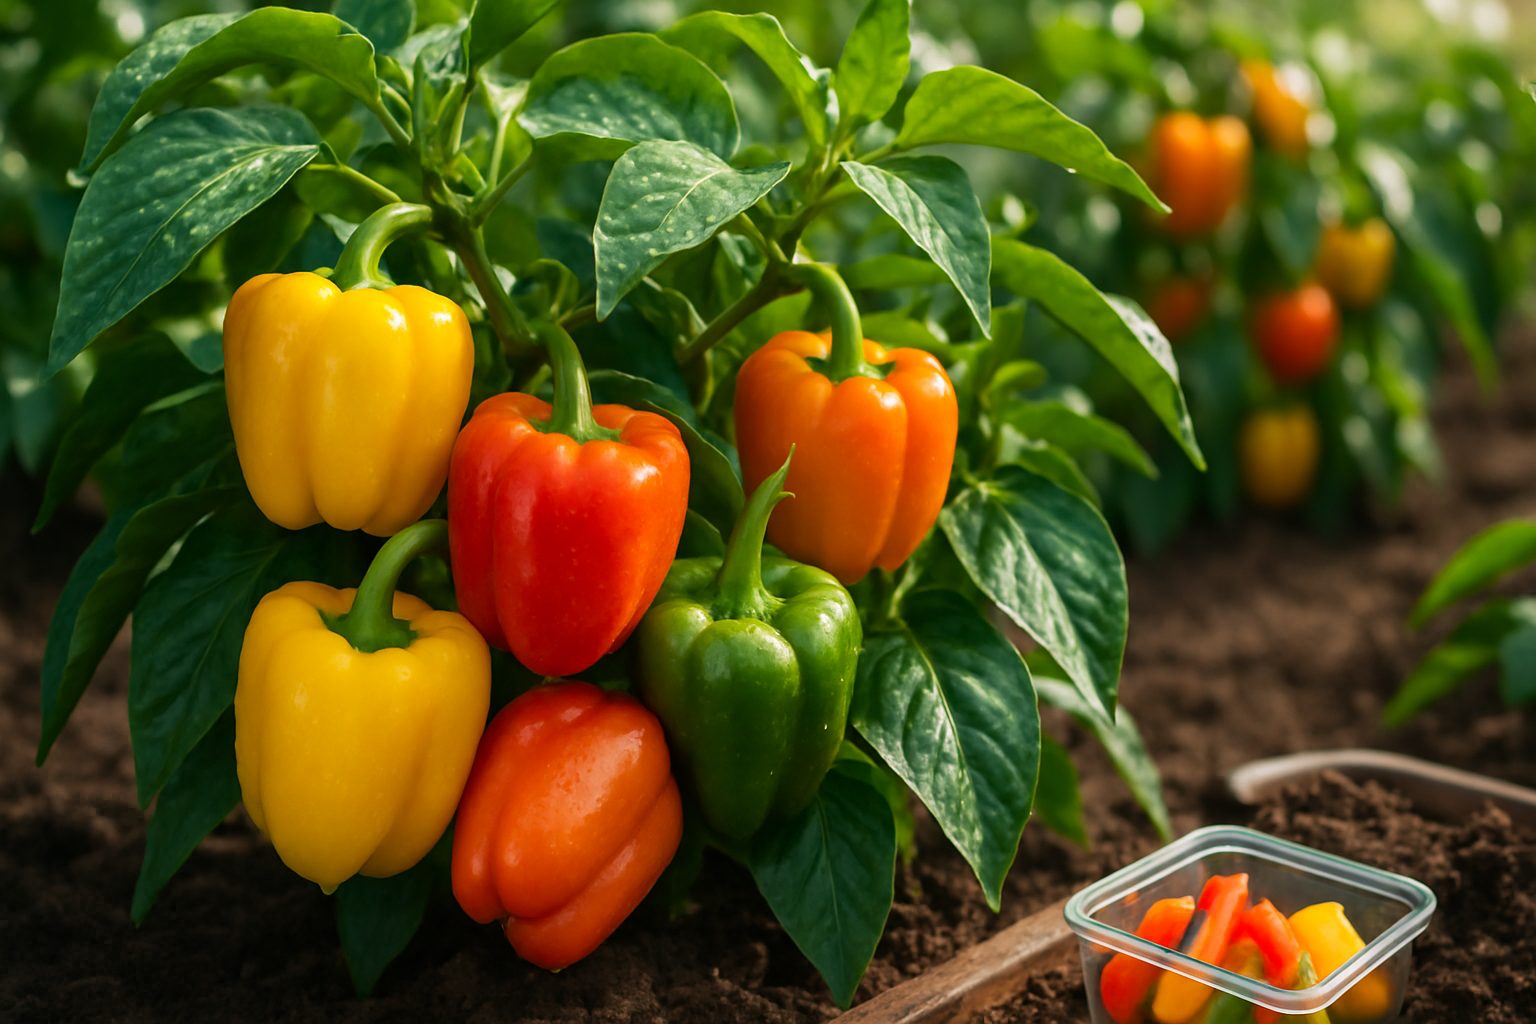
If you’ve been searching for “how much water for bell peppers,” you’re probably already familiar with these colorful staples of the vegetable garden—but there’s more to bell peppers than just their crisp bite. Also known as sweet peppers or capsicums, bell peppers come in a range of vibrant hues, including green, red, yellow, and orange.
Each color marks not only a stage of ripeness but also a subtle shift in flavor: green peppers are grassy and slightly bitter, while red and yellow varieties are sweeter. Popular cultivars include ‘California Wonder,’ ‘Purple Beauty,’ and ‘Mini Bell Mix.’
In kitchens worldwide, bell peppers shine both raw in crunchy salads and cooked in classics like fajitas, stir-fries, and stuffed pepper recipes. They’re nutritional powerhouses too, offering an excellent source of vitamins C and A, fiber, and several antioxidants—all while being low in calories.
Behind their vibrant yields and health benefits is attentive care, especially when grown in pots. Proper watering is key to ensuring your bell pepper plants thrive, producing not just plenty of fruit, but vibrant, flavorful ones. Whether you’re a seasoned gardener or just starting out on your patio, giving bell peppers what they need is essential for a bountiful and tasty harvest.
Essential Conditions for Growing Bell Peppers
Bell peppers thrive best in warm, sunny locations that receive at least 6 to 8 hours of direct sunlight each day. They prefer consistently warm temperatures—ideally between 70°F and 85°F (21°C to 29°C) during the day, and not dropping below 55°F (13°C) at night. If temperatures fall too low or rise above 90°F (32°C), the plants may become stressed and produce fewer fruits.
A well-draining, loamy soil is crucial since soggy ground can lead to root rot. Amend clay or sandy soils with plenty of compost to improve texture and fertility. Aim for a soil pH between 6.0 and 6.8—slightly acidic to neutral—to help peppers absorb nutrients efficiently. Before planting, work in organic matter like aged manure or compost, and consider using a slow-release balanced fertilizer to jumpstart healthy growth.
When planting, space bell pepper seedlings at least 18 to 24 inches apart, with rows set 24 to 36 inches apart. This spacing allows plenty of airflow and helps prevent disease. Both raised garden beds and large containers (at least 3 to 5 gallons per plant) work well—just make sure containers have drainage holes and get enough sunlight.
Gardeners in cooler climates can try black plastic mulch to warm the soil or use row covers for chilly nights. In hotter areas, providing afternoon shade can help prevent heat stress and keep plants healthy.
How to Plant Bell Peppers

When growing bell peppers, you can start from seeds indoors or use transplants from a garden center. If starting from seeds, sow them indoors 8-10 weeks before your area’s last expected frost date. Use seed trays filled with moist seed-starting mix, planting seeds about 1/4 inch deep. Keep the trays in a warm spot (around 70-80°F) and cover them to boost humidity—pepper seeds need steady warmth to sprout.
Once seedlings have at least two sets of true leaves and outside temperatures stay above 60°F, they’re ready to move outside. For transplants, wait until all danger of frost has passed and nighttime temperatures are reliably warm; planting too early can stunt their growth. Choose a sunny spot and space plants about 18-24 inches apart.
Dig a hole just deep enough to cover the roots but leave the leaves above ground, and water thoroughly after planting to help roots settle. If you’re transplanting, harden off seedlings by placing them outdoors for a few hours each day for about a week before planting them in the ground.
Give bell peppers a good soak after planting, then water consistently to keep the soil moist but not soaked. Adding mulch around the plants helps retain moisture and keeps roots cool. By timing your planting carefully and giving seedlings a gentle start, you’ll set your bell peppers up for a successful, healthy growing season.
Watering and Humidity Needs
Proper watering and humidity are crucial for healthy bell pepper plants, but finding the right balance can be tricky. Generally, bell peppers prefer consistently moist—never soggy—soil. In warm, dry weather, they may need watering every day or two, especially when grown in containers. During cooler or rainy spells, you might water less often. Check first by sticking your finger an inch into the soil; if it feels dry, it’s time to water.
Give enough water so it soaks deeply to the root zone, but avoid puddles or standing water. Signs of overwatering include yellowing leaves, drooping despite wet soil, or a musty smell. Underwatered plants show wilted leaves, dry leaf edges, and slow growth.
For optimal humidity, aim for levels between 50-70%. Overly dry air can cause leaf curl and blossom drop, while extremely high humidity can promote fungal issues.
In dry climates, try these methods to boost local moisture:
- Use a humidity tray
- Group plants together
- Mist leaves in the morning
For humid environments, ensure good air circulation by spacing plants well and pruning lower leaves to reduce fungal risk. Paying attention to both soil moisture and air humidity will help your bell peppers thrive and produce healthy, flavorful fruit.
Bell Pepper Plant Care Tips
Caring for bell pepper plants is all about consistency and prevention, especially when it comes to mulching, fertilizing, and providing proper support.
Mulching
Start by applying a two-inch layer of organic mulch—like straw or shredded leaves—around the base of your plants. This helps retain moisture, keeps the soil warm, and cuts back on weeds, giving your peppers the right environment to thrive.
Fertilizing
Use a balanced fertilizer (like 10-10-10) at planting, then switch to a low-nitrogen blend once fruit forms to encourage more peppers and fewer leaves. Feed your plants about every three to four weeks, but always water first to avoid root burn.
Support
Staking is a smart move, especially as your bell pepper plants get heavy with fruit. Use simple garden stakes or tomato cages; loosely tie the main stem to the support with soft twine to protect it during breezy days.
Pest Management
To fend off pests like aphids or spider mites, check your plants regularly and consider spraying with a gentle insecticidal soap or releasing ladybugs in your garden.
Disease Prevention
Avoid overhead watering and ensure good airflow by spacing plants at least 18 inches apart. If you notice any yellowing leaves or dark spots, prune those affected areas right away and dispose of them—don’t compost.
Pruning
Light pruning is also helpful to remove crowded or damaged leaves, which boosts sunlight and airflow. This reduces disease risk and helps direct the plant’s energy toward producing bigger, healthier peppers.
Harvesting Bell Peppers
Knowing when to harvest bell peppers can make a big difference in their taste and texture. Bell peppers start out green and gradually change color—often to red, yellow, orange, or even purple—depending on the variety. For the best flavor, many gardeners wait until peppers reach their mature color, as they become sweeter and more nutrient-rich with time. However, green peppers are perfectly edible and often preferred in certain recipes for their firmer texture and slightly bitter flavor.
To check for ripeness, look for a glossy skin and a firm feel when gently squeezed. When harvesting, use sharp garden shears or a knife to cut the pepper from the plant, leaving a small portion of the stem attached—this helps prevent damage and prolongs shelf life. Avoid pulling peppers by hand, as it can harm the plant and affect future yields.
After picking, handle peppers carefully to avoid bruising; store them unwashed in the refrigerator’s crisper drawer, ideally inside a paper or reusable produce bag. This can keep them fresh for up to one to two weeks.
If you have a bumper crop, consider chopping and freezing excess peppers, so you’ll have the fresh taste of summer on hand all year.
Troubleshooting Common Issues
Tomato growers often encounter issues like blossom end rot, poor growth, and lack of fruit set, but understanding these problems makes them easier to fix.
Blossom End Rot
Blossom end rot is recognizable by sunken, black spots at the base of fruits and usually stems from inconsistent soil moisture or calcium deficiency. To prevent it:
- Water your plants deeply and regularly
- Mulch to retain moisture
- Ensure the soil has adequate calcium—crushed eggshells or garden lime can help
Poor Growth
Poor growth might be due to compacted soil, lack of nutrients, or insufficient sunlight. To improve growth:
- Loosen the soil before planting
- Feed with a balanced fertilizer
- Ensure your tomatoes get at least six hours of sunlight daily
Lack of Fruit Set
Lack of fruit set is often caused by extreme temperatures or inadequate pollination. To increase fruit production:
- Plant heat-tolerant varieties if summers are hot
- Encourage pollinators by planting flowers nearby
For more guidance, check resources like your local cooperative extension, gardening forums such as TomatoVille, or YouTube channels featuring expert growers. Remember, most tomato problems are fixable with a little attention and the right information.