Choosing the Right Location and Container
When it comes to growing juicy, flavorful tomatoes, starting with the best soil for tomatoes sets the foundation for a thriving garden. Yet, even the perfect soil mix won’t deliver great results if your plants are in the wrong spot or type of container. Tomatoes demand plenty of sunlight—ideally six to eight hours each day—so selecting a location that receives direct sun is crucial.
Outdoor gardens are often ideal, providing ample light and natural airflow, although indoor growing can work well with the help of grow lights. Indoors, you gain greater control over temperature and pests but might struggle to replicate the consistent warmth and sunlight found outdoors.
Choosing between container and ground planting depends on your available space and goals. Container planting offers flexibility—you can move plants to chase the sun or protect them from sudden storms, and it’s often easier to control soil quality and moisture. However, containers dry out faster and may need frequent watering.
Ground planting generally supports deeper root growth and larger yields but requires more weeding and soil preparation.
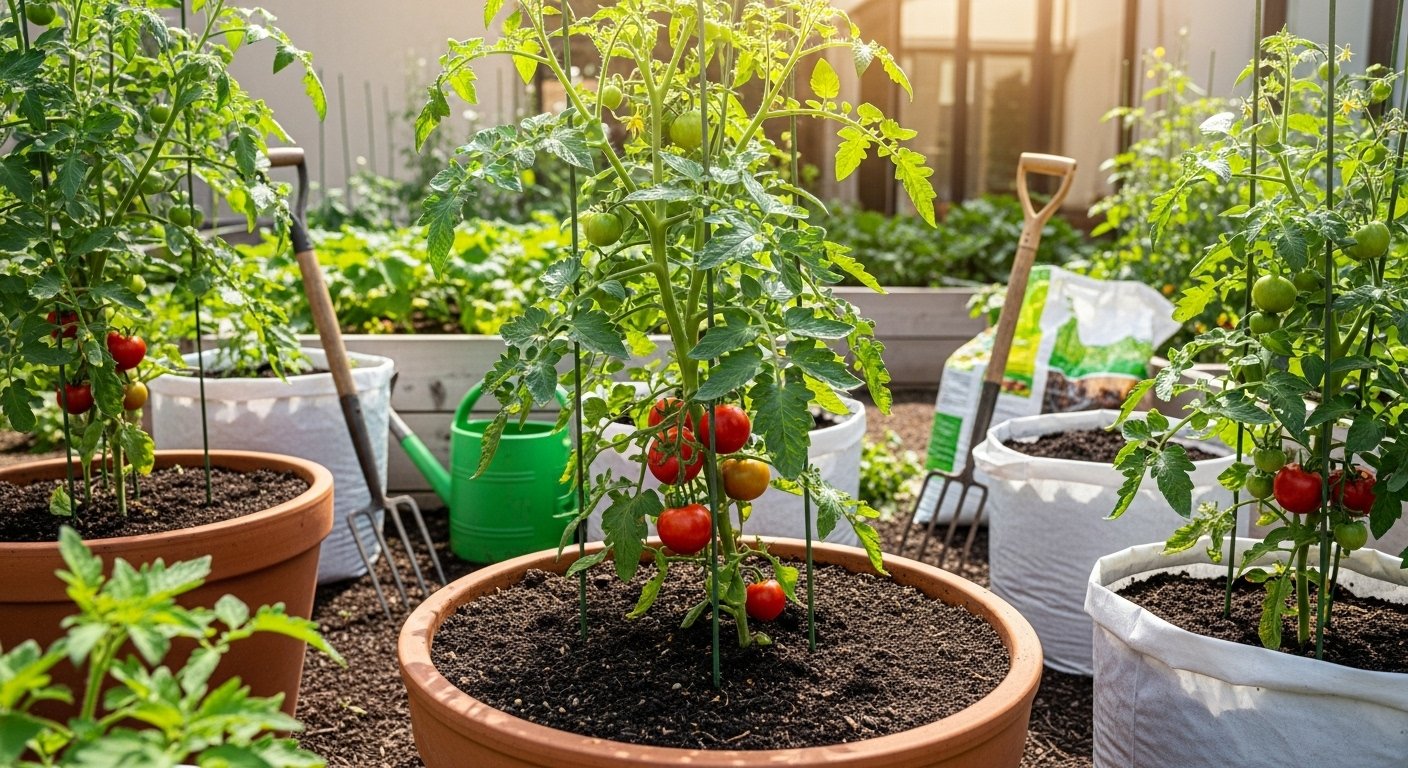
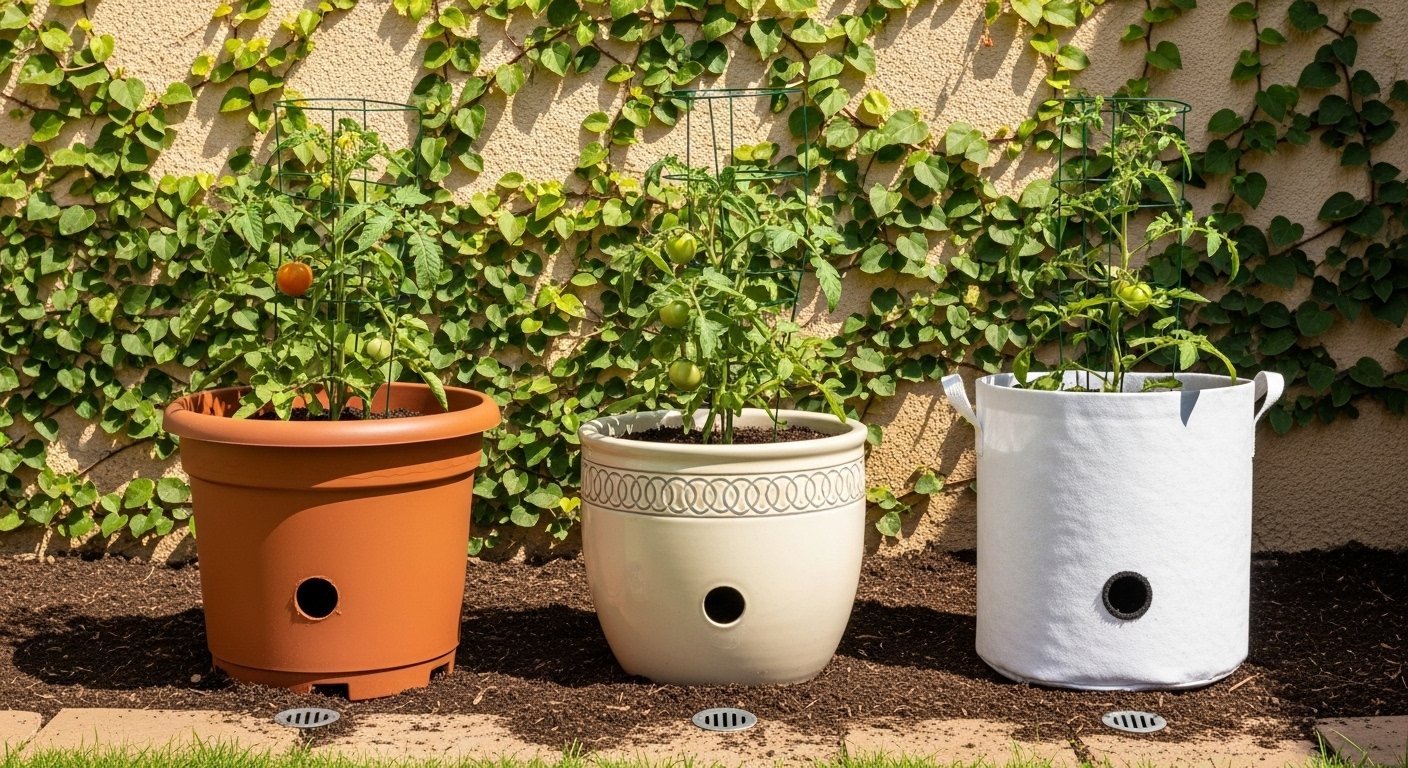
If you opt for containers, choose at least a 5-gallon size for each tomato plant—larger is always better. Food-safe plastic, ceramic, or fabric grow bags are excellent choices, but make sure they have drainage holes to prevent soggy roots. Place containers against a south-facing wall to soak up warmth and shield from harsh wind.
For in-ground beds, raised beds warm up early in spring and make for easy access during harvest. Position them parallel to the sun for maximum exposure, and ensure pathways are wide enough for comfortable tending.
Ultimately, combining the best soil mix with the right spot and container gives your tomatoes the best shot at a bumper crop.
Selecting Soil and Preparing to Plant
Tomatoes thrive best in soil that drains well, feels loose and crumbly, and is rich in nutrients to fuel their fast growth. Ideally, aim for a soil pH between 6.0 and 6.8, which allows roots to absorb nutrients efficiently.
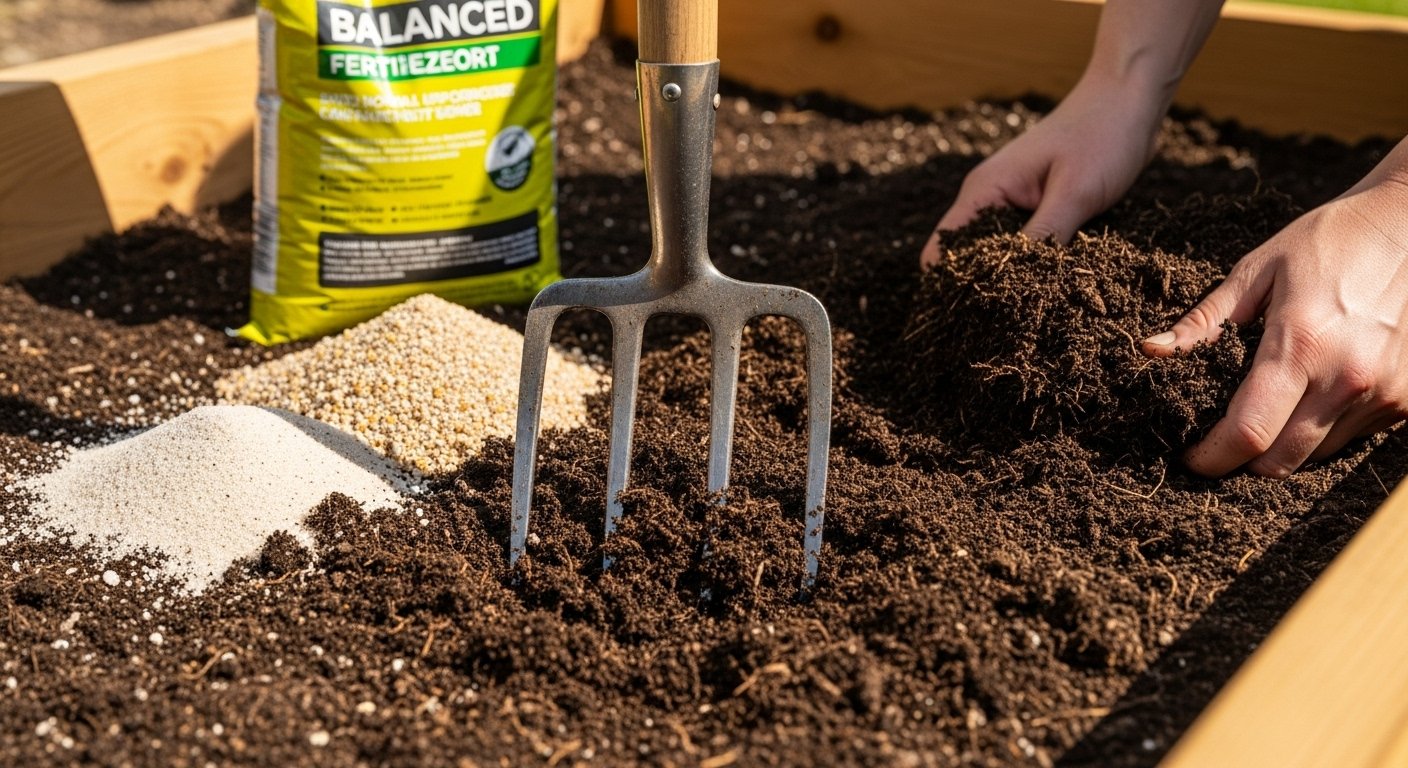
If you’re planting in garden beds, start by loosening the soil about 12 inches deep with a garden fork, breaking up any clumps. Mix in two to three inches of compost or well-rotted manure to boost organic matter, and consider adding a balanced fertilizer labeled for vegetables if your soil test shows any deficiencies.
For those using containers, choose a high-quality potting mix—avoid using plain garden soil, as it can become compacted and drain poorly in pots. Many potting mixes already include slow-release fertilizers, but you can also blend in a bit of compost for extra nutrients.
Whether you’re gardening in beds or pots, be sure water drains easily—roots sitting in soggy soil are a common cause of weak or diseased tomato plants. As a quick tip, if your soil feels heavy or sticky, mix in some coarse sand or perlite to improve drainage.
By setting up the right foundation now, your tomatoes will have the strong and healthy start they need for a flavorful harvest.
Planting Techniques and Timing
Timing your tomato planting can make all the difference in a bountiful harvest. The best time to transplant tomato seedlings outdoors is about one to two weeks after your region’s average last frost date, when nighttime temperatures consistently stay above 50°F (10°C).
To get started, harden off your tomato seedlings by gradually exposing them to outdoor conditions over 7–10 days. When you’re ready to transplant, dig a hole deep enough to bury the seedling up to its first set of leaves. Tomatoes benefit from deep planting because roots will grow along the buried stem, making for a sturdier plant.
Gently remove the seedling from its pot, loosen the roots if they appear crowded, and lay the plant at a slight angle in the hole, then cover with soil. Water thoroughly to settle the soil around the roots.
For healthy growth and to prevent disease, space determinate tomato varieties 18–24 inches apart, while indeterminate varieties need 24–36 inches. Keep rows at least 3 feet apart for proper airflow. This spacing helps minimize problems like blight and encourages sturdy, high-yielding tomato plants throughout the season.
Supporting Your Tomato Plants
Choosing the right support method for your tomato plants can make a big difference in their growth and productivity.
Staking is a simple option, ideal for smaller gardens or limited spaces—just insert a sturdy stake a few inches from the base and gently tie the stem as the plant grows.
Caging, using metal or wire tomato cages, works well for bushier determinate varieties, allowing the plant to lean and expand naturally while keeping fruit off the ground.
Trellising, often favored in larger gardens or for indeterminate tomatoes, involves training the vines along strong horizontal or vertical lines, offering maximum air circulation and easy harvesting.
Whichever method you choose, install the support at the time of planting or shortly after to avoid disturbing the roots later on.
As your tomatoes grow, check the ties weekly and adjust them as needed, using soft materials like garden tape or cloth strips to avoid damaging stems.
Proper support prevents branches from snapping under the weight of fruit, reduces the risk of disease by keeping leaves dry, and encourages plants to develop sturdy, upright stems that can hold more tomatoes throughout the season.
Watering and Feeding Best Practices
Getting watering and feeding right is crucial for healthy tomato plants and big harvests. Tomatoes planted in garden beds usually need a deep soak about once or twice a week, depending on rainfall. Container tomatoes often dry out quicker and may need checking daily—water whenever the top inch of soil feels dry.
Aim to keep moisture consistent rather than letting the soil swing between bone-dry and soggy. This helps prevent problems like blossom end rot, which appears as dark, sunken spots on the bottom of your fruit. A simple trick: mulch around your plants with straw or shredded leaves to maintain steady moisture.
For feeding, start with a balanced fertilizer (like 10-10-10) at planting, then switch to a tomato-specific fertilizer or a blend lower in nitrogen and higher in phosphorus and potassium once the first flowers appear. Too much nitrogen gives you lush leaves but few fruits! Follow label directions for frequency—usually every two to three weeks.
Whether you use organic compost, slow-release granules, or liquid feed, focus on providing gradual, steady nutrition for strong growth and tasty tomatoes. If leaves turn pale or yellow, it might be time for a boost.
Remember, each plant’s needs can vary with weather and soil, so adjust as you go for the happiest, most productive tomatoes.
Maintenance: Pruning and Common Problems
Pruning tomato plants is essential for healthy growth and better yields. Start by removing the lower leaves that touch the soil, as they’re prone to disease. Regularly pinch off “suckers”—the shoots that grow in the joint between the stem and a branch—so the plant can focus energy on fruit instead of extra foliage. Avoid pruning more than a third of the plant at once to prevent stress.
Tomato plants often face issues like aphids, tomato hornworms, and fungal diseases such as blight. To ward off pests, inspect plants often, handpick larger insects like hornworms, and use neem oil or insecticidal soap for smaller pests. For disease prevention, always water at the base of the plant, provide good air circulation, and mulch to prevent soil splash.
If your tomato leaves turn yellow, check for overwatering, nutrient deficiencies (like a lack of nitrogen), or early signs of disease. Wilting could mean underwatering, root damage, or bacterial wilt—so be sure to check soil moisture and root health.
If you’re getting few or misshapen fruits, make sure the plant has enough sunlight (at least 6 hours daily), is pollinated (gently shake flowers or attract bees), and is fertilized properly with balanced nutrients. Monitoring regularly helps you catch and fix problems early.
Harvesting Tips and Storage
Knowing when to pick your tomatoes is key for the best flavor and texture. Look for a rich, uniform color—usually deep red, but this may vary if you’re growing yellow, orange, or purple varieties. Ripe tomatoes will feel slightly firm but yield just a bit under gentle pressure, and their skin should be smooth and glossy.
For the tastiest results, harvest in the late morning after any dew has dried, which helps reduce the risk of disease. To avoid injuring your plants or bruising the fruit, use sharp garden scissors or gently hold the tomato and twist it off with its small stem cap intact. Always support the vine with your other hand while picking to prevent snapping branches.
After harvesting, store tomatoes at room temperature out of direct sunlight—placing them stem side down helps keep moisture in. Avoid refrigerating unless your tomatoes are very ripe and you can’t eat them soon, as cold temperatures dull their flavor and damage their texture.
For an extra-short storage trick, let underripe tomatoes ripen in a paper bag with a banana, which speeds up ripening thanks to the fruit’s natural ethylene gas. This care ensures your tomatoes stay fresh, flavorful, and ready to enjoy.