Introduction
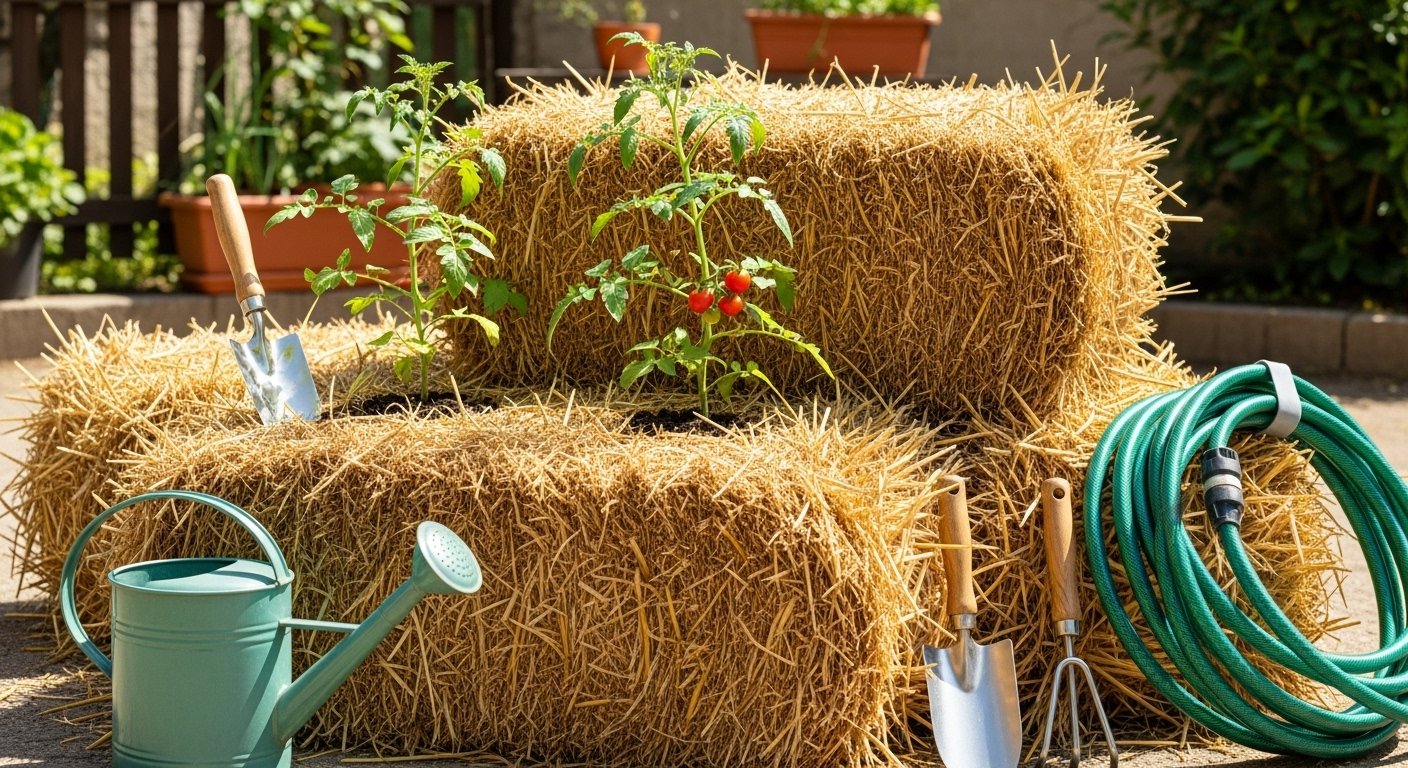
Straw bale tomatoes are quickly gaining popularity among home gardeners and urban growers thanks to the innovative and sustainable method of straw bale gardening. This technique uses bales of straw as both containers and growing mediums, making it possible to grow tomatoes almost anywhere—whether you have poor soil, limited backyard space, or a sunny balcony.
The appeal lies in its simplicity and adaptability: with just a few conditioning steps, those golden bales transform into nutrient-rich beds perfect for producing plump, juicy tomatoes. Gardeners appreciate that straw bale tomatoes often benefit from better drainage, warmer root zones, and fewer soil-borne pests or diseases, resulting in healthier plants and impressive harvests. Plus, it reduces weeding, making this a low-maintenance option for both beginners and experienced green thumbs.
In this article, we’ll guide you through everything you need to know about growing tomatoes in straw bales—from bale selection and preparation to planting, watering, and troubleshooting common issues. Whether you want to boost your tomato yield or simply try a fun, eco-friendly gardening project, straw bale gardening could transform your tomato-growing experience this season.
Why Choose Straw Bale Gardening for Tomatoes?
Straw bale gardening offers a smart, practical solution for growing tomatoes, especially if you’re dealing with challenging soil or limited outdoor space. Since you plant directly into bales of straw—no dirt required—it’s a soil-free method that eliminates worries about rocky, clay-filled, or contaminated ground.
This setup is a game-changer for urban gardeners who might only have a small patio or balcony. Straw bales are surprisingly easy to move and arrange, so you can customize your garden to fit your space or follow the sun.
One big bonus is that straw naturally suppresses weeds, meaning less time spent pulling unwanted sprouts and more time enjoying healthy tomato plants.
For tomatoes specifically, straw bales provide excellent drainage, helping to prevent soggy roots and fungal diseases that often plague traditional garden beds. Plus, as the straw decomposes, it gently warms the root zone—creating the ideal cozy environment that tomatoes love for rapid growth and fruiting.
Even gardeners with poor native soil can harvest baskets of flavorful tomatoes, as the nutrient-rich, decomposing bales serve as both the bed and ongoing fertilizer.
If you’re after an accessible, low-maintenance way to boost your tomato harvest regardless of your soil or location, straw bale gardening is well worth trying.
Selecting and Placing Your Straw Bales
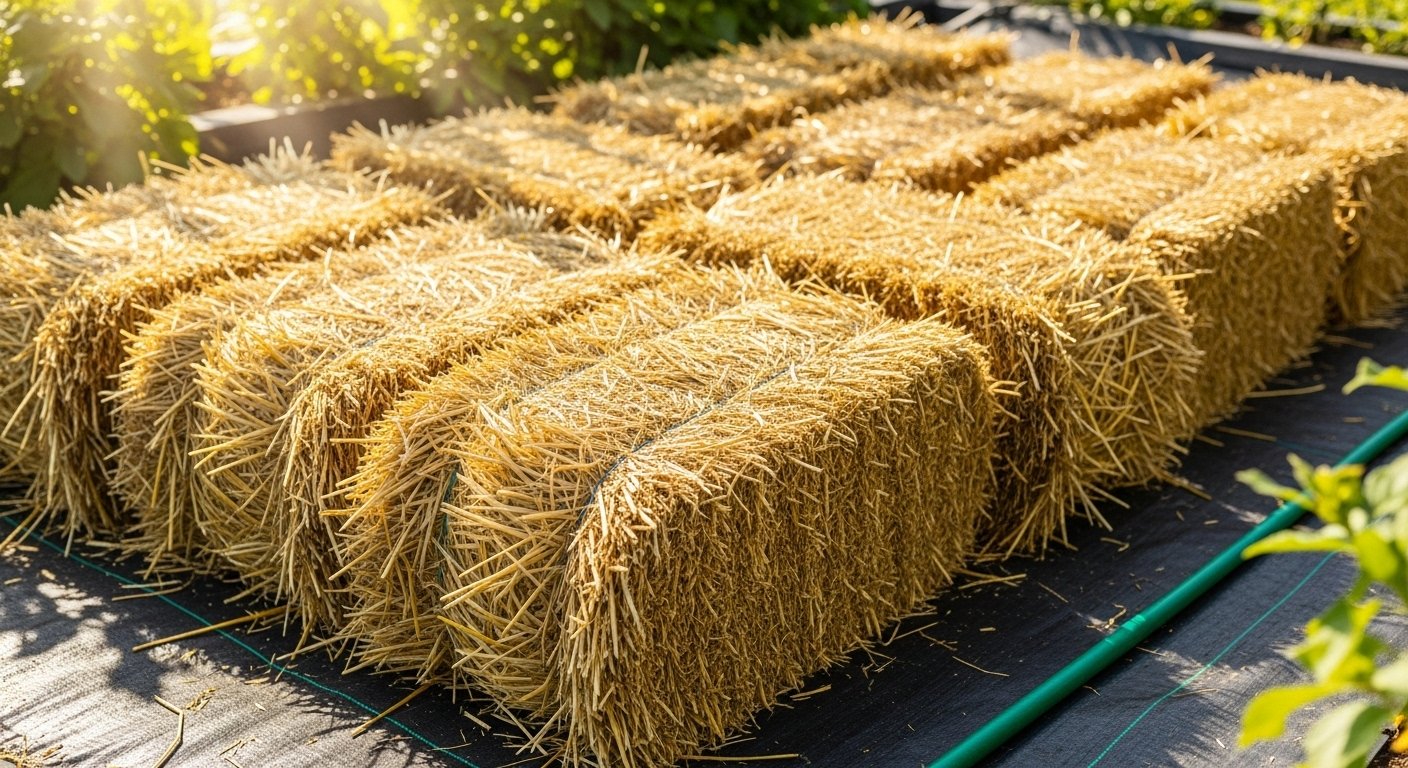
When starting your straw bale garden, it’s crucial to choose the right type of straw—wheat, oat, or barley straw bales are your best bets because they’re clean, decompose nicely, and are usually free from unwanted seeds. Avoid hay bales, as they’re likely to introduce persistent weeds into your garden.
Place your straw bales in a spot that receives at least six to eight hours of direct sunlight each day, since tomatoes thrive on warmth and sun exposure. Make sure the bales are close to a water source because they need frequent watering, and you’ll thank yourself later for making irrigation or hose access easy.
Also, think about maintenance: leave enough space around each bale so you can walk and reach both sides comfortably—about 18 to 24 inches apart is ideal for maneuvering and harvesting. If you’re planting multiple tomato plants, keep at least one bale width (about 18-24 inches) between plants to promote healthy airflow and avoid overcrowding, which helps prevent disease and makes tending to your tomatoes much simpler.
Arranging the bales in a single row allows each plant to get optimal sunlight, but clusters or “caterpillar” arrangements also work if space is tight, just be sure each plant has enough breathing room.
Take a moment to lay down a weed barrier like landscape fabric underneath your bales to stop grass or weeds from popping up and complicating your gardening efforts.
Carefully considering straw, placement, and spacing right from the start sets you up for a productive and low-fuss tomato season.
Preparing Straw Bales for Planting
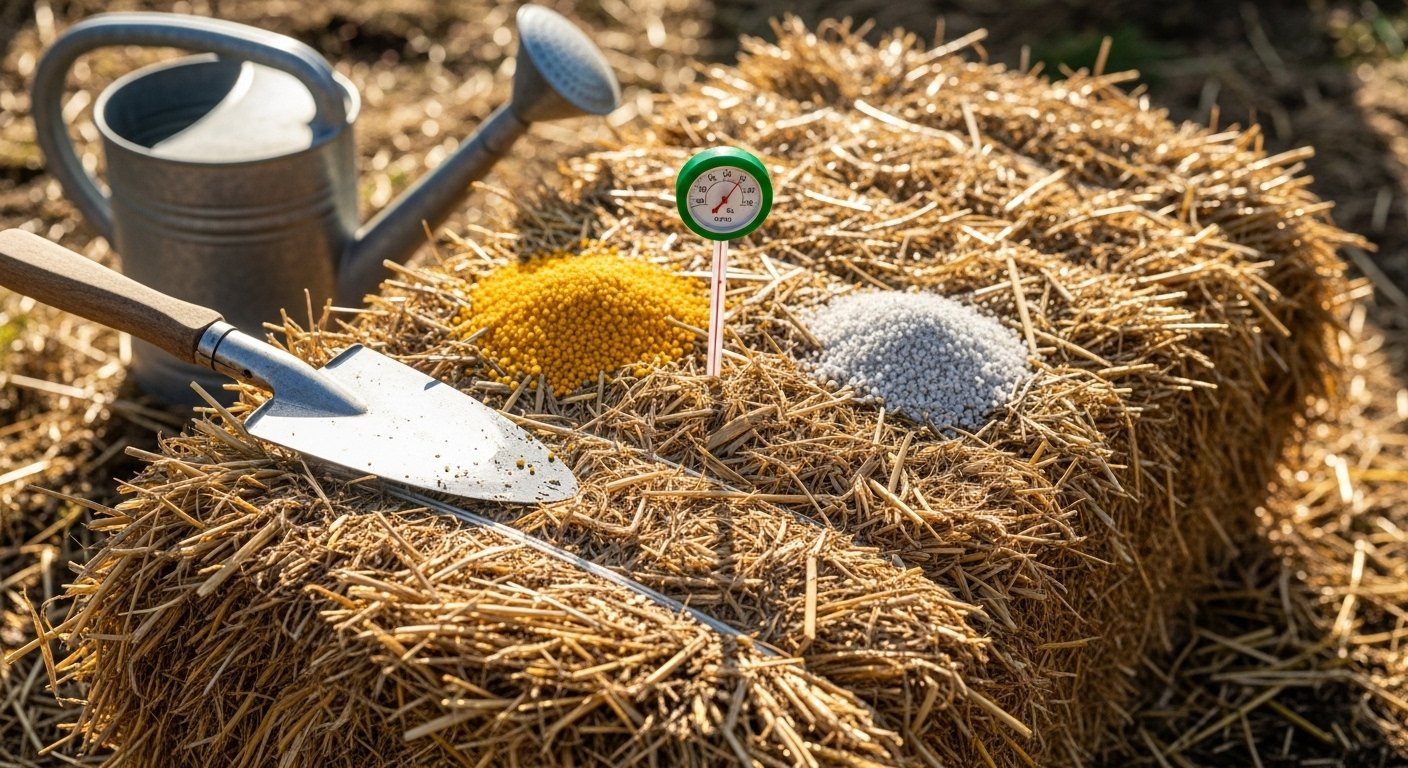
Conditioning straw bales is an essential process that transforms ordinary straw into a nutrient-rich, plant-friendly medium, ensuring your garden thrives from the very start. The goal is to kickstart decomposition inside the bales, creating warmth and releasing nutrients that help plants establish healthy roots.
Over 10–14 days, you’ll follow a structured schedule:
- Days 1–3: Soak the bales thoroughly each morning until water runs out the bottom. This hydrates the straw and sets the stage for microbial activity.
- Days 4–6: Continue watering daily, but now sprinkle a high-nitrogen fertilizer (about half a cup per bale of ammonium sulfate or a similar product) atop the moist bales to feed the microbes.
- Days 7–9: Reduce fertilizer to a quarter cup per bale each day, still watering well to help the fertilizer penetrate.
- Days 10–12: Switch to a balanced fertilizer with both nitrogen and phosphorus (like 10-10-10), lightly watering after application.
- Days 13–14: Only water as needed to keep the bales damp but not soggy.
During this conditioning phase, use a compost thermometer to monitor the internal bale temperature; the bales will heat up as decomposition peaks. Once temperatures drop to near air temperature (around 80°F or lower), it’s a sign they’re ready to plant.
Avoid common mistakes like letting bales dry out (keep them consistently moist), over-fertilizing (which can burn plant roots), or skipping days in the schedule—these missteps can slow decomposition or make the bales unsuitable for planting. With patience and attention to detail, conditioned straw bales become a fantastic, soil-free foundation for vegetables and flowers.
Planting Tomatoes in Straw Bales
Transplanting tomato seedlings into straw bales is a simple, space-saving way to grow juicy tomatoes almost anywhere. Start by conditioning your straw bales about two weeks before planting—keep them moist and add a little high-nitrogen fertilizer every couple of days to jumpstart decomposition.
When it’s time to plant, use a hand trowel or gloved hands to carve out planting pockets in the bale, each about the size of a small flower pot and around 6 inches deep. Space these holes at least 18 to 24 inches apart to give each tomato plant plenty of room to spread and thrive.
Fill each pocket with a blend of potting mix or compost; this rich soil base provides your seedlings with an initial nutritional boost since straw alone doesn’t supply all the nutrients tomatoes need. Gently remove the tomato seedling from its container and place it deep into the planting mix—ideally burying a bit of the stem to encourage strong rooting. Then, pat the mix around the roots to stabilize the plant.
Water thoroughly so the roots settle into their new home, and keep the bale consistently moist after planting, as straw can dry out quickly in the sun. For best results, add a layer of compost around each tomato plant as a slow-release fertilizer throughout the season.
By using this method, you’ll not only save space but also eliminate many soil-borne pests, making straw bale gardening a smart choice for both new and experienced gardeners alike.
Supporting and Caring for Your Tomato Plants
Supporting your tomato plants properly is crucial for success when growing them in straw bales. Simple tomato stakes, sturdy wire cages, or vertical trellises all work well, but make sure whatever you choose is firmly anchored inside or just behind the bale so your growing, heavy plants don’t topple over.
Cages are especially handy for bushier varieties and provide all-around support, while a tall stake or trellis can keep indeterminate types upright and accessible for harvest.
When it comes to watering, straw bales are surprisingly thirsty and dry out faster than regular garden beds. Check bales daily, especially during heat waves; the top few inches should feel moist, not soggy. Drip irrigation or a soaker hose laid along the bale makes watering automatic and steady, ensuring roots always have access to moisture without overdoing it. For the best results, water in the morning to allow leaves to dry—this helps prevent diseases.
Since nutrient-rich soil gets leached quickly in straw bales, feed your tomatoes every two weeks with a balanced, water-soluble fertilizer, switching to something higher in potassium and phosphorus once fruits appear.
Lastly, lay down a layer of organic mulch like straw on top of the bales to help retain moisture, reduce weeding, and keep fruit clean. Routine attention to these details means your tomatoes will stay healthy and productive all season long.
Troubleshooting Common Problems
Straw bale gardening can be incredibly rewarding, but like any growing method, it comes with its share of challenges. One of the most frequent concerns is pests—look for holes in leaves or missing seedlings as signs of slugs, aphids, or cutworms. Applying diatomaceous earth around the base of bales or introducing beneficial insects such as ladybugs can help keep populations in check.
Moisture problems can sneak up quickly; straw bales dry out faster than soil but may also foster mold if overwatered. Monitor moisture daily with your finger—bales should feel damp but not soggy—and consider using a soaker hose on a timer for consistent irrigation.
Nutrient imbalances can manifest as yellowing leaves or poor growth. Since straw is mostly carbon, supplement bales weekly with a balanced liquid fertilizer or compost tea, especially early in the season.
Tomato diseases like blight and wilt thrive when plants stay wet or when airflow is restricted. So, space tomatoes generously, clip off any lower leaves touching the straw, and water at the base to avoid splashing. If you notice dark spots or wilting, prune affected leaves immediately and consider rotating crops next year to disrupt disease cycles.
Throughout the season, keep an eye on your bales—if they sag or compress too much, gently fluff the top layer to improve airflow and drainage. Removing old plant debris after harvest also minimizes future pest and disease risks.
By staying observant and responding quickly to problems, your straw bale garden can remain healthy and productive from planting through harvest.
Harvesting and Reusing Your Straw Bales
Knowing when to harvest your tomatoes is key to enjoying the freshest flavors—look for deep, even color, a slight give when gently squeezed, and the tomato easily detaching from the vine.
Once your tomato plants have finished producing, don’t toss those straw bales just yet. Spent straw bales make excellent additions to compost piles, breaking down quickly and enriching the mix with organic matter. You can also use the decomposed straw as mulch around other garden beds or work it directly into your garden soil to improve texture, drainage, and fertility for future planting seasons.
Growing tomatoes in straw bales offers many benefits, from improved pest and weed control to reduced soil-borne diseases and less back-bending labor. Best of all, the process closes the loop by letting you repurpose the bales in an eco-friendly way.
By harvesting at the right time and reusing your bales creatively, you get the satisfaction of a bountiful harvest and a garden that gets better each year—proof that small steps in reusing resources can reap big rewards.