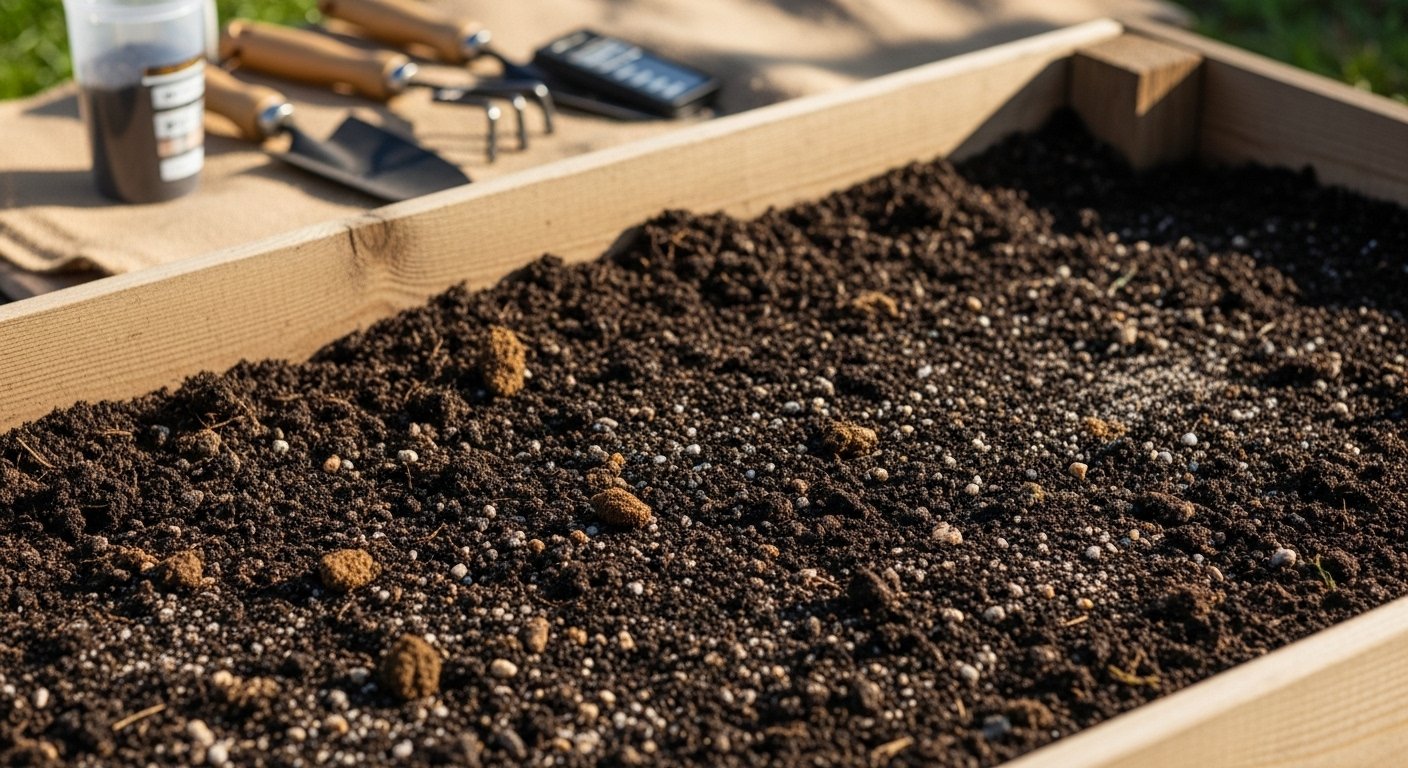
Getting Your Tomato Beds Ready
If you’re eager to boost your tomato harvest this season, learning how to make homemade tomato fertilizer is essential—but there’s an important first step many gardeners overlook: getting your tomato beds ready. The foundation of strong, productive tomato plants lies in healthy soil. So before even thinking about fertilizers, take time to prepare your planting area.
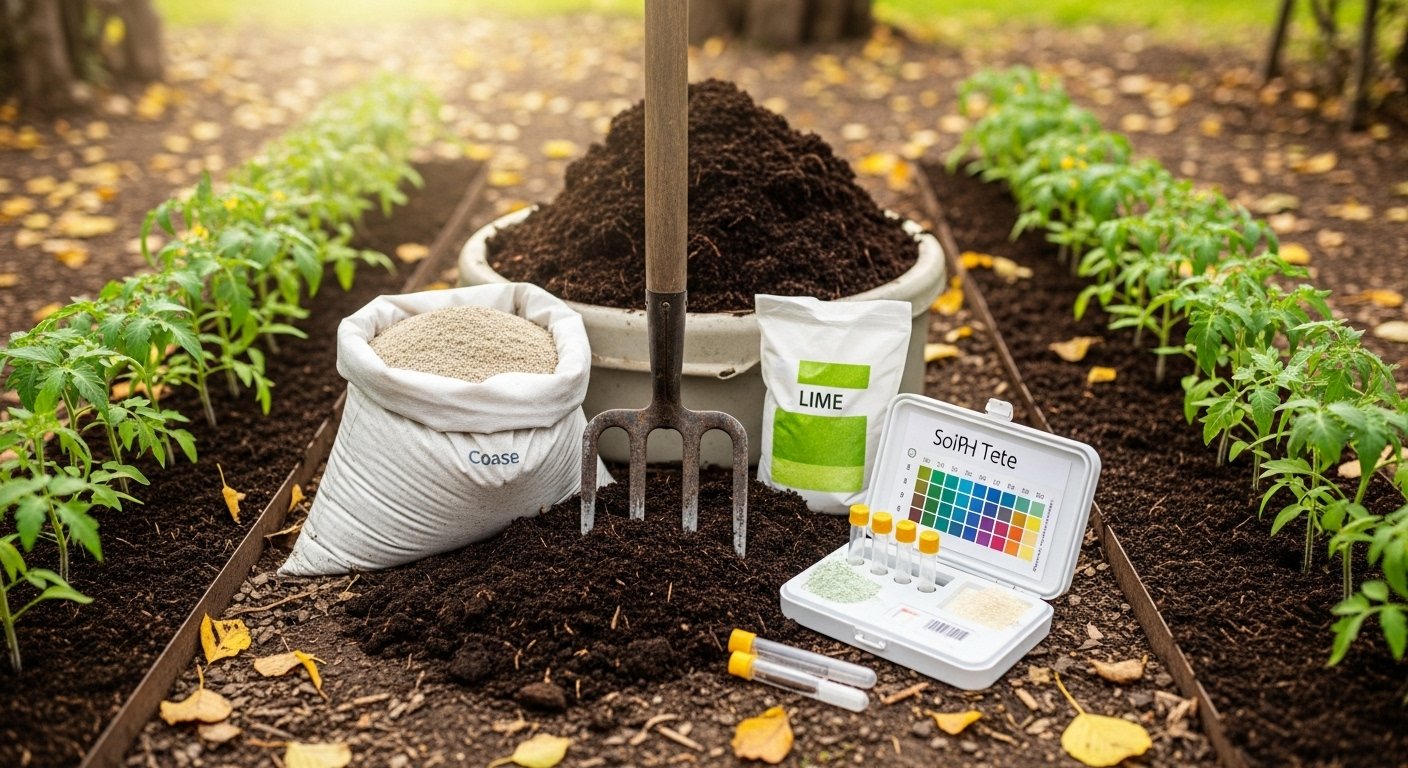
Start by conducting a simple soil test. These kits, available at garden centers, will reveal crucial details like nutrient deficiencies and your soil’s current pH. Ideally, tomato plants thrive in soil with a pH between 6.0 and 6.8. If your soil tests outside this range, consider adjusting it with lime to raise the pH or sulfur to lower it.
Next, amend your beds with plenty of organic matter—think well-rotted compost or aged manure—which not only provides key nutrients but also improves soil structure, helping roots access both water and air. Spread a two to three-inch layer over the bed and gently mix it into the top six inches of soil.
Don’t forget about drainage; tomatoes hate “wet feet,” so if your soil tends to stay soggy after rain, add coarse sand or create raised beds to ensure water moves freely.
Paying attention to these details early on sets the stage for your homemade tomato fertilizer to work its magic, giving your plants everything they need to produce plump, flavorful fruit all summer long.
Understanding Tomato Fertilizer Basics
Tomatoes are heavy feeders and need a balanced supply of key nutrients—nitrogen (N), phosphorus (P), and potassium (K)—to thrive at every growth stage. Nitrogen promotes lush, green leaf development, which is crucial for young seedlings as they build a strong foundation. Phosphorus supports healthy root growth and is essential for flowering and fruit setting, while potassium enhances the plant’s overall vitality and helps tomatoes develop firm, flavorful fruits.
When shopping for tomato fertilizer, you’ll notice a series of three numbers on the label—these are the N-P-K values, representing the percentage of each nutrient. For example, a fertilizer labeled 10-10-10 contains 10% each of nitrogen, phosphorus, and potassium by weight.
Early in the growing season, young tomato plants benefit from a fertilizer slightly higher in nitrogen to encourage robust foliage and root growth. Once flowering begins and fruit starts to form, switch to a blend lower in nitrogen but higher in phosphorus and potassium—like a 5-10-10 mix—to support strong blooms and abundant, high-quality tomatoes.
Over-fertilizing with nitrogen can lead to big, beautiful plants but fewer fruits, so always follow package directions and adjust based on how your plants respond. If you’re gardening organically, compost, well-rotted manure, or tomato-specific organic blends provide the same key nutrients without synthetic additives.
Regularly observing your plants—looking for signs like yellowing leaves or poor fruit development—can help you spot nutrient imbalances early and adjust your fertilizer routine for tastier, healthier tomatoes.
Best Times & Ways to Fertilize Tomatoes
Fertilizing tomatoes at the right times and in the right ways can make a big difference in your harvest. Start by preparing the soil with a balanced granular or slow-release fertilizer about a week before planting—this gives nutrients time to blend in and become available to young roots.
At planting, mixing a handful of compost or slow-release fertilizer directly into the planting hole can give young plants a boost.
As tomatoes grow, they need more feeding:
- Granular fertilizers are often reapplied every 3–4 weeks by gently working them into the soil a few inches away from the base (a method called side dressing).
- Liquid fertilizers can be given every couple of weeks with watering for a quicker nutrient pick-me-up.
- Foliar sprays (spritzing diluted fertilizer directly onto the leaves) can help correct minor deficiencies quickly. Just be sure to apply these early in the morning to avoid leaf burn and wash off any residue afterward.
To maximize fertilizer uptake and minimize waste:
- Water the soil thoroughly before and after applying granular feeds.
- Avoid over-fertilizing, especially with high-nitrogen products, which can result in leafy plants with fewer fruits.
- Always follow package directions.
For best results, regularly check your plants for yellowing leaves or slow growth—these can signal when a feeding is needed or when it’s time to cut back. By matching fertilizer type and timing to each stage of growth, you’ll help your tomatoes thrive from seedling to harvest.
Store-Bought Tomato Fertilizer Options
When browsing store shelves for tomato fertilizers, you’ll find a wide range of choices from trusted brands like Miracle-Gro, Espoma Tomato-Tone, Jobe’s Organics, and Dr. Earth. Organic fertilizers such as Espoma Tomato-Tone or Dr. Earth blend natural ingredients like bone meal, feather meal, and beneficial microbes, promoting long-term soil health and a steady, slow nutrient release. These are ideal for gardeners prioritizing eco-friendly ingredients and soil improvement, but they can cost more and may take a little longer to show results.
Synthetic options, like Miracle-Gro Tomato Plant Food or Miracle-Gro LiquaFeed, offer fast-acting nutrients and are generally more affordable, making them great for a quick boost, especially during heavy fruiting. However, synthetic fertilizers can lead to salt buildup over time and don’t support microbial life as well as organics.
Fertilizer Forms
In terms of form, granular fertilizers—both synthetic and organic—are easy to apply and suitable for mixing into soil at planting, providing nutrients over several weeks. Slow-release granules minimize the need for frequent reapplication but can be pricier. Liquid fertilizers, such as Miracle-Gro or Neptune’s Harvest, are perfect for foliar feeding or giving quick nutrients during key growth stages but must be applied more often.
Nutrient Needs by Growth Stage
- For seedlings or early stages, a balanced or slightly nitrogen-rich liquid feed encourages healthy foliage.
- During flowering and fruiting, switch to a blend with higher phosphorus and potassium.
Consider your soil’s needs, the time you can dedicate to garden maintenance, and your preference for organic or conventional products when choosing. Often, a mix of granular fertilizer at planting and liquid feeding during fruit set works best.
Homemade Fertilizer Solutions
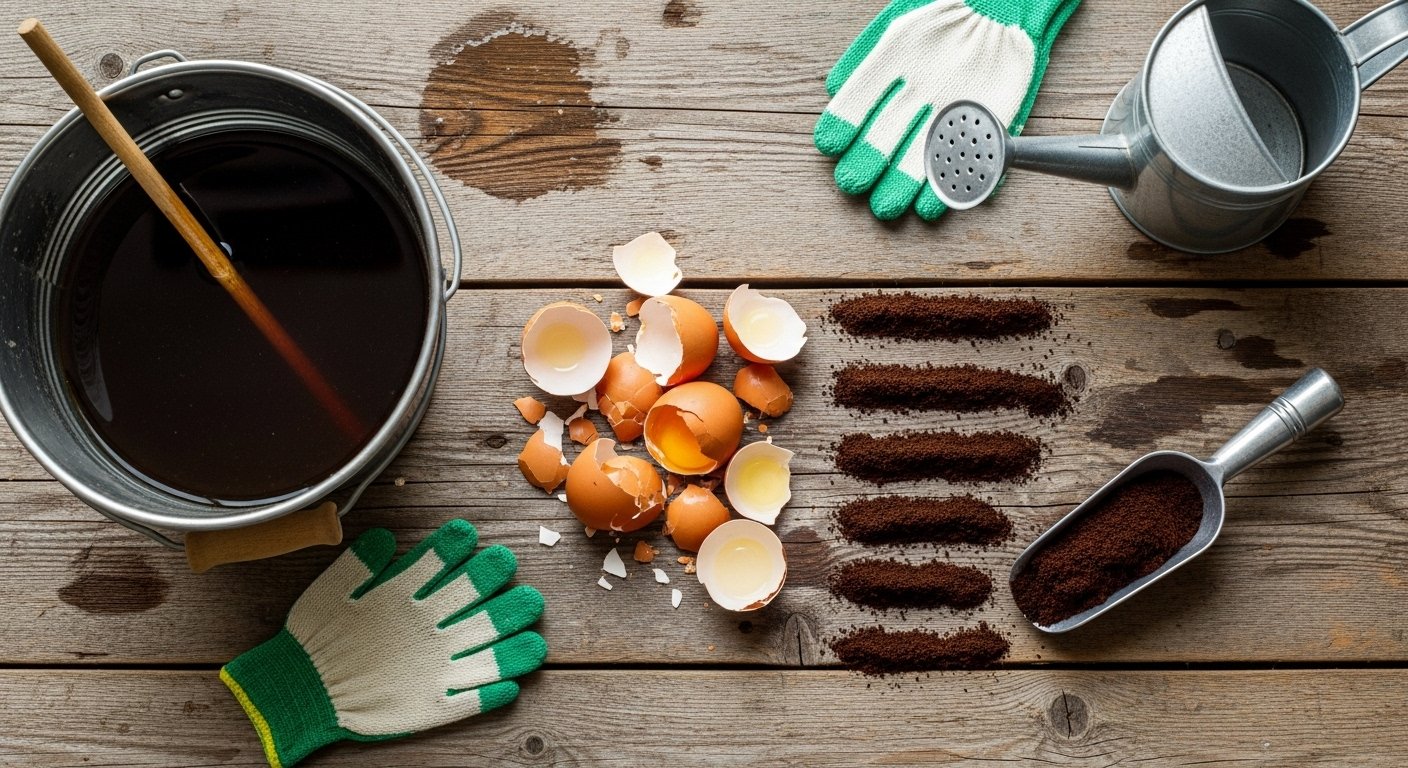
Homemade fertilizer solutions can give your tomato plants a healthy boost without the cost or mystery of store-bought products. A simple favorite is compost tea: fill a bucket halfway with well-rotted compost, add water to the top, stir, and let it steep for about two days. Strain the liquid and water your tomatoes with it once a week; this gentle brew supplies a balanced mix of nutrients and beneficial microbes.
Crushed eggshells are another great addition—sprinkle them into the soil around your plants to slowly boost calcium, reducing the risk of blossom end rot (a common tomato problem). Used coffee grounds can be mixed into the soil or watered in with compost tea; they’re slightly acidic and provide a mild nitrogen boost, which is especially useful for leafy growth early in the season.
When using these household materials, moderation is key—using too many coffee grounds without composting first can lead to acidity issues, and piling on eggshells all at once won’t speed things up. Mix materials sparingly and avoid pouring strong brews or thick layers directly onto plant roots, which could burn or suffocate them. Never combine highly acidic elements like fresh coffee grounds with alkaline substances (for example, wood ash) in the same application, since this can create nutrient lockout.
Keep a consistent but light feeding schedule and always observe your tomato plants’ reactions—yellowing leaves or slow growth may signal too much or the wrong kind of fertilizer. By sticking with small, regular doses, you’ll encourage vigorous, delicious tomato harvests while sustaining soil health in your garden.
Smart Fertilizer Use for Bigger Harvests
Maximizing your harvest starts with smart fertilizer use, but it’s not just about applying more—it’s about using it wisely. Always follow package instructions and avoid over-fertilizing, which can burn roots and waste resources. A common mistake is thinking “more is better,” but plants can only absorb so much at once.
Watering plays a critical role in fertilizer efficiency: water thoroughly after applying fertilizer to help nutrients reach the root zone, but don’t oversaturate, as this can wash nutrients away. Mulching with straw, leaves, or grass clippings locks in moisture and slowly adds organic matter as it breaks down, making each dose of fertilizer go further.
Companion planting is a natural way to boost soil health and nutrient availability. For example, beans and peas fix nitrogen, which benefits neighboring leafy greens, while marigolds repel pests that might otherwise damage nutrient-hungry crops.
To foster long-term soil fertility, rotate crops each year and use slow-release or organic fertilizers like compost or aged manure, which feed soil microbes and create a more resilient ecosystem. Eco-friendly solutions—such as worm castings or seaweed extracts—are gentle on the environment and support biodiversity.
Finally, keep records of what you use and how your plants respond, so you can fine-tune your approach season after season and avoid repeating any missteps. With these habits, you’ll ensure bigger, healthier harvests while building richer, more sustainable soil year after year.
Troubleshooting & Tomato Fertilizer FAQs
Fertilizing your tomatoes can sometimes cause issues like yellowing leaves, blossom end rot, or poor fruit production. Fortunately, these problems are usually easy to diagnose and fix with a few simple steps.
If your tomato plant’s leaves are turning yellow, it might be a sign of nitrogen deficiency, which means you’re under-fertilizing. Alternatively, it could indicate over-fertilization that’s burning the roots. In the first case, gently add a balanced fertilizer. But if you suspect over-fertilization—often accompanied by brown, crispy edges—flush the soil with water to remove excess nutrients.
Blossom end rot, where the bottoms of tomatoes turn brown and leathery, is usually caused by calcium deficiency and inconsistent watering. To prevent this, mulch well and keep the soil evenly moist. You might also consider a calcium supplement if needed.
Poor fruit production may mean your plants are getting too much nitrogen but not enough phosphorus or potassium. In this case, switch to a fertilizer labeled “bloom booster” to encourage flowering and fruit set.
If you’re unsure about the specific issue, a soil test from your local extension office or garden center can provide useful insights. For more tailored advice, check online resources like university agriculture extensions or connect with a local master gardener program.