Introduction
Starting swiss chard seeds is a fantastic way to kick off your gardening season, especially if you’re looking for a rewarding, low-fuss crop. Swiss chard has become a favorite among home gardeners for its vibrant colors, stunning leafy stalks, and impressive resilience. Not only does it look great in the garden, but it also packs a powerful nutritional punch—loaded with vitamins A, C, and K, as well as essential minerals like iron and potassium.
Whether you’re a beginner just dipping your toes into indoor seed starting, or a seasoned gardener seeking another easy-going, productive vegetable, growing Swiss chard is a smart choice. In this article, you’ll discover a straightforward, step-by-step guide for starting Swiss chard seeds indoors, setting you up for a thriving harvest that will bring beauty and nourishment to your table all season long. Let’s dig into what you need to know for a successful start!
Understanding Swiss Chard: Types and Benefits
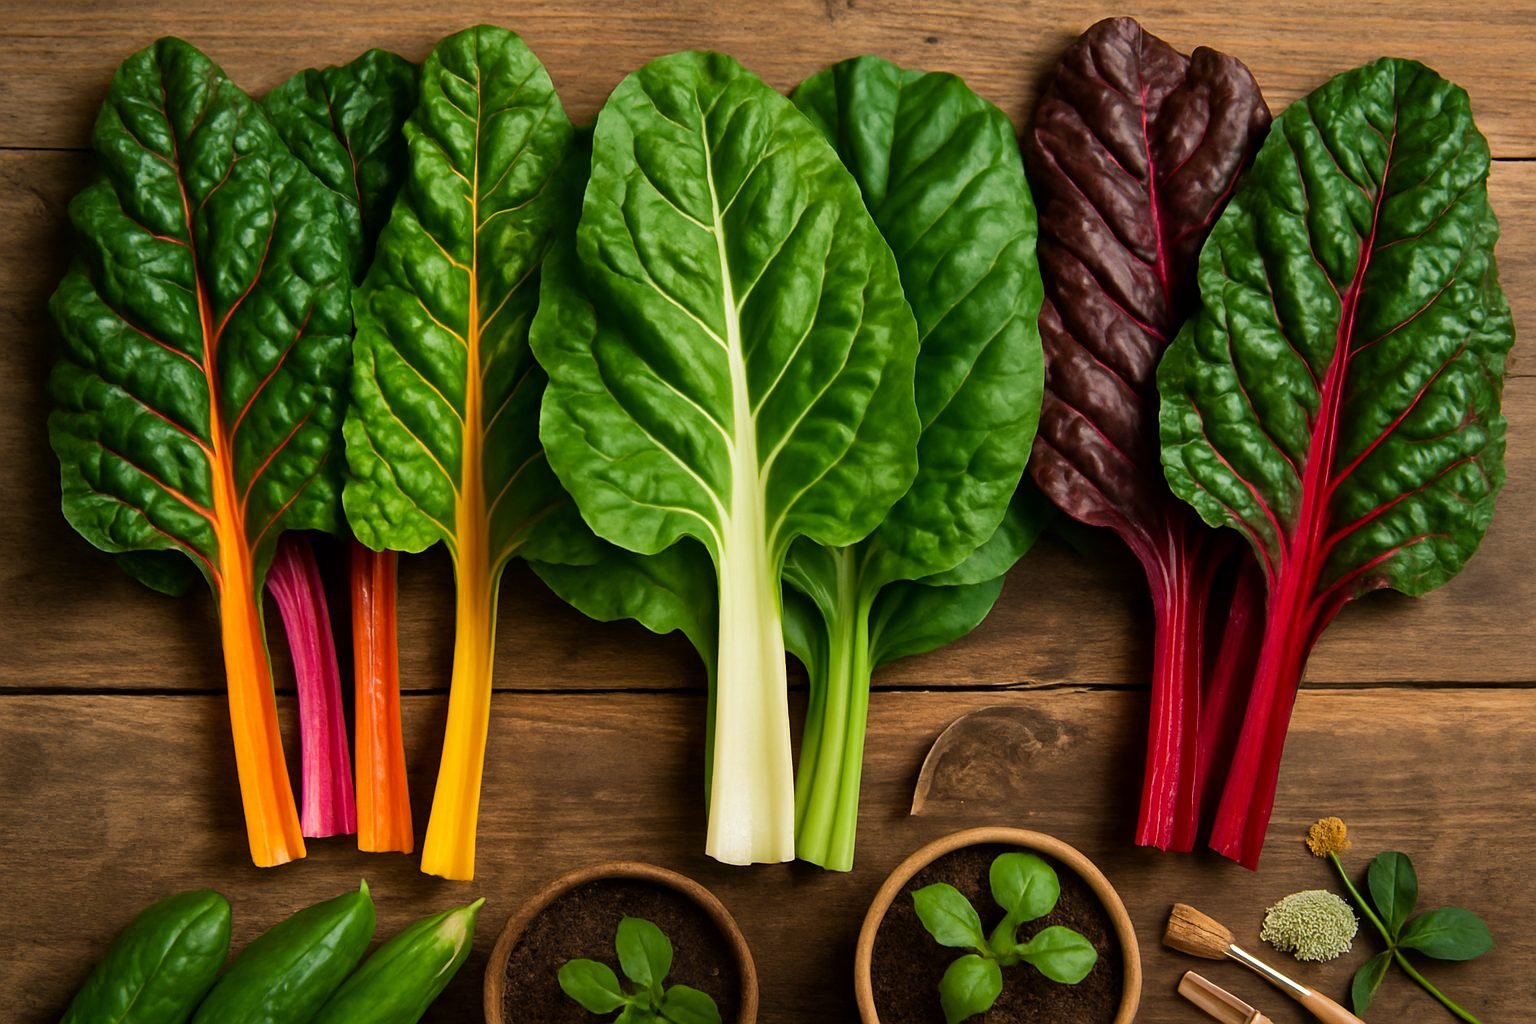
Swiss chard is a vibrant leafy green vegetable prized for its earthy flavor and colorful stems, making it both nutritious and visually appealing in the kitchen. Common varieties include white-stemmed chard, which is classic and mild; ruby or red chard, with striking red veins and stems; and the eye-catching rainbow chard, a mix of different colored stalks like yellow, pink, orange, and red.
All types share tender leaves and crunchy stems that can be sautéed, used in salads, or added to soups and stir-fries.
Nutritional Benefits
Swiss chard is a nutritional powerhouse, packed with vitamins A, C, and K, as well as magnesium, iron, and potassium. It’s low in calories and rich in antioxidants, supporting heart health, immunity, and bone strength.
Growing Swiss Chard at Home
For home gardeners, Swiss chard is a dream—it’s easy to grow, tolerates a range of climates, and produces abundant harvests throughout the season. Even if space is limited, it can thrive in containers on patios. Its quick growth means you can enjoy baby leaves in just a few weeks, and continual harvesting encourages more to grow.
Using Swiss Chard in the Kitchen
Swiss chard’s mild taste works well in smoothies, omelets, pasta dishes, and as a substitute for spinach, adding color and nutrition to everyday meals. By growing Swiss chard at home, you’ll enjoy a steady supply of this superfood ingredient while brightening up both your plate and your garden.
Choosing the Right Spot and Preparing the Soil
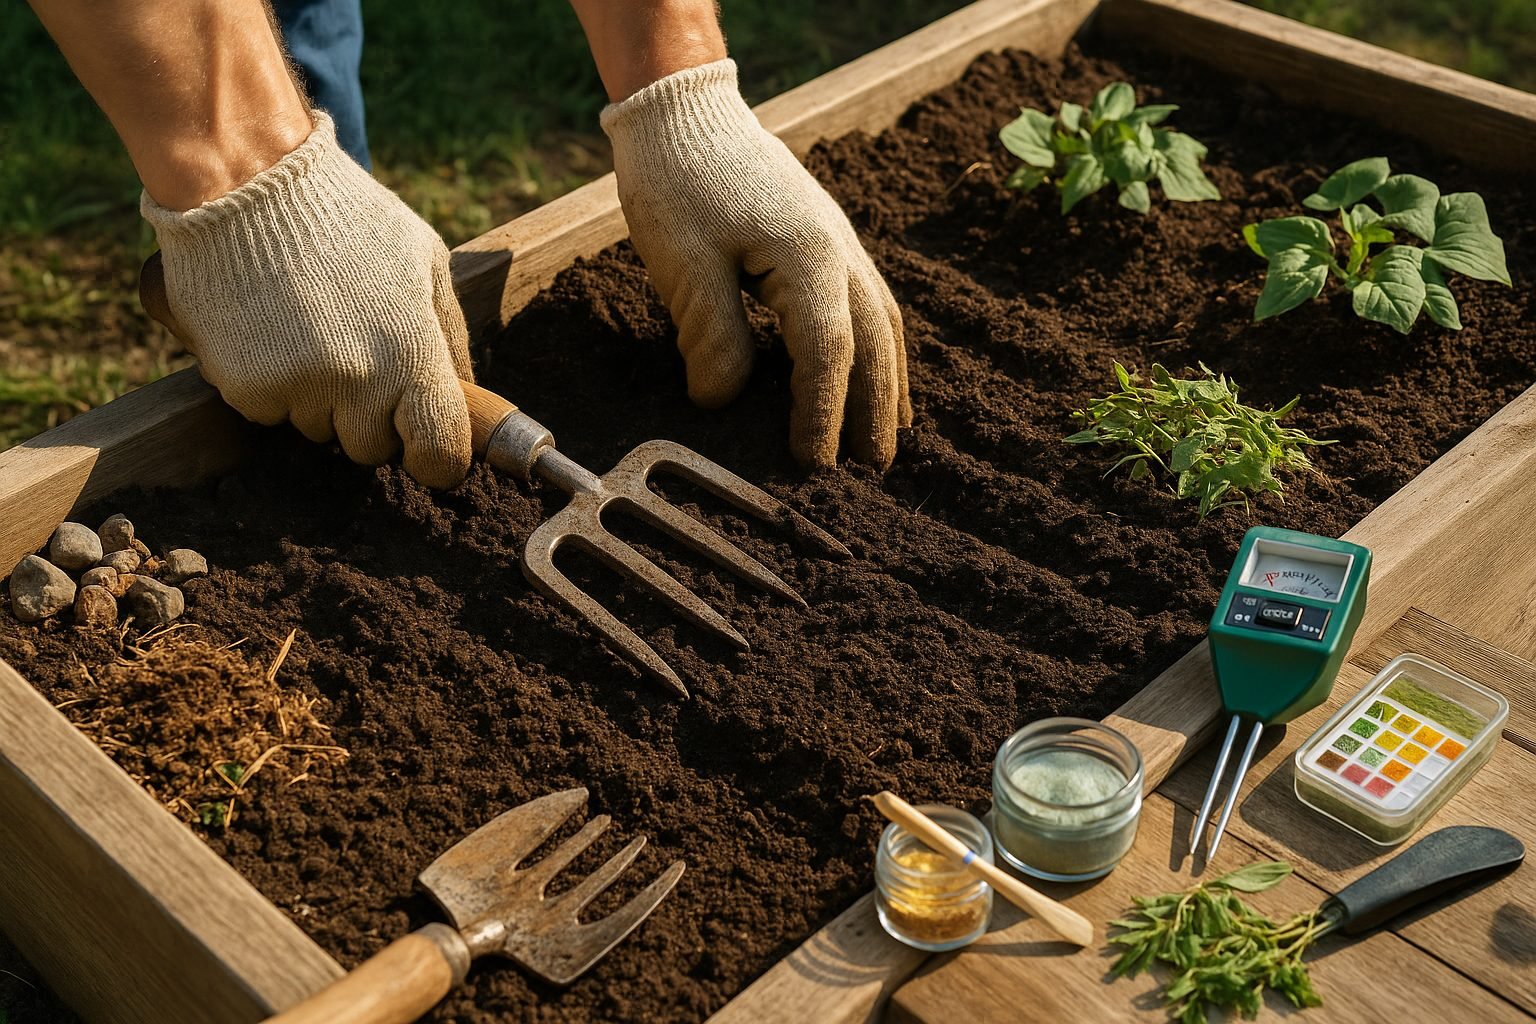
To grow healthy and vibrant chard, start by picking a sunny location that gets at least 6 hours of light each day—chard loves the sun but can tolerate partial shade, especially in hot climates. Look for a well-drained area in your garden to prevent soggy roots, and aim to plant in early spring or late summer when temperatures are between 50°F and 75°F.
Once you’ve picked the right spot, invest time in preparing the soil. Use a garden fork or tiller to loosen the earth to a depth of about 8–10 inches; this helps roots grow strong and deep. Remove rocks, weeds, and any leftover plant material to keep pests and diseases at bay.
Next, work in plenty of compost or well-rotted manure—chard is a heavy feeder and thrives in nutrient-rich soil. Aim for a soil that feels crumbly and moist but not muddy. Don’t forget to check your soil pH; chard prefers a slightly acidic to neutral pH between 6.0 and 7.0. You can easily test this with a home soil test kit, available at most garden centers.
If your soil pH is off, adjust it with lime to raise the pH or sulfur to lower it, following the product instructions. Good soil fertility ensures chard’s leafy greens grow big, robust, and flavorful. Preparing your plot with care might seem like extra effort, but it sets you up for a lush, productive crop that’s both attractive and delicious.
Planting Swiss Chard: Seeds, Timing, and Variety Selection
Planting Swiss chard successfully starts with timing your seeds just right. In most regions, you can sow Swiss chard seeds outdoors 2 to 4 weeks before the last expected spring frost, as it’s a cool-season vegetable that can handle light chills.
If you want an early start, plant seeds indoors 4 to 6 weeks before the last frost, then transplant seedlings after they have at least two true leaves and the weather has warmed a bit.
For continuous harvests, sow seeds every two to three weeks up until midsummer; chard even thrives into fall, and in mild climates, can overwinter under protection.
Whether starting seeds indoors or directly in the garden, plant them about half an inch deep and cover lightly with soil. Space the seeds roughly 2 to 4 inches apart if you plan to thin the seedlings for baby greens, or 8 to 12 inches apart for mature plants.
After planting, water gently but thoroughly, making sure the soil stays evenly moist until germination (usually 7 to 14 days). Mulching around seedlings can help prevent weeds and keep the roots cool.
Choosing Swiss Chard Varieties
When it comes to Swiss chard varieties, the rainbow-hued Bright Lights is a favorite for its stunning stems in pink, yellow, orange, and red—ideal for gardeners who want both beauty and flavor. Fordhook Giant is prized for its large, tender leaves and impressive yields, making it a staple for cooks who love hearty greens.
For those who prefer milder, sweet flavors, Lucullus or Perpetual Spinach deliver dependable green leaves and are less likely to turn bitter in summer heat.
By picking the right variety and following these simple planting steps, you’ll enjoy a colorful, nutritious harvest all season long.
Caring for and Maintaining Healthy Chard Plants
Keeping your chard plants healthy starts with a regular watering routine—aim for about one inch of water each week, whether from rainfall or your hose, to keep the soil consistently moist but never soggy. Early on, thin your seedlings so plants are spaced 6 to 12 inches apart; this gives them plenty of room to grow and minimizes competition for nutrients and sunlight.
Once your chard is established, mulch around the base of each plant with straw, shredded leaves, or compost to maintain soil moisture and suppress weeds. For a productivity boost, feed your plants every 4-6 weeks with a balanced, all-purpose fertilizer, or side-dress with compost if you prefer organic methods. Chard is a heavy feeder, so this extra nutrition keeps them vigorous and encourages more leafy growth.
As your chard matures, maximize your harvest by picking the outer leaves first, letting the smaller inner leaves continue growing. Use clean scissors to snip leaves about two inches above the soil—this “cut and come again” method promotes regrowth and extends your harvest season. Don’t let mature leaves get too large or tough, as younger leaves are more tender and flavorful.
If plants start to slow down, a light side-dressing of compost or liquid fertilizer can reinvigorate them. Keep an eye on pests like aphids and leaf miners, and remove affected leaves promptly to prevent spread. With the right attention to watering, feeding, and regular harvesting, your chard will reward you with lush, steady greens from spring all the way into cool fall weather.
Pests, Problems, and Disease Management
Swiss chard can attract several common pests, but with a vigilant eye and organic solutions, you can keep your crop healthy.
Watch for leaf miners, which burrow winding trails into the leaves; remove and destroy affected leaves promptly, and use floating row covers early in the season for prevention. Aphids cluster on leaf undersides and can be washed off with a strong spray of water or managed by introducing natural predators like ladybugs.
Slugs and snails, especially in damp conditions, may chew ragged holes in the foliage—try handpicking them in the evening or set out shallow dishes of beer as traps.
Swiss chard is also susceptible to diseases such as downy mildew and leaf spot, often encouraged by excess moisture and poor air flow. Prevent these by watering at the base of the plant rather than overhead, spacing plants properly to improve circulation, and removing any diseased leaves immediately.
Sometimes you might notice yellowing or wilting leaves, which could result from overwatering, poor drainage, or nutrient deficiencies. A soil test can help determine if your plants need more nitrogen or other adjustments.
Regularly mulching helps retain moisture and suppress weeds, but keep mulch off plant stems to avoid rot.
If your Swiss chard bolts (sends up a seed stalk) prematurely, it often means the weather has been too warm or there were abrupt temperature fluctuations—harvest leaves regularly and keep plants well-watered to reduce stress.
Overall, practicing crop rotation, maintaining plant health, and monitoring your garden frequently are the best ways to spot trouble early and keep your Swiss chard thriving.
Harvesting and Storing Swiss Chard
Harvesting Swiss chard at the right time ensures you get tender, flavorful leaves—and keeps your plants producing for months. The best time to pick is when leaves reach about 6 to 8 inches long; younger leaves are more tender, while larger ones can be a bit tougher.
Use a sharp pair of garden scissors or pruners to snip the outer leaves a couple of inches above the soil, leaving the inner core untouched. This “cut-and-come-again” method encourages new growth and helps the plant keep producing over the season. Always avoid cutting the central stem, as that’s where new leaves sprout.
Harvest regularly—once or twice a week—to keep chard healthy and prevent leaves from getting too large or bitter.
After harvesting, rinse the leaves thoroughly to remove dirt and insects, then pat them dry with a clean towel. To keep Swiss chard fresh, wrap the leaves loosely in a damp paper towel and store them in a plastic bag or airtight container in the crisper drawer of your refrigerator. Properly stored, chard can last up to a week.
If you have a large harvest, consider blanching and freezing the extra leaves—they hold up well and are easy to add to soups, stews, or smoothies later on.
By following these simple harvesting and storage tips, you’ll enjoy a continuous supply of crisp, nutritious chard throughout the growing season.
Conclusion and Quick Tips
Growing Swiss chard is a rewarding choice for gardeners of any skill level—it’s easy to grow, thrives in a variety of conditions, and offers tasty, nutrient-packed leaves and stems.
To make the most of your chard, try succession planting: sow new seeds every couple of weeks for a continuous harvest. If space is tight, Swiss chard grows well in containers on balconies or patios.
Don’t forget, the colorful stems are as edible as the leaves—add them to stir-fries or salads for extra crunch and nutrition.
Ready to get started? Grab a packet of seeds and check out detailed guides from trusted sources like your local extension office or gardening blogs for more in-depth tips and variety suggestions.