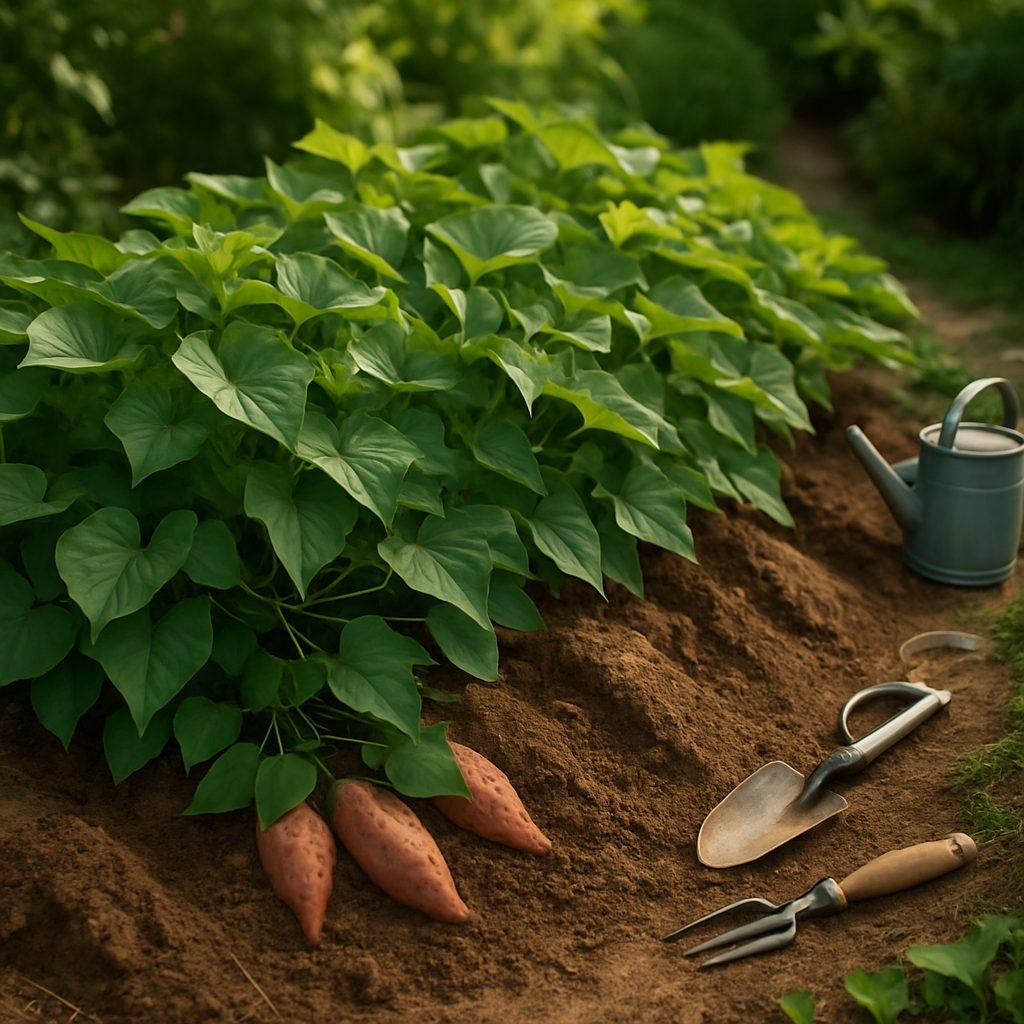
Getting Started with Growing Sweet Potatoes
If you’re curious about sweet potato growing time, you’re not alone—this popular, nutritious root crop is a top choice in gardens across the world for good reason. Sweet potatoes pack a punch when it comes to dietary fiber, vitamins, and minerals, making them a superfood staple for healthy eating. Their naturally sweet flavor appeals to all ages, and their versatility in the kitchen—from fries to pies—only adds to their widespread popularity.
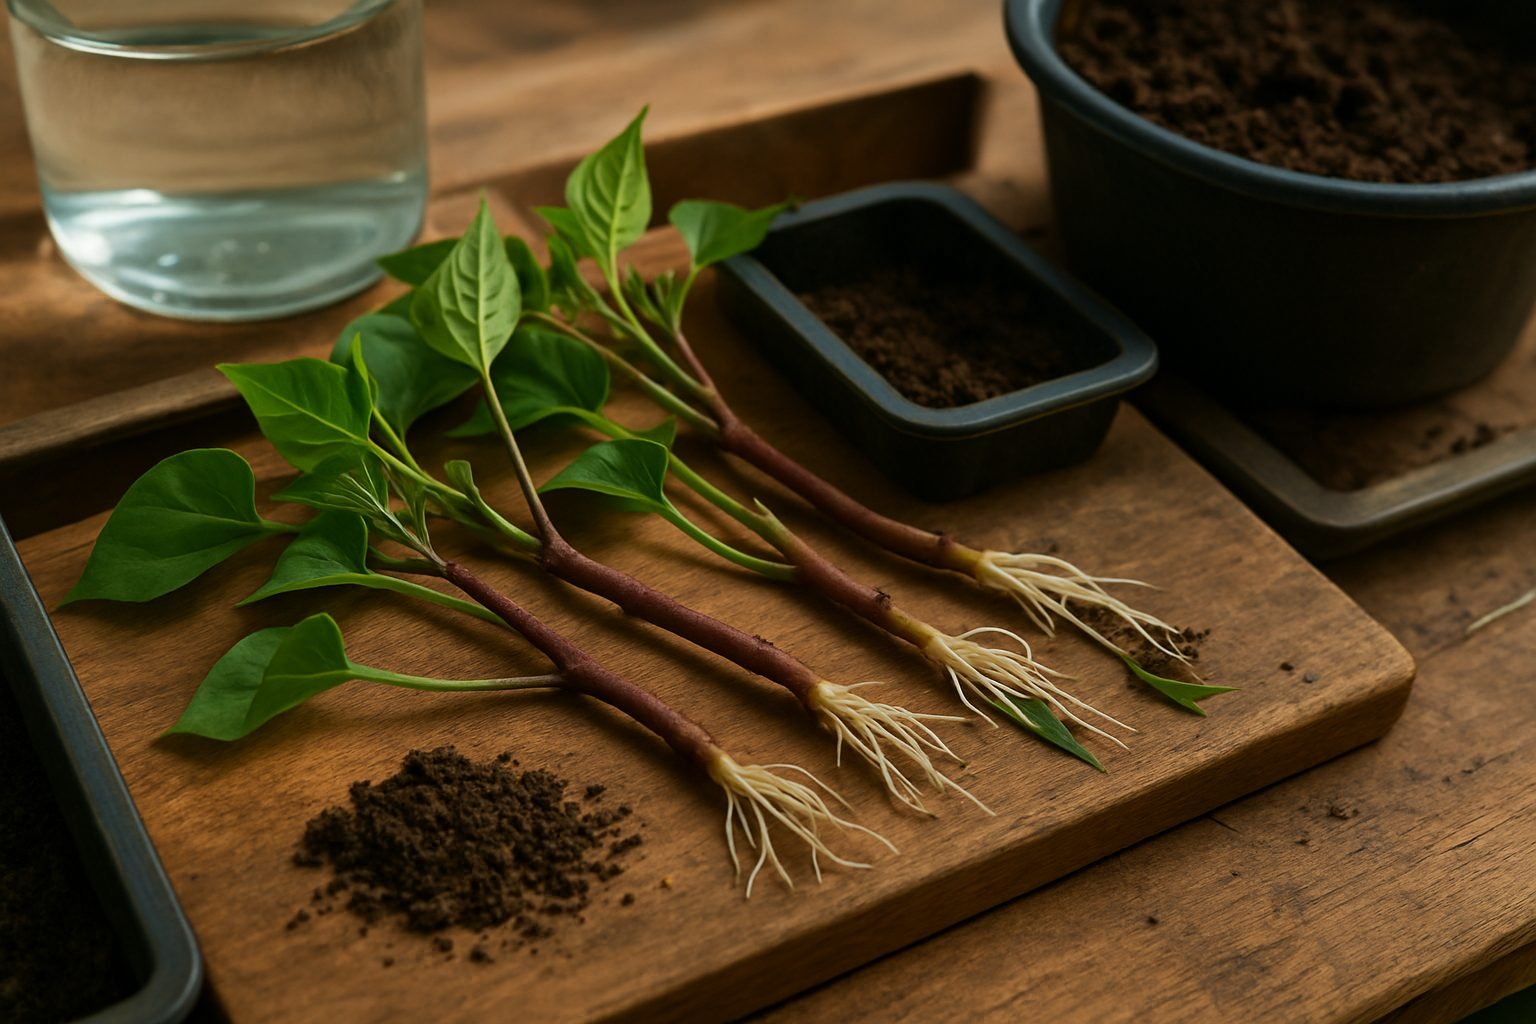
To get started with growing sweet potatoes, it’s important to understand what these plants love: warmth, sunshine, and well-drained, loose soil. Sweet potatoes thrive in climates where the temperature stays consistently above 60°F (15°C). If you’re in a cooler region, you can still enjoy a harvest by starting your slips (those are the sprouted shoots that become new plants) indoors and transplanting them after the last frost, once the soil has warmed.
For the best results, choose a sunny spot in your garden that gets at least six hours of direct sunlight each day. Raised beds or ridges work well, as sweet potatoes need loose, sandy soil that allows their tubers to form and expand without obstruction—which also helps prevent rot.
One reason sweet potatoes are so popular with new gardeners is their resilience and relatively low-maintenance requirements. They naturally resist many pests and diseases, don’t require frequent watering after establishment, and adapt well to a variety of conditions.
Plus, if you’re after a bountiful harvest, few crops beat sweet potatoes in terms of yield per square foot. Even gardeners working with limited space—like containers or raised beds—can see excellent results. As long as you provide warmth, sun, and space for wandering vines, you can expect those nutritious roots to mature four to five months after planting, which is the typical sweet potato growing time.
If you’re new to gardening or want a reliable, rewarding crop, sweet potatoes are one of the most satisfying choices you can make.
Choosing the Right Variety & Preparation
Sweet potatoes come in several popular varieties, each with unique attributes that suit different culinary tastes and gardening conditions. Orange-fleshed types like Beauregard and Jewel are favorites for their naturally sweet flavor and vibrant color, making them perfect for classic pies and casseroles.
For something different, try white or pale yellow-fleshed varieties such as Hannah or O’Henry, which offer a milder flavor and a firmer texture, great for roasting or fries. If you’re after a striking look, purple-fleshed varieties like Okinawan and Stokes Purple not only have a bold color but are also loaded with antioxidants.
It’s important to know your growing climate—some varieties, like Beauregard, mature faster and thrive even in cooler areas with shorter growing seasons, while others need more heat and time in the ground.
Starting Your Sweet Potato Patch
Sourcing healthy slips or starter plants from reputable garden centers or online suppliers is the best way to ensure disease-free, vigorous growth. Slips from grocery store tubers can harbor disease or might not even grow well in your area.
Before planting, you can sprout slips at home by placing cut tuber sections in water or damp soil until they sprout leafy shoots about 6 inches long.
Preparing the Garden Bed
Prep your garden bed by loosening soil to a depth of at least 8-12 inches—sweet potatoes need loose, well-drained soil to form uniform, good-sized tubers. Mix in plenty of compost, and mound the soil up into rows or hills to improve drainage.
Planting Schedule
Set a planting schedule for 3-4 weeks after your area’s last frost date, when the soil is consistently warm (above 60°F or 16°C).
With the right variety, careful preparation, and a little patience, you’ll be set for a delicious harvest by late summer or early fall.
How to Plant Sweet Potatoes
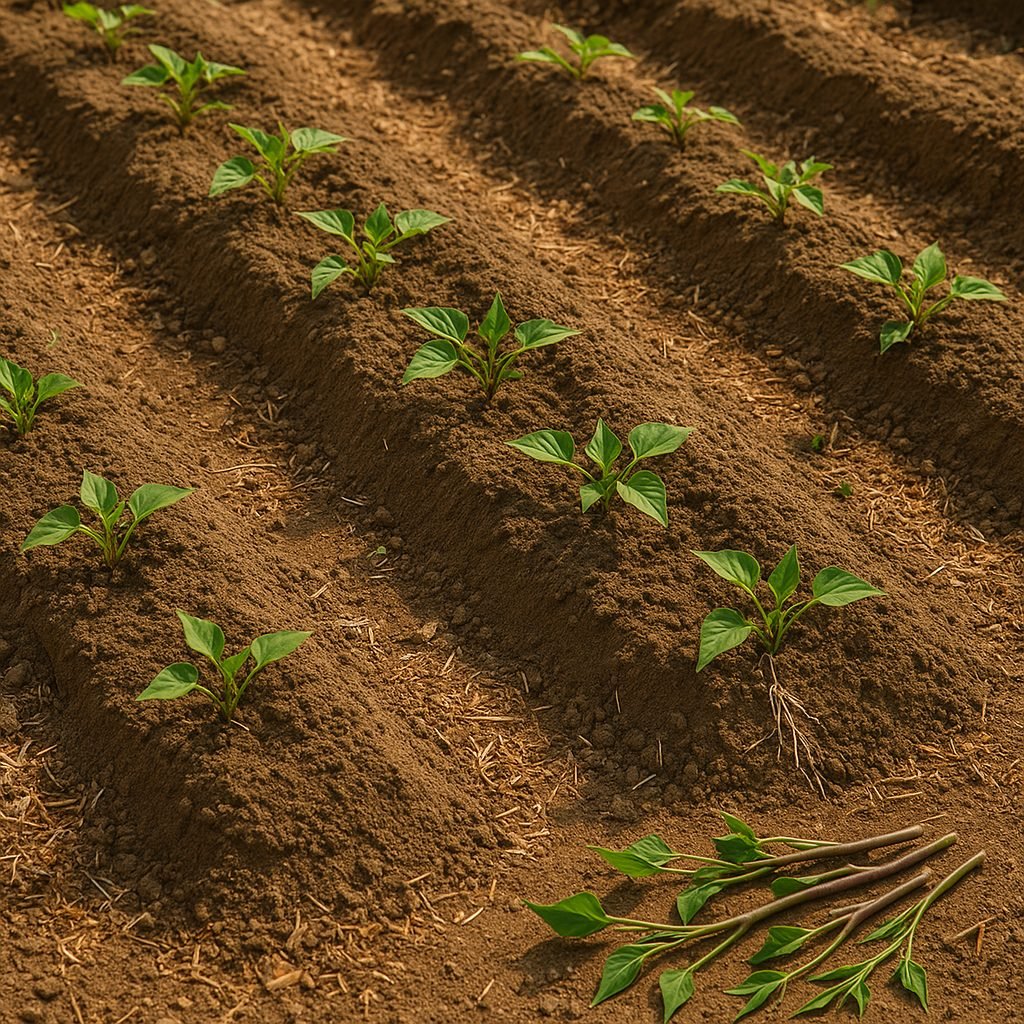
Planting sweet potatoes is both rewarding and straightforward if you follow a few key steps. Start by choosing a sunny spot and waiting until the soil is warm—typically two to four weeks after the last frost, when temperatures consistently stay above 65°F (18°C).
Sweet potatoes are grown from “slips,” which are sprouted vines taken from mature sweet potatoes. Begin by forming ridges or mounds in your garden bed; each ridge should be 8 to 12 inches high and about 3 feet apart. This simple technique is essential for sweet potatoes because it improves soil drainage and keeps the tubers from rotting, especially after heavy rains.
Plant the slips 12-18 inches apart along the tops of the ridges, setting each slip deep enough to cover the roots and about half of the stem—usually 2 to 3 inches deep. Gently firm the soil around each slip and water them well right after planting to help them settle in.
To keep your patch thriving, be mindful not to overcrowd; spacing is crucial since sweet potato vines like to sprawl and can quickly overtake neighboring plants if packed too tightly. Consider pairing your sweet potatoes with companion plants such as bush beans, pole beans, or marigolds—these companions deter pests and maximize space without competing for nutrients.
A real-world tip: lay down a layer of mulch after planting; this will help suppress weeds, retain soil moisture, and keep your planting area tidy. Weed your patch regularly during the first months as the vines get established, but avoid disturbing the delicate roots too deeply.
As summer progresses, keep watering consistent and watch the vines spread—by harvest time, you’ll have a bountiful supply of sweet potatoes, all thanks to careful planning and smart spacing.
Care and Maintenance During the Growing Season
Proper care and maintenance during the growing season are key to healthy, productive plants, especially when growing vines or vegetables in your garden. Successful watering starts with consistency—aim for deep, thorough soaking sessions rather than frequent light sprinklings; this encourages roots to grow downward and access nutrients efficiently.
Typically, watering once or twice weekly is enough, but always check the top few inches of soil and adjust based on rainfall and heat. Early mornings are best for watering to minimize evaporation and reduce fungal risks.
For feeding, use a balanced fertilizer at planting, then follow up every 4-6 weeks during active growth. Look for products labeled for your specific crop, and don’t overdo it, as too much nitrogen can cause lush foliage but fewer fruits.
Keeping your garden weed-free is crucial; hand-pulling or shallow hoeing helps young plants avoid competition, while a 2-3 inch layer of organic mulch like straw or bark chips saves water, deters weeds, and regulates soil temperature.
Prune or pinch back fast-growing vines regularly to direct energy toward fruit production instead of excess leaf growth, and train vines on trellises or supports for better airflow and sun exposure.
Keep a vigilant eye out for pests and diseases: check leaf undersides and growing tips for signs like yellow spots, holes, or sticky residue. If caught early, hand-pick pests or use organic sprays like neem oil.
Rotating crops each year, keeping beds tidy, and removing diseased leaves immediately all help prevent problems from getting out of hand. Regularly walking your garden and responding promptly to changes keeps your plants healthy and sets the stage for a great harvest.
Harvesting Sweet Potatoes
Knowing the right time to harvest sweet potatoes is key to getting the best flavor and quality. Sweet potatoes are usually ready to harvest around 90 to 120 days after planting, but maturity can vary by variety and climate.
Watch the vines—when their lush, green growth starts turning yellow and dying back, it’s a good sign your tubers are ready. If you’re unsure, gently dig around the base of one plant and check the size of a tuber; if it looks like a healthy, plump sweet potato, it’s harvest time.
Use a garden fork instead of a shovel to loosen the soil, starting at least a foot away from the main stem to avoid nicking or bruising the delicate skins.
For short growing seasons, consider harvesting early if frost is in the forecast, as cold temperatures can damage both vines and roots. Immature tubers are still usable, but handle them gently. In regions with long, warm summers, let the crop mature fully for maximum sweetness.
After digging, shake off loose dirt and let the tubers dry in the shade for an hour or two—don’t wash them right away, as excess moisture increases the risk of rot. When you do clean them, use a soft brush instead of water if possible. Handle each tuber carefully, as nicks and bruises invite rot during storage.
With these simple steps, you’ll end up with sweet potatoes that taste fresh from the garden and store well for months.
Curing, Storing, and Preserving Your Harvest
Curing is a crucial first step after harvesting many vegetables and root crops, especially onions, garlic, potatoes, and winter squash. This process involves placing your freshly harvested produce in a warm, dry spot with good air circulation for about one to two weeks. For example, spread onions out in a single layer on screens or newspaper in your garage, or lay potatoes in a shaded shed. The goal is to toughen the skins and allow minor cuts to heal, which helps prevent spoilage and enhances flavor during storage.
Once cured, storage conditions make all the difference in keeping your harvest fresh for months. Most root vegetables, such as carrots and beets, last longest in a cool (32–40°F), humid (90–95% humidity) environment, like a basement or a root cellar, while garlic and onions do best somewhere cool and dry with plenty of air circulation. Use mesh bags, crates, or even cardboard boxes with holes to ensure proper ventilation and prevent mold.
For crops that won’t last or when your harvest is especially bountiful, simple preservation methods like freezing and drying are ideal.
- Blanch leafy greens, beans, or broccoli in boiling water for a few minutes, then transfer to ice water before spreading on trays to freeze—this keeps their color and nutrients intact.
- Berries and sliced peppers can go right into the freezer on a baking sheet before being bagged.
- Drying herbs is as easy as tying small bundles and hanging them upside down in a dry, airy place.
- A dehydrator works wonders for apple slices or tomatoes.
Don’t forget, labeling everything with the harvest date helps you use what’s oldest first. With a little planning and these straightforward strategies, you’ll enjoy the taste of your garden well into the winter months.
Common Problems and Solutions
Growing sweet potatoes can be hugely rewarding, but they’re not without their share of challenges. One of the most common pests is the sweet potato weevil, which tunnels into stems and roots, causing wilting and poor yields. To prevent infestations, use certified pest-free slips, apply floating row covers immediately after planting, and regularly check for holes or dark spots on leaves and stems. If you spot weevil damage, remove and destroy affected plants quickly to stop the spread.
Fungal diseases like black rot or scurf may show as dark, sunken spots on roots or discolored patches above ground. Prevent these by practicing strict crop rotation—never plant sweet potatoes in the same bed year after year—and ensure good drainage to avoid soggy soil, which fosters disease. For treatment, remove diseased plants and use a fungicide labeled safe for edibles if the problem persists.
Yellowing leaves or stunted growth often point to poor nutrition or compacted soil. Sweet potatoes thrive in loose, sandy soil rich in organic matter. If your plants seem slow to take off, mix in compost and check the soil for proper pH (ideally 5.5–6.5). Heavy clay and rocky ground can be improved by adding sand and compost, or by using raised beds.
When facing environmental stresses—like unusually cool or hot weather—mulch generously to regulate soil temperature and moisture, and consider row covers to protect against cold snaps. If the season brings extreme drought or flooding, water consistently but avoid soggy soil; sweet potatoes need steady moisture but detest sitting in water.
Sometimes, despite your best efforts, problems persist or spread quickly. In those cases, it’s best to remove severely affected plants and dispose of them away from your garden. Don’t be afraid to rotate out sweet potatoes for a season if pest pressure is high, and always sanitize tools between beds.
If you’ve tried these approaches and issues remain, reach out to your county extension office or a local horticulture expert for tailored advice—getting a fresh set of eyes might reveal a solution you hadn’t considered. By staying observant and acting quickly, you can troubleshoot most sweet potato problems before they affect your harvest.