Introduction
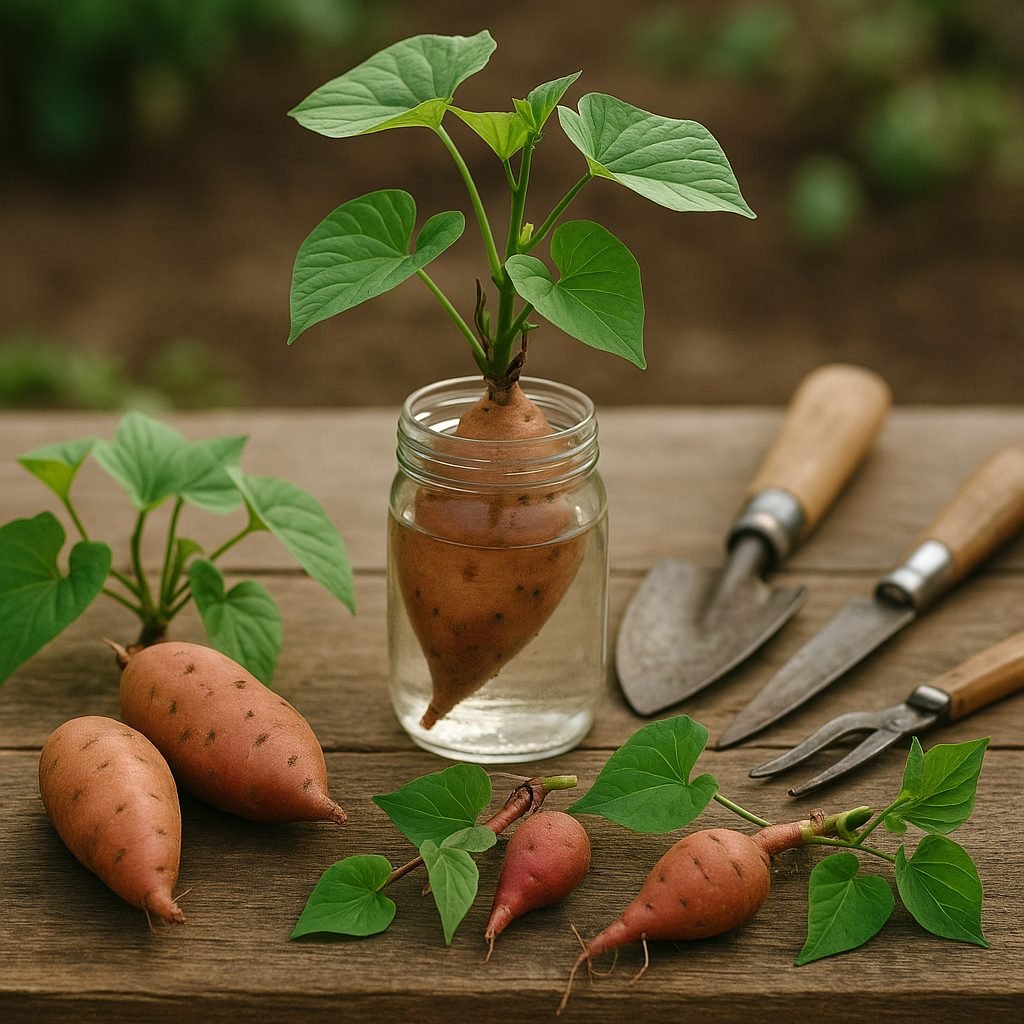
Propagating sweet potatoes is a rewarding and surprisingly simple way to grow your own nutrient-packed tubers at home. Instead of relying on seeds, most gardeners use sweet potato slips—leafy sprouts that grow from mature sweet potato tubers. Slips are preferred over seeds because they offer a faster, more reliable start and result in robust, uniform plants.
To begin, place a healthy sweet potato partially submerged in water or damp soil. Within a few weeks, slips will form and be ready to gently remove and plant. Once these slips are rooted in the garden or containers, they quickly vine out and, with regular watering and care, produce abundant underground tubers over the growing season.
The entire process, from sprouting slips to harvesting your homegrown sweet potatoes, can take just a few months. Growing your own sweet potatoes not only ensures unbeatable freshness and superior flavor, but it can also be a real money saver—especially for families who cook with sweet potatoes regularly. Plus, home gardeners get the satisfaction of knowing exactly how their food was grown—no chemicals, just delicious, home-raised produce right from your backyard or even a sunny balcony.
Choosing Sweet Potatoes and Preparing Slips
Selecting the right sweet potato variety is the first crucial step to a successful harvest, and it starts with understanding your local climate. For cooler northern regions, look for short-season varieties like ‘Beauregard,’ ‘Covington,’ or ‘Georgia Jet,’ which mature faster and can tolerate brief periods of chill. Southern or warmer climates, on the other hand, can opt for traditional long-growing types such as ‘Jewel’ or ‘Centennial.’
Once you have your variety, it’s time to prepare slips, which are simply the sprouts that grow from a mature sweet potato and serve as the planting stock. Slips are essential because, unlike other potatoes, sweet potatoes don’t grow from seed pieces—only from these leafy shoots.
To produce slips at home, start by selecting clean, healthy, and unblemished sweet potatoes, as any rot or disease can be passed on. There are two reliable ways to encourage slips: in water or in soil.
Water Method
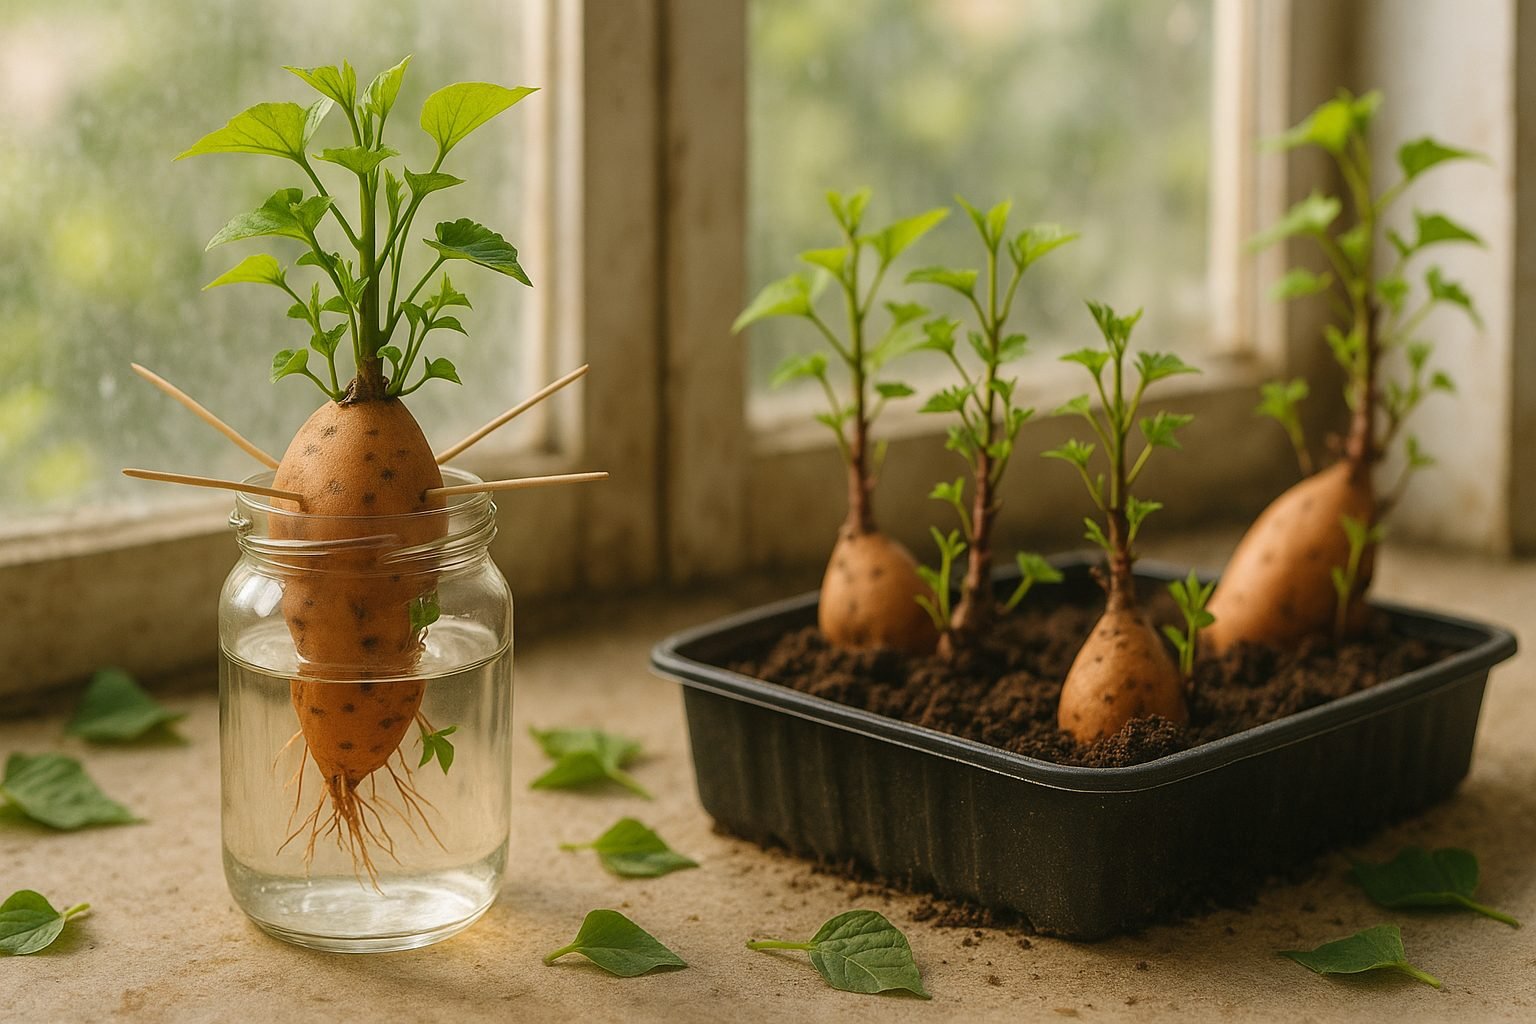
Insert toothpicks into the sides of the potato to suspend half of it in a jar of water, ensuring the bottom is submerged. Place the jar in a warm spot with indirect sunlight; within a few weeks, green shoots will appear.
Soil Method
Bury the potato lengthwise halfway into damp potting mix in a tray. Keep it moist but not soggy, and provide warmth and light.
No matter which method you choose, slip development thrives best with temperatures between 75–85°F (24–29°C), consistent moisture, and bright but indirect light. To prevent rot, avoid soggy conditions. If slips grow leggy or pale, move them closer to natural light or supplement with a grow light.
When slips reach 6–8 inches long and have several leaves, gently twist them off and place them in water for a few more days until strong roots form—then they’re ready for the garden.
Rooting and Hardening Off the Slips
When your sweet potato slips have grown to about 6 inches tall, it’s time to separate them from the mother tuber. Gently twist or cut each slip away, making sure to include a small section of the base, which helps speed up root development.
Once separated, you have a choice: root your slips in water or soil.
Rooting in Water
Place the bottom inch of each slip in a glass or jar, making sure no leaves are submerged. Fresh roots will appear in about a week. Be sure to keep the water clean by changing it every couple of days.
Rooting in Soil
Push each slip an inch deep into a pot of moist potting mix and keep it consistently damp but not soggy. This method can produce sturdier plants, as roots adapt early to soil conditions.
Regardless of the method, always check that roots are forming well—look for white, healthy root systems before moving forward.
Hardening Off the Slips
Before transplanting your rooted slips outdoors, take the time to harden them off gradually—a step that’s easy to overlook but vital for healthy growth. Start by placing the slips outside in dappled shade for a couple of hours each day, increasing their outside exposure by an hour each day over approximately a week. Protect them from wind and intense sunlight until they are acclimated.
This process helps your young plants adjust to fluctuations in temperature, sunlight, and wind, greatly reducing transplant shock. Skipping this step can result in wilted or stunted sweet potatoes, so be patient—your future harvest depends on it.
With careful rooting and hardening off, your slips will be ready to thrive in the garden.
Planting Sweet Potato Slips
Planting sweet potato slips at just the right time is key for a healthy, productive crop. Wait until your region’s last frost has passed and the soil temperature consistently reaches at least 65°F (18°C)—cool soil can stunt growth or rot young slips. In cooler climates, you may need to start slips indoors or wait until late spring, while gardeners in warmer zones can plant earlier.
Choose a sunny spot with a minimum of six to eight hours of direct sunlight daily; sweet potatoes thrive in warm, bright locations. The soil should be loose, well-draining, and slightly acidic (pH 5.5–6.5), as compacted clay or soggy ground will lead to poor root development and disease. Mix in compost to boost both drainage and nutrients if your soil is too heavy.
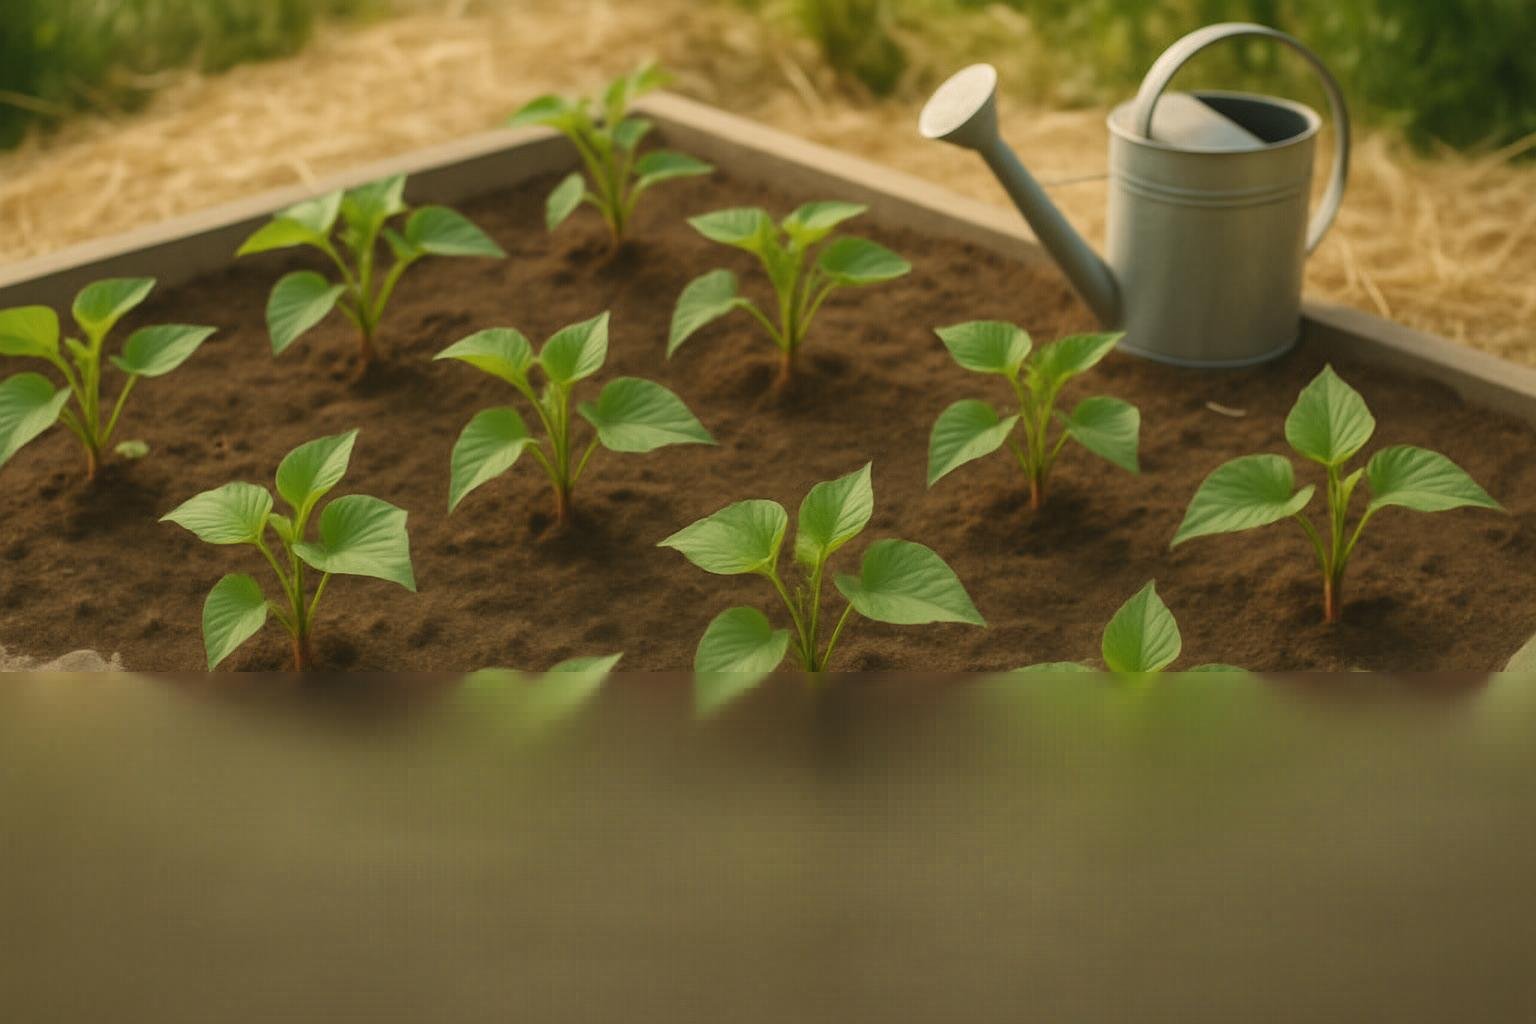
When planting, space slips about 12 to 18 inches apart in rows three feet apart, giving vines plenty of room to spread. If you’re short on space, grow slips in large containers or raised beds, but ensure each plant has at least five gallons of soil volume. Insert each slip into the soil so that all but the top few leaves are buried—this encourages strong root formation.
Water thoroughly right after planting and keep the soil consistently moist but not soggy for the first few weeks as roots establish. If growing in containers, use a high-quality potting mix with good drainage and place pots where they’ll receive all-day sun.
With careful timing and the right setup, you’ll set the stage for a bountiful sweet potato harvest whether you garden in the ground or on your patio.
Caring for the Plants
Consistent care is key to a thriving sweet potato patch. Start by watering deeply once or twice a week, aiming to keep the soil moist but never soggy—sweet potatoes dislike being waterlogged. Mulching with straw or dried leaves helps retain moisture, suppress weeds, and keep soil temperatures stable, which sweet potatoes love.
For feeding, use a balanced organic fertilizer at planting time, and supplement with a little compost halfway through the growing season. Avoid high-nitrogen fertilizers, as they promote leafy vines at the expense of tubers.
Watch closely for pests like sweet potato weevils or whiteflies, which can be kept at bay with regular hand-picking or sprays made from neem oil. If you spot diseases like root rot or leaf blight, remove affected plant parts promptly and improve airflow by giving vines some space.
For organic weed control, pull weeds by hand when the soil is damp—this makes the job easier and protects shallow sweet potato roots from disturbance.
To encourage healthy vines and make the most of limited garden space, gently direct vines along trellises or use stakes to guide their growth. This not only prevents them from sprawling out of bounds but also improves air circulation, reducing disease risk.
Periodically check where the stems touch the soil and lift them if they start to root unexpectedly, so energy goes into forming big, delicious sweet potatoes right where you want them.
With a little attention and these simple organic tricks, your sweet potato garden will stay productive and healthy all season long.
Harvesting and Storing Sweet Potatoes
Knowing when to harvest sweet potatoes is key to enjoying their rich flavor and long shelf life. Look for yellowing leaves and check the days-to-maturity on your seed packet—most varieties are ready about 90 to 120 days after planting. If you’re unsure, gently dig around the base of a plant to inspect a tuber; it should be plump with firm skin.
When it’s time to harvest, use a garden fork or spade and work carefully about a foot away from the main stem to avoid slicing into the tubers. Gently lift the sweet potatoes out of the ground and brush off excess dirt—don’t wash them yet, as moisture can invite rot.
After harvesting, curing is essential to boost both sweetness and storage potential. Place the sweet potatoes in a warm (80–85°F), humid environment for 7–10 days; a warm closet with a space heater or a heated garage often works for small batches.
Once cured, move the tubers to a cool, dark place with good ventilation, like a basement or pantry kept around 55–60°F. Store sweet potatoes in boxes or baskets lined with newspaper, laying them in a single layer to keep air circulating. Avoid plastic bags or refrigeration since trapped moisture or cold can cause the tubers to spoil quickly.
With these steps, your sweet potatoes should stay fresh for several months, letting you savor their flavor well into winter.
Troubleshooting & FAQs
If your slips are failing to root, check that the soil stays consistently moist but not soggy—too much water leads to rot, while too little dries out fragile roots. Position your slips in a warm, bright spot but out of direct afternoon sunlight, as harsh sun can scorch young plants.
If you notice poor overall growth, use a diluted, balanced fertilizer after the first few weeks and ensure the container has enough drainage holes to prevent waterlogging.
Some beginners ask how often to water slips; generally, water every few days or when the top inch of soil feels dry.
A common worry is yellowing leaves, which often signal overwatering—adjust your schedule and ensure proper drainage.
For slips that appear limp or wilted, try gently misting them or using a humidity dome to help them recover.
Planting the slips too deep is another pitfall; keep the base just below the surface.
Wondering when to move young plants outdoors? Wait until nighttime temperatures stay above 50°F (10°C) and be sure to harden off your plants over a week by gradually exposing them to outdoor conditions.
For extra guidance and support, join forums like the r/gardening subreddit or Facebook groups dedicated to your specific plant—these communities are fantastic for troubleshooting on the fly.
You can also find step-by-step videos on YouTube and detailed guides from local agricultural extension offices, making it easy to learn from both experts and fellow growers.