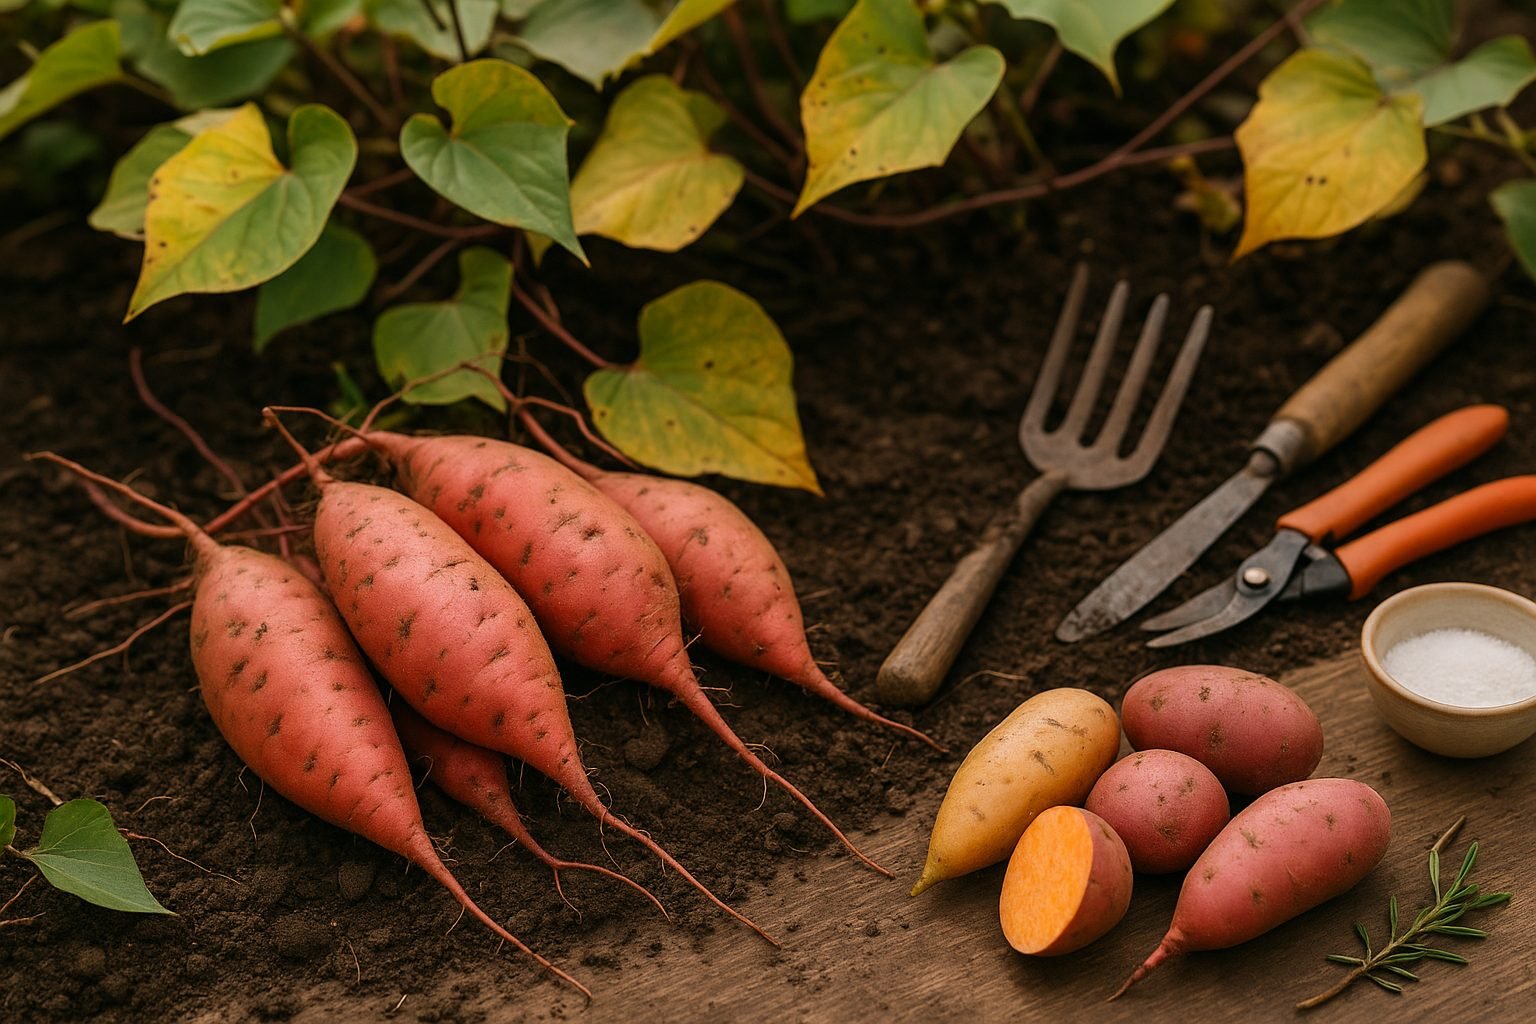
When Are Sweet Potatoes Ready to Harvest?
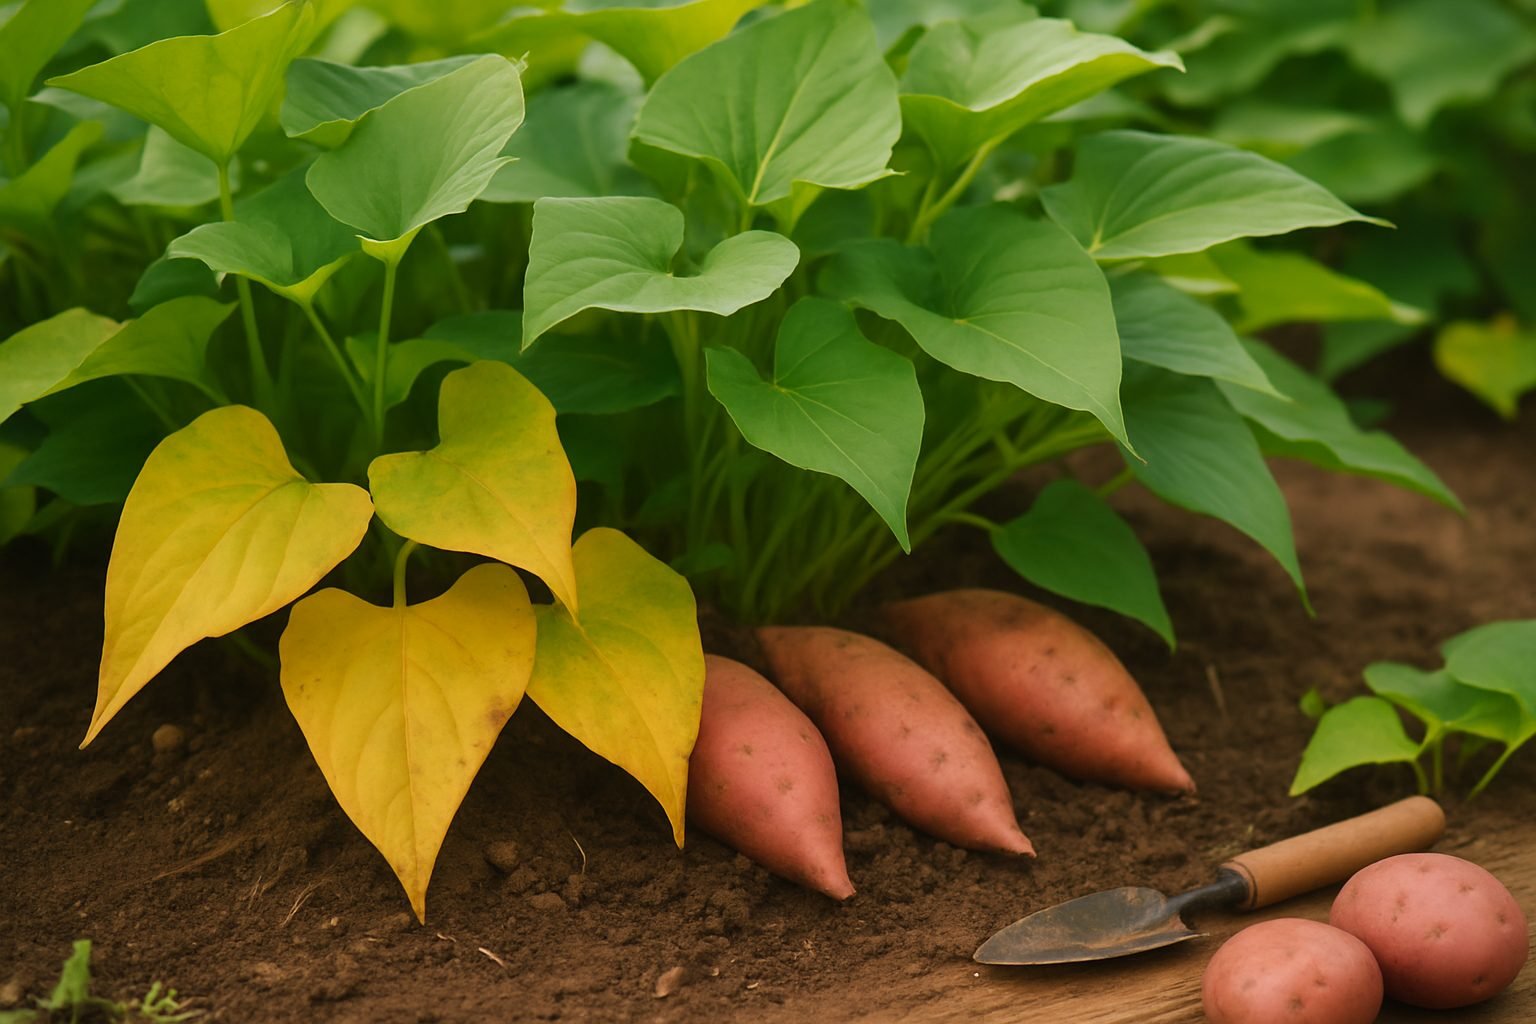
Curing sweet potatoes is a crucial step if you want to enjoy your homegrown harvest all winter. But first, knowing when sweet potatoes are ready to harvest makes a world of difference. Start keeping an eye on your plants as they approach their expected growing season—usually about 90-120 days after planting slips.
One of the clearest signs of maturity is when the lush green vines begin to yellow or die back. This natural change signals that your sweet potatoes have finished storing up that signature sweetness and are ready to come out of the ground.
Timing your harvest is key, especially if you live in a region where the first frost can sneak up quickly. Sweet potatoes must be harvested before frost strikes because cold temperatures can damage the tubers, making them prone to rot during storage. In milder climates, vines may hold on longer, giving you a wider harvesting window. In cooler climates, your cue to dig up those sweet potatoes might come earlier. Pay attention to local weather forecasts and dig them up before the ground chills.
Regional planting guides or your local agricultural extension office are invaluable resources for pinpointing the best harvest time for your specific area. Different varieties and climates may slightly shift the harvest window, and local experts can provide tailored advice.
Once you’ve dug up your sweet potatoes at their peak, curing them properly ensures they’ll last for months, developing both sweetness and storability. Remember, timing is everything—watching those vines and responding to your local climate are your best bets for a great sweet potato crop.
Preparing for a Successful Harvest
Gathering the right tools is the first step to an efficient and successful sweet potato harvest—make sure you have a sturdy garden fork, spade, and a pair of sharp pruners handy. A fork is preferable to a shovel, as its tines can loosen compacted soil without slicing through the delicate tubers.
Begin by trimming back the vines with your pruners to clear the area and make it easier to see where your sweet potato plants are growing. Once the foliage is out of the way, carefully inspect the soil for signs of the tuber crowns; these are usually found just below the surface near the stem base.
Using your fork, start digging about a foot away from the plant to avoid accidentally stabbing a tuber. Gently lift the soil, taking your time to create enough space around the crown. As the tubers become exposed, use your hands to brush away any remaining dirt and ease them free from the soil.
Handle each sweet potato with care—tugging or dropping them can bruise or break the skin, which shortens storage life. Instead of pulling the tubers out by force, wiggle them loose and let any damp soil fall away naturally. Take your time with each plant—patience is key to harvesting undamaged sweet potatoes that will store well.
For larger gardens, consider harvesting early in the morning or during cooler parts of the day to prevent the sweet potatoes from overheating in the sun. By using the right tools and a gentle hand, you’ll protect your harvest from unnecessary nicks and dings, ensuring a bounty of undamaged, storage-ready sweet potatoes.
Harvesting Techniques: Step-by-Step Guide
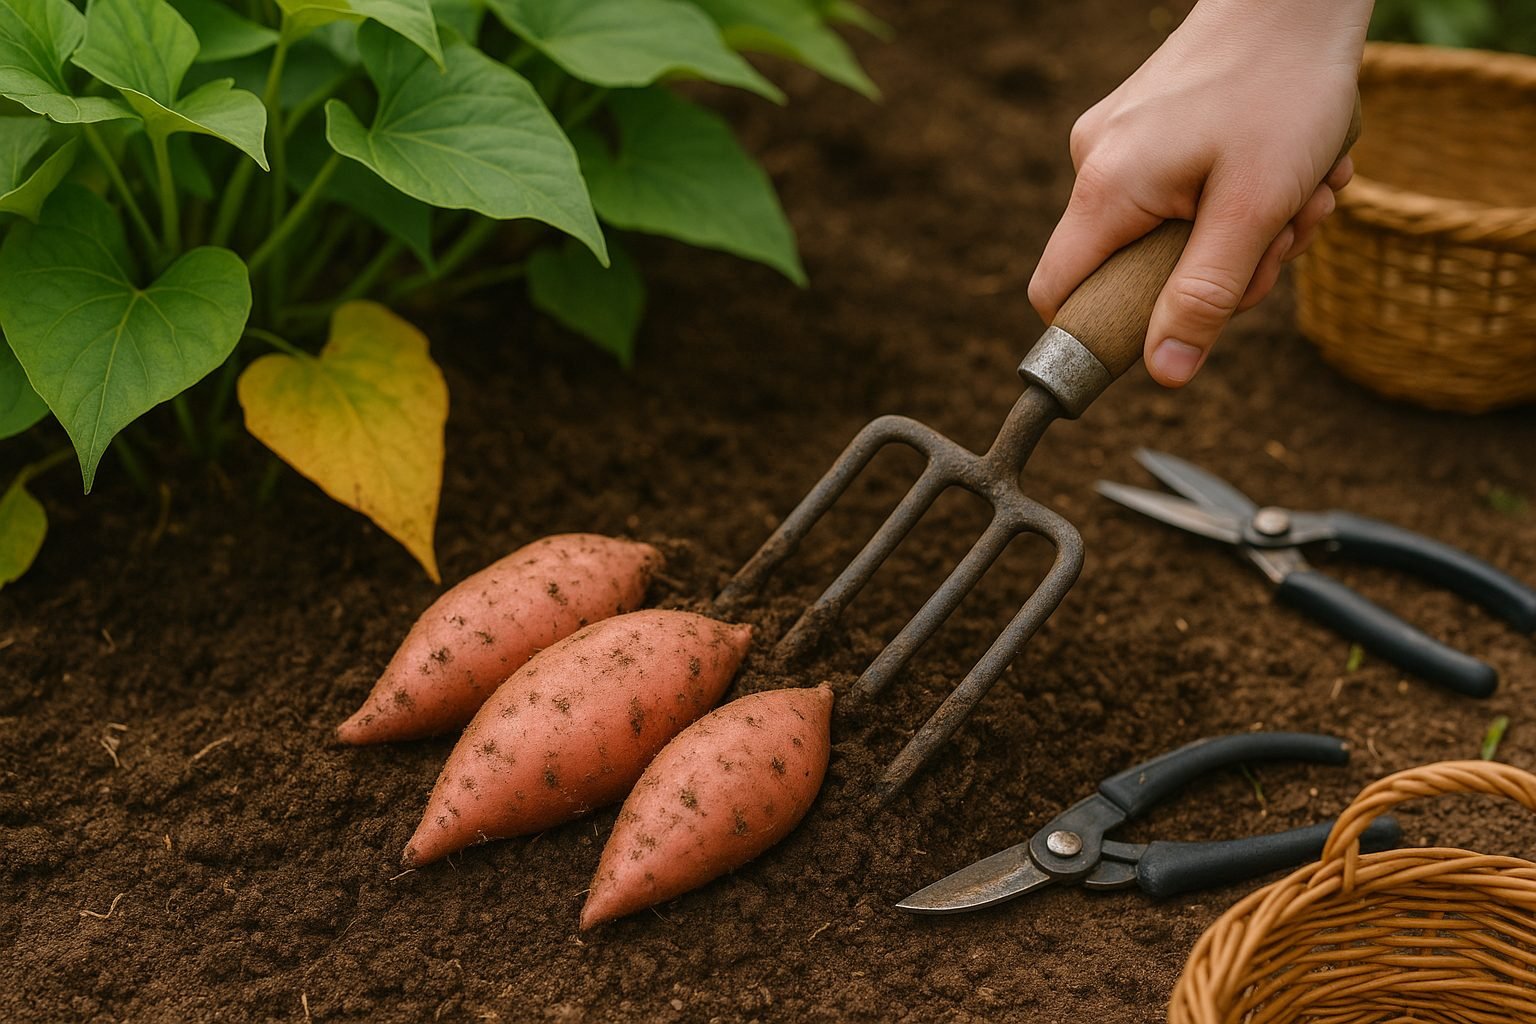
Harvesting tubers like potatoes and sweet potatoes starts with loosening the soil to avoid damaging their delicate skin. Begin by gently pushing a garden fork or spade into the soil about 6 to 12 inches away from the base of the plant—this distance helps prevent stabbing or cutting into the tubers.
Carefully rock the tool back and forth to loosen the earth, then use your hands to feel around in the soil, making it even easier to locate the tubers without applying too much force. When reaching for the tubers, grasp each one gently and wiggle it free, avoiding any twisting or pulling that might break the skin or stems.
For particularly stubborn or deep tubers, use your fingers to move the soil aside or pry them up with the fork, working slowly to keep the skin intact. After lifting out each tuber, brush off large clumps of dirt with your hands.
It’s important not to wash the tubers at this stage—excess moisture can invite rot during storage. Instead, leave a bit of soil clinging to them and place the tubers in a single layer in a well-ventilated, shaded area to cure for several days. This process toughens their skins and extends their shelf life.
Following these steps ensures your harvest stays in top condition for months to come.
How to Cure Sweet Potatoes for Storage
Curing is an essential first step after harvesting sweet potatoes if you want to enjoy delicious tubers for months to come. Simply put, curing means storing freshly dug sweet potatoes in warm, humid conditions so that small cuts and bruises on their skin can heal, and starches inside the flesh convert to sugars.
This process not only helps the sweet potatoes last longer—sometimes up to six months—but also brings out their rich, sweet flavor. For the best results, aim to cure your sweet potatoes at a temperature between 80 and 85°F (27–29°C) with humidity levels around 85–90%.
You can create these conditions by placing sweet potatoes in a warm room or closet with a space heater and humidifier. Just avoid leaving them in direct sunlight. Let them cure for 4 to 10 days, depending on how fresh they are and how many nicks you notice.
You’ll know your sweet potatoes are properly cured when their skins become tougher and less likely to rub off, and any minor cuts or scrapes have sealed over. Once cured, move them to a cool, dry place (around 55–60°F) for long-term storage.
Proper curing may seem like an extra step, but it’s the secret behind those sweet, velvety baked sweet potatoes you crave all winter.
Best Practices for Storing Sweet Potatoes
To keep your sweet potatoes fresh for as long as possible, store them in a cool spot with temperatures between 55-60°F, away from direct sunlight and heat sources. A dark, well-ventilated pantry, cellar, or unheated basement works well since too much warmth or light can cause sprouting or spoilage.
Avoid the fridge—cold temperatures can alter their flavor and texture. Use containers that promote airflow, like slatted wooden crates or mesh produce bags, rather than plastic, which traps moisture and encourages rot. Keeping sweet potatoes off metal surfaces or the ground also helps circulation and reduces the risk of dampness.
Humidity matters too; moderate moisture prevents the roots from drying out, but too much can invite mold. If you’re storing a large batch, check them every week for signs of trouble—look for soft spots, fuzzy mold, or shriveling skins, which all indicate a potato past its prime.
When stored properly, sweet potatoes can last up to six months, though the exact shelf life varies depending on variety and conditions. For a practical tip, use the oldest potatoes first and handle them gently; bruises and cuts make them more likely to spoil.
With these simple storage practices, you’ll have delicious, nutritious sweet potatoes ready to eat or cook for months.
Common Problems and Frequently Asked Questions
Storing potatoes and other root vegetables can be surprisingly tricky, with common issues like root rot, shriveling, sprouting, and tough skin seriously affecting their quality. Root rot often occurs when tubers are stored in overly damp environments or if they’re unwashed but still caked in moist soil—moisture encourages bacteria and fungi to multiply, causing decay. Shriveling usually results from storing potatoes or other root veggies in conditions that are too dry or warm, causing them to lose water content. Sprouting is most often triggered by keeping tubers somewhere too bright or warm, especially near ripening fruits that emit ethylene gas. Tough skin can develop when root vegetables are left to cure for too long or kept in improper conditions, making them harder to cook and eat.
Should You Wash Potatoes or Root Vegetables Before Storage?
Generally, it’s best not to wash them before storage. It’s easier to brush off excess dirt, and washing introduces extra moisture, which can promote rot and mold.
Do You Need to Cure Potatoes and Similar Veggies?
Curing allows their skins to harden over a period—usually one to two weeks in a cool, dark, well-ventilated place—which helps them last longer in storage. If you plan to use them within a week or two, curing is less important. But for longer storage, it’s a smart move.
Handling Cuts and Bruises
Damaged spots make tubers more vulnerable to spoilage, so always handle them gently. Remove any damaged ones or use them first to prevent further issues.
Troubleshooting Storage Issues
- Check your root vegetables regularly. Remove any spoiled, mushy, or rotting tubers immediately to prevent rot from spreading to healthy ones.
- If you notice excessive shriveling, the air may be too dry. Try storing them in a cooler spot or cover them loosely to retain some moisture—but never store them in airtight plastic containers.
- If sprouting is persistent, move your produce to a darker, cooler area and keep them away from onions or ripening fruit.
Small adjustments in your storage routine can make a big difference, helping your harvest last longer and taste better.