Introduction
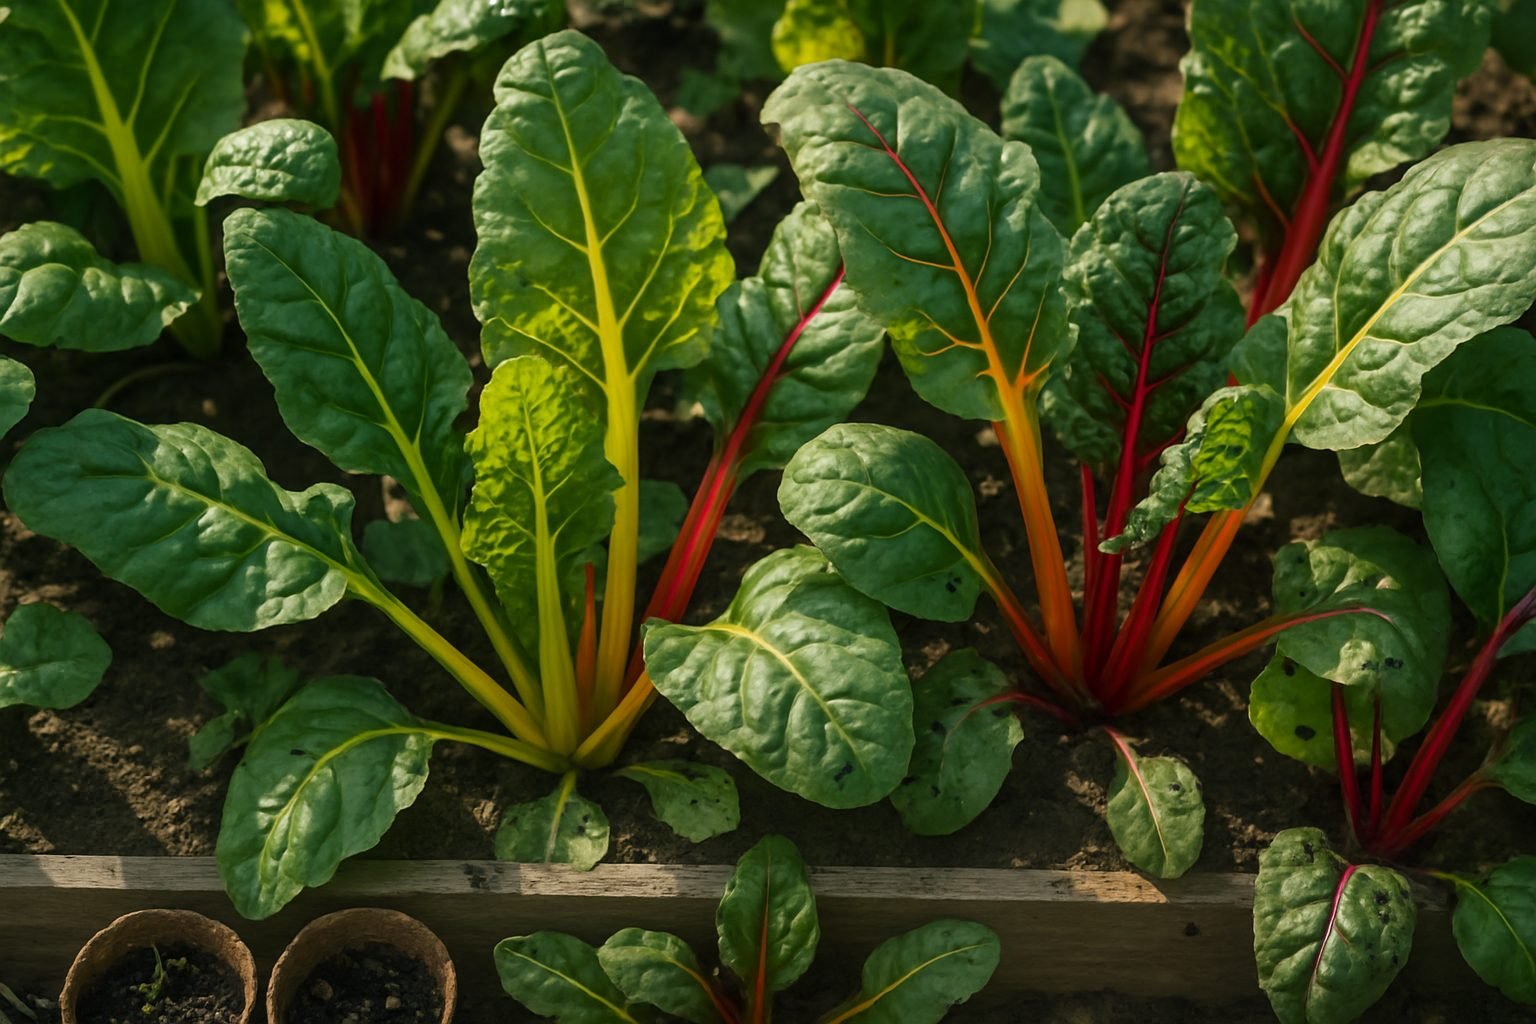
swiss chard is a garden favorite, loved for its vibrant colors and impressive nutritional profile—packed with vitamins, minerals, and antioxidants. It makes a delicious and healthy addition to salads, sautés, and more. But even the hardiest greens aren’t immune to problems, and aphids on Swiss chard can quickly turn a thriving patch into a pest-ridden headache. These tiny insects, almost invisible at a glance, sap the plant’s strength, causing wilted, discolored leaves and stunted growth.
Unfortunately, aphids are just one of several pests that can make themselves at home on your Swiss chard. If you’re frustrated with chewed leaves and sticky residue, you’re not alone—many gardeners face this challenge every season. In this guide, we’ll break down how to spot the signs of aphid infestations and introduce you to other common chard pests to watch for.
You’ll learn safe, effective ways to remove these unwanted visitors without resorting to harsh chemicals, along with easy, proactive steps to keep your crop healthy all season long. Whether you’re a beginner hoping for your first big harvest or a seasoned grower looking for better results, these tips will help you grow strong, pest-free Swiss chard with confidence.
Identifying Common Swiss Chard Pests
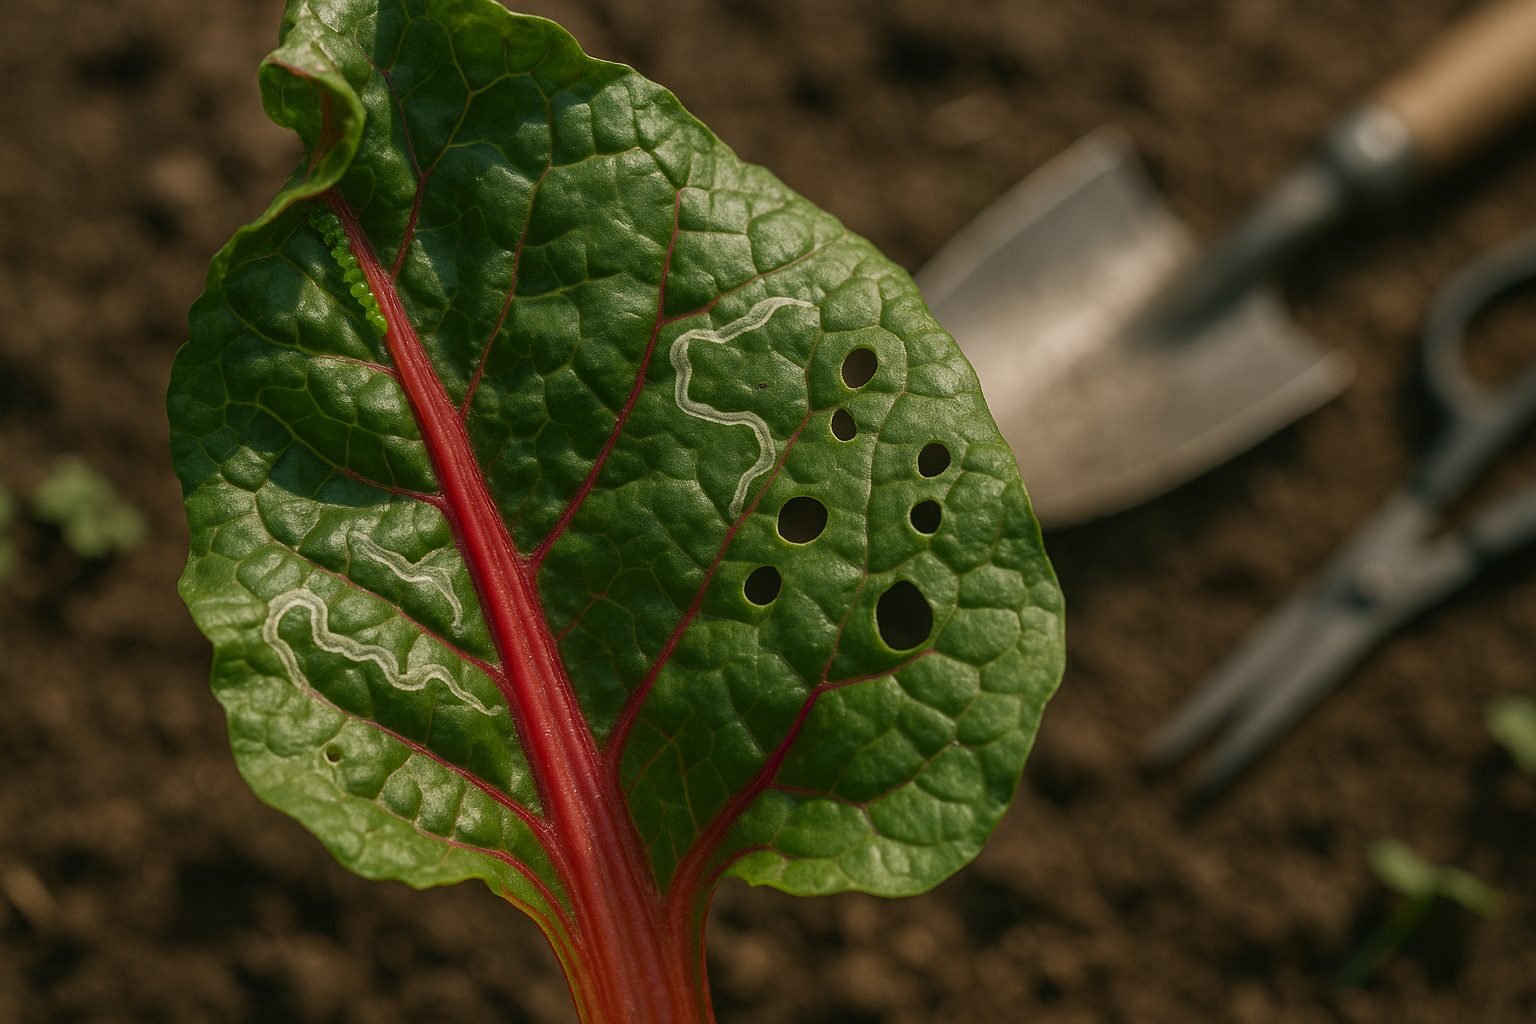
Swiss chard growers often face a handful of persistent pests that can quickly turn vibrant harvests into damaged leaves. Aphids—tiny green, black, or gray insects—cluster along leaf stems and undersides, sucking sap and causing leaves to curl or appear yellow and distorted.
Leaf miners leave unmistakable winding, pale trails as their larvae tunnel between leaf layers, often causing blotchy patches. Slugs and snails are notorious for chewing ragged holes, usually leaving behind a trail of silvery slime, especially after rainy nights or in shady spots.
Beetles, like flea beetles or leaf beetles, create small round holes and sometimes appear as shiny black or metallic specks on the plants, mostly active during warm, sunny periods. Caterpillars tend to consume larger portions of leaves and may leave behind dark droppings; look for them during early mornings or late afternoons when they’re most active.
How to Identify the Pest
To quickly identify which pest is at work, start by observing the type of damage and timing:
- Wilting or curled leaves indicate sap-sucking pests like aphids.
- Winding scars signal leaf miners.
- Slime trails confirm slugs or snails.
- Neat round holes show beetle activity.
Always inspect the underside of leaves with a flashlight during low-light hours, and check for pests at different times of day, as some are nocturnal.
Why Proper Identification Matters
Correctly identifying the culprit is crucial before reaching for treatments, as solutions that work for beetles may not help with aphids or slugs. By paying close attention to these physical signs and patterns, gardeners can take targeted action and avoid unnecessary interventions, keeping their Swiss chard healthy and productive.
Assessing Damage & Deciding on Action
When inspecting garden plants for damage, start by carefully examining the leaves and stems. Minor damage typically includes small holes, slight yellowing, or areas where pests have nibbled but the leaf remains mostly healthy and functional. In contrast, major damage involves large sections of missing leaf tissue, extensive browning, wilting, or signs of disease such as mold or rot.
For minor damage, such as a few holes or spots, it’s often best to simply monitor the plant—many can outgrow small issues without intervention. Removing heavily damaged or diseased leaves can help prevent problems from spreading, but it isn’t necessary for every minor blemish.
When it comes to harvesting, leaves with tiny holes are usually safe to eat as long as you thoroughly wash them and discard any that are slimy, discolored, or moldy. For instance, holey spinach or lettuce is still edible if the leaf is green and crisp, but avoid anything with blackened patches or fuzz. Trust your senses—if a leaf looks, smells, or feels off, compost it and stick to the healthy portions.
Remember, a few imperfections are common in homegrown produce and generally not harmful.
Organic and Safe Pest Removal Methods
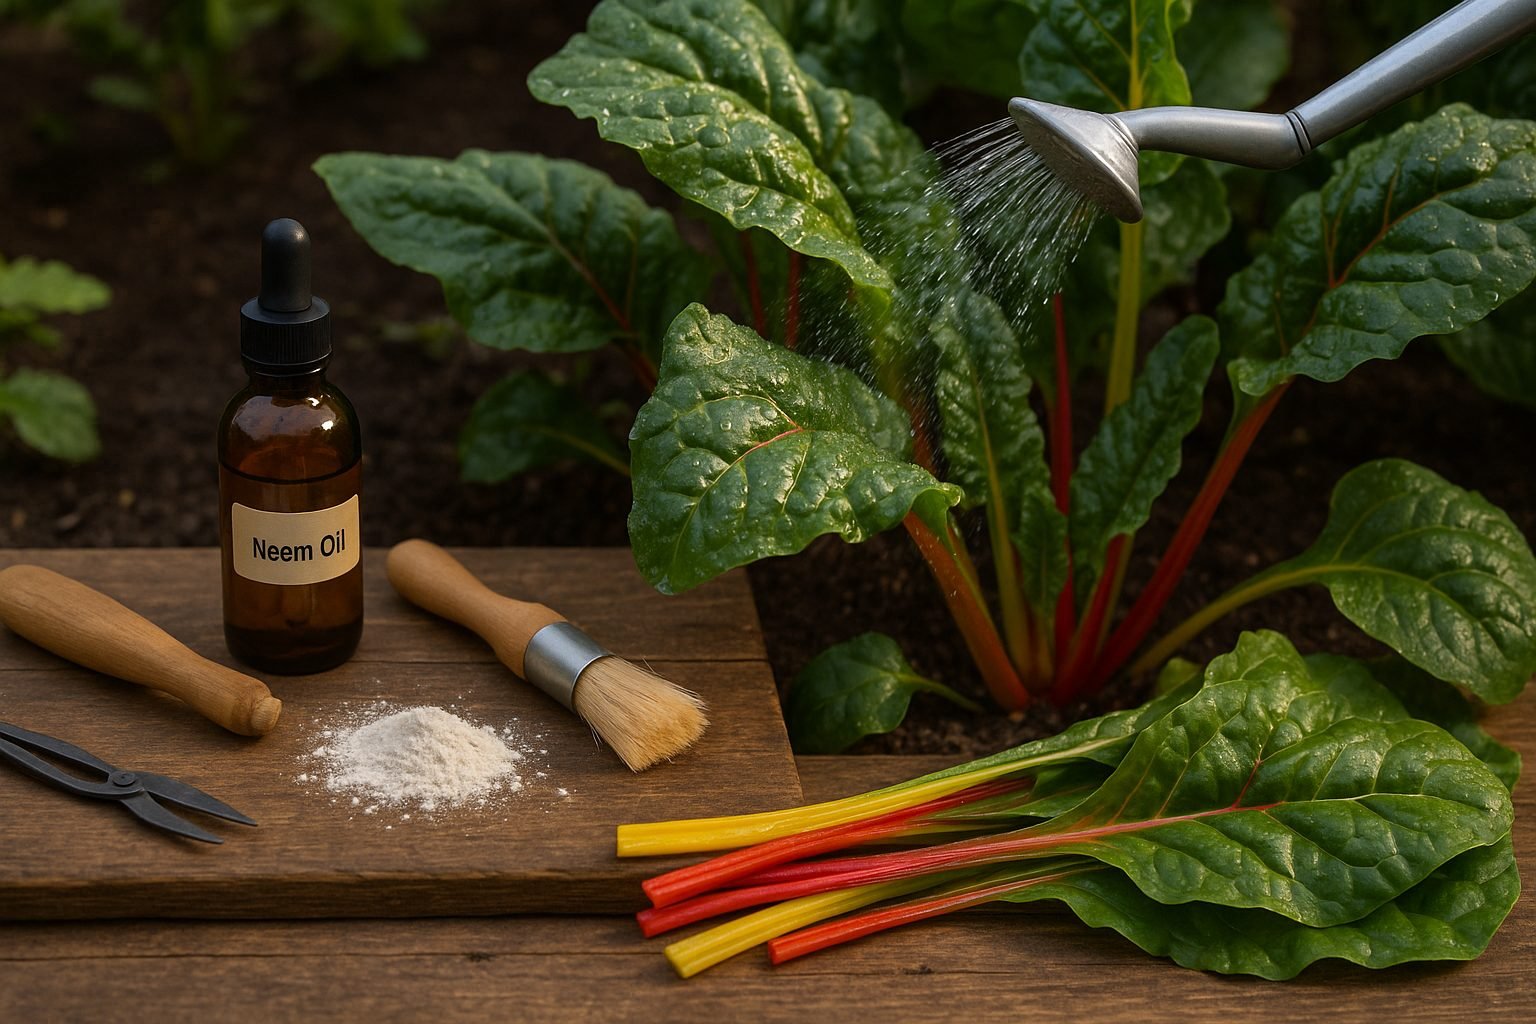
When tackling unwanted pests in your garden, start with gentle removal methods before reaching for any sprays or powders. A great first step is handpicking—wear gloves and carefully remove visible bugs, caterpillars, or egg clusters, dropping them into a bucket of soapy water.
For smaller pests like aphids or spider mites, rinsing affected plants with a strong blast of water from a hose can knock them off effectively; be sure to do this in the morning so leaves dry quickly and don’t develop mold. Pruning is also a smart option—use clean, sharp scissors or pruners to snip off leaves or stems heavily infested or showing disease, disposing of them well away from healthy plants.
When gentle measures aren’t enough, organic controls offer safer alternatives to harsh chemicals. Try spraying neem oil mixed with water and a few drops of mild soap—just shake well and coat both the tops and bottoms of leaves. Insecticidal soaps, available at most garden centers, work by smothering soft-bodied insects; for best results, cover all plant surfaces in early morning or late afternoon.
Diatomaceous earth, a natural powder, can be dusted around the base of plants—it punctures and dehydrates crawling insects. Remember to reapply after rain to maintain its effectiveness.
While it may be tempting to turn immediately to chemical pesticides, use them as a last resort and choose products labeled for your specific pest. Overuse harms beneficial insects and can create long-term resistance problems. Always follow package instructions precisely, apply only to affected plants, and consider spot-treating rather than broadcasting chemicals.
By beginning with thoughtful, organic approaches, you’ll protect your garden’s health and encourage a thriving, balanced ecosystem.
How to Prevent Future Pest Problems
Preventing future pest problems starts with smart, proactive gardening habits. Rotate your crops each season to disrupt the life cycles of pests that specialize in certain plants—this simple switch can make your garden much less inviting to repeat offenders.
Begin with clean, healthy soil by removing plant debris and thoroughly composting old plant material, which helps reduce egg-laying sites and habitats for overwintering insects. Adding mulch is another excellent defense; a layer of straw, wood chips, or leaves can smother weed seeds, conserve moisture, and block the movement of ground-dwelling pests.
Consider lightweight row covers to provide a physical barrier against insects while letting sunlight and water reach your crops. Companion planting is another tried-and-true tactic; for example, planting marigolds alongside tomatoes not only adds color but can repel harmful nematodes and aphids.
Keeping your plants strong with regular watering, fertilizing, and pruning is critical—vibrant, healthy plants are naturally more resistant to pest attacks. Make it a habit to walk through your garden once a week, checking the underside of leaves and stems for signs of trouble so you can address them early.
If you spot any pests, remove them by hand or treat the plants promptly with eco-friendly solutions. Finally, always keep your garden beds neat and clear by regularly picking up fallen fruit, dead leaves, and broken branches, which are prime hiding spots for insects.
These simple, consistent actions will go a long way in keeping your garden healthy and pest problems to a minimum season after season.
When to Seek Help or Try Advanced Solutions
Sometimes, basic pest control methods just aren’t enough, and knowing when to seek help can save your garden—and your sanity. If you’re facing recurring infestations that home remedies can’t handle, pests you can’t identify, or plant damage spreading quickly despite your efforts, it’s time to consider more advanced solutions.
In these cases, reach out to local extension services. These organizations often offer free or low-cost advice tailored to your region’s specific pests and conditions. Gardening clubs are another great resource, providing experienced voices who have likely dealt with similar issues and can share what truly works.
Online forums and social media gardening groups are packed with pest photos, tips, and product reviews that can quickly connect you to solutions others have tested. Whenever you face a tricky pest problem, take notes or photos—documenting what you see now makes it easier to find solutions and spot patterns next season.
Learning from each challenge not only helps you bounce back stronger but also turns every pest problem into a valuable lesson for future gardening success. The right support network and a willingness to adapt your approach can transform stubborn infestations into just another step in your gardening journey.
Conclusion & Encouragement
Dealing with pests is a normal part of gardening, and even the most experienced growers face these challenges from time to time. Don’t get discouraged if you spot a few holes in your plant’s leaves or find an unexpected visitor among your veggies—plants are resilient, and a little imperfection won’t ruin your harvest.
Remember, routine observation, early intervention, and a willingness to try different solutions are your best tools for keeping pest issues in check. Many gardeners find joy in the process, learning what works best through trial, error, and the shared wisdom of others.
Keep experimenting, stay patient, and celebrate the progress your plants make, no matter how small. Your garden is a unique ecosystem, and your efforts matter. Feel free to share your stories, successes, and even your struggles—every experience adds valuable knowledge to our gardening community!