Introduction
Thyme in pots has become a favorite choice for home cooks and gardening enthusiasts alike, thanks to its fresh aroma, vibrant flavor, and versatility in the kitchen. Growing thyme in pots is a smart solution for anyone with limited garden space or for those who want to keep their herbs close at hand—on a sunny windowsill, balcony, or even right on the kitchen counter.
Container gardening allows you to control soil quality, manage water drainage, and easily move your thyme plants to follow the sun or retreat indoors when the weather turns chilly. Plus, it helps prevent the spread of diseases and keeps invasive herbs from taking over your outdoor beds.
In this article, you’ll discover how to choose the right pot and soil, how to plant thyme for healthy root development, and the best strategies for watering, feeding, pruning, and harvesting. Whether you’re looking to snip a handful of leaves for tonight’s dinner or want to enjoy fragrant greenery year-round, these practical tips will set you up for a thriving potted thyme garden—even if you’re starting with just a small space or limited gardening experience.
Choosing the Right Pot and Variety
When growing thyme in containers, choosing the right pot makes all the difference. Start by picking a container with several drainage holes in the bottom—thyme hates soggy roots and will thrive only if excess water can escape easily. A pot that’s at least 8 to 10 inches wide and deep provides enough room for healthy root growth and helps prevent the soil from drying out too quickly.
Terracotta and clay pots are great choices because they allow air circulation to the roots, but sturdy plastic pots or wooden planters can also work if you ensure proper drainage.
Next, think about the thyme variety. ‘English’ (common) thyme is a classic pick for versatility, while ‘Lemon’ thyme adds citrusy notes to dishes, and ‘Creeping’ thyme is perfect if you want a trailing effect around the pot’s edges.
While seeds are economical, they can be slow and uneven to germinate, so most home gardeners have better success with starter plants you can buy from nurseries.
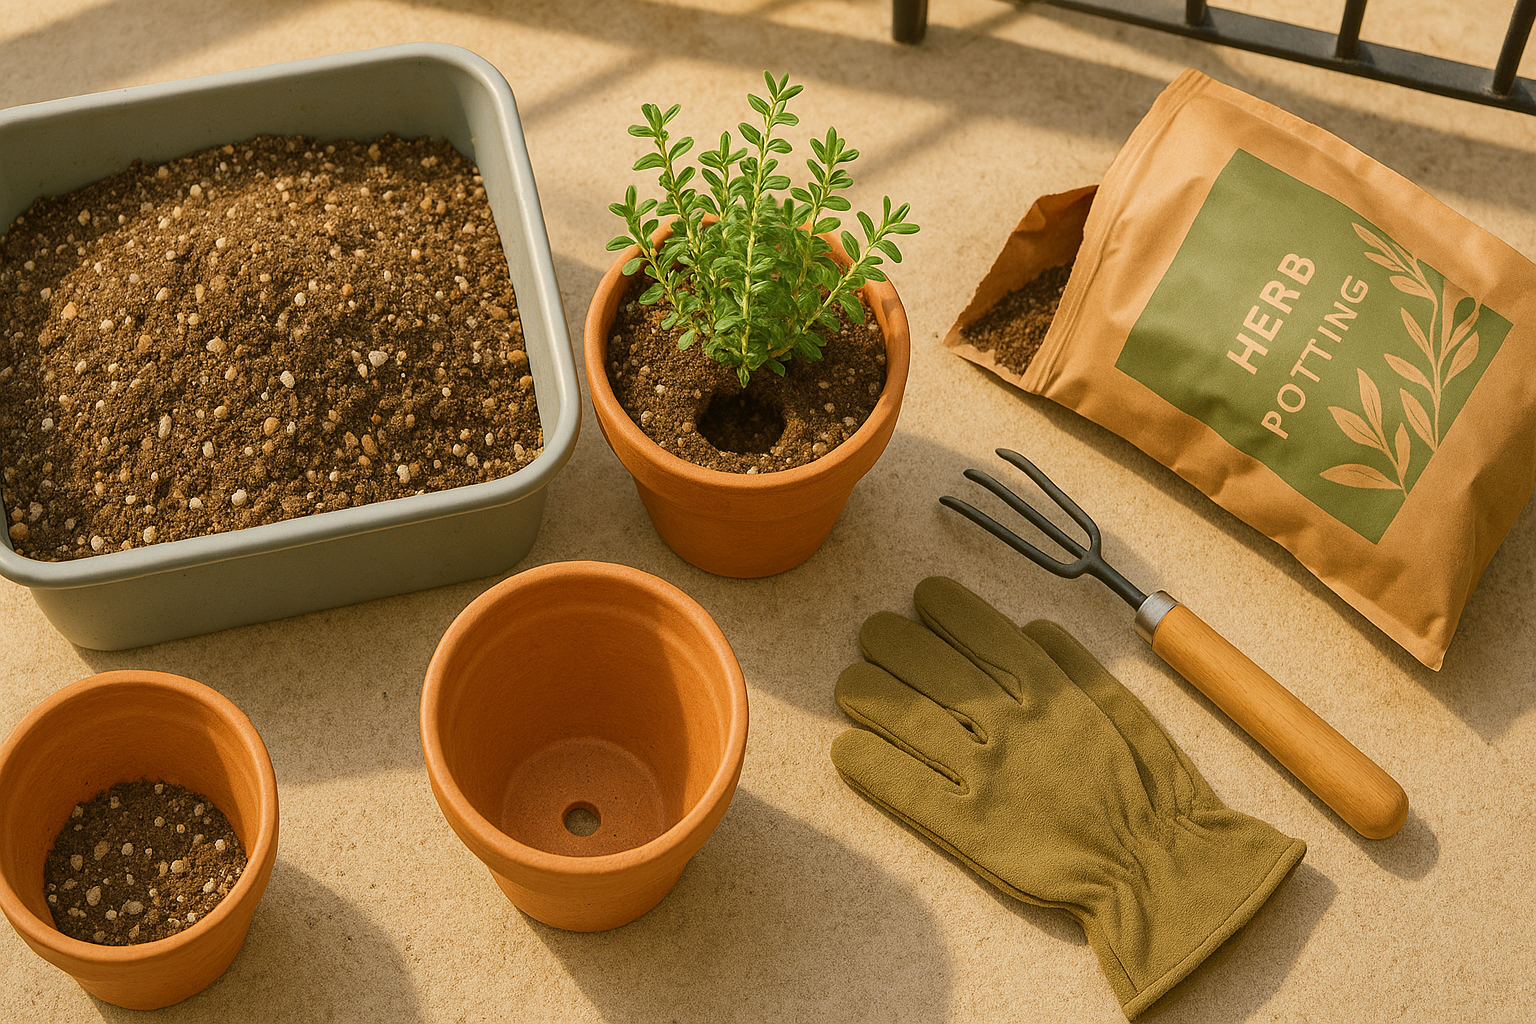
When shopping, look for high-quality potting mix labeled for herbs or vegetables—it should be light, fast-draining, and preferably enriched with a little compost. Don’t forget to pick up pots with matching saucers to catch any overflow, and inspect starter thyme plants for healthy, green leaves with no signs of pests or disease.
Setting yourself up with the right supplies makes growing thriving thyme simple and satisfying, even on a small patio or sunny windowsill.
Planting Thyme

When planting thyme in containers, start with a well-draining soil mix—combine equal parts high-quality potting soil, coarse sand, and perlite. This ensures the mix stays light and airy, since thyme despises soggy roots. If you’re using a commercial potting mix, simply amend it with a handful of sand or small gravel.
When planting, dig a small hole just deep enough to accommodate the root ball. Set the thyme plant so the crown sits even with the soil surface, and space each plant at least 8–12 inches apart to allow air circulation and avoid overcrowding. Water immediately after planting to help the roots settle, but go easy—let the soil dry slightly between waterings, as thyme thrives in somewhat dry conditions.
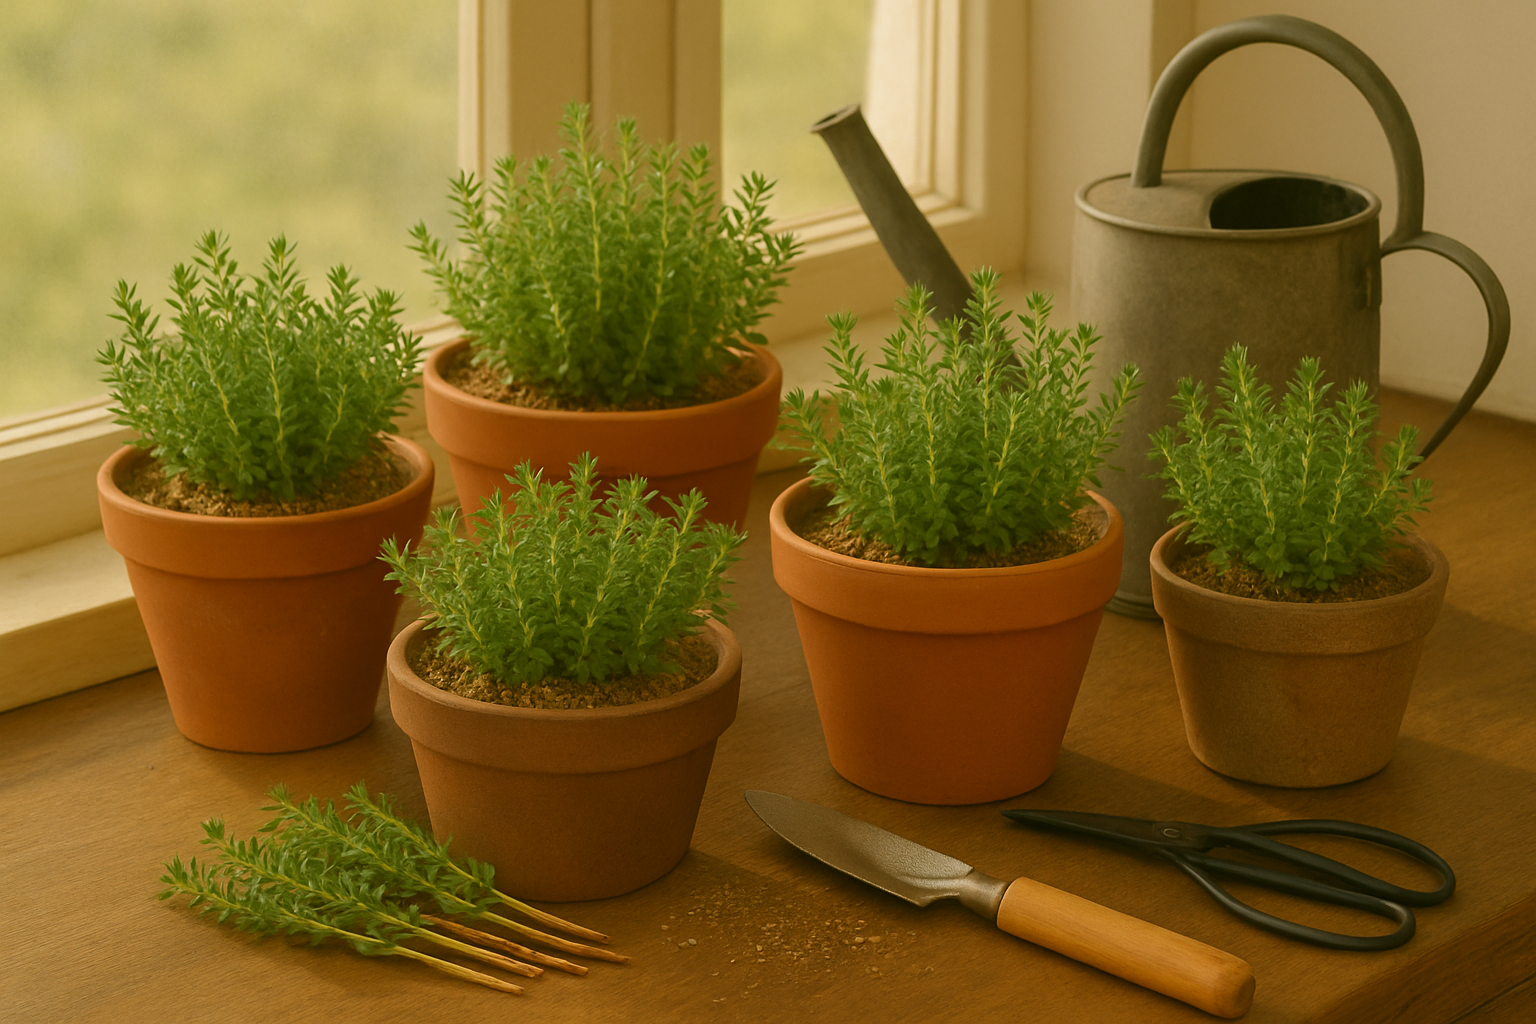
For the best growth, place your container in a spot that receives at least six hours of bright sunlight daily—think sunny patios, south-facing windowsills, or balcony ledges. If you live in an area with harsh winds or heavy rain, tuck containers closer to a sheltered wall or consider temporary covers to protect delicate foliage during storms.
Certain trailing thyme varieties may begin to spill over the sides of containers, creating a lovely cascading effect. If you’d like to keep their growth tidy or prevent them from sprawling too far, try using a low wire grid or a set of small stakes and twine arranged around the edge of the container. This gentle support encourages healthy, compact growth without interfering with thyme’s natural charm.
Just remember to trim lightly as the plant matures to keep stems healthy and flavorful, and enjoy fresh thyme snipped straight from your window or garden all summer long.
Essential Thyme Care
Caring for thyme in containers is simpler than you might think, especially when you understand its Mediterranean roots. Thyme thrives in well-drained soil and prefers to dry out slightly between waterings. A good rule of thumb is to let the top inch of soil dry before watering—usually every 7 to 10 days indoors, and more often outdoors during hot, dry spells.
Overwatering is one of the most common mistakes. Yellowing leaves, floppy stems, or a musty smell can indicate your thyme’s roots are drowning. On the other hand, if the leaves look dry, crispy, or the plant is wilting, it might be thirsty.
Thyme isn’t a heavy feeder, so resist the urge to over-fertilize. If your potting mix is fresh and high-quality, feeding may not be necessary during the first year. Otherwise, use a diluted, balanced liquid fertilizer once a month during the growing season (spring through early summer). Stop fertilizing by late summer to allow your plant to slow down naturally.
Pruning for Healthy Growth
Pruning is key for healthy, bushy thyme. Regularly pinch back the growing tips to encourage side shoots and a fuller appearance. Start pinching when your thyme is a few inches tall. Don’t hesitate to snip a little for cooking—it actually helps the plant grow thicker.
After flowering, clip back spent blooms and trim the plant lightly to shape and refresh it. This prevents the plant from becoming too woody and boosts next season’s harvest. Avoid cutting into the thick, woody stems at the base; instead, focus on green, leafy growth.
With this routine, your thyme will reward you with rich flavor and lush, aromatic foliage all season long.
Dealing With Pests and Problems
Thyme is a hardy herb, but like any plant, it can face challenges from pests and diseases. Common pests include aphids, which cluster on stems and leaves and can cause wilting or yellowing; spider mites, which leave fine webs and tiny yellow spots; and thrips, which may cause silvery streaks or distorted growth.
For organic pest control, try spraying plants with a gentle soap-and-water solution or neem oil—these are effective but safe for the garden. Introducing beneficial insects like ladybugs, or simply rinsing pests off with a strong blast of water, also helps keep populations in check.
On the disease front, thyme’s biggest enemy is root rot, usually caused by poor drainage and overwatering. Signs include wilting, stunted growth, or blackened roots. Always plant thyme in well-draining soil and avoid watering too frequently; container plants should never sit in soggy saucers.
To prevent fungal issues like powdery mildew, give each plant enough space to promote airflow and water at the soil level rather than on the leaves.
If you spot leggy growth, your thyme might not be getting enough sunlight—aim for at least six hours of direct light daily, and trim back overgrowth to encourage bushier plants. Yellowing leaves typically signal overwatering or old foliage; prune these away and adjust your watering schedule. Slow development is often due to poor soil or too much shade—consider boosting with a light compost top-dressing and moving potted plants to a sunnier spot for a quick recovery.
Harvesting and Using Your Thyme

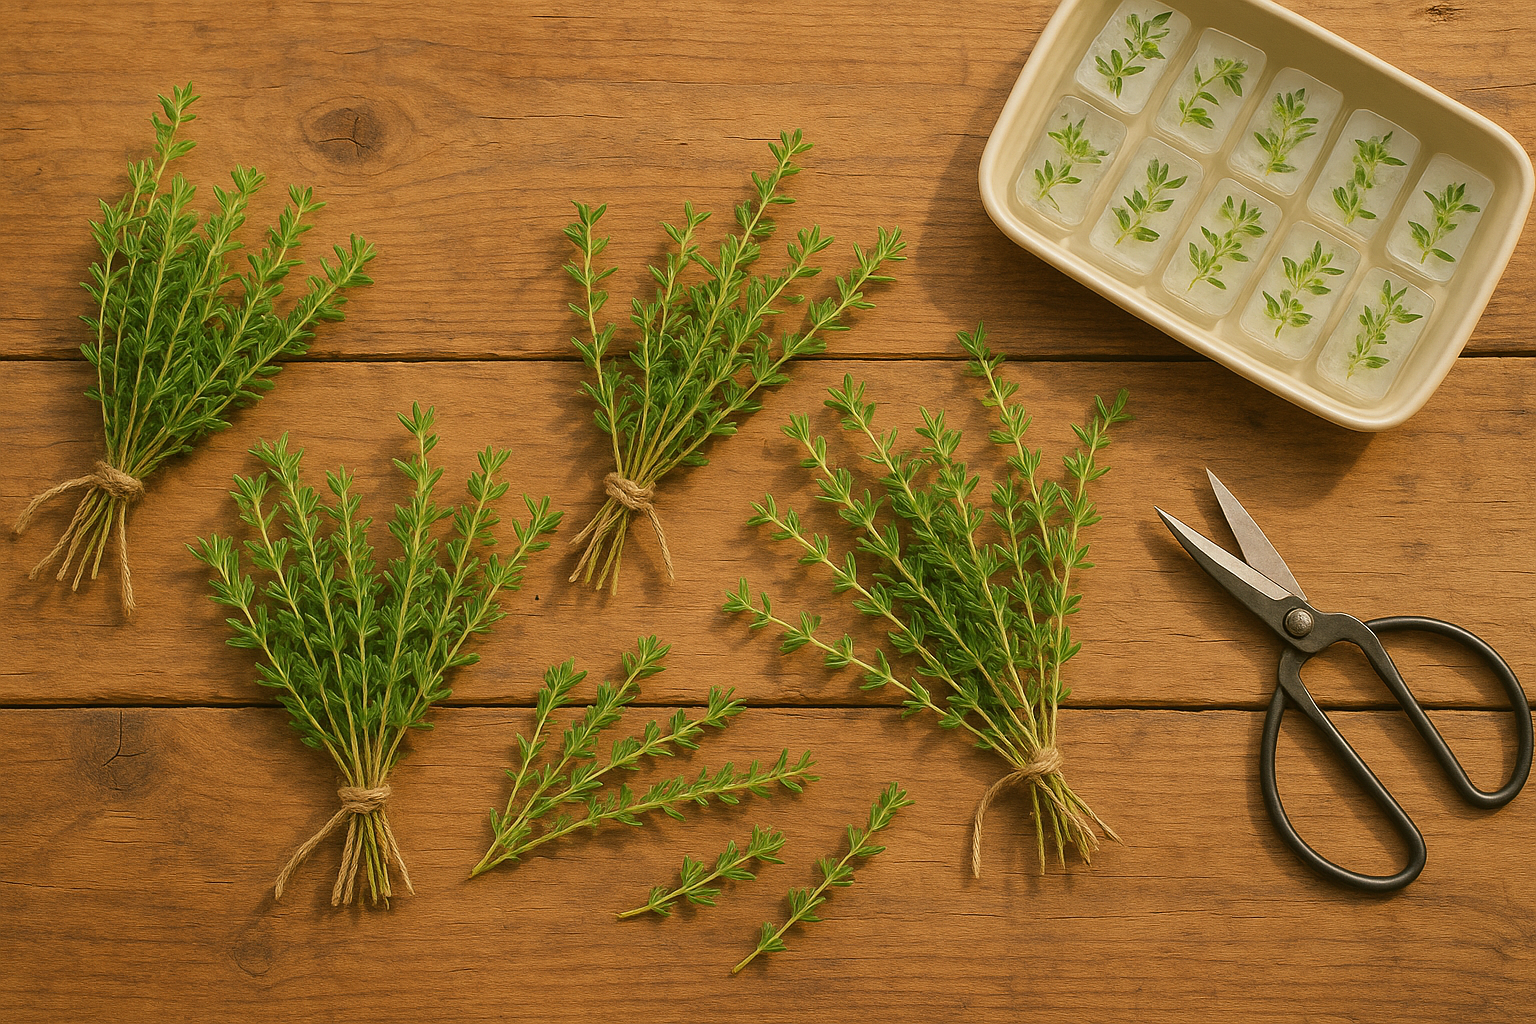
To get the most vibrant flavor from your thyme, harvest it just before the plant flowers, when the essential oils are at their peak. Early morning is ideal—once the dew has dried but before the heat of the day sets in. Using sharp, clean scissors or garden shears, snip sprigs about five to six inches long, leaving around half the plant intact to encourage regrowth. Avoid cutting woody stems too close to the base; instead, focus on tender, green growth for the best taste and quickest recovery.
After harvesting, thyme can be preserved easily—simply tie small bunches together and hang them upside down in a cool, dry, well-ventilated place for about a week, or until the leaves crumble easily. For fast freezing, strip the leaves and spread them in a single layer on a baking sheet, freeze, then transfer to airtight containers. You can also chop and freeze thyme in ice cube trays with a little water or olive oil for quick use in soups and sauces.
To further maximize your harvest, regularly pinch back the tips of the plants throughout the growing season, which encourages bushier growth and more sprigs to snip. If your thyme looks leggy or overgrown, a gentle trim can rejuvenate it, helping your herb stay lush all season long. With just a little attention, a single thyme plant can keep your kitchen stocked for months while still thriving outside.
Conclusion
Growing thyme in containers is a simple and rewarding way to have fresh herbs at your fingertips all year round. Be sure to choose a well-draining pot and use a gritty, high-quality potting mix to mimic thyme’s natural environment. Place your container in a sunny spot—such as a south-facing window or a warm balcony—and avoid overwatering to keep the roots healthy.
Regular snipping not only provides plenty of flavorful sprigs for your recipes but also encourages the plant to grow bushier and stronger. If you’re new to container gardening, thyme is one of the easiest herbs to start with because it thrives on neglect and requires minimal care.
Give it a try and enjoy the convenience of fresh thyme anytime, whether it’s for hearty roasted dishes or refreshing summer salads. For more tips, check out online gardening forums or local workshops where you can learn additional ways to expand your container herb garden.
