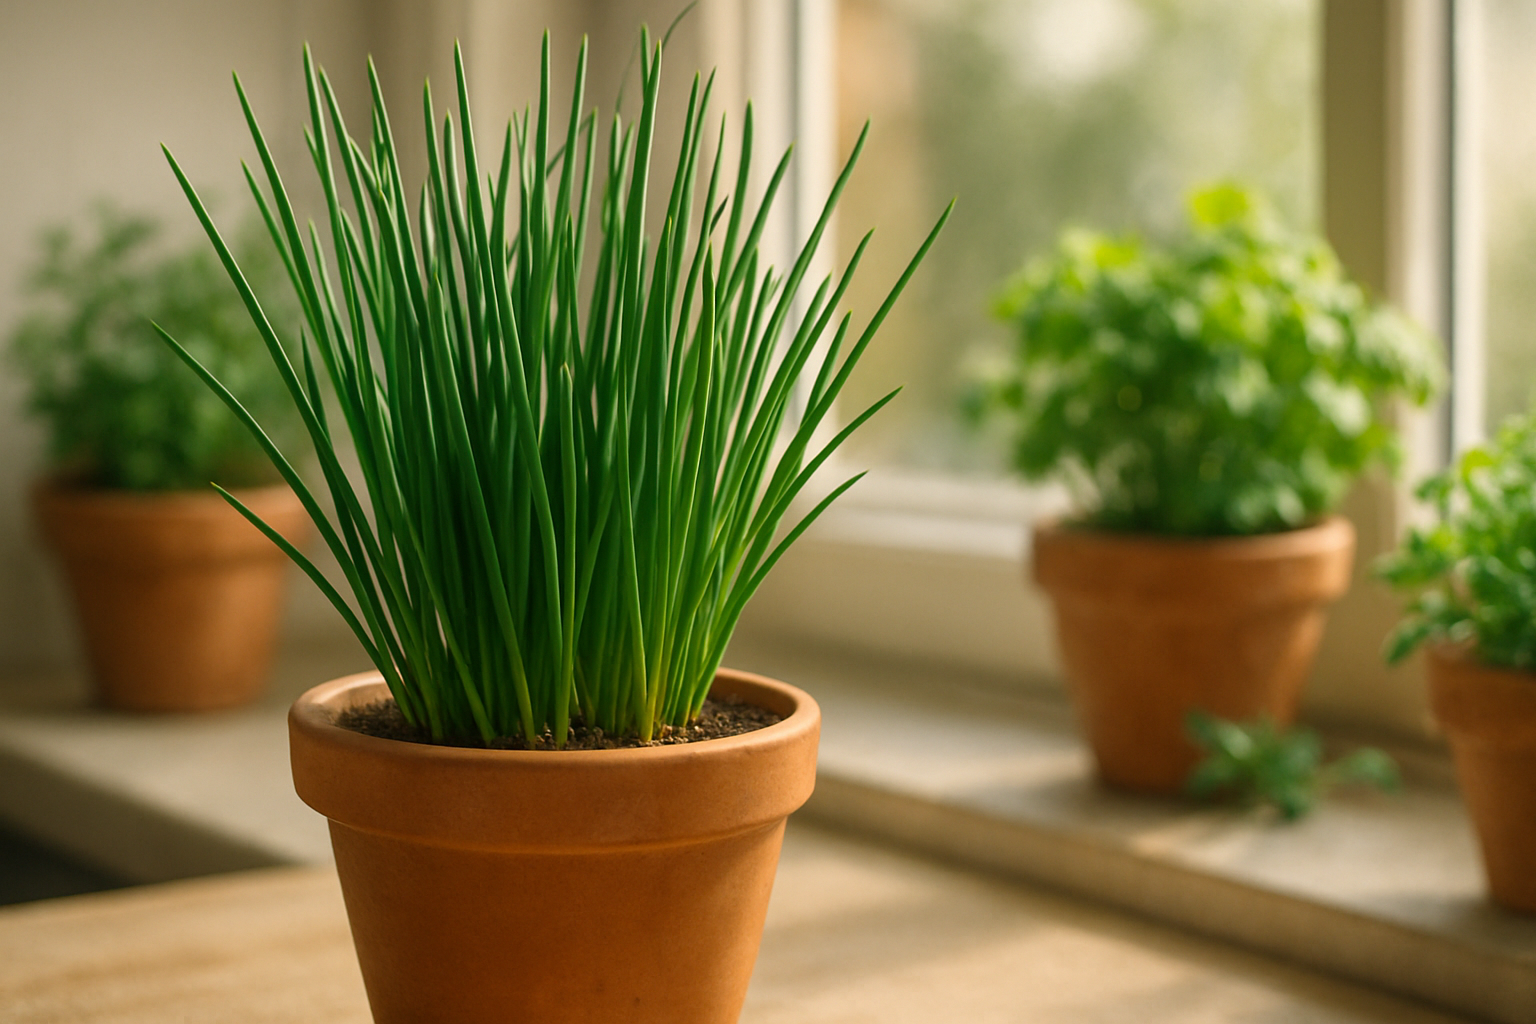
Why Grow Chives at Home?
Growing chives at home is a smart move for anyone who enjoys fresh flavors and easy gardening. In the kitchen, chives add a delicate onion-like taste to everything from scrambled eggs and baked potatoes to soups and salads—a snip of fresh chives boosts both flavor and visual appeal.
Beyond their versatility, chives pack nutritional benefits too, containing vitamins A, C, and K, plus antioxidants that support your immune system and overall health.
One of the best things about chives is how little effort they require: they’re incredibly hardy, needing just a sunny spot and regular watering, making them perfect for beginner gardeners or anyone short on time.
Even if you lack outdoor space, chives thrive happily in small containers on a windowsill or balcony, and they don’t mind being grown indoors year-round. Their compact nature means you can fit them into tight spaces or incorporate them as part of a kitchen herb garden without hassle.
Plus, harvesting is a breeze—just snip off what you need, and the plant will keep growing back! With chives, you get fresh ingredients, health perks, and reliable, fuss-free gardening all rolled into one convenient plant.
Step-by-Step Guide to Growing Chives
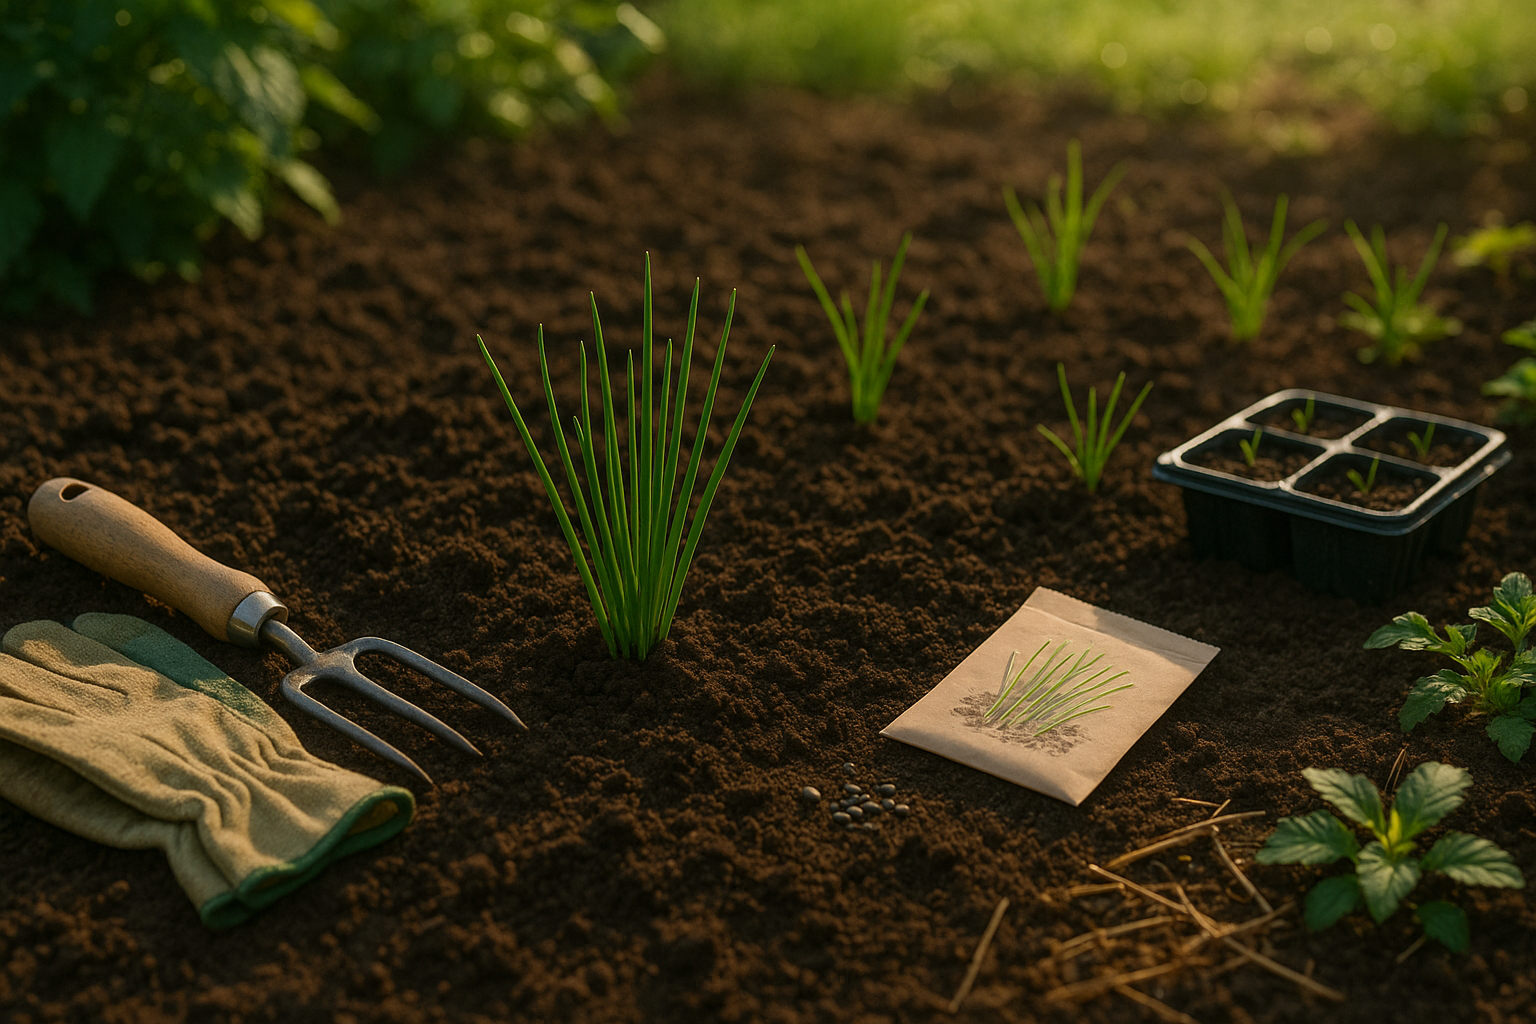
Growing chives can start either from seeds or transplants, each with its own perks. Starting from seeds is budget-friendly and offers a wider variety of choices, but it requires patience—germination can take up to three weeks, and seedlings grow slowly. Transplants, on the other hand, give you a head start with mature plants, making them perfect if you want quicker harvests. However, they tend to be pricier and may offer less variety.
For both methods, chives do best in well-drained soil and plenty of sunlight—at least six hours a day. If you’re sowing seeds indoors, start 6–8 weeks before the last expected frost. Use a seed tray, planting seeds about ¼ inch deep and 1 inch apart, then place the tray somewhere bright or under grow lights.
Outdoors, sow seeds or set out transplants only after the frost danger has passed. Space clumps or rows 8–12 inches apart to allow for growth and good airflow. Early spring is the best time to plant chives, once soil temperatures consistently stay above 60°F (16°C).
If you’re growing chives in pots indoors, use a container at least six inches deep with drainage holes. Whether indoors or outdoors, keep the soil evenly moist but not waterlogged. Lightly fertilize with a balanced, all-purpose fertilizer every 4–6 weeks to encourage lush growth. Mulching around outdoor plants can also help retain moisture and reduce weeds.
Follow these steps, and you’ll be snipping fresh chives in just a few weeks, enjoying their mild onion flavor all season long.
Caring for Your Chives
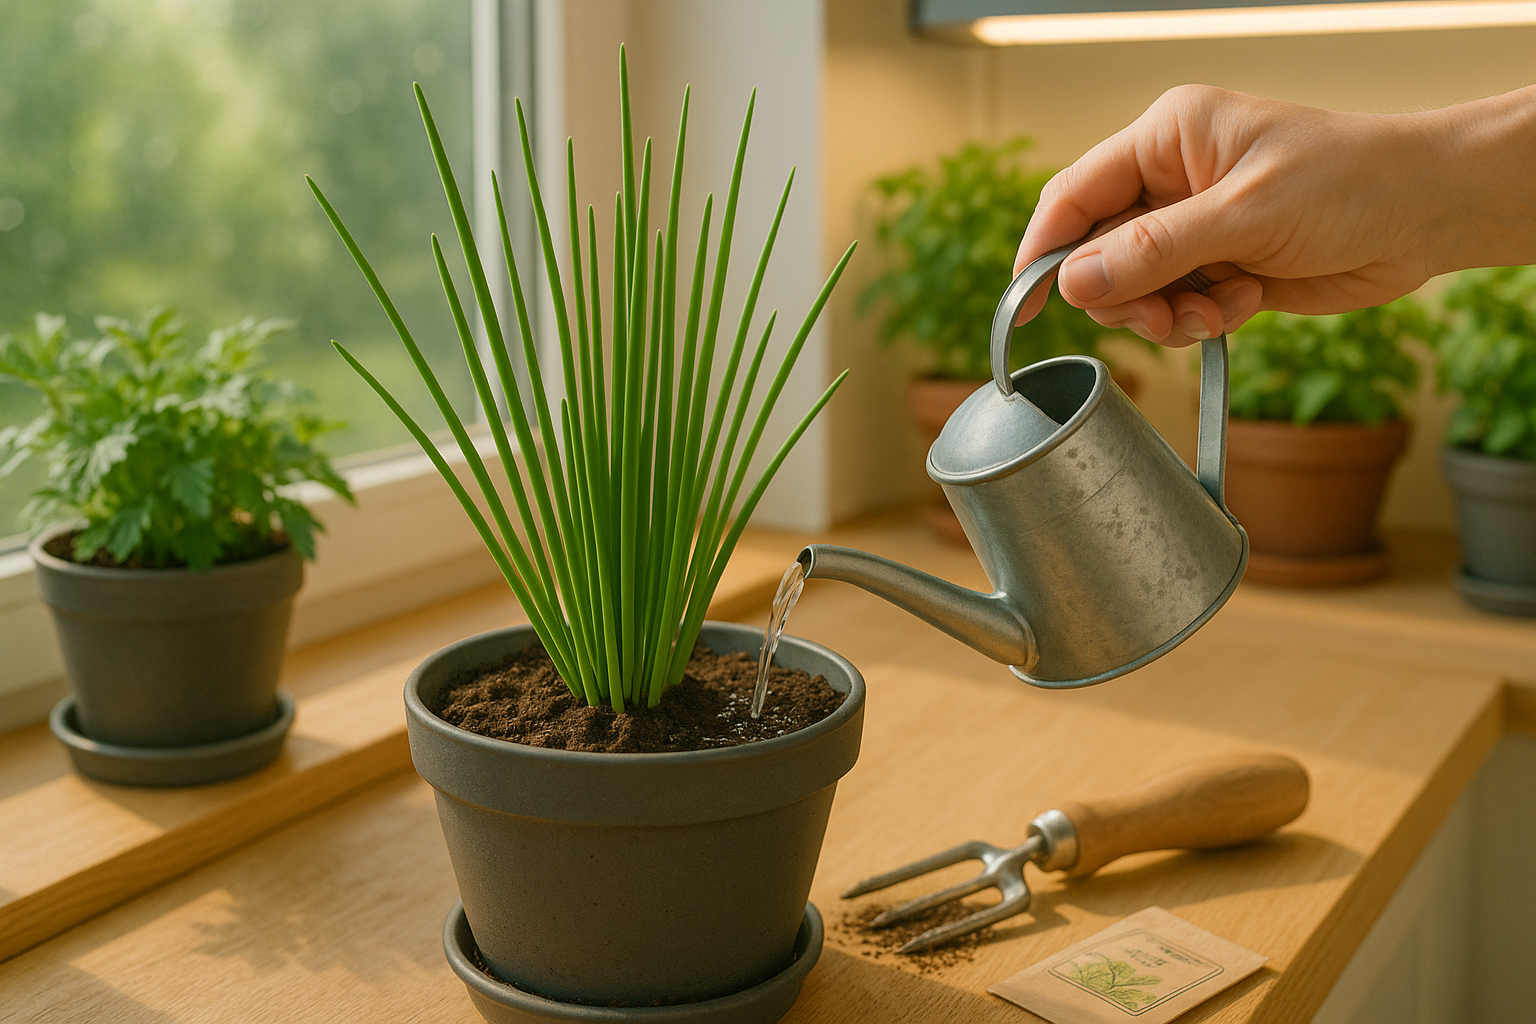
Chives thrive when you give them the right mix of sunlight, soil, and care. For soil, aim for a light, well-draining mix—sandy loam or high-quality potting soil works great. Chives prefer a slightly acidic to neutral pH, roughly between 6.0 and 7.0. Prep your garden bed by loosening the soil to about six inches deep and mixing in compost or aged manure; this gives roots room to grow and plenty of nutrients.
Outdoors, choose a spot that gets at least 6 hours of direct sunlight a day since chives love the sun. For indoor pots, pick a sunny windowsill or supplement with a grow light to give your plants enough rays.
When it comes to watering, keep the soil consistently moist but not soggy. Chives don’t like to have “wet feet,” so make sure pots have drainage holes and garden beds aren’t prone to puddling. Stick a finger an inch into the soil; if it feels dry, it’s time to water. To avoid overwatering, let the soil dry slightly between waterings rather than keeping it constantly damp.
For healthy growth, fertilize lightly—mix a balanced, water-soluble fertilizer at half-strength once a month during the growing season. Too much fertilizer can make chives leggy and reduce flavor, so less is more.
With these simple steps, you’ll keep your chive plants robust, green, and ready for harvest.
Common Growing Problems & How to Fix Them
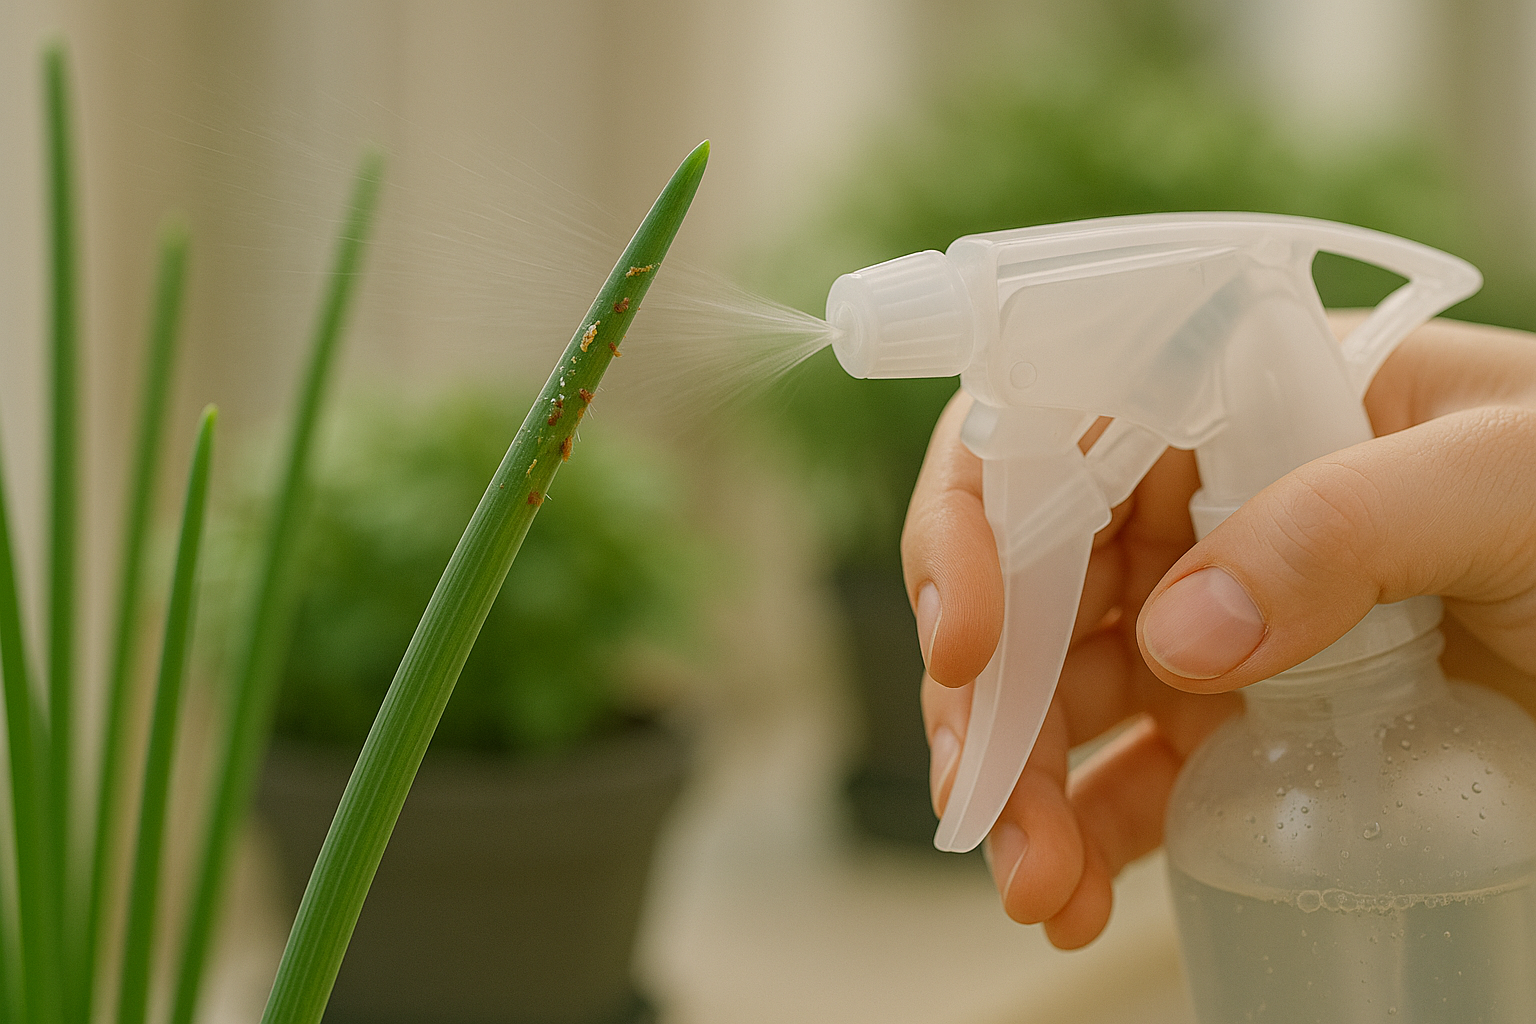
Growing healthy indoor plants can be challenging, especially when common problems like pests, diseases, and yellowing leaves crop up. One frequent issue is the appearance of tiny insects such as spider mites, aphids, or fungus gnats.
To tackle pests organically, start by gently rinsing your plants with water to dislodge small bugs. Then, spray a mild solution of neem oil or insecticidal soap, which is safe for most indoor plants. Be sure to isolate affected plants to prevent the pest outbreak from spreading.
Yellowing leaves often indicate overwatering, poor drainage, or a lack of nutrients. It’s important to let the top inch of soil dry out before watering again and always use pots with drainage holes to avoid soggy roots. If yellowing persists, consider supplementing with an all-purpose organic fertilizer or repotting into fresh, nutrient-rich soil.
Fungal diseases like powdery mildew or root rot thrive in humid, poorly ventilated spaces. To prevent them, improve air circulation with a fan and avoid crowding your plants together. Remove infected leaves swiftly to limit disease spread, and always clean your tools between uses. Using natural remedies like a diluted baking soda spray can help control mild mildew outbreaks organically.
By staying observant and acting quickly, you’ll be able to address most growing problems before they harm your indoor garden, ensuring your plants remain vibrant and healthy.
Harvesting, Storing & Using Chives
For vibrant, delicious chives all season long, harvest them when they reach about 6 inches tall—ideally in the morning when they’re most flavorful. Use sharp scissors to snip leaves about 1–2 inches above the base; avoid cutting right at the soil so the plant has enough to regrow. By harvesting regularly, every couple of weeks, you’ll encourage new growth and keep your clump healthy.
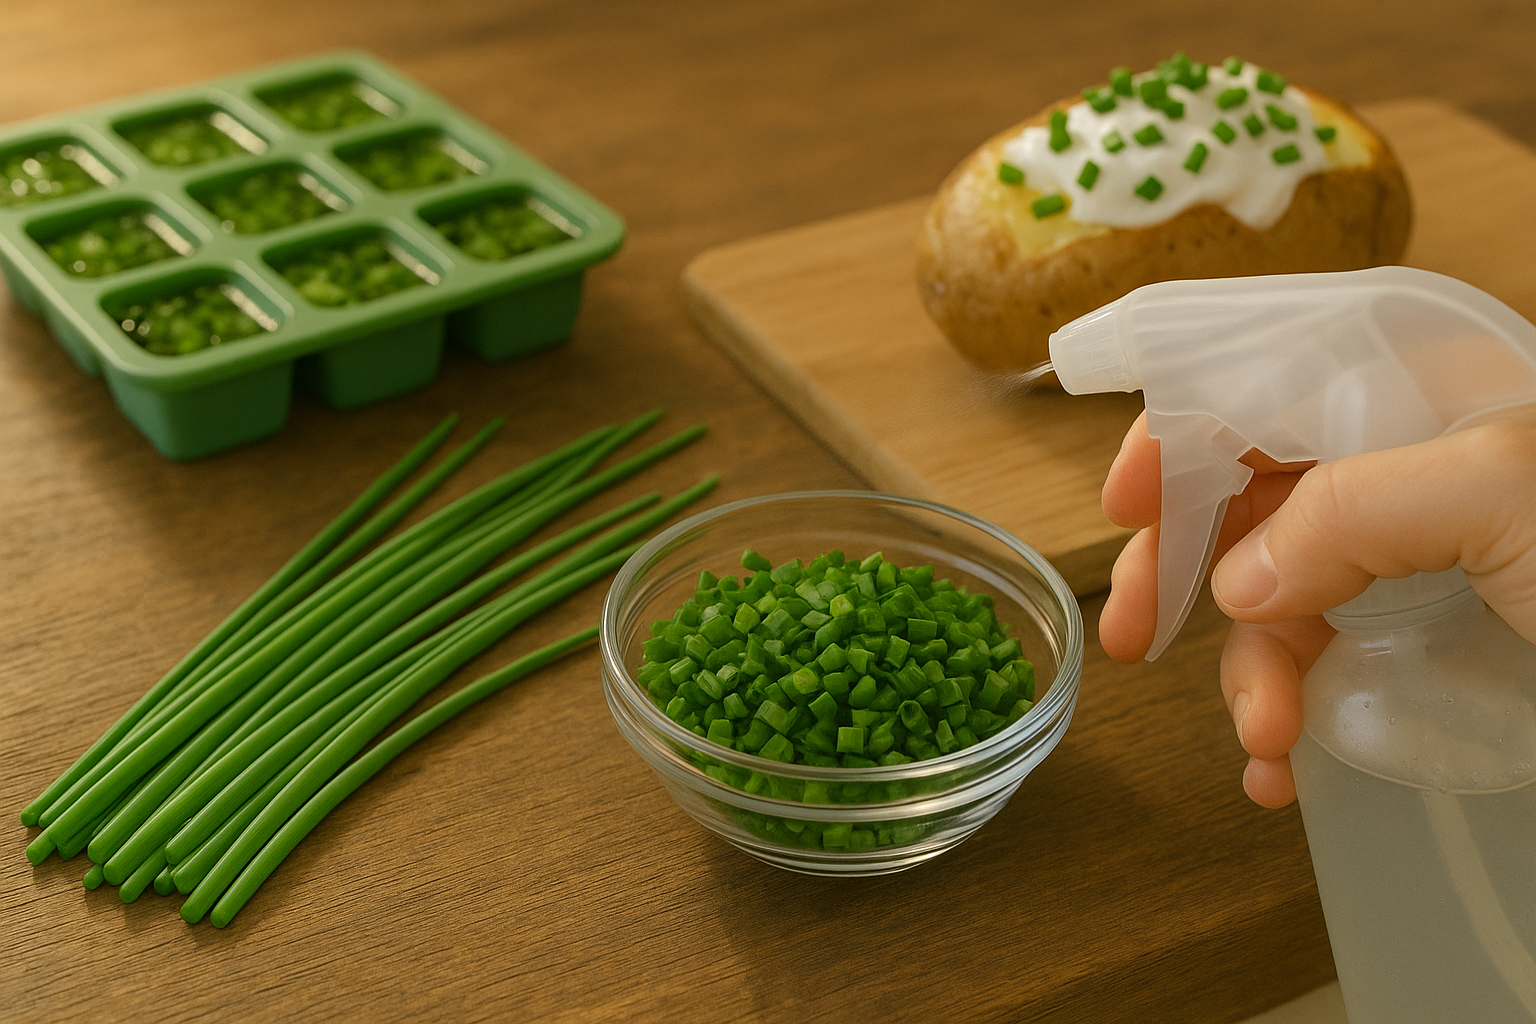
When it comes to storage, freshly picked chives can last up to a week if wrapped loosely in a damp paper towel and placed in a resealable bag in the fridge. For longer storage, you can chop and freeze chives in ice cube trays with a bit of water or oil, instantly ready to toss into soups and sauces. Drying is another option: spread washed chive stems on a baking sheet and dry them in the oven on low heat or use a dehydrator, then crumble and store in airtight containers.
Chives shine in the kitchen—sprinkle them over baked potatoes, blend into cream cheese for a flavorful spread, or stir fresh snips into scrambled eggs and salads. Add chives at the end of cooking to preserve their delicate onion-like taste. Their subtle flavor also pairs beautifully with fish dishes, dips, and compound butters—there’s no shortage of delicious ways to use this easy-to-grow herb right from your backyard or windowsill!