Introduction to Dividing Comfrey Plants
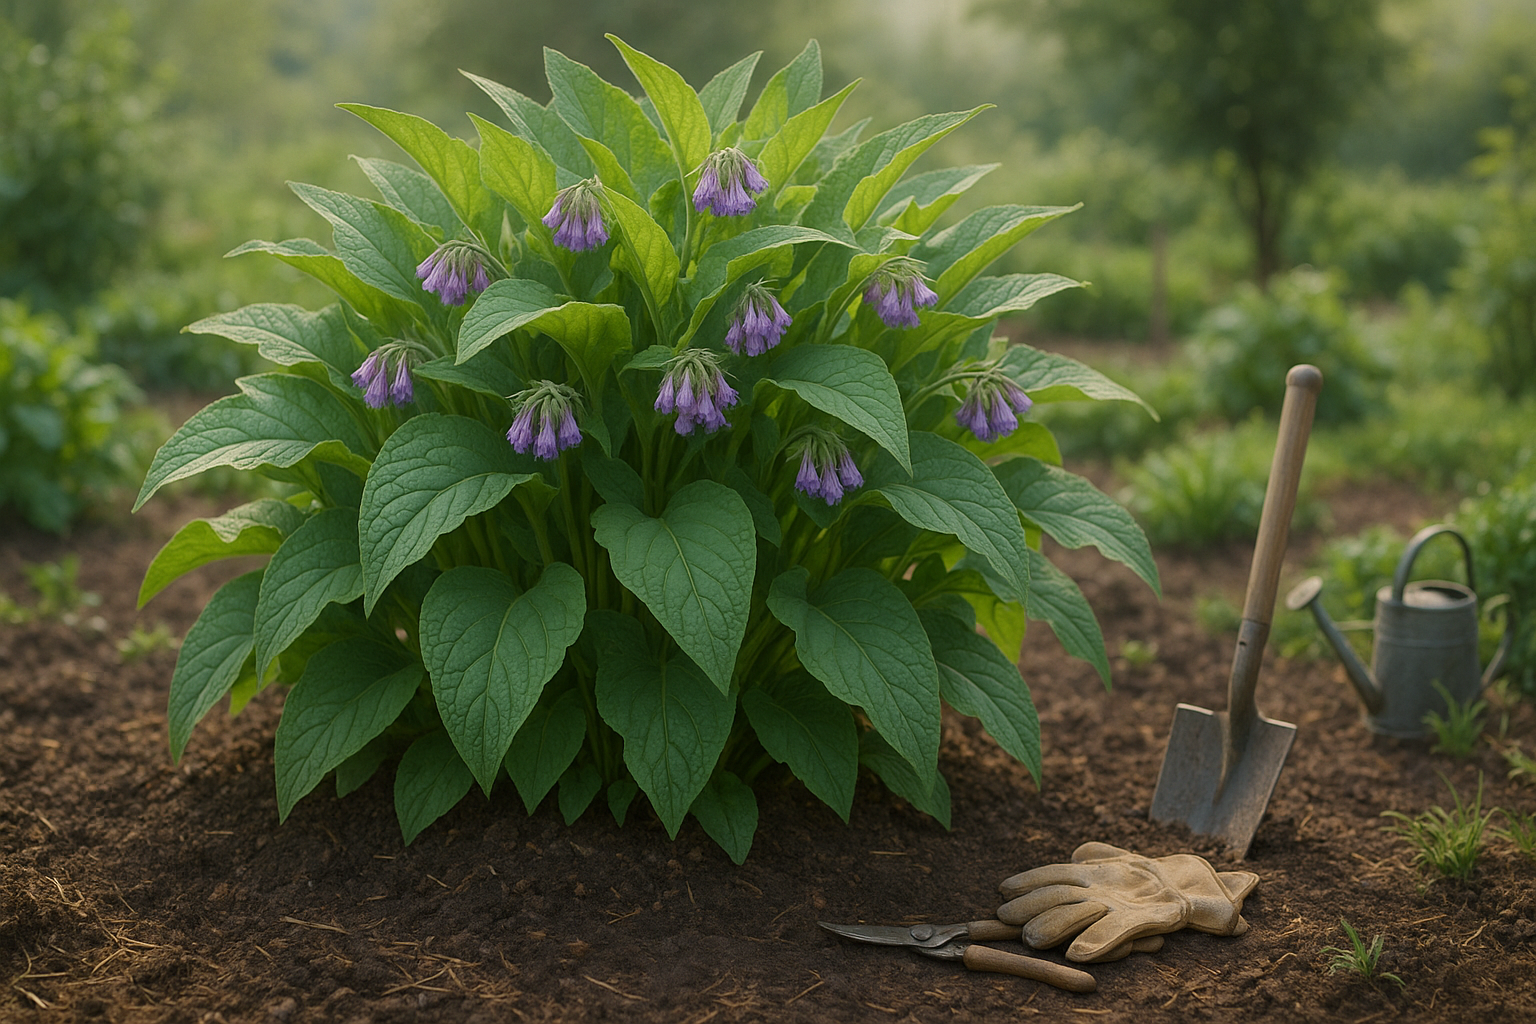
Dividing comfrey is a simple yet effective way to rejuvenate your garden and multiply one of nature’s most versatile herbs. Comfrey, known for its deep roots and rapid growth, is prized by gardeners for its ability to enrich soil, produce nutrient-packed mulch, and attract pollinators.
Over time, even the hardiest comfrey clumps can become crowded, making the plants less productive. That’s where dividing comfrey comes in: splitting mature clumps not only encourages vigorous new growth but also gives you extra plants to establish in other areas or share with fellow gardeners.
Whether you’re a home gardener with an overgrown patch or a permaculture enthusiast looking to expand your supply, dividing comfrey can be a game-changer. In this article, we’ll cover the why and when behind dividing comfrey, what tools you’ll need, and step-by-step instructions to ensure success.
You’ll learn tips for choosing the right time of year, how to handle roots with care, and ways to keep new divisions healthy. If you’re ready to make the most out of your comfrey, read on for a complete guide to dividing this invaluable herbal ally.
When and Why Should You Divide Comfrey?
Dividing comfrey is best done in early spring, just as new shoots appear, or in fall before the plant goes dormant. These times minimize stress and give the divided sections the best chance to establish.
You’ll know your comfrey is ready to be split if it shows signs like crowded, tangled clumps, noticeably slow growth, or a dead, sparse center. These symptoms mean the roots and crown are competing for space and nutrients, which can stunt the whole plant.
By dividing, you not only encourage healthier, lusher growth, but you also get new plants to share or transplant elsewhere in your garden. It’s a practical way to manage garden congestion and make the most of comfrey’s soil-improving qualities.
However, avoid dividing very young plants under two years old or any plant that looks stressed or diseased, as these may not recover well from the shock. Healthy, mature comfrey will bounce back quickly after division, helping you keep your patch flourishing for years to come.
What You’ll Need
Before you start dividing your plants, gather the right tools: a sturdy spade or garden fork for digging up roots, a sharp knife for clean cuts, and a pair of gardening gloves to protect your hands. Some plants, like certain perennials, can cause skin irritation, so wearing gloves and long sleeves is a smart move.
You’ll also want some compost on hand to amend the soil and help divisions settle in quickly. Begin by watering the plant a day before you plan to divide—it lessens transplant shock and keeps the soil easier to work with. Make sure your tools are clean and sharp to prevent spreading disease and to make slicing through roots easier.
If you’re propagating by division, prep new planting sites ahead of time by loosening the soil and mixing in compost or organic matter. This ensures each new section has the right environment to thrive straight away. Having your tools, protective gear, and planting areas ready makes the process smoother, more efficient, and helps your plants recover and grow strong.
Step-by-Step Guide
To start dividing your comfrey plants, use a spade or garden fork to carefully lift the entire clump from the ground. Dig wide and deep enough to get most of the root system out in one piece, which helps prevent unnecessary breakage.
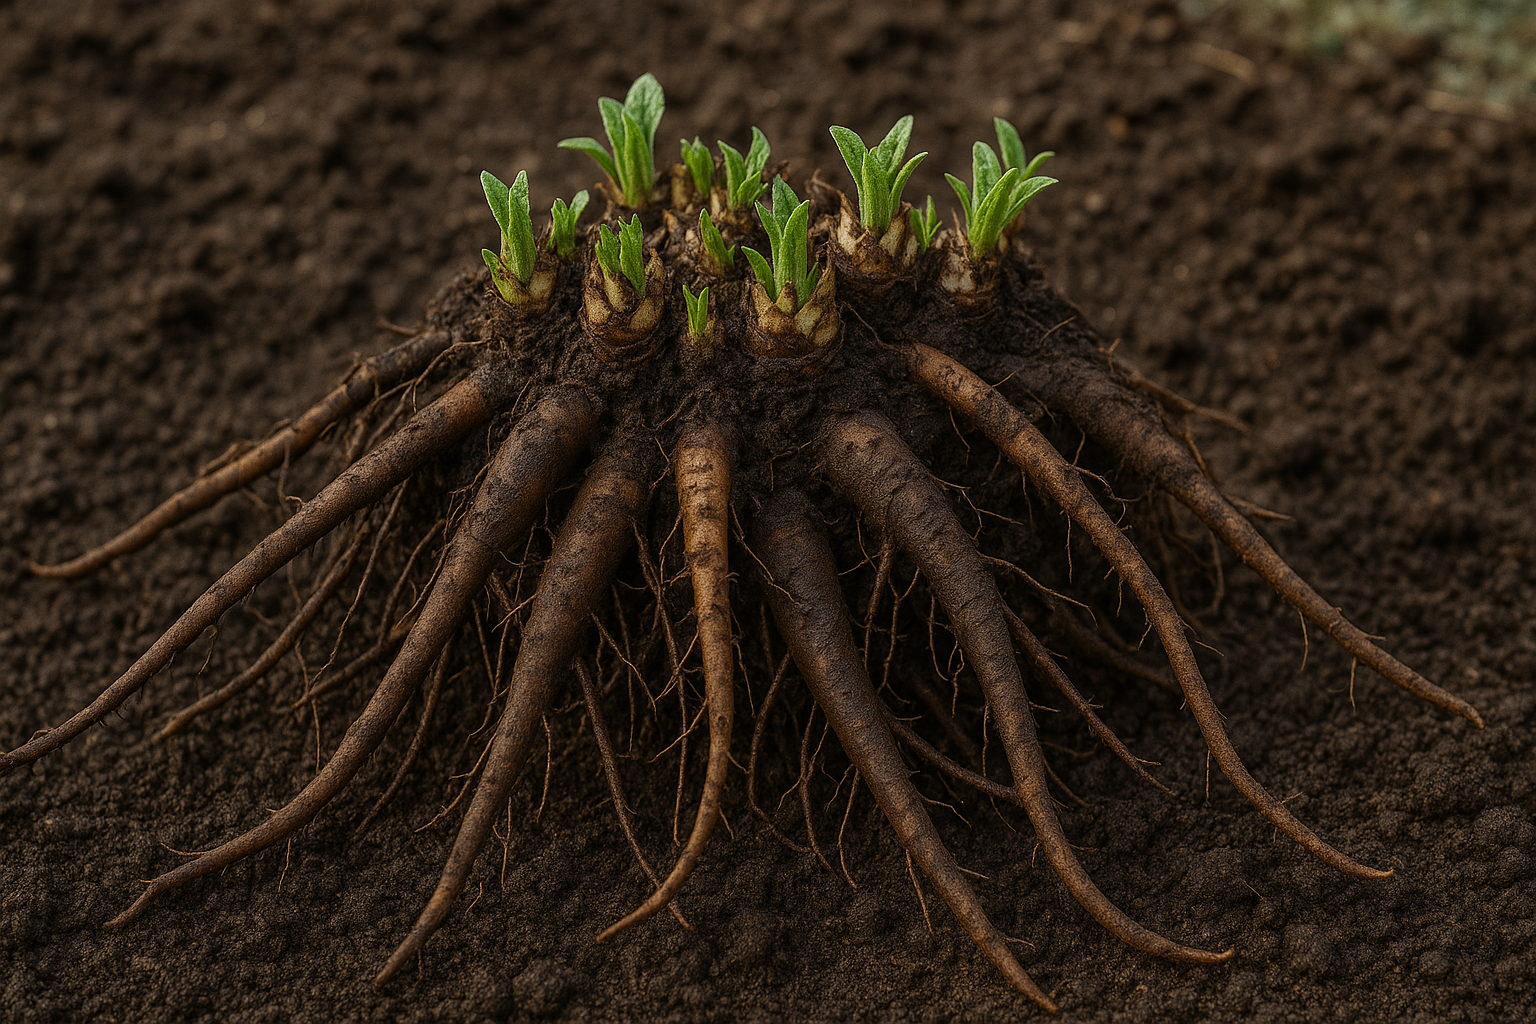
Once lifted, gently shake off any loose soil to expose the roots—this makes it easier to see where the plant naturally wants to split. Look for points where roots and shoots are already forming separate crowns or clusters; these are your best spots for division.
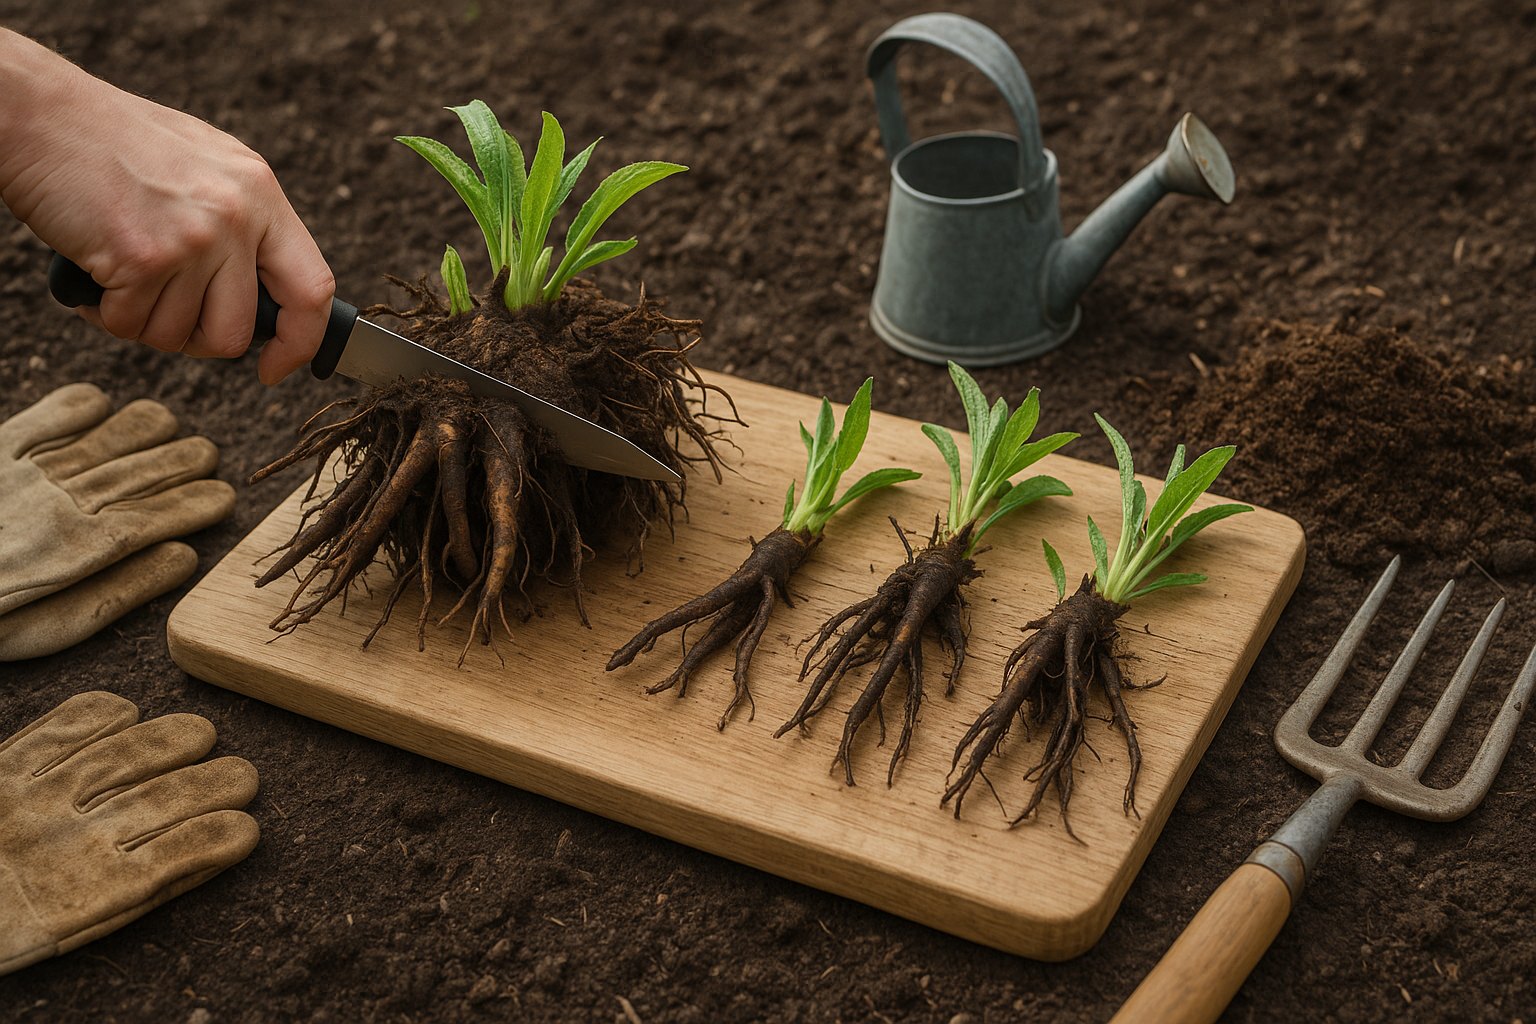
With a clean, sharp knife or garden secateurs, cut through the roots and rhizomes, aiming to preserve at least one healthy shoot or bud and a generous piece of root for each new section. Try to minimize slicing directly through large, healthy roots; instead, follow the natural divisions as much as possible.
Each division should have several inches of healthy root and at least one visible growth point. Discard any sections that are mushy, diseased, or dried out to avoid spreading problems.
If you’re working with comfrey grown in pots, tip the plant out gently and loosen the roots. You might need to tease apart densely packed roots by hand before cutting, but the process is the same: look for natural splits, keep vigorous sections, and be gentle.
Larger divisions will establish and flower more quickly, but smaller pieces can also grow if they have a bit of root and a bud. Plant your divisions promptly for best results.
Replanting and Caring for New Comfrey Divisions
When replanting new comfrey divisions, dig a hole deep enough so the crown sits just below the surface, with the top of the root about 2 inches beneath the soil. Space each division at least 2 feet apart to allow for the plant’s rapid spread and lush foliage.
After planting, apply a 2- to 3-inch layer of organic mulch such as straw or shredded leaves to help retain moisture and suppress weeds. Water thoroughly to settle the soil, and keep the area consistently moist for the first few weeks, but avoid waterlogging—comfrey roots need oxygen, especially early on.
If planting during hot or sunny weather, provide temporary shade using floating row covers or light garden fabric for a few days to reduce transplant stress.
Watch for symptoms of transplant shock like wilted leaves, and monitor for pests such as slugs and occasional fungal leaf spots. Remove any visibly diseased or damaged leaves and discourage pests by keeping the area tidy.
New comfrey divisions often show growth within two to three weeks if kept moist and protected, but hold off on harvesting leaves until the following season to allow vigorous root establishment and strong, healthy plants for years to come.
Common Mistakes and Troubleshooting Tips
One common mistake when dividing plants is doing it at the wrong time—always check if your plant prefers spring or fall division to avoid unnecessary stress. Root damage is another frequent error; use clean, sharp tools and handle roots gently to prevent breakage.
After dividing, neglecting aftercare like proper watering and shading often leads to wilting or slow growth. If your new divisions are wilting, give them a deep drink, keep them out of harsh sunlight, and hold off on fertilizing until you see new growth.
Poor growth might signal compacted soil or insufficient light; try loosening the soil and moving the plant to a brighter spot. Root rot from overwatering is a big risk—make sure pots or garden beds have good drainage, and allow the top inch of soil to dry out before watering again.
Regularly check leaves and roots so you can spot and fix problems early.
Summary and Next Steps
Dividing comfrey plants is easy when you time it right, carefully separate the roots, and provide proper aftercare. Whether you’re aiming for a healthier garden or simply want to multiply your comfrey patch, this method is both reliable and rewarding.
Don’t hesitate to try dividing your own comfrey—just remember to water well and keep an eye on your new plants as they settle in.
Ready to get more out of your comfrey? Check out our other articles on using comfrey in the garden, companion planting tips, and how to supercharge your compost pile with comfrey leaves.