Introduction to Growing Bell Peppers
Commercial bell pepper growing has become an increasingly attractive endeavor for both new and seasoned farmers, thanks to the crop’s broad appeal and robust demand. Bell peppers are a mainstay in home gardens, cherished for their vibrant colors, crisp texture, and unmistakable flavor. Whether tossed fresh into salads, sautéed for stir-fries, or roasted as a sweet side dish, their culinary versatility makes them a top choice in kitchens around the world.
Beyond taste, bell peppers boast impressive nutritional credentials, brimming with vitamin C, antioxidants, and essential minerals that contribute to a healthy diet. If you’re considering growing bell peppers for market or a CSA, you’re tapping into a crop that’s not only profitable but also valued by health-conscious consumers.
In this article, we’ll explore the essentials of commercial production: choosing the right varieties, optimizing soil and climate conditions, managing pests and diseases, and ensuring a bountiful harvest. We’ll also share real-world tips for scaling from a backyard patch to a market-ready enterprise. Whether you’re a small-scale grower supplying your local community or eyeing larger markets, understanding the nuances of commercial bell pepper growing is a key step toward a thriving, sustainable operation.
Choosing the Right Bell Pepper Varieties & Requirements
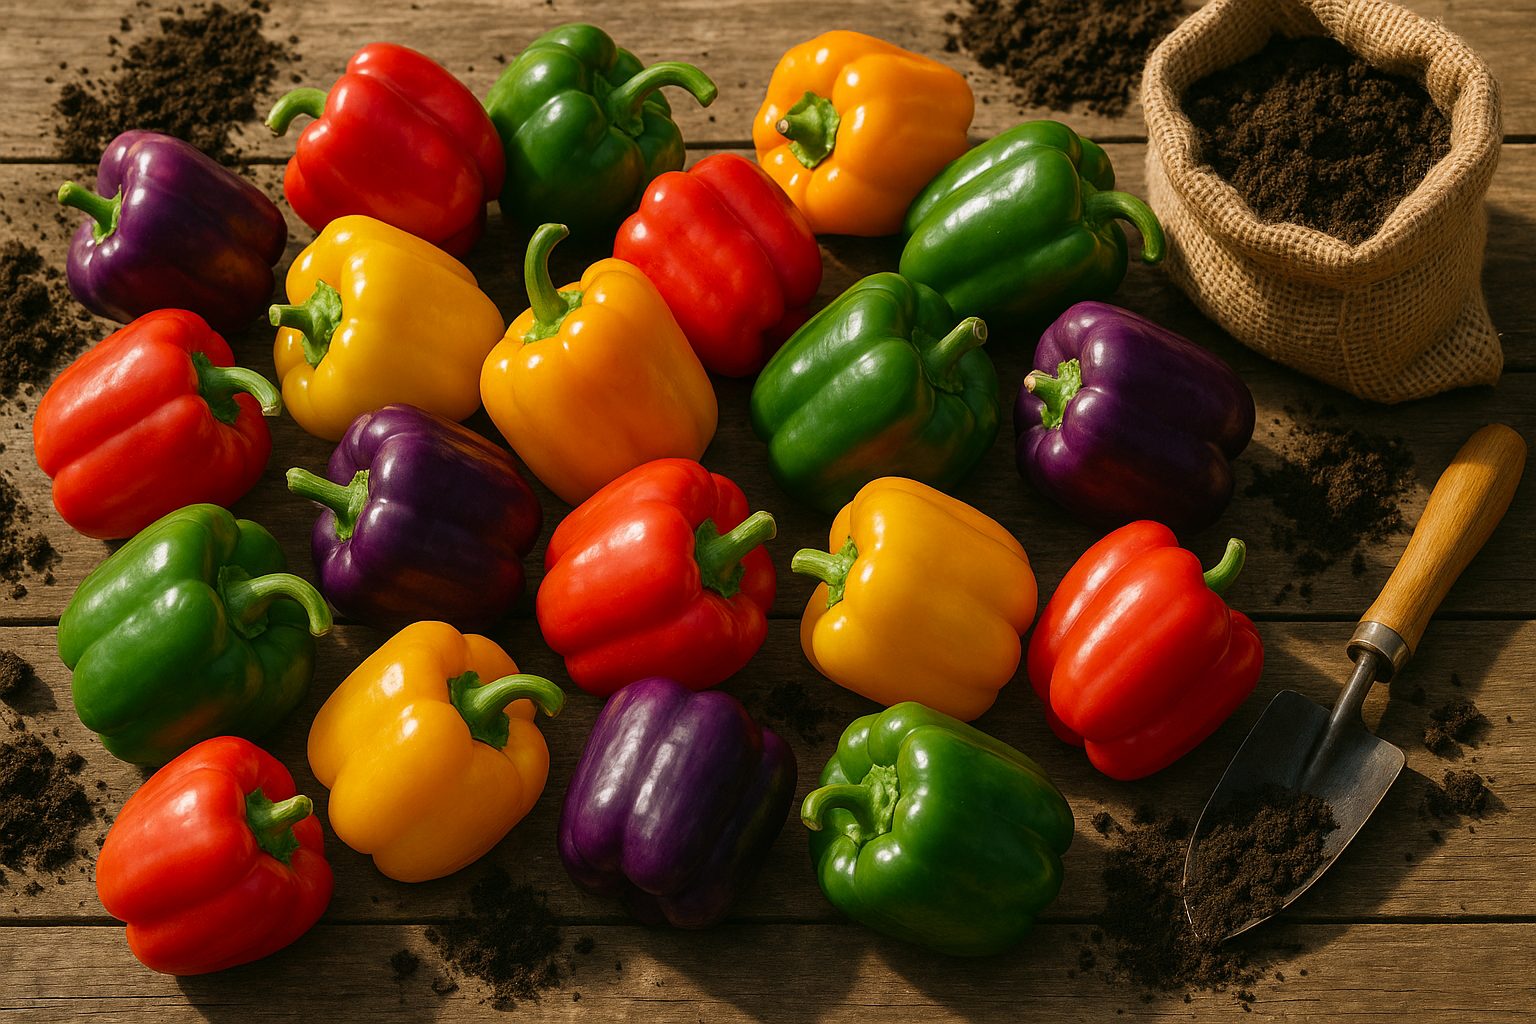
When selecting bell pepper varieties for your garden, consider both taste and appearance. Classic green bell peppers, like California Wonder, turn red when fully ripe, offering a sweet, vibrant flavor.
If you prefer crunch with a hint of fruitiness, try yellow varieties such as Golden Bell or orange peppers like Orange Sun—both brighten up salads and stir-fries. Purple bell peppers, like Purple Beauty, lend a unique hue but maintain that familiar pepper crispness.
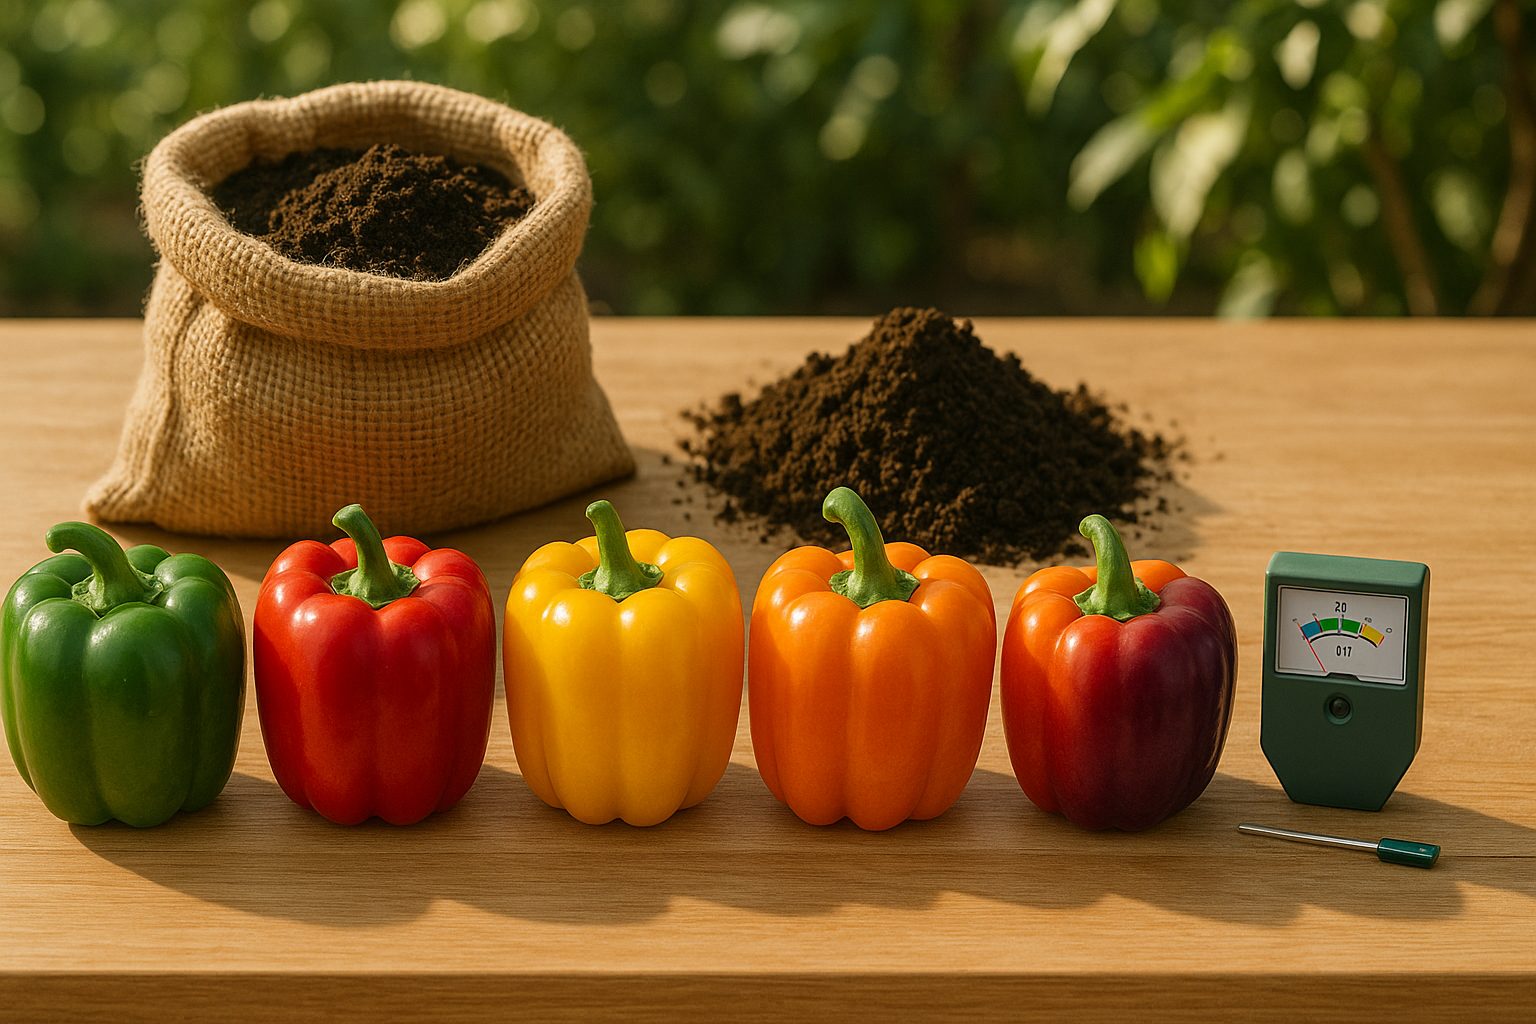
For climate compatibility, bell peppers thrive best in warm, frost-free environments with daytime temperatures between 70°F and 85°F. They need at least six hours of direct sunlight each day, so choose a spot that gets plenty of light. Soil should be well-draining, high in organic matter, and have a pH range between 6.0 and 6.8 for optimal nutrient uptake.
In cooler or short-season regions, early-producing and disease-resistant options such as Ace or Islander deliver reliable results, maturing quickly even when summers are brief. Gardeners in humid or disease-prone areas should look for varieties like Revolution or King Arthur, which resist common issues like tobacco mosaic virus and bacterial leaf spot.
For healthier growth:
- Mulch around the base to retain moisture and suppress weeds.
- Avoid overwatering to prevent root rot.
- Rotate peppers to a new spot each year to reduce disease risk.
With the right variety and growing conditions, it’s easy to enjoy a colorful, flavorful pepper harvest suited to your climate.
How and Where to Plant Bell Peppers
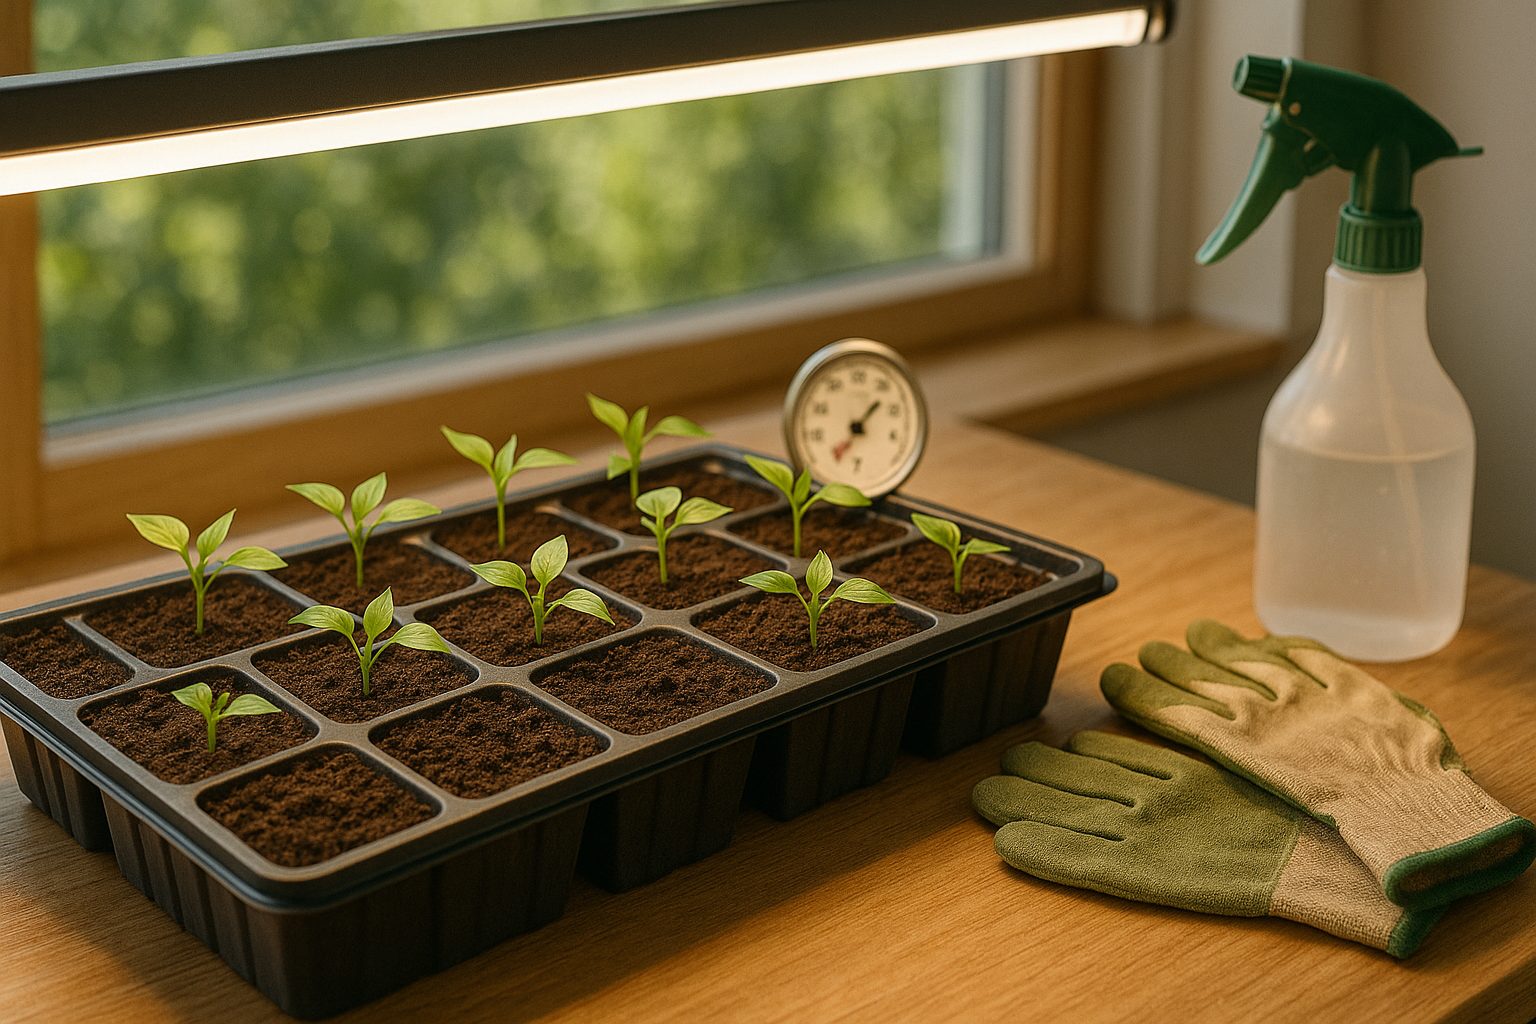
To successfully grow bell peppers, start seeds indoors about 8–10 weeks before your area’s average last frost date. Fill seed trays or small pots with a seed-starting mix, then plant seeds about 1/4 inch deep, keeping the soil moist and warm—70–80°F is ideal. Place trays near a sunny window or under grow lights, and expect seedlings to sprout in 7–14 days.
As your plants grow, gently turn the trays to encourage even growth and transplant seedlings into larger pots when they have two sets of true leaves. About two weeks after your last expected frost, begin hardening off young plants by setting them outside for a few hours each day to acclimate them to outdoor conditions.
Choosing the Right Spot for Outdoor Planting
For outdoor planting, pick a spot that gets at least 6–8 hours of sunlight daily—bell peppers thrive in raised beds, large containers, or well-drained garden soil. Prepare your soil by mixing in compost or aged manure; peppers prefer loose, slightly acidic to neutral soil (pH 6.2–7.0).
Planting and Care Tips
- When transplanting, space plants 18–24 inches apart in rows 24–36 inches apart.
- Bury them slightly deeper than they were in the pots.
- Water thoroughly after planting.
- Consider adding mulch to keep the soil moist and suppress weeds.
- Avoid planting in spots where other nightshades (tomatoes, eggplant) recently grew to prevent soil-borne diseases.
Following these steps will give your bell peppers the best start for a plentiful harvest.
Caring for Your Bell Pepper Plants
Proper care for your bell pepper plants starts with mastering your watering routine—give them a deep soak once or twice a week rather than light daily sprinkles. This encourages strong roots and prevents soggy soil, which is the main culprit behind root rot. Use well-draining soil, and let the top inch dry out before watering again.
To fend off blossom end rot, avoid letting the soil dry out completely and keep your watering consistent, especially during fruiting. Fertilizing is just as important: start with a balanced fertilizer (like 10-10-10) at planting, then switch to a lower-nitrogen mix or tomato fertilizer once flowers appear. High nitrogen can boost leaves but limit fruit production. Reapply every four weeks, following package directions for the right amount.
Lay down a two-inch layer of organic mulch, such as straw or shredded leaves, to retain moisture and keep roots cool; this also reduces weeds and stabilizes soil temperature.
Bell pepper stems can get heavy with fruit—stake or cage plants early to prevent them from snapping. Lightly prune a few of the lowest leaves and any suckers along the main stems to improve airflow, which cuts down on diseases and encourages more robust fruit.
During heat waves, drape a shade cloth or use an old bedsheet over your plants for a few hours in the afternoon—peppers love warmth, but excessive heat can cause flowers to drop. If a cold snap threatens, cover the plants overnight with row covers or plastic bottles with the bottoms cut out.
By staying attentive to these details, you’ll set your bell peppers up for a bountiful harvest all season long.
Common Bell Pepper Problems & Solutions
Growing healthy bell peppers can be tricky when pests and diseases show up. Aphids, tiny green bugs clustering on leaves, can be blasted away with a strong water spray or treated with insecticidal soap. Cutworms, which sever young stems at soil level, can be deterred by placing collars around seedlings.
Fungal diseases such as blight and powdery mildew often thrive in wet, crowded conditions, so space plants properly and water at the soil line to avoid leaf moisture. For mild cases, spray with a baking soda and water solution or opt for fungicides if the issue persists.
Yellowing leaves often indicate overwatering or a nutrient deficiency—let soil dry between waterings and consider adding a balanced, slow-release fertilizer. Poor fruit set can be due to extreme temperatures or insufficient pollination; try lightly shaking plants to help pollen move, or plant flowers nearby to attract pollinating insects.
Sunscald, which appears as pale patches on fruit, can be prevented by allowing sufficient leaf coverage or gently shading plants with row covers during heat waves. By catching problems early and choosing targeted organic or chemical treatments, you can keep your bell peppers healthy and productive all season long.
Harvesting Bell Peppers at the Right Time
Knowing when to harvest bell peppers makes a big difference in both taste and crop yield. For optimal flavor and crunch, pick green bell peppers when they’re firm, glossy, and have reached their full size—usually about three to four inches long.
Unlike fully ripened peppers, green peppers still have a slightly bitter taste but are perfect for salads, stir-fries, or grilling. If you prefer sweeter, richly flavored peppers, wait until they turn red, yellow, orange, or even purple, depending on the variety. The deeper the color, the higher the sugar content, making them ideal for eating raw.
Use a sharp knife or garden shears to cut peppers from the plant, leaving a short stem attached to prevent damage. Avoid pulling by hand, as this can harm both the pepper and the plant.
After harvesting, regular picking encourages the plant to produce more fruit instead of putting energy into developing seeds in mature peppers. For best results, check your plants a few times a week, as new fruits mature quickly—especially in warm weather.
Remember to water consistently and feed your plants with balanced fertilizer to keep them healthy and productive all season long.
Storing and Preserving Your Peppers
To keep your peppers fresh for about a week, store them unwashed in the refrigerator’s crisper drawer. Ideally, tuck them into a paper or reusable produce bag to allow some airflow and prevent moisture buildup. Before using, wash and dry your peppers, removing the stems and seeds as you prep them for salads, stir-fries, or snacking.
If you have a bumper crop, preserving them extends their shelf life and flavor. Here are some easy methods:
- Freezing: Slice or dice peppers, spread them in a single layer on a baking sheet to keep pieces separate, freeze until solid, then transfer to airtight bags. These can be used straight from the freezer in most cooked dishes.
- Drying: Use a food dehydrator or an oven set on low to dry thin pepper strips, then store them in jars for tossing into soups or stews.
- Pickling: Slice peppers, pack into jars, and cover with a hot vinegar brine. Store in the fridge for short-term use or process for longer storage.
For surplus peppers, try making a quick pepper relish, homemade salsa, or roast and blend them into a zesty sauce for pasta and grain bowls. These methods let you enjoy your pepper harvest for months to come.