Introduction
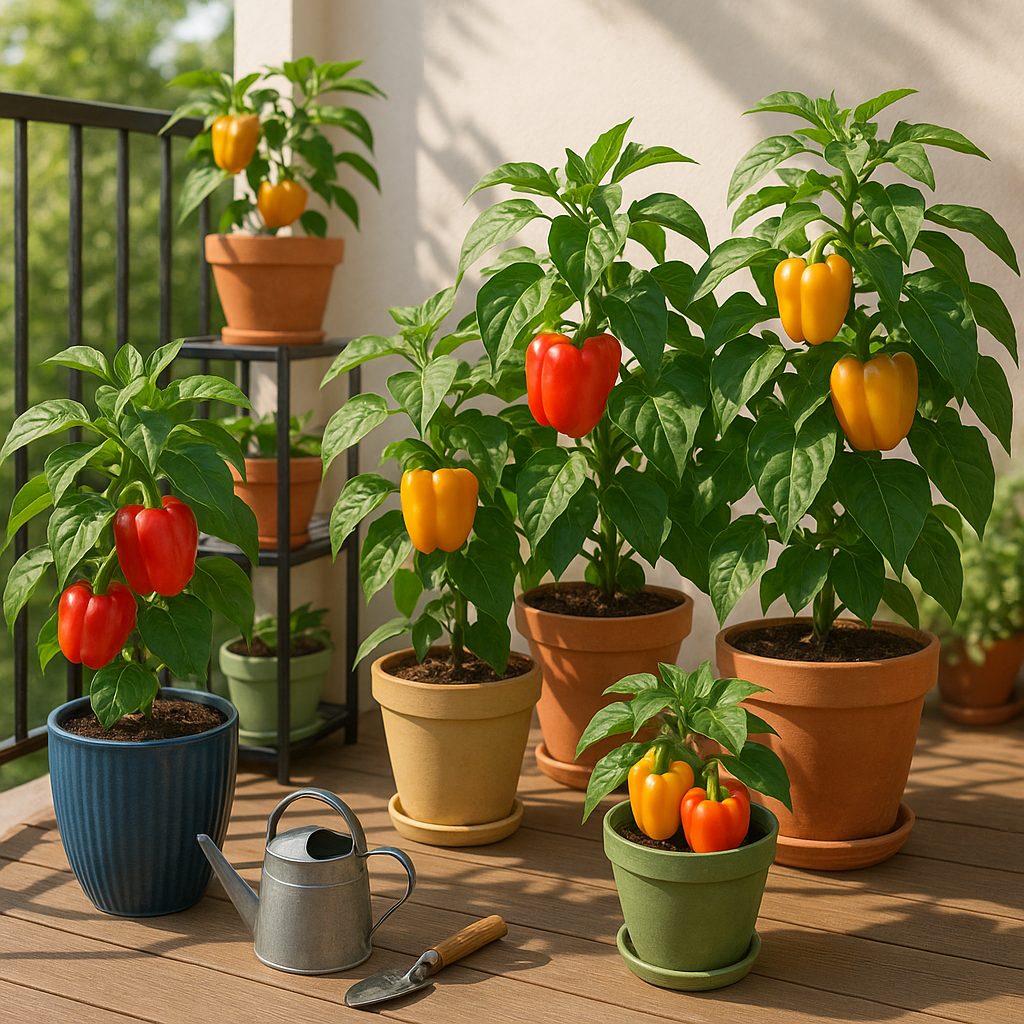
Growing bell peppers on balcony spaces isn’t just possible—it’s practical and rewarding! Whether you have a small city apartment or a modest patio, cultivating these vibrant veggies in containers brings fresh, homegrown flavor within reach. The compact footprint of container gardening means you can make use of vertical shelving or cluster pots wherever sunlight strikes.
Even better, bell peppers on a balcony benefit from easier pest management, flexible positioning for ideal sun, and less stooping or kneeling compared to ground beds. If you’ve ever wished for a low-maintenance, high-yield crop in a tight space, this is the plant for you.
The key to success lies in smart container choices, sunlight access, and consistent watering. With the right approach, anyone can harvest sweet, crunchy peppers just steps from their kitchen door. This guide will walk you through everything you need to grow healthy, productive peppers right outside your window.
Choosing the Right Container and Setup
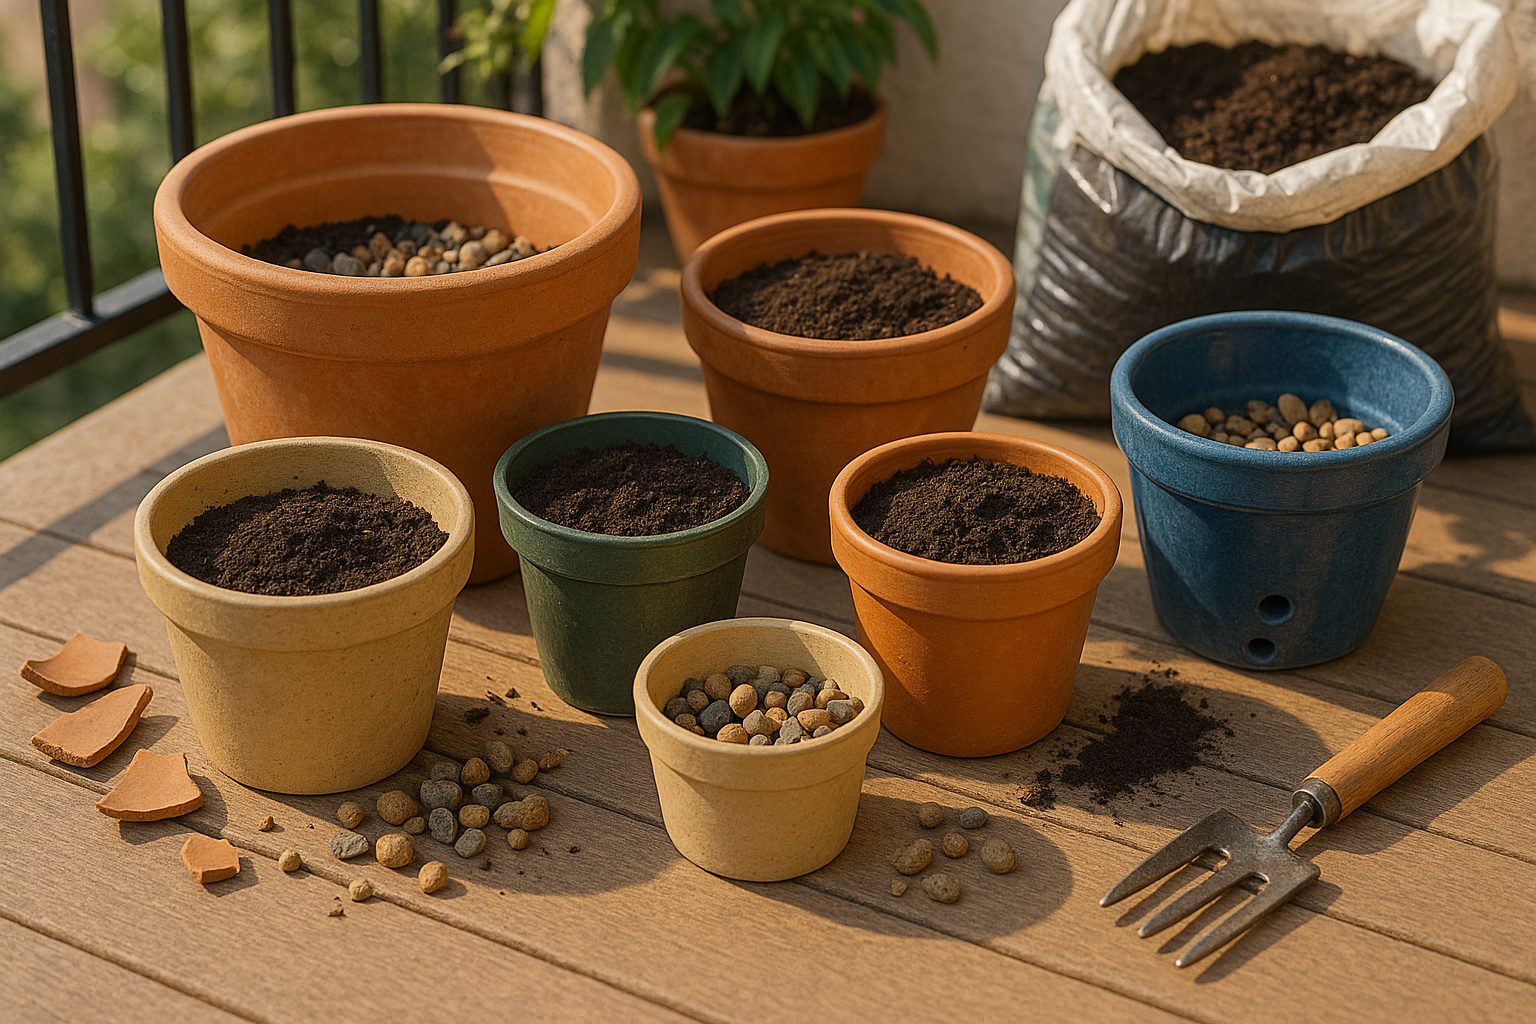
Selecting the right container is key to helping your plants thrive, especially if you want robust root systems and healthy growth. Roomy containers give roots plenty of space to spread out and access nutrients, which reduces stress and prevents stunted plants.
As a rule of thumb, pick pots that are at least 12 inches wide and deep for most vegetables or flowering plants—herbs can manage in 6-8-inch pots. Materials matter, too: plastic pots are lightweight and easy to move, ceramic or clay pots look great and provide stability, but they can be heavy and need more care in colder climates.
Whatever you pick, make sure containers have ample drainage holes to prevent waterlogged soil, which can quickly lead to root rot. Before planting, line the base of the container with a thin layer of small stones or broken pottery to improve drainage even further, then fill with a high-quality potting mix that’s loose, well-aerated, and rich in organic matter—avoid using plain garden soil, which can compact easily.
Moisten the potting mix before planting and double-check that water drains freely through the base after the first watering. This setup gives your plants the best shot at healthy growth right from the start.
Selecting and Planting Nursery Starts or Seeds
Choosing between nursery plants and seeds depends on your goals and timeline. Nursery starts are young plants already grown to a certain size, making them perfect if you want a jumpstart on the growing season or prefer instant gratification. They’re less vulnerable to pests and temperature swings but cost more upfront and offer less variety than seeds.
Seeds, meanwhile, are budget-friendly and open up a world of plant options, but require more patience and careful attention during germination.
Transplanting Nursery Starts in Containers
Begin by selecting healthy, pest-free plants. Gently loosen the plant from its nursery pot, being careful not to damage the roots. Place it at the same depth in a well-draining container filled with fresh potting mix, press the soil lightly around the roots, and water thoroughly.
Planting Seeds
Fill your container with moistened potting soil, scatter or space seeds as directed on the packet, cover them gently, and keep the soil consistently damp until sprouts appear.
Caring for Your Plants
To give your plants a head start, place containers in a sunny, sheltered spot and water in the early morning to prevent mildew. Gradually acclimate seedlings or transplants to outdoor conditions before moving them permanently outside. Protect them from sudden temperature drops with row covers or cloches if frost threatens.
Essential Growing Conditions: Light, Heat, and Support
To help your vegetable plants thrive, start with sunlight—most crops like tomatoes, peppers, and beans need a full day of sun, ideally six to eight hours, to grow strong and produce abundant fruit. Choose a spot in your garden that isn’t shaded by buildings or trees.
Warmth is just as crucial, especially early in the season. Young plants, like tomatoes and peppers, are sensitive to chilly nights and late spring frosts. To protect them, start seeds indoors about six to eight weeks before your last expected frost, or use cloches and floating row covers in the garden to trap heat and shield seedlings from the cold.
As your plants grow, don’t overlook structural support. Tall or vining varieties—think tomatoes, cucumbers, and pole beans—need stakes, cages, or trellises. Add these supports early, soon after planting, so roots aren’t disturbed later and stems aren’t bent or broken as they grow heavy with fruit.
For example, cage tomatoes right after planting or string up trellises for peas before they start twining. This preparation helps keep fruit off the ground, reduces disease, and ensures your harvest is plentiful and easy to pick.
Watering, Fertilizing, and Maintenance
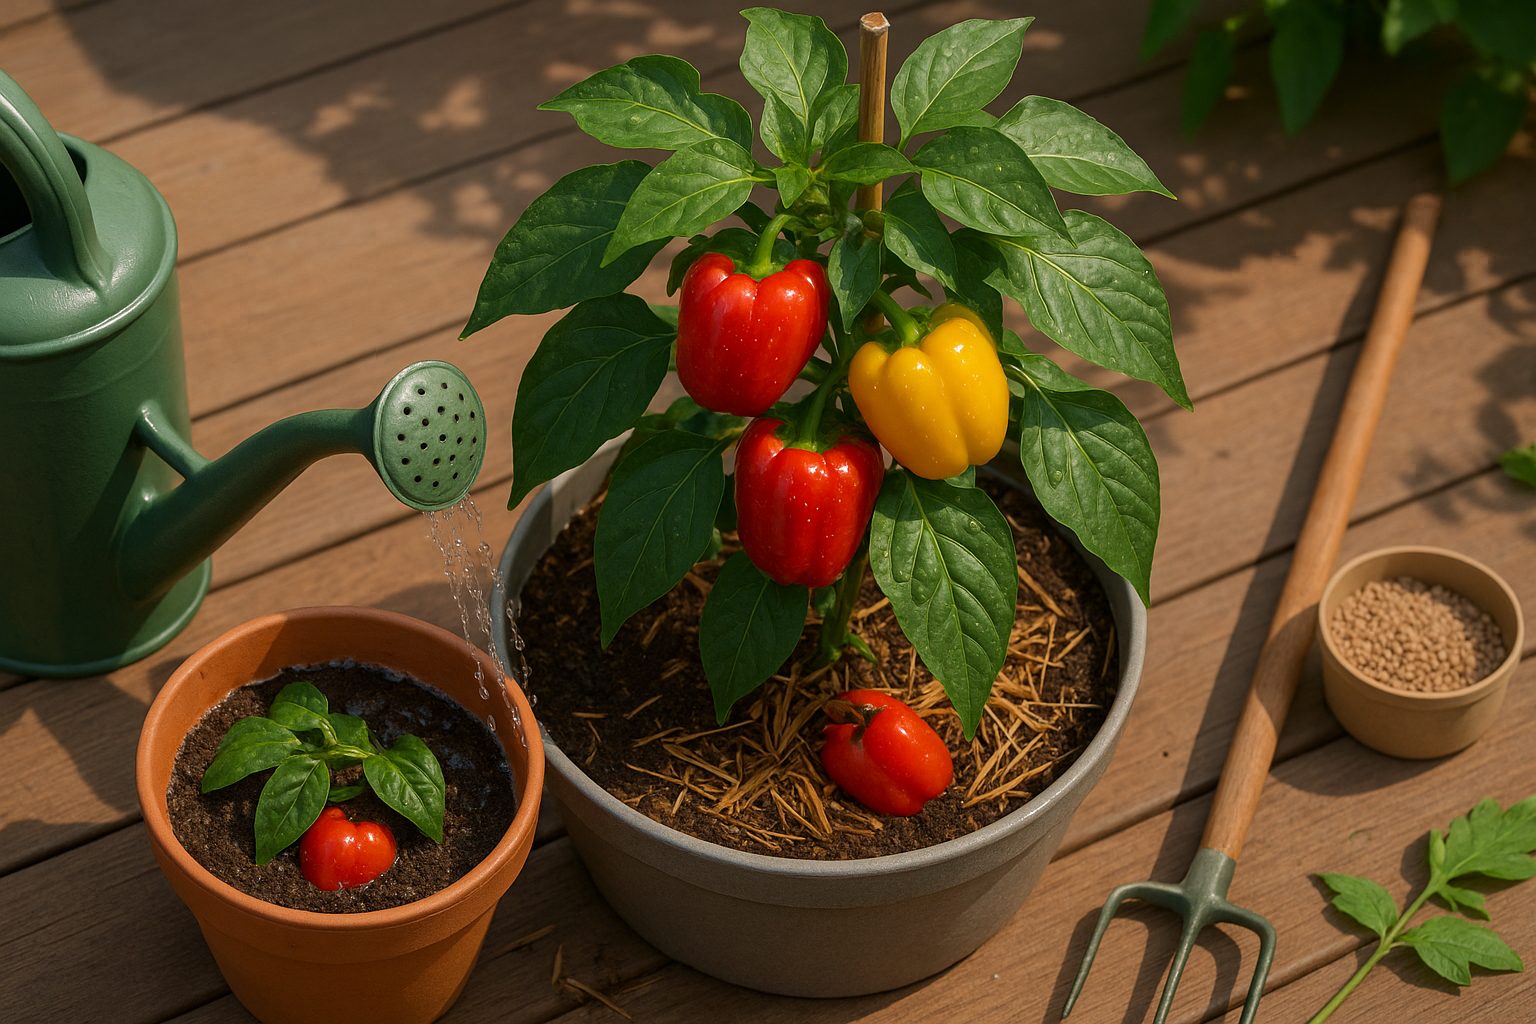
Watering your pepper plants correctly is crucial for healthy growth and a bountiful harvest. In the early seedling stage, keep the soil consistently damp but never soggy, watering lightly every 1-2 days to encourage root development. As plants mature, water deeply about 1-2 times per week, aiming for about 1-2 inches of water each session—but always adjust for weather, as hot, dry spells may require more frequent watering.
Overwatering is a common mistake and shows up as yellowing leaves, wilting despite wet soil, or even root rot, while underwatered peppers develop dry, curled leaves and sluggish growth. Ensuring good drainage with loose, well-amended soil or raised beds helps prevent waterlogging.
Fertilize peppers with a balanced fertilizer (such as 10-10-10) when transplanting, then switch to a low-nitrogen, high-potassium formula once budding starts, feeding every 3-4 weeks for optimal blooms and fruit set. Always follow product instructions and avoid overfeeding, which can result in leafy plants with few peppers.
Routine maintenance also makes a difference: apply 2-3 inches of organic mulch like straw or wood chips to retain moisture, discourage weeds, and regulate soil temperature. Regularly inspect the soil and adjust your care as needed—check pH (ideally 6.2–7.0), remove debris, and top up mulch mid-season. These simple steps keep pepper plants thriving and minimize common setbacks throughout the growing season.
Pruning, Pest Management, and Troubleshooting
Pruning is essential for promoting healthy, high-yield plants and improving airflow, which helps prevent mold and disease. Start by removing dead or yellowing leaves, and use clean, sharp shears to trim away crowded inner branches—this lets light and air reach the lower parts of the plant.
For bushy plants like tomatoes or peppers, pinch off suckers that form between the main stem and branches.
Common garden pests such as aphids, spider mites, and caterpillars can be managed organically by spraying with a homemade solution of water and mild soap, or by introducing beneficial insects like ladybugs. To combat fungal diseases like powdery mildew, spray leaves with diluted neem oil or a mix of baking soda and water.
If you notice stunted growth, check for signs of overwatering—such as yellow, droopy leaves—and let the soil dry before the next watering. For nutrient deficiencies, look for symptoms like pale leaves (nitrogen deficiency) or purple stems (phosphorus deficiency) and adjust your organic fertilizer accordingly.
Pay attention to your plants daily—catching problems early and acting quickly is key to a thriving, productive garden.
Harvesting Bell Peppers: Timing and Techniques
Knowing when to harvest bell peppers is key to getting the best flavor and yielding a healthy crop. Peppers are usually ready when they have reached a full, glossy color—whether that’s green, red, yellow, or another variety-specific shade—and feel firm to the touch.
If you prefer milder peppers, pick them when they’re green; for sweeter, more nutrient-rich fruits, wait until they develop their final color.
To avoid damaging your plants, use garden shears or a sharp knife to cut peppers off the vine, leaving a short section of stem attached. Gently support the branch with one hand to prevent snapping or bruising.
Don’t forget to routinely check the plants and harvest ripe peppers as soon as they’re ready; this encourages more blooms and fruit throughout the season. Removing mature fruits promptly frees up plant energy for new growth, keeping your pepper harvests coming longer.
Conclusion
Growing bell peppers in containers is straightforward and rewarding, even for beginners. By choosing the right pots, quality soil, and a sunny spot, you’ll be well on your way to harvesting fresh, colorful peppers right at home. This hands-on approach not only saves space but also gives you more control over your plants’ health.
Don’t hesitate—give container gardening a try and see the delicious results for yourself! We’d love to hear how your bell pepper garden grows, so share your experiences in the comments. For more tips and inspiration, explore reputable gardening blogs or your local extension service’s resources.