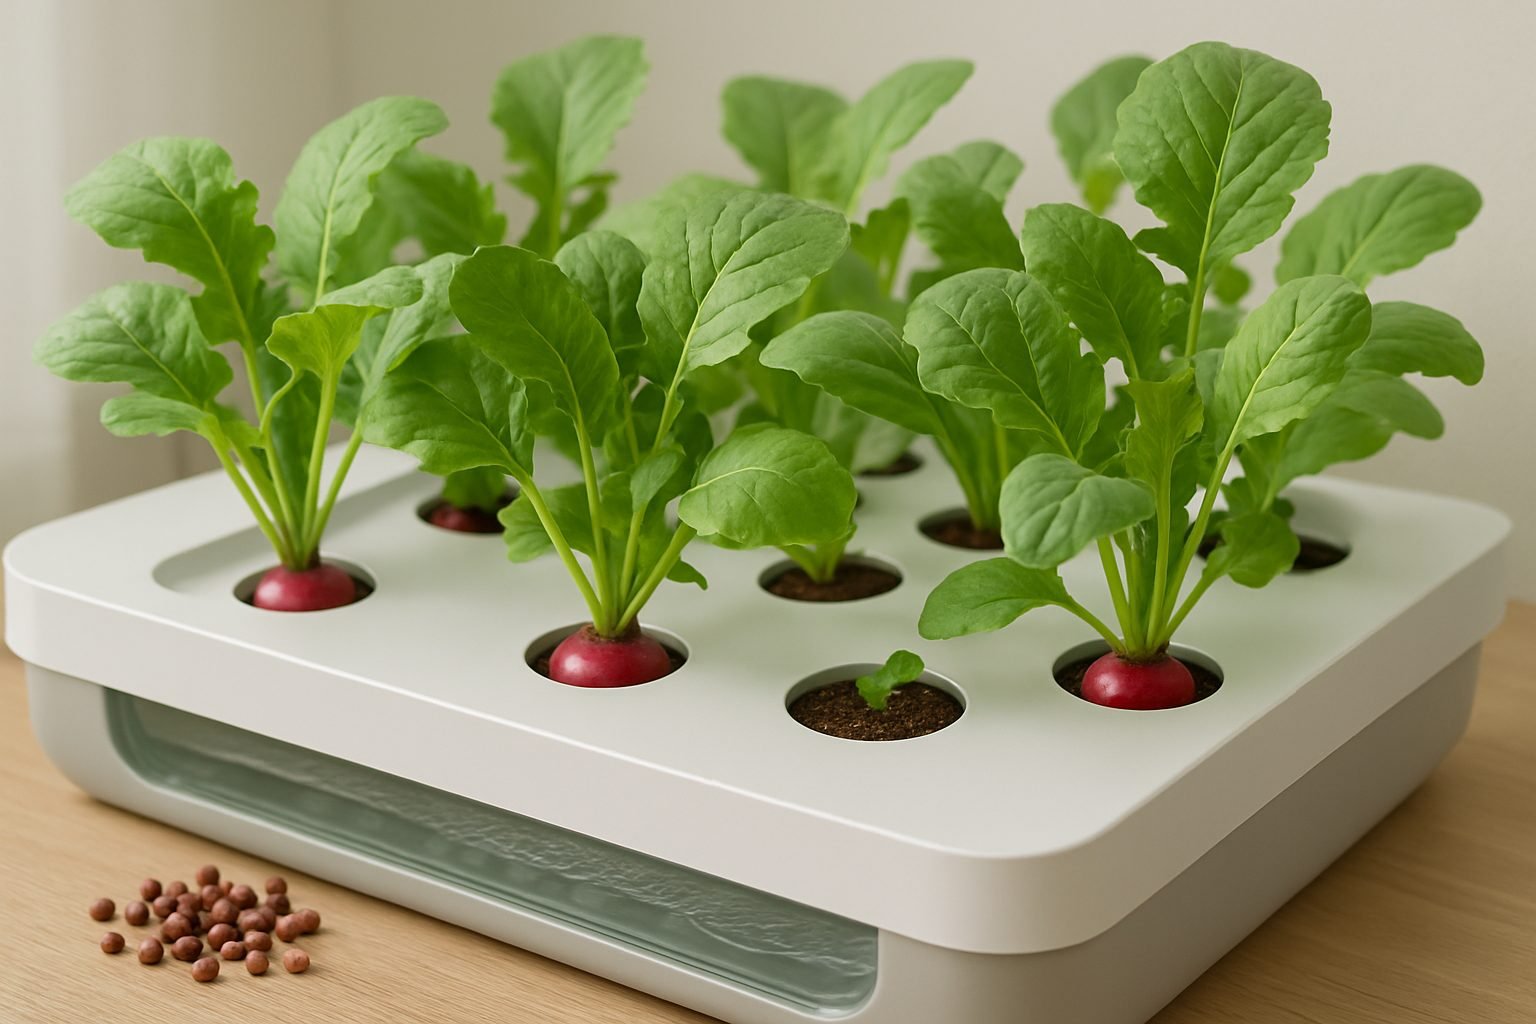
Introduction to Hydroponic Radishes
Hydroponic radish cultivation is quickly gaining popularity among gardening enthusiasts, and for good reason. Hydroponic gardening uses a nutrient-rich water solution instead of soil, allowing plants to absorb essential minerals more efficiently while reducing the risk of pests and diseases often found in traditional gardens.
Radishes are an excellent crop for hydroponic beginners because they grow rapidly—often maturing in just three to four weeks—and are remarkably resilient when given the right care. Their compact size makes them ideal for small indoor spaces or tight urban setups. Plus, since there’s no soil involved, you won’t have to deal with the mess or weeds usually associated with root vegetables.
Imagine harvesting crisp, flavorful radishes from a system you can maintain on a sunny windowsill or in a converted closet! In this comprehensive hydroponic radish growing guide, you’ll learn why this method outpaces traditional approaches in speed, cleanliness, and space efficiency. We’ll walk through setting up your hydroponic system, selecting varieties, providing the right nutrients, troubleshooting common issues, and finally, harvesting your homegrown radishes—ensuring even first-time growers can enjoy crisp, fresh results.
Whether you’re seeking a fun project or aiming to boost your kitchen’s supply of healthy veggies, hydroponic radishes offer a rewarding place to start.
Choosing the Right Radish Variety and Hydroponic System
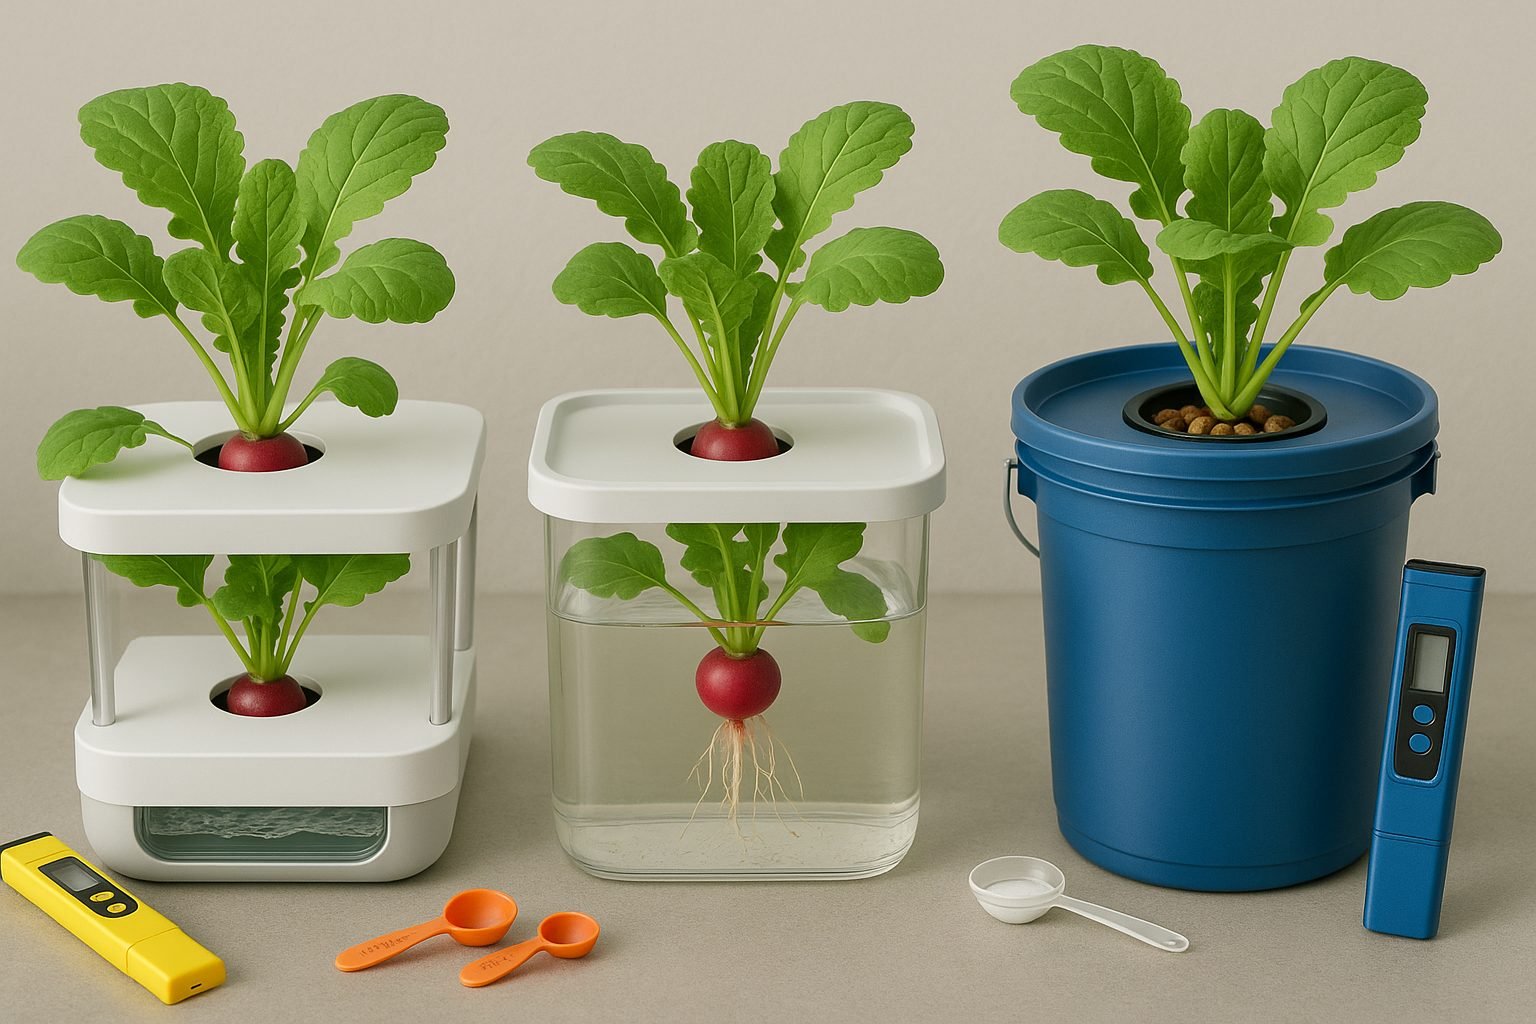
Selecting the right radish variety is key to successful hydroponic gardening, especially if you’re limited on space or want quick results. Fast-maturing types like Cherry Belle and French Breakfast are popular because they can go from seed to harvest in as little as 22 to 30 days, making them perfect for beginners and those looking for speedy yields.
When it comes to hydroponic systems, there are a few user-friendly options to consider:
- Nutrient Film Technique (NFT): Works well for radishes by providing a steady flow of nutrients to the roots without waterlogging.
- Kratky Method: A great choice for small, passive systems—requiring no pumps or electricity—ideal for desktop or windowsill setups.
- Deep Water Culture (DWC): Offers constant root access to oxygenated water, encouraging rapid growth and plump roots, perfect for larger yields.
Whichever system you pick, opt for containers that are at least 3-4 inches deep to give radish bulbs room to develop fully, and space plants about 2-3 inches apart to avoid crowding.
For small or indoor spaces, consider stacking vertical systems or using compact bins with net pots that fit on shelves or countertops. Also, be sure to select opaque or light-blocking containers to prevent algae buildup, which can compete with your radishes for nutrients. These little tweaks will keep your hydroponic garden tidy, productive, and perfectly suited to your available space.
Step-by-Step Guide: Planting and Caring for Hydroponic Radishes
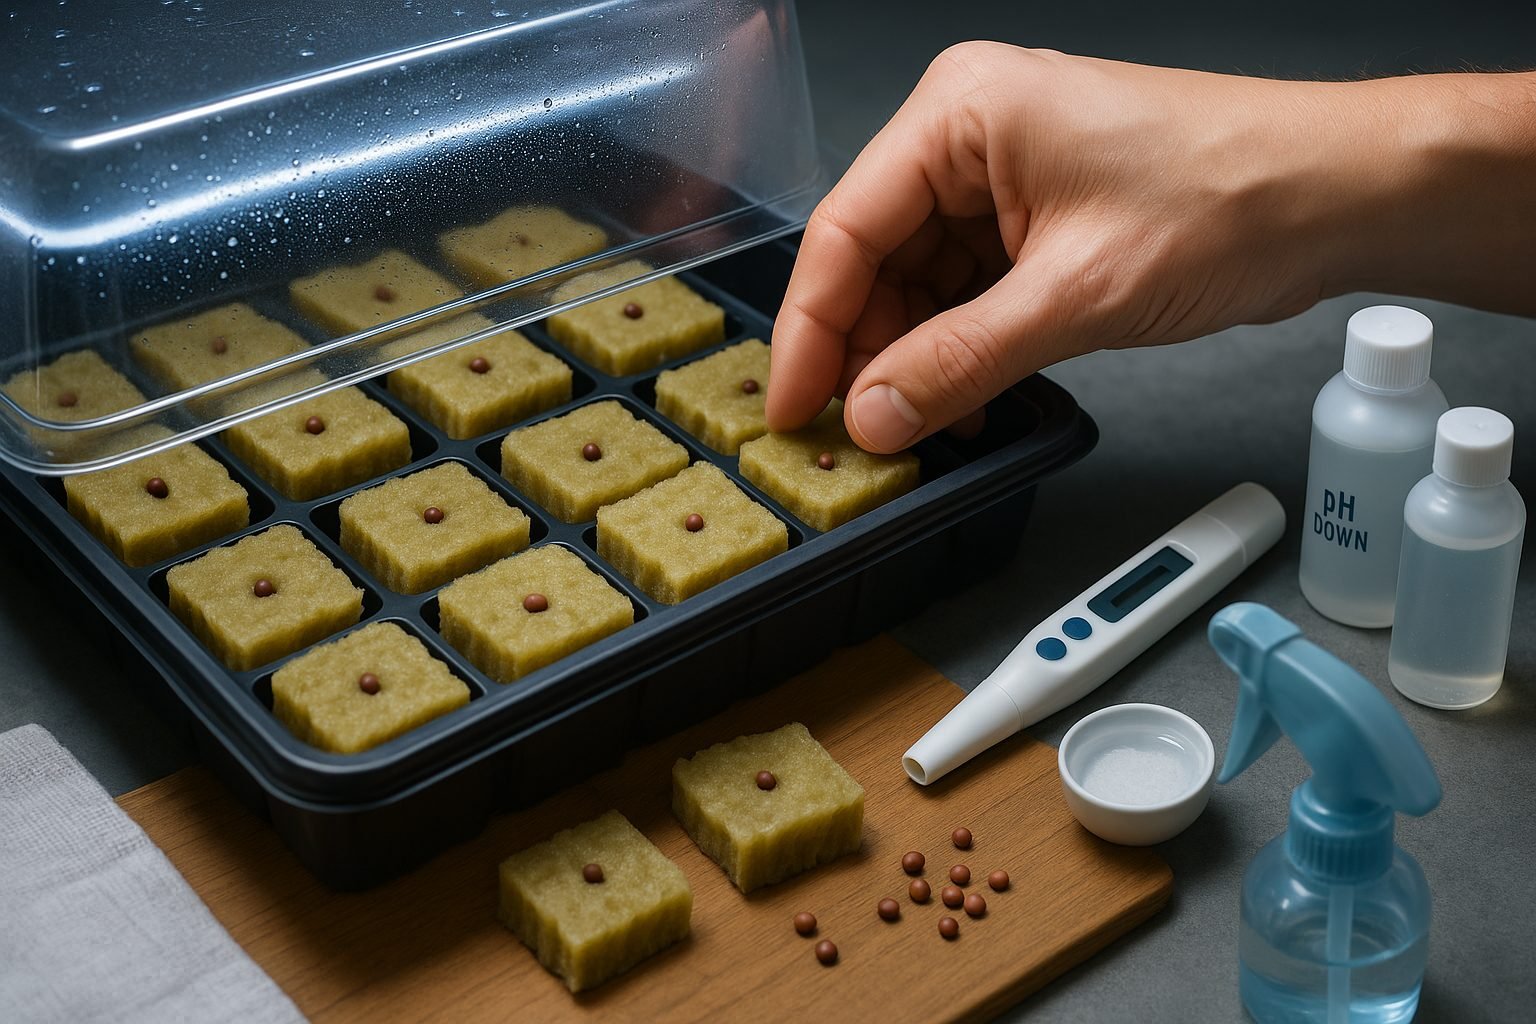
To start growing hydroponic radishes, begin by prepping your growing medium—popular options like rockwool cubes or coco coir work well for supporting young roots. Soak rockwool cubes in pH-balanced water (around 5.5-6.5) to remove any residual alkalinity, while coco coir usually comes pre-rinsed but can benefit from a quick flush with clean water.
Plant one or two radish seeds about half an inch deep into each cube, then keep the cubes moist and covered with a humidity dome until the seeds germinate, which usually happens within 3-5 days. Once sprouted, move the seedlings under grow lights—LEDs that provide 12-16 hours of bright, cool light per day mimic the full sun radishes love.
Maintain temperatures between 60-75°F; radishes prefer cooler, stable conditions for the best root development. Relative humidity around 50-70% helps prevent fungal problems.
Nutrient Solution and Water Management
Mix a hydroponic nutrient solution designed for vegetative growth, focusing on a balanced formula with ample nitrogen (for foliage), phosphorus, and potassium (especially critical for strong root growth and flavor). Keep the nutrient solution at an electrical conductivity (EC) of 1.2-1.6 and a pH between 6.0-7.0 for optimal absorption.
Change and rinse your reservoir weekly or as soon as you notice any signs of cloudiness or algae. Monitor water levels daily, topping up with fresh solution as needed to ensure roots don’t dry out or sit exposed.
Plant Care and Maintenance
- Check roots regularly for signs of stress—healthy roots should be white and firm.
- Provide gentle airflow around the base of the plants to discourage diseases.
- Use clean scissors to thin seedlings if multiple have sprouted closely, giving each radish enough space to swell.
With steady care, you’ll see plump, vibrant roots ready for harvest in as little as four weeks—perfect for a quick, crunchy addition to your meals.
Troubleshooting: Common Problems and Simple Solutions
Growing hydroponic radishes can be rewarding, but some common problems may pop up along the way. Leggy seedlings, for example, often occur when plants don’t get enough light or are spaced too closely together. Try switching to a brighter grow light and make sure each seedling has room to breathe.
Root rot is another frequent headache—usually a sign of overwatering or stagnant water. To fix this, refresh your nutrient solution regularly, clean your system, and use an air stone or pump to boost oxygen levels at the roots.
Nutrient imbalances, such as yellowing leaves, often stem from under- or over-fertilizing. Test your water regularly and stick to a balanced hydroponic fertilizer formulated for leafy greens or root crops.
Pests like aphids or fungus gnats sometimes show up indoors. Remove affected leaves, use sticky traps, or introduce beneficial insects like ladybugs as natural deterrents.
To prevent many of these issues, always give your plants enough space for airflow, check that temperature and humidity stay within recommended ranges, and start with healthy, disease-free seeds. Regularly wiping down surfaces and equipment helps keep pathogens at bay, while rotating your crops occasionally can disrupt pest cycles.
By staying attentive and making small environmental tweaks, you can dodge most common hydroponic radish problems before they get out of hand.
Benefits of Growing Radishes Hydroponically
Growing radishes hydroponically comes with a host of benefits that make them a smart choice for both beginners and seasoned gardeners. First, hydroponic systems dramatically speed up the growth cycle—radishes can be ready for harvest in as little as three weeks, compared to the typical four to six weeks in soil.
With no dirt involved, you’ll also sidestep common soil pests and persistent weeds, reducing the need for chemicals and making the growing process less labor-intensive. Plus, hydroponic setups can be used indoors or in small urban spaces, letting you grow fresh radishes year-round, regardless of weather or space constraints.
Whether on a kitchen shelf or a city balcony, even a compact system can yield a surprising amount of crunchy, peppery radishes. In terms of quality, many growers report that hydroponic radishes taste just as good, if not better, than their soil-grown counterparts, with consistently crisp texture and vibrant flavor.
Yields are often higher due to controlled conditions and optimized nutrient delivery, and nutrient content can be equal or even superior when you use a well-balanced hydroponic solution.
On the environmental side, hydroponics use significantly less water than traditional gardening—about 90% less—and eliminate fertilizer runoff, helping to protect local waterways.
For urban dwellers or anyone short on outdoor space, hydroponic radish gardening is an efficient, eco-friendly, and rewarding way to enjoy a steady, high-quality supply of fresh produce.
Harvesting and Using Your Hydroponic Radishes
Knowing exactly when to harvest hydroponic radishes is key for the best taste and texture. Check the size of the root poking out above the growing medium—most varieties are ready when they reach about one inch in diameter and look plump and round. Don’t wait too long, as overgrown radishes become woody and lose their crisp bite.
When harvesting, gently hold the base of the leaves and give a slow, steady pull to avoid snapping or damaging the delicate roots and nearby plants. After pulling, trim off the greens about an inch above the root to extend freshness, but don’t toss those leafy tops! Radish greens are edible, slightly peppery, and perfect for tossing into salads, making pesto, or sautéing with garlic as a side dish.
The crisp roots can be sliced into salads, pickled for sandwiches, or roasted for a sweeter flavor. For storage, place dry, unwashed radish roots in a breathable bag in the crisper drawer, where they can stay crisp for up to two weeks. Separately, store greens wrapped in a damp paper towel inside a sealed container, and use them within a few days for the best flavor.
With these steps, you’ll make the most of every part of your hydroponic radish harvest.
Top Tips and FAQs for Beginner Hydroponic Gardeners
For beginner hydroponic gardeners, radishes are a fantastic crop thanks to their fast growth and easy care. A few key tips can make a big difference in your success.
Lighting
Radishes need at least 12–16 hours of strong, direct light per day. If you’re using grow lights, position them just a few inches above the leaves to prevent leggy or pale plants.
Containers
Opt for something shallow yet wide—radish roots don’t grow deep, but they need room to spread. A 4–6 inch deep tray works perfectly.
Common Mistakes
- Overcrowding seeds
- Allowing water temperatures to rise too high
Keep water at around 65–70°F and space seeds about an inch apart to ensure healthy bulbs.
Nutrients
Use a balanced hydroponic nutrient mix, but avoid overfeeding—too much nitrogen can cause leafy tops but disappointingly small roots.
Space-Saving Tips
For small-space growers, vertical hydroponic systems or stackable kits can maximize your harvest in tight spots without sacrificing yield.
Additional Resources
To boost your skills, check out hydroponic gardening YouTube channels or join online communities such as Reddit’s r/hydroponics for firsthand advice and troubleshooting.
Getting Started
As you gain confidence, try tracking your results in a gardening journal or experiment with different radish varieties for fun and learning. Start with these basics, stay curious, and your hydroponic radishes will soon be thriving!