Introduction
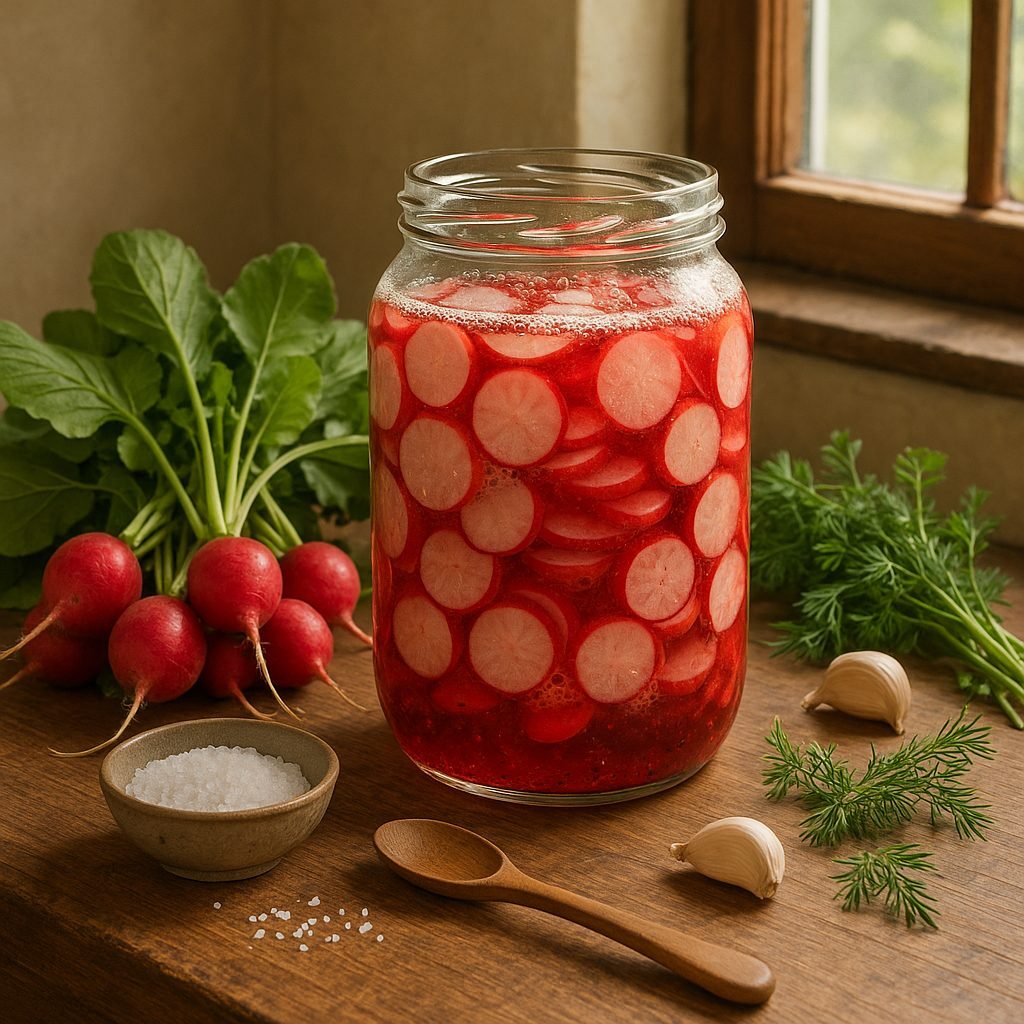
Fermented radish is quickly becoming a star in the world of gut-friendly foods, thanks to the simple magic of lacto-fermentation. This age-old process uses beneficial bacteria—rather than vinegar or heat—to transform vegetables into tangy, probiotic-rich treats that support digestion, enhance your immune system, and even boost nutrient absorption.
If you’re new to fermenting, radishes are a fantastic place to start. Their crisp texture holds up beautifully in brine, and their peppery bite mellows into a unique blend of tangy and subtly sweet flavors during fermentation. Plus, radishes pack in vitamin C, potassium, and antioxidants, making your homemade ferments as nutritious as they are delicious.
Whether you want to add zing to tacos, brightness to grain bowls, or a snack that’s both satisfying and healthy, this fermented radishes recipe is tailored for busy home cooks. In the next sections, you’ll find a straightforward, step-by-step method for making perfectly crunchy, flavorful fermented radish at home—no fancy equipment or prior experience required.
Let’s walk through how you can turn a humble bunch of radishes into a vibrant, probiotic powerhouse for your table.
What is Lacto-Fermentation?
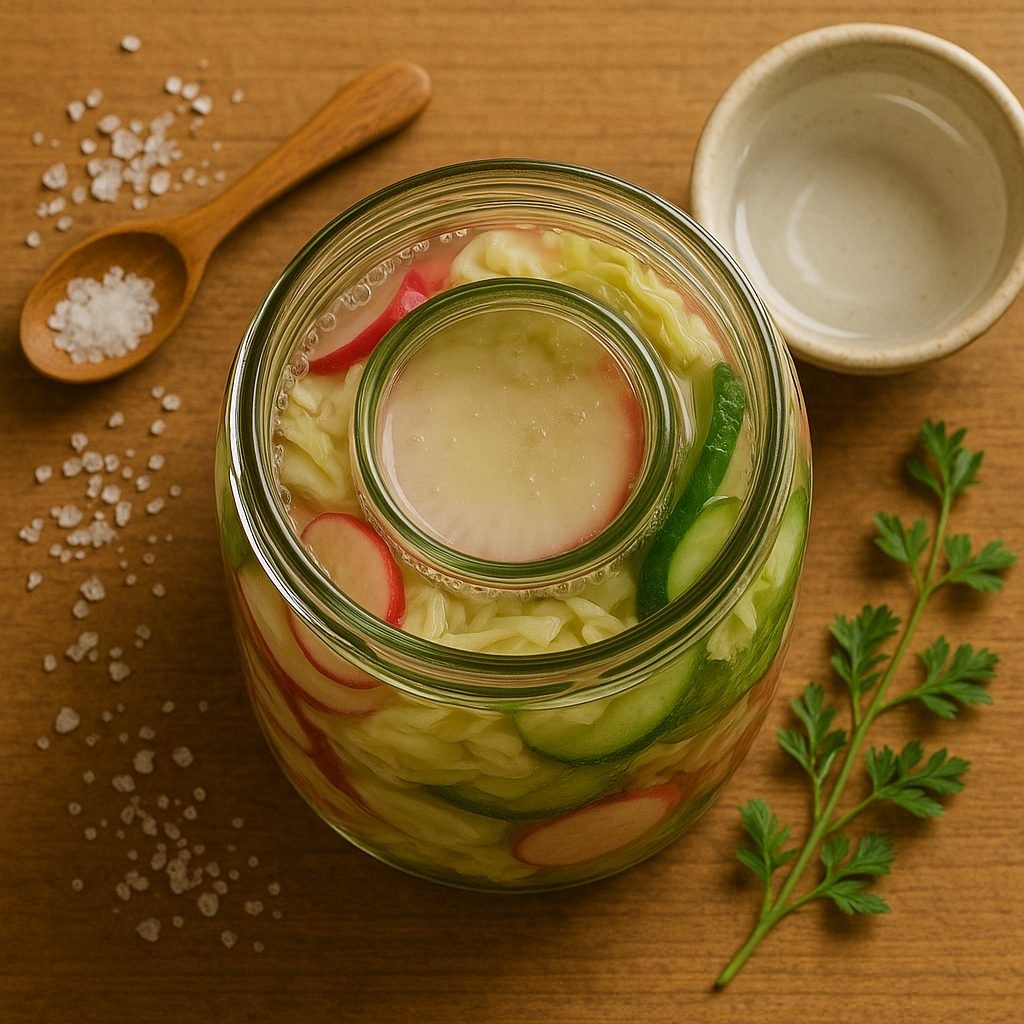
Lacto-fermentation is a natural food preservation method that uses beneficial bacteria to convert sugars in food into lactic acid. This process creates tangy, flavorful results and extends shelf life without the need for artificial preservatives.
The process begins when vegetables, fruits, or even dairy products are submerged in a saltwater brine or mixed with salt, creating an environment where harmful bacteria can’t thrive but lactic acid bacteria (like Lactobacillus species) flourish. As these good bacteria digest the natural sugars and starches in the food, they release lactic acid, which acts as a powerful preservative and gives fermented foods their characteristic sour taste.
This acidic shift not only guards against spoilage but also imparts an array of probiotics known for supporting gut health—think classics such as sauerkraut, kimchi, and yogurt.
Unlike vinegar-based pickling, which uses acetic acid as a preservative, or canning, which relies on high heat to sterilize and store food, lacto-fermentation preserves nutrients and creates complex flavors entirely through the work of microorganisms.
For home cooks, all you need is fresh produce, salt, and a clean container: simply pack cabbage for sauerkraut or cucumbers for pickles, cover with brine, keep them submerged, and let nature do its work on the countertop for a few days or weeks.
Because lacto-fermentation happens at room temperature and uses no added heat, most vitamins and enzymes stay intact—making it a favorite for those seeking both delicious and health-promoting homemade foods.
If you’re new to lacto-fermentation, start with a simple recipe like carrot sticks in brine. Check daily for tang and texture, and enjoy them as a nutritious snack once they reach your preferred level of fermentation.
Essential Ingredients and Salt Brine
When fermenting radishes, start with the basics: fresh, firm radishes, non-iodized salt (such as sea salt or pickling salt), and filtered or spring water. These three are your foundation, but you can easily customize your batch with optional add-ins like peeled garlic cloves, sprigs of fresh dill, mustard seeds, peppercorns, or slices of hot chili for an extra kick.
Always choose non-iodized salt because additives in table salt, like iodine and anti-caking agents, can inhibit the beneficial bacteria that drive fermentation and introduce off flavors. Similarly, chlorine or other chemicals in tap water may hinder fermentation, so filtered water is the safest choice.
For a balanced brine, a good rule of thumb is a 2–3% salt solution by weight—about one to one and a half tablespoons of salt per quart (liter) of water. Make sure to dissolve the salt thoroughly before pouring the brine over your radishes to ensure even fermentation.
To add flair, experiment by tossing in different spices—coriander seeds, bay leaves, or star anise—or a splash of rice vinegar at the end for brightness. Try slicing radishes thick or thin for different crunch levels. Be sure to record your batches and track which flavors you like best; this helps you perfect your signature ferment over time.
Necessary Equipment and Preparation
Getting started with fermentation doesn’t require fancy gadgets, but having the right basic supplies makes all the difference. At a minimum, you’ll need quality glass jars—Mason or Weck jars are popular choices because they’re easy to clean, sturdy, and come in various sizes.
For small batches or new recipes, pint or quart jars offer the perfect capacity without overcrowding your fridge, while half-gallon jars work well for bigger batches or whole vegetables like pickles. Make sure your jars come with tight-fitting lids; if you prefer, you can use special fermentation lids with silicone airlocks, but standard metal or plastic lids work fine for most beginners.
Alongside your jars, fermentation weights—glass discs, clean stones, or even small zip-top bags filled with water—are crucial for keeping vegetables submerged in brine. This protects your food from unwanted mold and ensures an even ferment. A sturdy cutting board and a sharp kitchen knife are also must-haves for prepping your veggies quickly and safely.
Above all, maintaining scrupulous cleanliness at every step is the secret to great results. Wash all equipment, jars, and your hands with hot, soapy water before you start, and avoid using items with lingering soap residues or crumbs that can introduce unwanted bacteria. Even a quick rinse with boiling water can help sanitize your jars if you want to add an extra layer of caution.
This simple preparation helps prevent spoilage and supports the friendly bacteria responsible for a safe, flavorful ferment every time.
Step-by-Step Guide to Fermenting Radishes
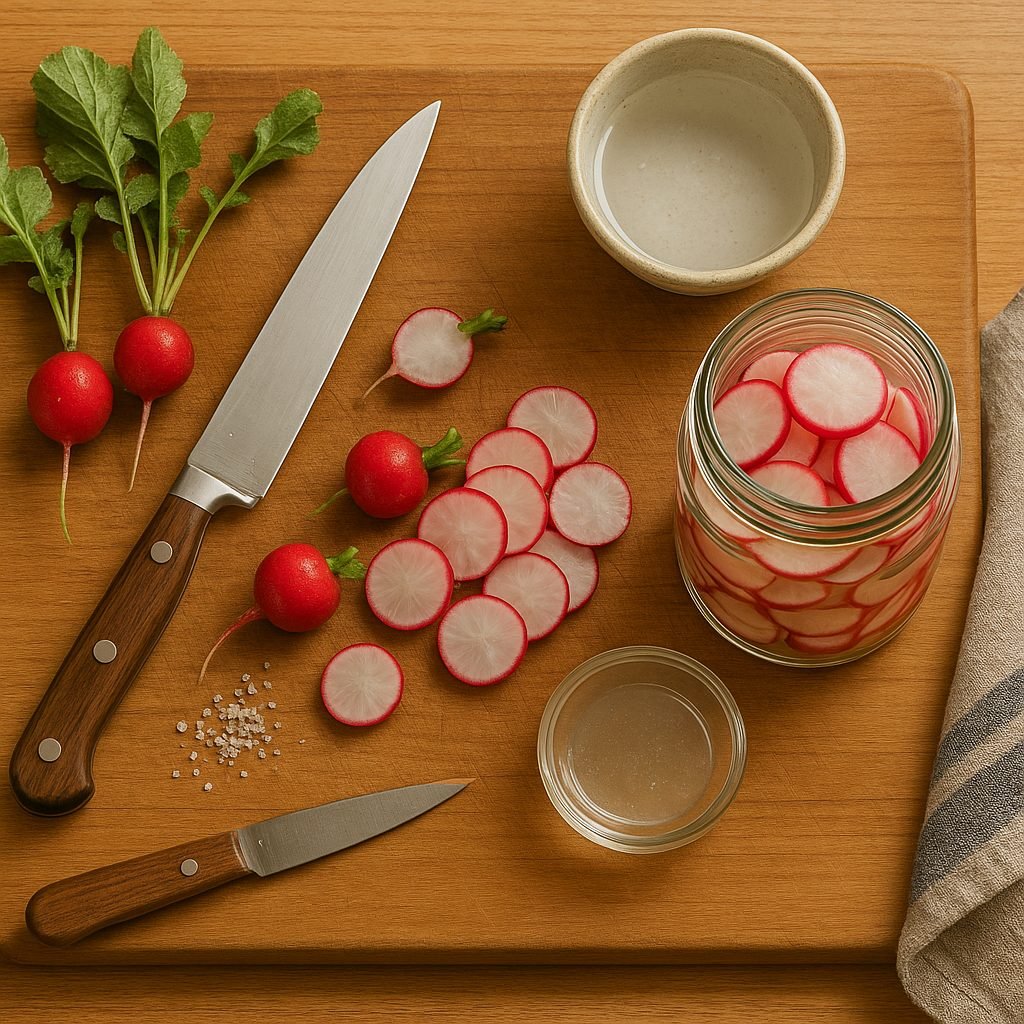
Follow these simple steps to ferment radishes perfectly every time:
- Start by choosing fresh, firm radishes—small to medium ones are best for even fermenting.
- Give your radishes a thorough rinse under cold water, scrubbing away any lingering dirt.
- Trim off the tops and roots, then slice into rounds or half-moons, depending on your preference and jar size.
- Prepare your brine by dissolving 2 tablespoons of non-iodized salt in 4 cups of filtered water; stir until fully dissolved.
- Pack the sliced radishes tightly into clean glass jars, leaving about an inch of headspace to allow for bubbling during fermentation.
- Pour the brine over the radishes, making sure they’re fully submerged—any exposed radish can mold.
- To keep everything under the liquid, add a fermentation weight or use a smaller, clean jar inside the larger one as a DIY solution.
- Cover the jar loosely with a lid or a clean towel secured with a rubber band; this keeps out dust but lets gases escape.
- Set the jar on your kitchen counter, out of direct sunlight, and check it daily—look for small bubbles rising, which means fermentation has begun.
- If you see any scum or surface growth, skim it off right away, and always make sure the radishes stay below the brine level.
Taste test after 3–5 days; when they’re tangy enough for your liking, close the jar tightly and move it to the fridge to slow fermentation. Monitoring daily ensures both safety and the perfect crunch. Fermenting gets easier with practice, so take notes on what works best in your kitchen.
Fermentation Time, Storage, and Safety
Fermenting radishes is a fairly simple process, but timing and close observation are key to getting tasty, safe results. Typically, radishes are left to ferment at room temperature for about 5 to 7 days, depending on your kitchen’s temperature—the warmer it is, the faster fermentation happens.
You’ll know they’re on track when they start to lose their raw crunch and develop a pleasantly tangy, slightly sour flavor, along with a hint of effervescence. Check them daily by lifting the lid and tasting starting around day 4. If the flavor isn’t quite there yet, let them continue, tasting every day until they’re just right for you.
Once the flavor is to your liking, transfer the jars into the refrigerator or a cool cellar to slow down the fermentation. This keeps them crisp and tasty for several months.
Throughout the process, safety comes first. Always check for white, harmless “kahm” yeast, which can be skimmed off, but watch out for fuzzy pink, green, blue, or black mold. If you see any colored mold, or smell anything rotten, musty, or weirdly chemical, throw out the whole batch and start again.
The brine should stay clear or slightly cloudy but never slimy. If the texture of the radishes becomes mushy or slippery, that’s a sign they’ve gone off. It’s natural for radishes to get softer, but they should still have some snap when you bite into them.
When in doubt, trust your senses—if something looks, smells, or tastes wrong, it’s always safer to discard the batch and try again. With these tips, you’ll soon have perfectly tangy, crunchy fermented radishes to enjoy safely!
Serving Suggestions and Recipe Tips
Fermented radishes are incredibly versatile, making them a flavorful addition to everything from simple snacks to layered meals. Enjoy them straight from the jar as a crunchy, tangy snack, or add slices to salads for a zesty pop that pairs perfectly with creamy dressings or leafy greens.
Try layering fermented radishes onto sandwiches or wraps alongside cheese and roasted meats for extra bite, or chop them into grain bowls for a probiotic-rich crunch.
For flavor variations, experiment with adding garlic, ginger, or chili flakes to your ferment for a spicy twist, or try dill and mustard seeds for a classic pickled taste. Pair your radishes with mild cheeses, smoked fish, or avocado for balanced flavors.
If you’re new to fermenting, remember to always keep radishes submerged under brine to prevent mold, and check your jars daily for gas buildup—loosen the lid slightly if needed to release pressure. If your radishes turn out too salty or strong, a quick rinse in cold water before serving can mellow the flavors.
And don’t worry if your brine gets cloudy or you see harmless white film (kahm yeast); these are common and usually not signs of spoilage. With a little creativity and troubleshooting, homemade fermented radishes are easy to enjoy in countless ways.
Conclusion
Making lacto-fermented radishes at home is simple, rewarding, and adds a punch of probiotics and flavor to your diet. With just a few basic ingredients and a little patience, you can enjoy crisp, tangy radishes customized to suit your taste buds—try adding garlic, ginger, or fresh herbs for a unique twist. The process is forgiving and adaptable, making it perfect for beginners and seasoned fermenters alike.
Give it a try, and don’t hesitate to share your results or ask questions in the comments below. Your feedback and experiences can inspire others on their fermentation journey!