Introduction
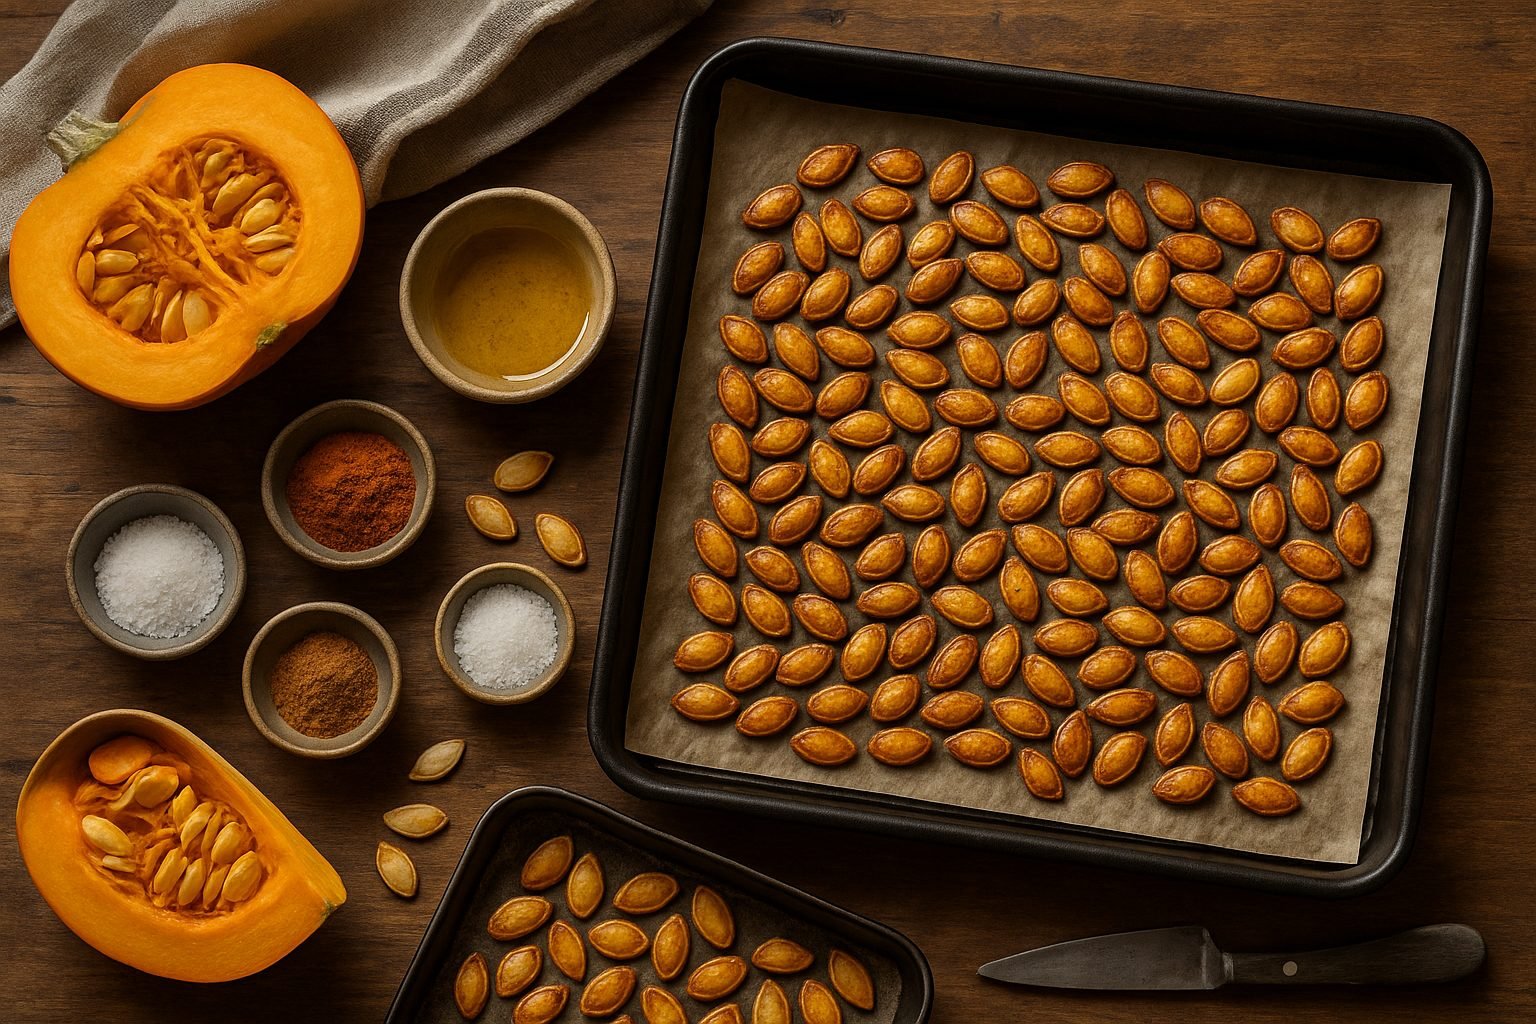
Roast pumpkin seeds are a deliciously crunchy snack that’s both healthy and satisfying, making them a must-try for anyone looking to curb hunger with something wholesome. Luckily, roasting pumpkin seeds at home is incredibly simple, requiring just a handful of basic ingredients and a few easy steps.
If you’ve ever tried those store-bought versions, you know they can be bland or overly salty—homemade roasted seeds are fresher, customizable, and packed with unbeatable flavor. With the right seasonings, you can create everything from spicy to sweet snacks, all while controlling the quality and nutrition, right in your own kitchen.
Choosing & Prepping Your Pumpkin Seeds
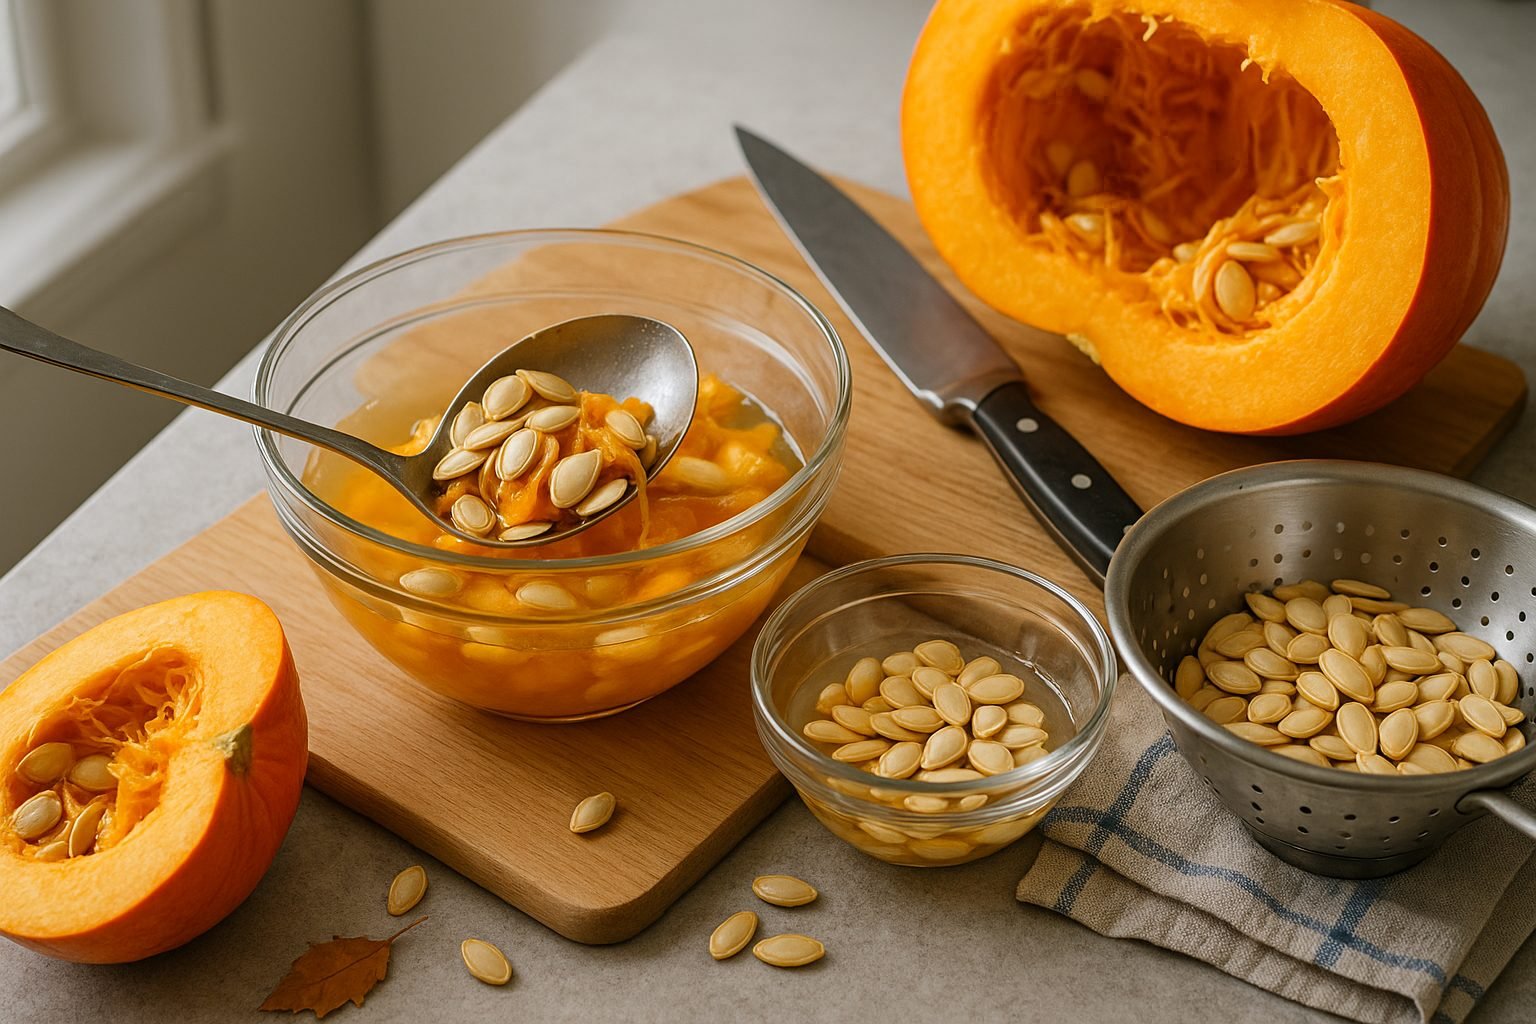
To get started, cut your pumpkin open with a sturdy knife and use a large spoon to scoop out the seeds along with the stringy pulp. It’s easiest to work in sections—pull out handfuls and drop them into a bowl.
The best seeds for roasting are the larger, plumper ones. Small or shriveled seeds can be discarded or set aside for compost.
To separate the seeds from the pulp, fill your bowl with water and swirl everything around with your hands. The seeds will float to the top while the pulp sinks, making it simple to pick the seeds off the surface.
Next, transfer the seeds to a colander and rinse them thoroughly under cold water, rubbing gently to remove any clinging strands.
Once clean, spread the seeds out in a single layer on a clean kitchen towel or paper towels. Pat them dry, then allow them to air-dry for several hours—or overnight if possible—before roasting.
Drying is key: moisture causes steaming in the oven, which leads to chewy seeds instead of the perfect crispy crunch. With these steps, your pumpkin seeds will be ready for roasting and snacking!
The Roasting Method—Getting Crispy, Flavorful Seeds
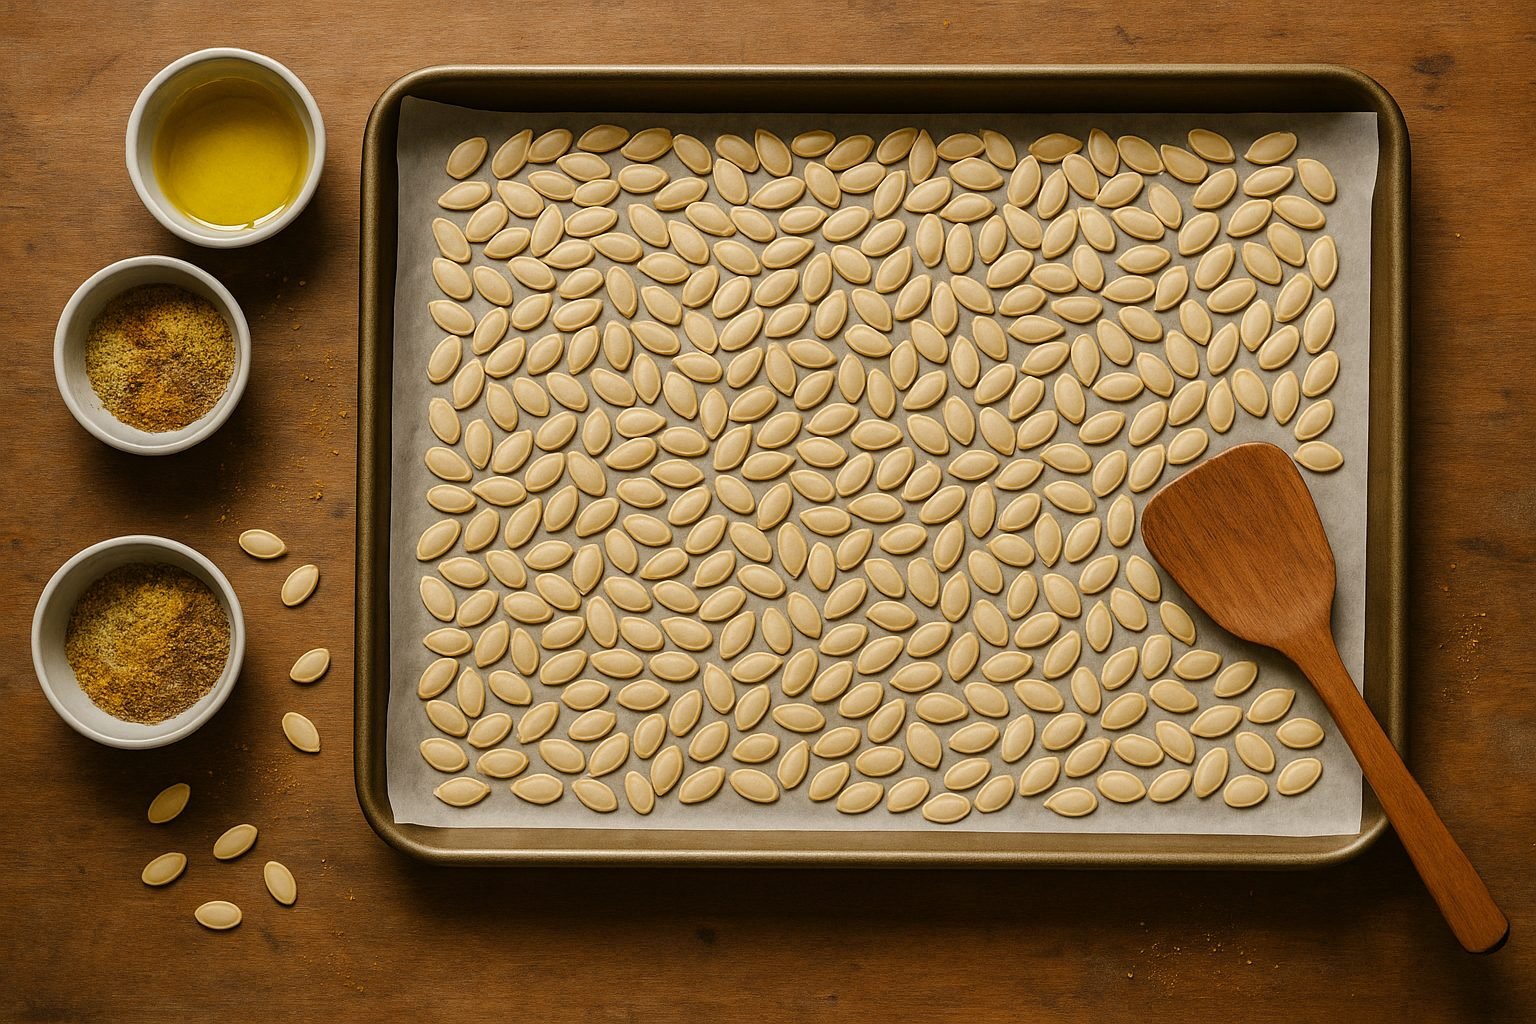
Roasting pumpkin seeds to crispy, flavorful perfection starts with the right temperature and timing—aim for 300°F (150°C), which toasts the seeds without burning them. Line a baking sheet with parchment paper, then spread the rinsed, dried seeds out in a single, even layer; clumping can lead to uneven cooking, so take a minute to separate them using your hands or a spatula.
For an extra-crunchy bite and easier-to-digest seeds, try boiling them in salted water for 10 minutes before roasting—just drain them well and let them dry completely.
Toss the seeds with a drizzle of olive oil and your favorite seasonings right before they go in the oven; classics like sea salt, garlic powder, or smoked paprika work well, but you can get creative with cinnamon sugar or curry powder for something different.
As they roast, stir the seeds once or twice with a spatula so they cook evenly. Keep a close eye during the last 5–10 minutes (total time is usually about 25–30 minutes), as seeds can go from golden brown to burnt quickly. Look for a uniform golden color and listen for a hollow sound when tapped—if in doubt, taste one!
Let the roasted seeds cool before enjoying; that final cool-down creates the irresistible crunch everyone loves.
Creative Seasoning Ideas
When it comes to roasting seeds, classic seasonings like salt, pepper, and a drizzle of olive oil never go out of style—they’re straightforward, tasty, and let the natural flavors shine. But if you’re looking to up your snack game, try experimenting with creative blends.
For a cinnamon sugar twist, mix seeds with a touch of melted butter, a sprinkle of cinnamon, and a dusting of sugar for a sweet-and-savory treat. If you love bold flavors, toss seeds in chili powder, fresh lime juice, and a hint of sea salt for a zesty chili-lime snack. Garlic parmesan is crowd-pleasing and simple: toss seeds with powdered garlic, finely grated parmesan cheese, and cracked black pepper.
No matter your flavor choice, evenly coating the seeds is key—pour your seasonings into a mixing bowl with the seeds and add oil or melted butter, then stir thoroughly until every seed glistens. Spread them in a single layer on a baking tray; this ensures that every bite gets its fair share of flavor. Roasting in batches can also help if you’re trying multiple blends, keeping flavors distinct.
With just a few creative tweaks, your roasted seeds can go from a simple snack to something truly memorable.
Health Benefits of Roasted Pumpkin Seeds
Roasted pumpkin seeds are a nutrient powerhouse packed into a crunchy, easy snack. Just one ounce delivers about 7 grams of protein and nearly 2 grams of fiber, helping you feel fuller longer—great for curbing midday cravings.
They’re also a rich source of essential minerals like magnesium, zinc, and iron, which are critical for energy levels, immunity, and bone health.
- Magnesium helps regulate heart rhythm and blood pressure.
- Zinc supports your immune system and helps wounds heal faster.
These seeds are loaded with healthy fats, which can help maintain cholesterol levels and protect your heart—offering a smarter alternative to chips or cookies that are high in saturated fat and empty calories.
Compared to popular snacks like pretzels or potato chips, roasted pumpkin seeds provide a satisfying crunch with significantly more nutrients per bite and fewer processed ingredients.
For an easy health boost, toss roasted pumpkin seeds into salads, yogurt, or trail mix, or simply enjoy them on their own. Their combination of minerals, fiber, and protein makes pumpkin seeds a small but mighty addition to your snack routine, supporting overall wellbeing with every handful.
Serving & Storing Roasted Pumpkin Seeds
Roasted pumpkin seeds are incredibly versatile, making a tasty snack on their own or a crunchy topping for many dishes. Try sprinkling them over salads to add texture and a nutty flavor, or use them as a garnish on creamy soups like butternut squash or tomato bisque for an extra boost of protein and crunch.
You can also mix them into trail mix, yogurt parfaits, or even use them to add flair to homemade bread and granola bars.
When it comes to storing roasted pumpkin seeds, let them cool completely first, then place them in an airtight container at room temperature. This keeps them crisp and fresh for up to two weeks.
For even longer storage, you can freeze the seeds—spread them in a single layer on a baking sheet to prevent clumping, freeze until solid, then transfer them to a freezer-safe bag or container. They’ll keep for several months in the freezer and can be thawed at room temperature or quickly crisped in a hot oven before serving.
Following these simple tips helps ensure your roasted pumpkin seeds stay delicious and fresh, whether you’re enjoying them right away or saving some for later.
Quick FAQ: Troubleshooting & Tips
If your roasted pumpkin seeds turn out chewy instead of crisp, it’s probably due to leftover moisture. Try boiling the seeds in salted water for 10 minutes and drying them thoroughly before roasting.
To make the shells more edible and less tough, soak the seeds overnight or briefly microwave them with a sprinkle of water before roasting. This softens the shell a bit if you like eating them whole.
Uneven roasting is a common issue—spread the seeds in a single layer on your baking sheet and toss them halfway through for evenly golden results.
If seasonings won’t stick, toss the dried seeds in a little olive oil or melted butter before adding your chosen flavors. This simple trick ensures every bite is tasty.
Don’t be afraid to experiment with different pumpkin varieties. While “sugar pie” pumpkins often yield the best, most tender seeds, even seeds from larger carving pumpkins can be delicious with enough cleaning and care.