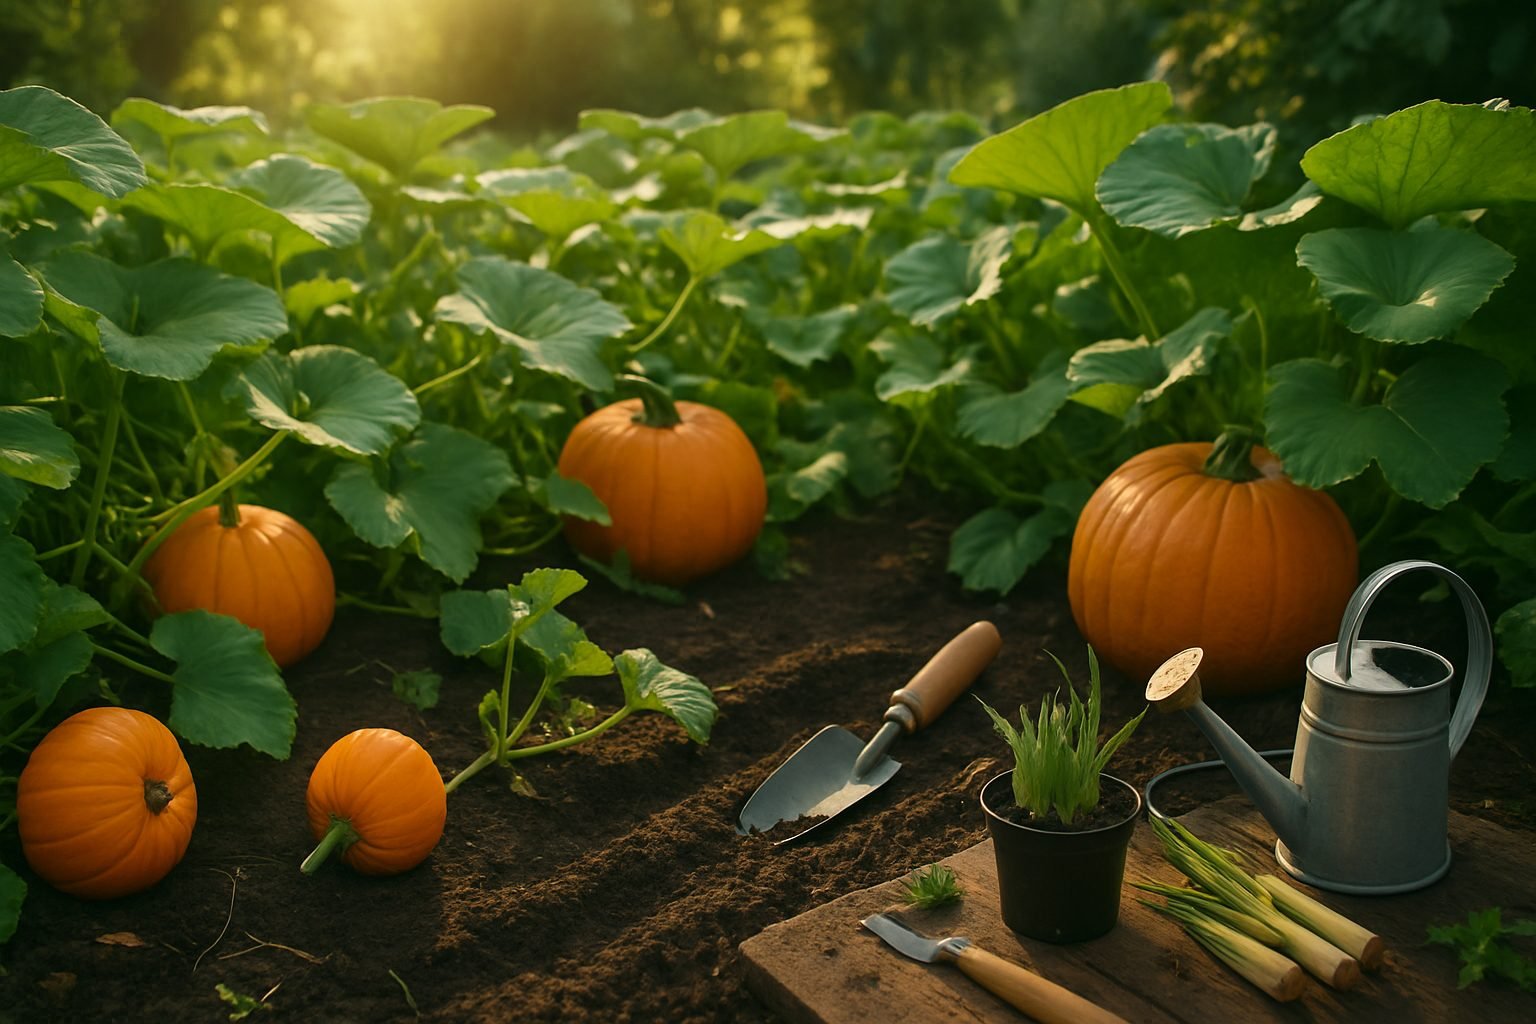
Introduction to Growing Pumpkins
Prepping your garden for pumpkins is an exciting project for gardeners of all skill levels—whether you dream of carving jack-o’-lanterns, baking spiced pumpkin pies, or even entering the largest pumpkin contest at your local fair. Pumpkins are incredibly popular thanks to their versatility: they add vibrant color to fall displays, star in beloved holiday recipes, and even serve as wholesome treats for pets and livestock.
Growing pumpkins at home offers a satisfying payoff, but it also comes with its own set of challenges. Pumpkins need plenty of space, rich soil, and attentive care to reach their full glory. Many gardeners find themselves battling pests, weeds, or unpredictable weather that can hinder pumpkin growth. Still, there’s something uniquely rewarding about watching a tiny seed transform into a hearty, sprawling vine dotted with bright orange gourds.
Did you know the world’s largest pumpkin weighed over 2,700 pounds? Or that every part of the pumpkin—from the seeds to the blossoms—is edible? As we dive into prepping your garden for a successful pumpkin harvest, you’ll learn tips to maximize your yield and enjoy all the fun (and flavor) pumpkins have to offer.
When and Where to Plant Pumpkins
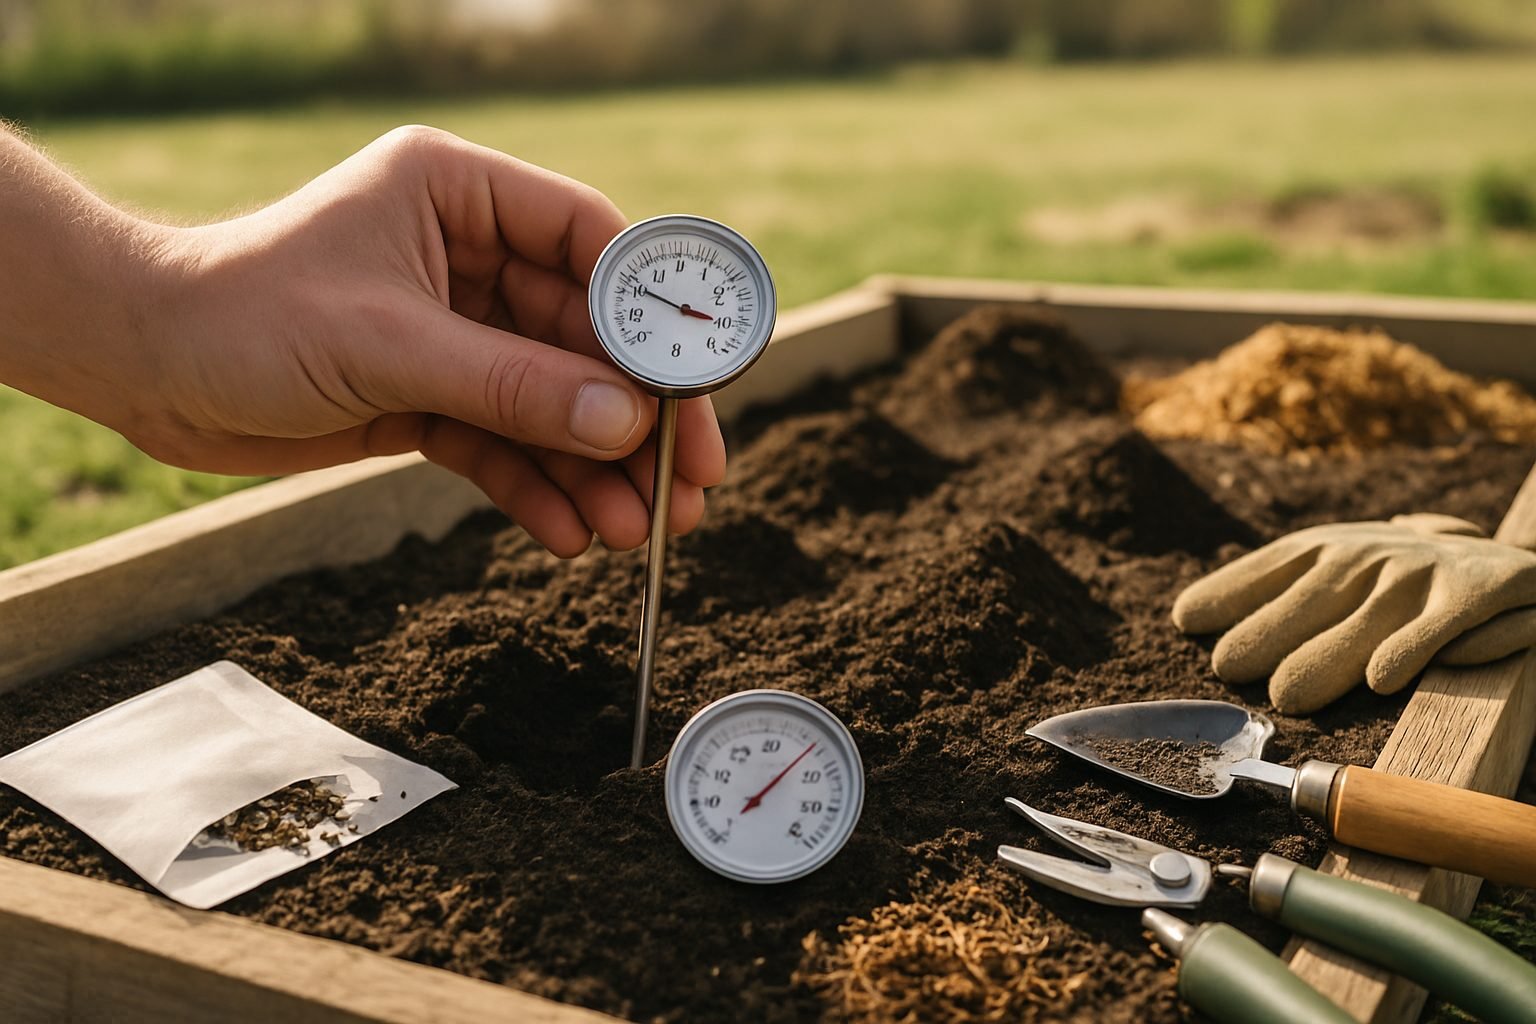
Timing is everything when it comes to growing healthy, robust pumpkins. Start by checking your local frost dates—pumpkins are highly sensitive to cold. For most regions, the best time to plant pumpkin seeds is about one to two weeks after your last expected spring frost, when the soil has warmed up to at least 65°F (18°C).
You can use a simple soil thermometer or tap the ground with your hand—if it feels noticeably cool, wait a bit longer. In cooler climates with short growing seasons, consider starting seeds indoors three to four weeks before the last frost and gently transplanting the seedlings outside once the risk of frost has passed.
Pumpkin plants love sunlight—choose a site in your garden that gets at least six to eight hours of direct sun daily. Because pumpkin vines can sprawl up to 20 feet across, give each plant plenty of room by spacing hills or mounds about 4 to 6 feet apart. Avoid overcrowding, which can lead to reduced yields and increased risk of disease.
For best results, prepare your soil ahead of time by working in several inches of compost or well-rotted manure to help boost nutrients and retain moisture. Pumpkins thrive in slightly acidic to neutral soil (pH 6.0 to 6.8) that drains well—clay soil that stays soggy can quickly rot young roots, so consider creating raised beds or planting on small hills if drainage is a concern. If your soil is sandy or low in organic matter, work in additional compost or peat moss before planting.
Taking these steps early will give your pumpkin plants their best start, setting you up for a bountiful fall harvest.
How to Plant Pumpkin Seeds for Success
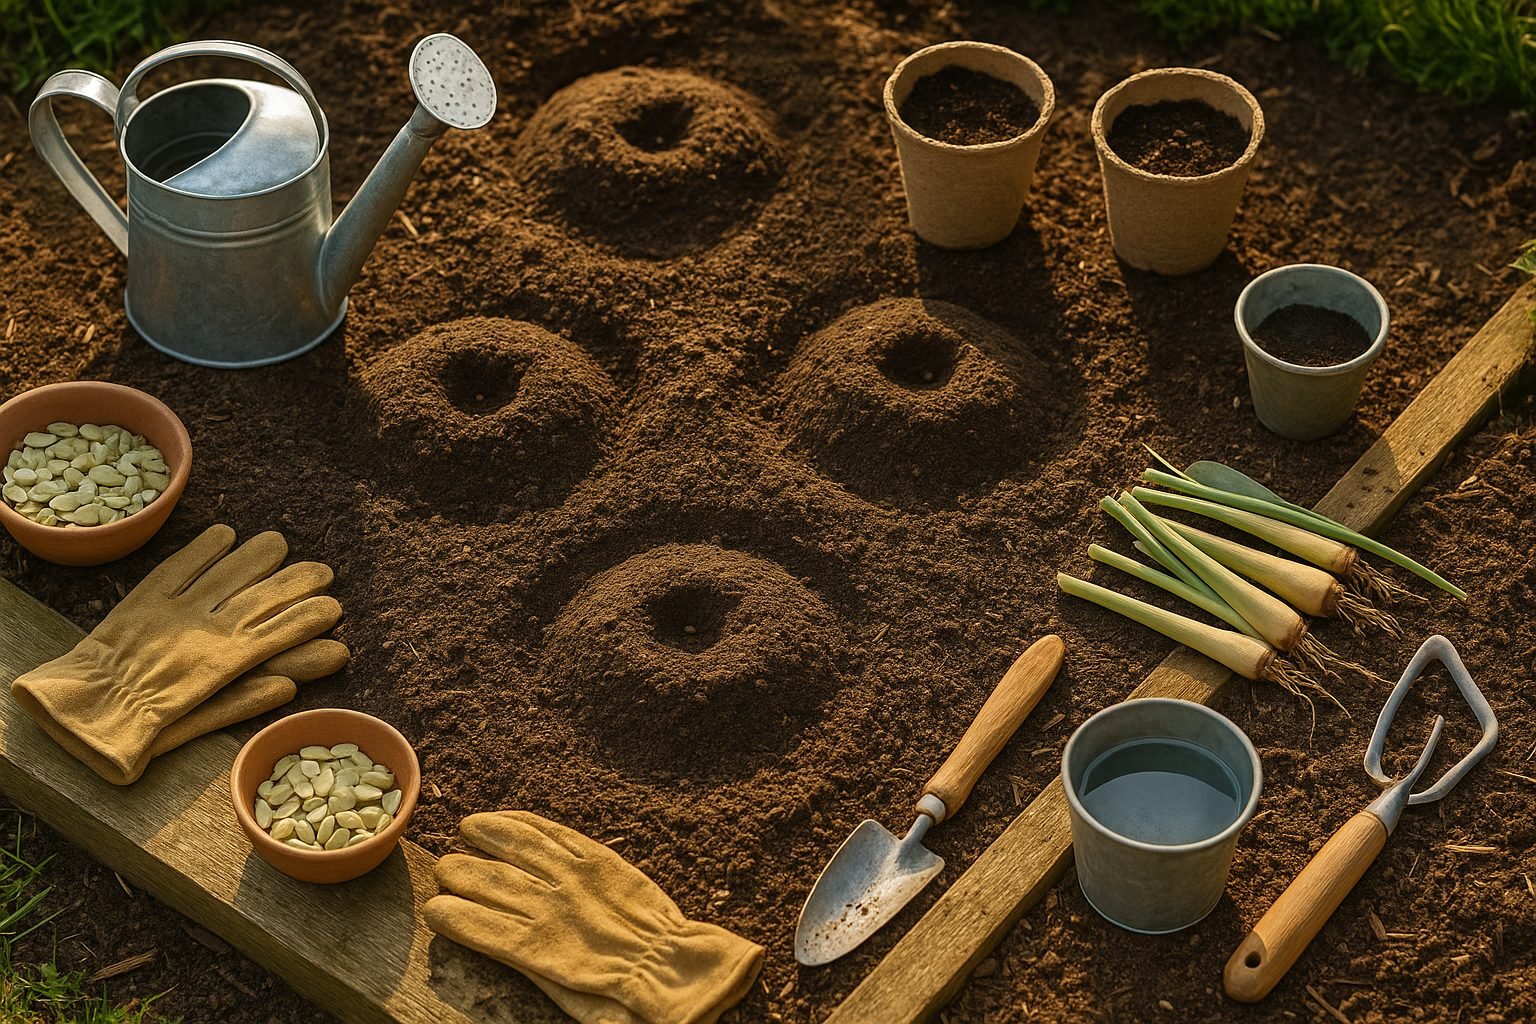
To give your pumpkin seeds the best start, you can either sow them directly outdoors in your garden or start them indoors if your growing season is short.
Starting Seeds Indoors
Plant seeds about 2–4 weeks before your expected last frost date. Fill small pots with seed-starting mix, poke a hole about 1 inch deep, and drop in a seed. Cover lightly and water gently, keeping the soil moist but not soggy. Place the pots on a warm, sunny windowsill or under a grow light to help seedlings thrive.
Before transplanting, harden off seedlings by gradually introducing them to outdoor conditions.
Direct Sowing Outdoors
Wait until the soil temperature reaches at least 70°F, as pumpkins love warmth. You can plant either in mounds or rows:
- Mounds: Mound soil into small hills about 3–5 feet apart. Plant 4–5 seeds per hill, about 1 inch deep.
- Rows: Plant seeds 2–3 feet apart with rows spaced 6–8 feet apart, also at a depth of 1 inch.
Water thoroughly after planting, keeping the soil consistently moist but never waterlogged.
Early Care and Maintenance
Once seedlings have two or three leaves, thin out the weaker plants by removing extras and keeping the strongest 2–3 per mound or one per spacing in rows.
- Protect tender seedlings from pests using collars or mesh.
- Mulch around plants to retain moisture and discourage weeds.
- Avoid splashing water on leaves to reduce the risk of disease.
With regular watering and attentive care, your pumpkin seedlings will establish well, setting the stage for a bountiful autumn harvest.
Caring for Your Growing Pumpkin Plants
Successfully nurturing your pumpkin plants means paying close attention to their needs at every stage. Start by watering deeply but infrequently—about 1 inch per week when seedlings are small, increasing to 1.5 inches as the plants flower and begin to set fruit. Always water at the base, targeting the soil rather than the leaves, ideally early in the morning to reduce disease risk.
Since pumpkins are heavy feeders, use a balanced fertilizer when planting, followed by regular applications of a low-nitrogen fertilizer once the vines start running. Too much nitrogen can lead to lush foliage but fewer pumpkins.
Applying a thick layer of straw or shredded leaves as mulch helps retain moisture, keeps roots cool, and prevents weeds from taking over; just leave a little space around the stems to prevent rot.
As vines sprawl, gently guide them by repositioning to avoid crowding or choking garden pathways. Some gardeners use stakes or small weights to keep them in place. Check the patch frequently to pull weeds by hand, being careful not to disturb shallow roots.
Prune excessive side shoots and secondary vines if your space is limited or to encourage larger fruits. When small pumpkins start to form, you can help by gently shaking flowers or introducing pollinators like bees into the garden.
Keep your eyes peeled for warning signs such as wilted leaves (which could signal under-watering or pests), yellowing (often a sign of nutrient deficiencies), or stunted growth. If your plants look stressed, check soil moisture first, then examine for common pests like squash bugs or powdery mildew. Quick action—like removing infested leaves or applying organic treatments—can save your crop.
With steady attention to these tasks, you’ll set your pumpkins up for a robust, healthy harvest.
Common Pests and Diseases (and How to Handle Them)
Pumpkins are prone to a handful of persistent pests and diseases that can challenge even dedicated gardeners. Squash bugs, one of the most common threats, feed on the leaves and stems, causing wilting and yellowing. You can spot their oval-shaped brown eggs on the undersides of leaves—removing these with a piece of tape early in the morning is an easy, pesticide-free way to interrupt their life cycle.
Cucumber beetles are another culprit, not only chewing through leaves and flowers but also spreading bacterial wilt. Floating row covers can help keep adult insects away, especially during the vulnerable seedling stage.
On the disease front, powdery mildew appears as white powdery spots on leaves and thrives in humid conditions. Space vines properly to improve airflow, water at the base of the plants to keep foliage dry, and remove any infected leaves right away. For persistent powdery mildew, a homemade spray using one tablespoon of baking soda per gallon of water can slow its spread.
Always apply treatments early in the morning or late afternoon when bees and beneficial insects are less active. If pests or disease get out of hand, remove and destroy badly affected plants to prevent them from spreading.
Regularly inspecting your pumpkin patch and responding quickly to any signs of trouble will give your pumpkins the best chance to grow healthy and strong without resorting to synthetic chemicals.
Harvesting Your Pumpkins
Knowing when to harvest your pumpkins is key to ensuring they last through the season. Start by checking the color—ripe pumpkins usually display a deep, even shade of orange (or another mature variety color) without any remaining green patches.
Next, inspect the rind; it should be hard enough that you can’t puncture it with a fingernail. Also, look at the vine attached to the fruit—if it’s beginning to dry out and turn brown, that’s a good sign your pumpkin has stopped growing and is ready for picking.
To harvest, use a sharp knife or sturdy garden shears rather than twisting or pulling the pumpkin off by hand, which could damage both the fruit and the vines. Leave at least two to four inches of stem attached; this not only helps prevent rot but also makes pumpkins easier to handle.
After harvesting, gently brush off any dirt, but avoid washing them, as moisture can speed up spoiling. Cure the pumpkins by letting them sit in a warm, dry, and well-ventilated area for a week or two—this toughens the skin further and helps extend storage life.
Store your cured pumpkins in a cool, dry place (ideally 50-55°F) and check them regularly for soft spots or mold, removing any affected fruit promptly to protect the rest.
Pumpkin Growing FAQs and Extra Tips
When growing pumpkins, gardeners often wonder how much space to give each plant—ideally, leave at least 4 to 6 feet between mounds, as these sprawling vines need room to flourish.
If your pumpkin flowers aren’t producing fruit, it could be due to a lack of pollinators or extreme weather. Try hand-pollinating with a small paintbrush or encourage bees by planting flowers nearby.
Fruit splitting is usually caused by inconsistent watering, especially after a dry spell. A thick layer of mulch helps keep soil moisture steady.
For a non-stop harvest, practice succession planting by sowing new seeds every 2 to 3 weeks until midsummer.
Pair pumpkins with beneficial companion plants like corn, beans, and nasturtiums, which can help deter pests and boost yields.
To extend your growing season, start seeds indoors in biodegradable pots a few weeks before the last frost, or protect young seedlings with row covers on chilly nights.
Each year, experiment with new pumpkin varieties—some, like ‘Sugar Pie’, are great for baking, while others, such as ‘Atlantic Giant’, are bred for size. Trying different types not only keeps gardening fresh and fun but also increases your odds of a successful, diverse harvest.