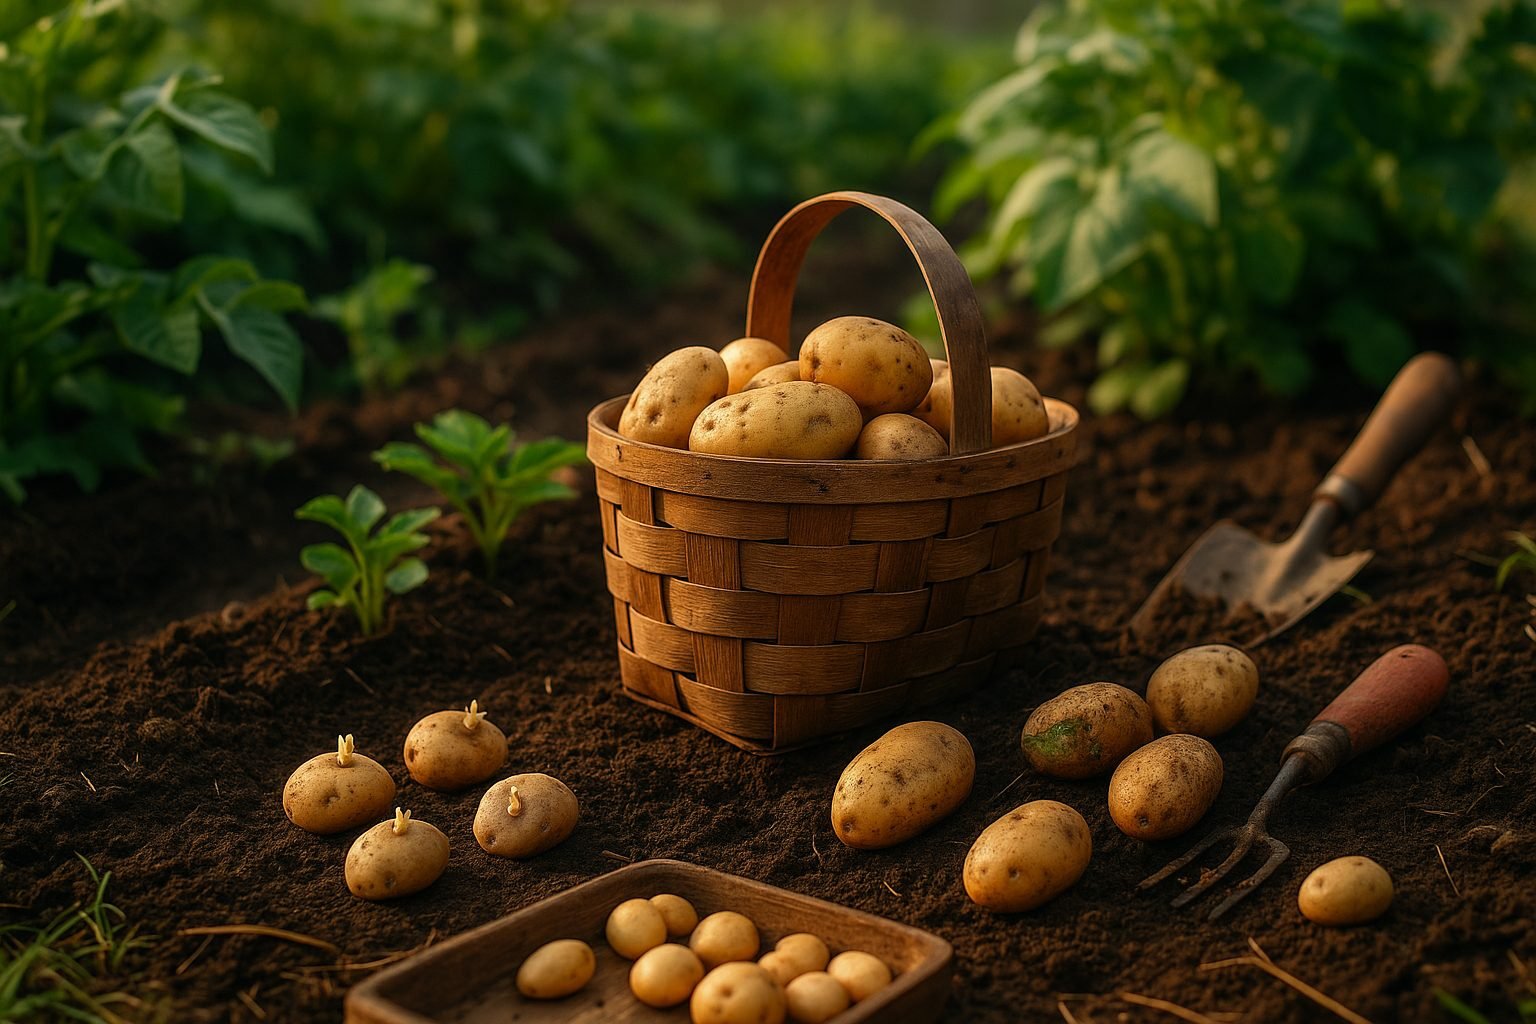
Introduction to Growing Potatoes from Potatoes
Growing potatoes from store-bought spuds is an accessible and rewarding project for gardeners of all experience levels. Imagine transforming a humble supermarket potato into a basket of fresh, homegrown potatoes right outside your back door. The appeal is simple: it’s a sustainable way to reduce kitchen waste, save money, and experience the hands-on joy of watching food come to life. Plus, potatoes are surprisingly forgiving—they thrive in gardens and containers alike, making them a great option whether you have acres of space or just a sunny patio.
One of the main reasons people choose to grow potatoes from store-bought ones is affordability. Instead of spending more on certified seed potatoes, many try their hand with what’s already in their pantry. It’s also a sustainable choice that maximizes food that might otherwise go uneaten. And there’s something deeply satisfying about digging through cool soil and unearthing your own crop—a process that’s fun for both solo gardeners and families with kids.
The process itself is refreshingly straightforward. Start by selecting healthy, sprouting potatoes from the grocery store—look for firm tubers with visible “eyes.” Next, cut them into chunks if needed, making sure each piece has at least one eye. Allow the cuts to dry for a day or two, then plant them in loose, well-drained soil or a large container, burying them a few inches deep. With regular watering and hilling up soil as they grow, you can look forward to a successful harvest in just a few months. Starting your potato patch is easier than you think—and the rewards go far beyond a tasty meal.
Choosing the Right Potatoes
When planning your potato patch, deciding between store-bought potatoes and certified seed potatoes can make a big difference in your harvest. Certified seed potatoes are bred specifically for planting, screened for diseases, and typically untreated with chemicals that inhibit sprouting, which helps ensure vigorous, healthy plants.
In contrast, store-bought potatoes, while easy to grab during your grocery run, often pose hidden risks. They may carry diseases like late blight or scab, and are frequently treated with sprout inhibitors to extend shelf life, making them stubborn or unreliable sprouters in the garden. It’s generally safest to avoid store-bought potatoes if you want to prevent introducing pests or plant diseases into your soil—especially if you’re growing potatoes in the same spot year after year.
However, if certified seed potatoes aren’t available, you can use organic, untreated potatoes from the store—just inspect them closely for blemishes, rot, or signs of disease. Look for firm, unblemished tubers with ‘eyes’ (the little buds where new shoots will grow), avoiding any that are shriveled, green, or damaged.
Ultimately, for the healthiest plants and a trouble-free harvest, investing in seed potatoes from a reputable nursery is worth the slight extra cost. But for casual or experimental gardening, organic supermarket potatoes can work if you’re cautious about those common risks.
Pre-Sprouting (Chitting) Potatoes
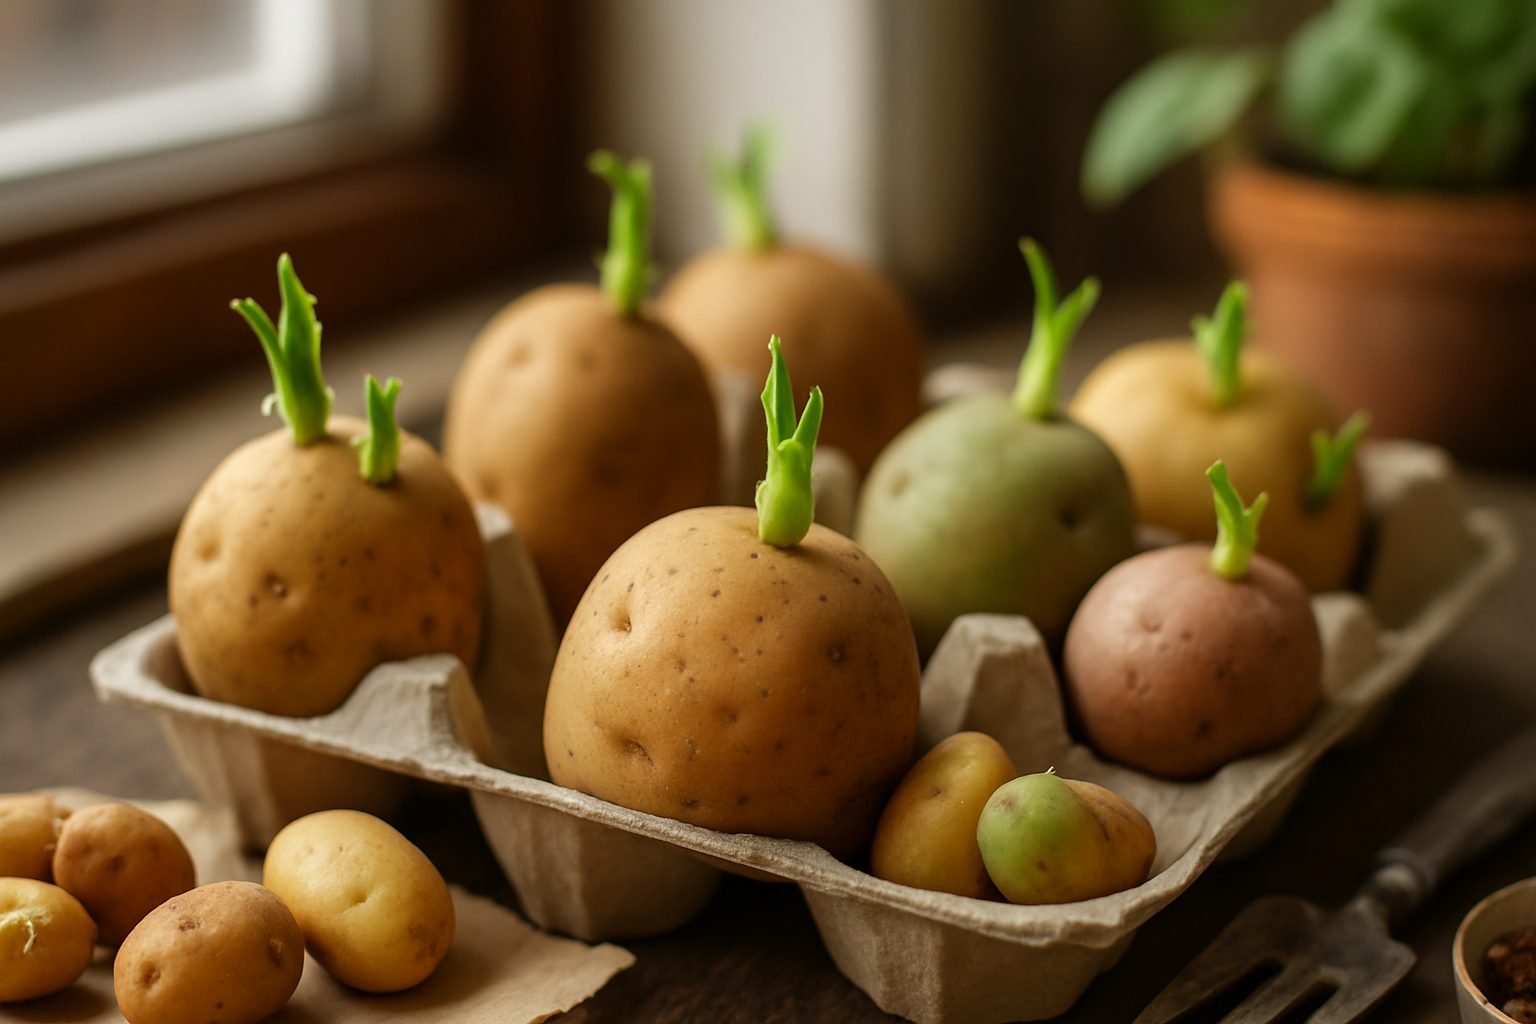
Chitting, also known as pre-sprouting, is a simple technique that encourages seed potatoes to start growing shoots before planting them in the ground. This process gives potatoes a valuable head start, resulting in quicker growth, a more robust root system, and often an earlier and larger harvest.
To begin chitting, lay your seed potatoes—whole and uncut—on an egg carton or tray with the end sporting the most “eyes” (small dimples from which shoots emerge) facing upward. Place the tray in a cool (around 50°F or 10°C), bright spot out of direct sunlight, such as a windowsill or unheated porch. Avoid warm, dark areas, which can lead to long, weak sprouts that break easily.
Start chitting about four to six weeks before you plan to plant outside, typically in late winter or early spring. Over time, you’ll notice sturdy, green or purple shoots forming. Ideally, aim for two to four strong sprouts per potato piece when you plant; if more develop, gently rub off extras, as too many shoots can crowd each other and reduce yield.
When it comes time to plant, cut large potatoes into chunks, ensuring each piece has a couple of healthy sprouts (and some flesh to support initial growth), and let them air-dry for a day to prevent rot.
Real-world Tip
Check your potatoes regularly and rotate them if some shoots aren’t getting enough light, or if a piece shows signs of softness or mold. When done right, chitting can make a surprising difference, especially in cooler climates with short growing seasons. This small prep step ensures your potatoes hit the ground running—literally sprouting ahead of schedule for a better crop.
Planting Potatoes: Techniques and Tips
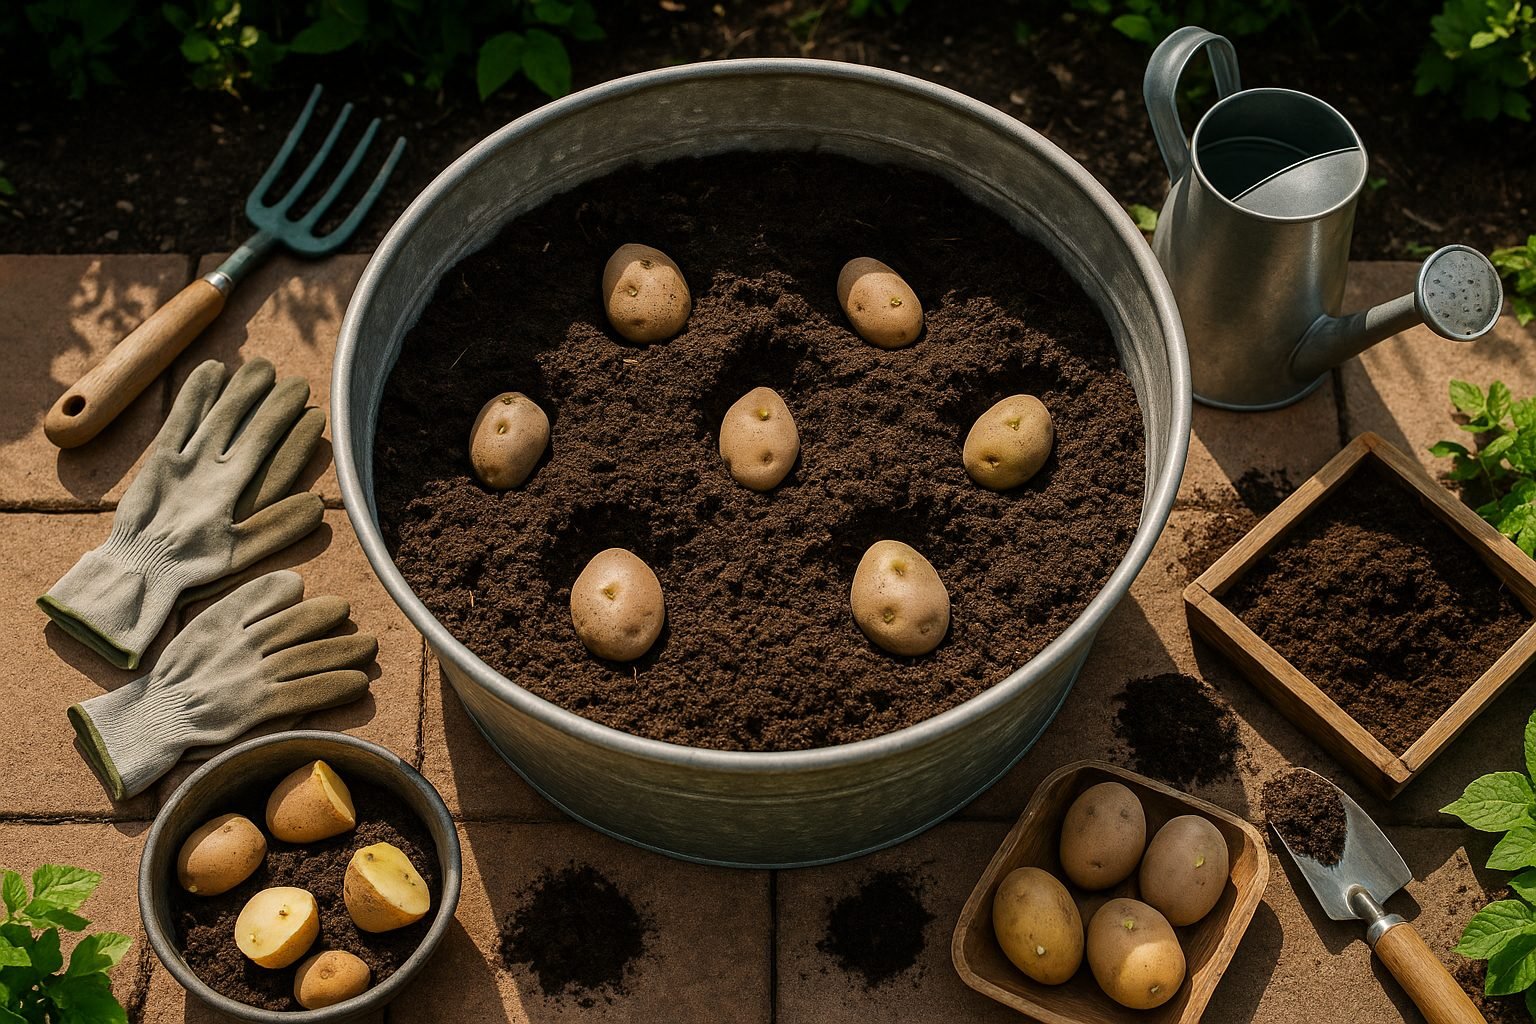
When planting potatoes, start by selecting healthy seed potatoes—these are disease-free tubers sold specifically for planting. If your seed potatoes are larger than an egg, cut them into chunks with at least one or two eyes per piece. Let these cut pieces dry out in a cool, well-ventilated spot for a day or two; this forms a callus over the cut surface, which helps prevent rot once planted.
Choose a spot that gets at least six hours of sunlight daily. Potatoes grow best in loose, well-draining soil rich in organic matter, such as compost-enriched sandy loam. Avoid heavy clay soils, as they cause poor drainage and tuber rot. If garden space is limited, use large containers—at least 15 gallons—or old barrels, buckets, or dedicated potato grow bags. Fill them with a loose potting mix blended with compost.
Planting in Traditional Garden Beds
Dig trenches about 6–8 inches deep. Place potato pieces (cut side down, eyes facing up) 12 inches apart, with rows 24–30 inches apart. Cover them with 3–4 inches of soil at first, then gradually mound more soil around the growing plants (“hilling”) as they emerge. This promotes tuber formation and prevents greening.
Planting in Containers
Fill the bottom third of the container with soil mix, lay potato pieces 4–6 inches apart, and top with 3–4 inches of mix. As shoots appear, continue adding soil to cover all but the top leaves, repeating until the container is full.
Watering and Care
No matter the method, potatoes need consistent moisture, especially as tubers begin to form. Water deeply so the soil stays damp but not soggy—too much water causes rot, while too little reduces yield. Aim to water when the top inch feels dry. Adding a mulch layer helps keep moisture levels steady and reduces weeds.
With the right preparation and care, you’ll be rewarded with fresh, flavorful potatoes, ready to harvest in a few months when the plants begin to yellow and die back.
Caring for Your Potato Plants
Proper care is key to growing healthy, productive potato plants, and a few essential tasks will make all the difference.
Hilling
Start with hilling: as your potato plants grow to about six inches tall, gently mound soil up around the base of each plant, covering the lower leaves. Repeat this every couple of weeks, or whenever plants grow another 6–8 inches, until about a foot of soil is heaped around the stems. Hilling ensures developing tubers stay underground and out of the sunlight, preventing them from turning green and toxic.
Watering
Watering is another top priority—potatoes need about 1–2 inches of water per week, especially once flowers appear, but they hate soggy feet. Water deeply and in the morning so foliage dries out, reducing the risk of disease; a layer of straw mulch helps retain moisture and keeps weeds at bay.
Feeding
For feeding, use a balanced fertilizer or organic compost worked into the soil early and again when plants begin to flower. Overfeeding nitrogen can lead to lush leaves but fewer potatoes, so follow package recommendations.
Watch for Signs of Trouble
Healthy potato plants are upright, with vibrant green leaves and sturdy stems. Yellowing, curling, holes, or black spots can signal pests like Colorado potato beetle or blight fungi.
- Hand-pick beetles.
- Remove affected leaves.
- Use crop rotation each year to minimize disease buildup.
Remove weeds promptly and keep an eye out for wilting or stunted plants, which can indicate poor drainage or underground pests.
By staying vigilant and tending your potatoes regularly, you’ll set yourself up for a bountiful harvest and plenty of homegrown spuds.
Harvesting and Storing Homegrown Potatoes
Knowing when to harvest potatoes is key to getting the best taste and storage life from your crop. The simplest sign is the foliage: when the leaves and stems turn yellow and die back, your potatoes are mature and ready to dig up.
For new potatoes, you can gently dig around the base of the plant a couple of weeks after flowering. But for full-sized tubers meant for storage, wait two to three weeks after the plants have fully died down.
Harvest on a dry day to minimize the risk of rot. Use a garden fork or shovel, and start digging about twelve inches away from the plant to avoid piercing the potatoes. Loosen the soil carefully and lift the tubers by hand, brushing off excess dirt instead of washing them, as moisture can encourage decay.
After harvesting, cure the potatoes by spreading them in a single layer in a cool, dark, well-ventilated spot—like a garage or shed—for one to two weeks. This important step toughens the skins and prepares them for long-term storage.
Once cured, transfer your potatoes to a cellar, basement, or other cool (around 40–50°F), dark, and humid place. Paper bags, mesh sacks, or cardboard boxes allow airflow and help prevent moisture buildup—never use airtight plastic containers.
Check your stored potatoes regularly for signs of rot or sprouting and remove any affected tubers promptly.
Common Storage Issues and Solutions
- Shriveling: Caused by low humidity. Store with a damp cloth or tray of water nearby to maintain proper humidity.
- Sprouting: Triggered by warmth or light. Keep the temperature consistently cool and ensure total darkness with burlap or opaque bins.
- Rot: Resulting from excess moisture. Avoid moisture buildup by using breathable storage containers and harvesting on dry days.
With these tips, you can enjoy your homegrown potatoes for months after harvest.
Common Problems and Solutions
Many first-time potato growers encounter a few common hurdles, but with some simple fixes, you can keep your crop on track.
If your potatoes aren’t sprouting well, check that your seed potatoes are fresh and planted in soil that’s not too cold or wet—wait until the soil warms to at least 45°F, and space them to avoid crowding.
Pest problems like Colorado potato beetles or aphids can be managed by checking plants regularly and removing bugs by hand or using organic sprays like neem oil.
For diseases such as blight, choose disease-resistant varieties and rotate crops each year to avoid spreading pathogens.
If you notice your potatoes turning green, this means they’ve been exposed to sunlight and are producing a toxin called solanine—mound more soil around the plants to keep tubers covered as they grow.
Don’t get discouraged by mistakes; even seasoned growers face setbacks, and every crop brings new lessons.
Keep notes, start with a small patch, and remember that healthy soil and regular care make a big difference. With time and attention, your confidence and harvests will both grow.