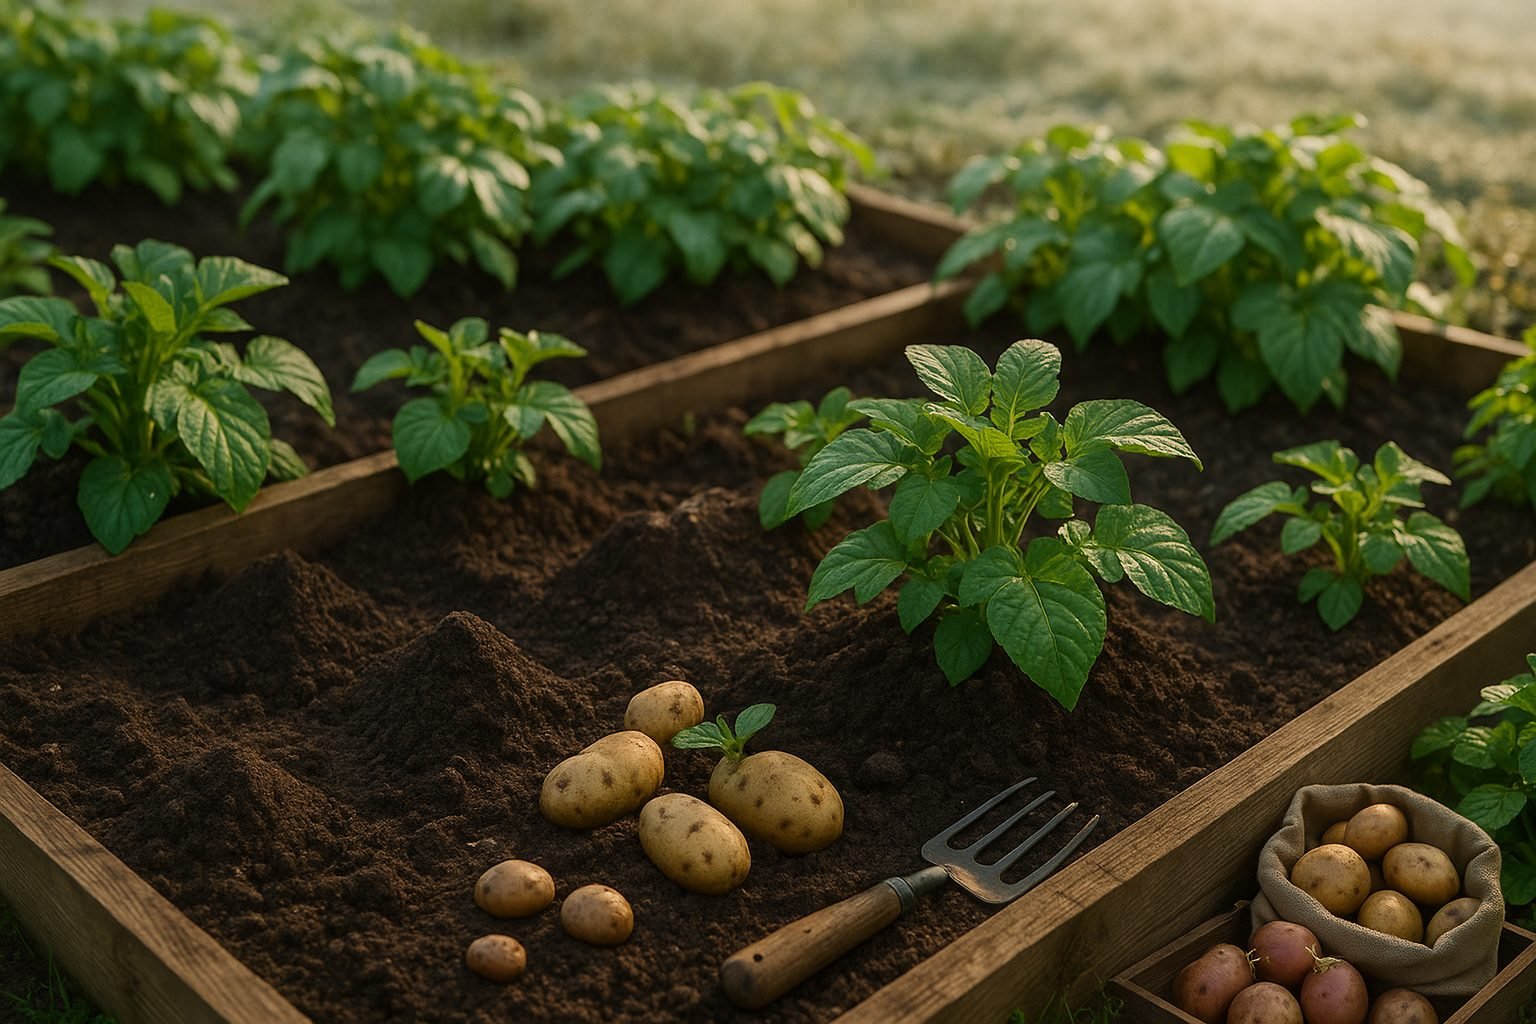
Understanding Potato Hardiness Zones
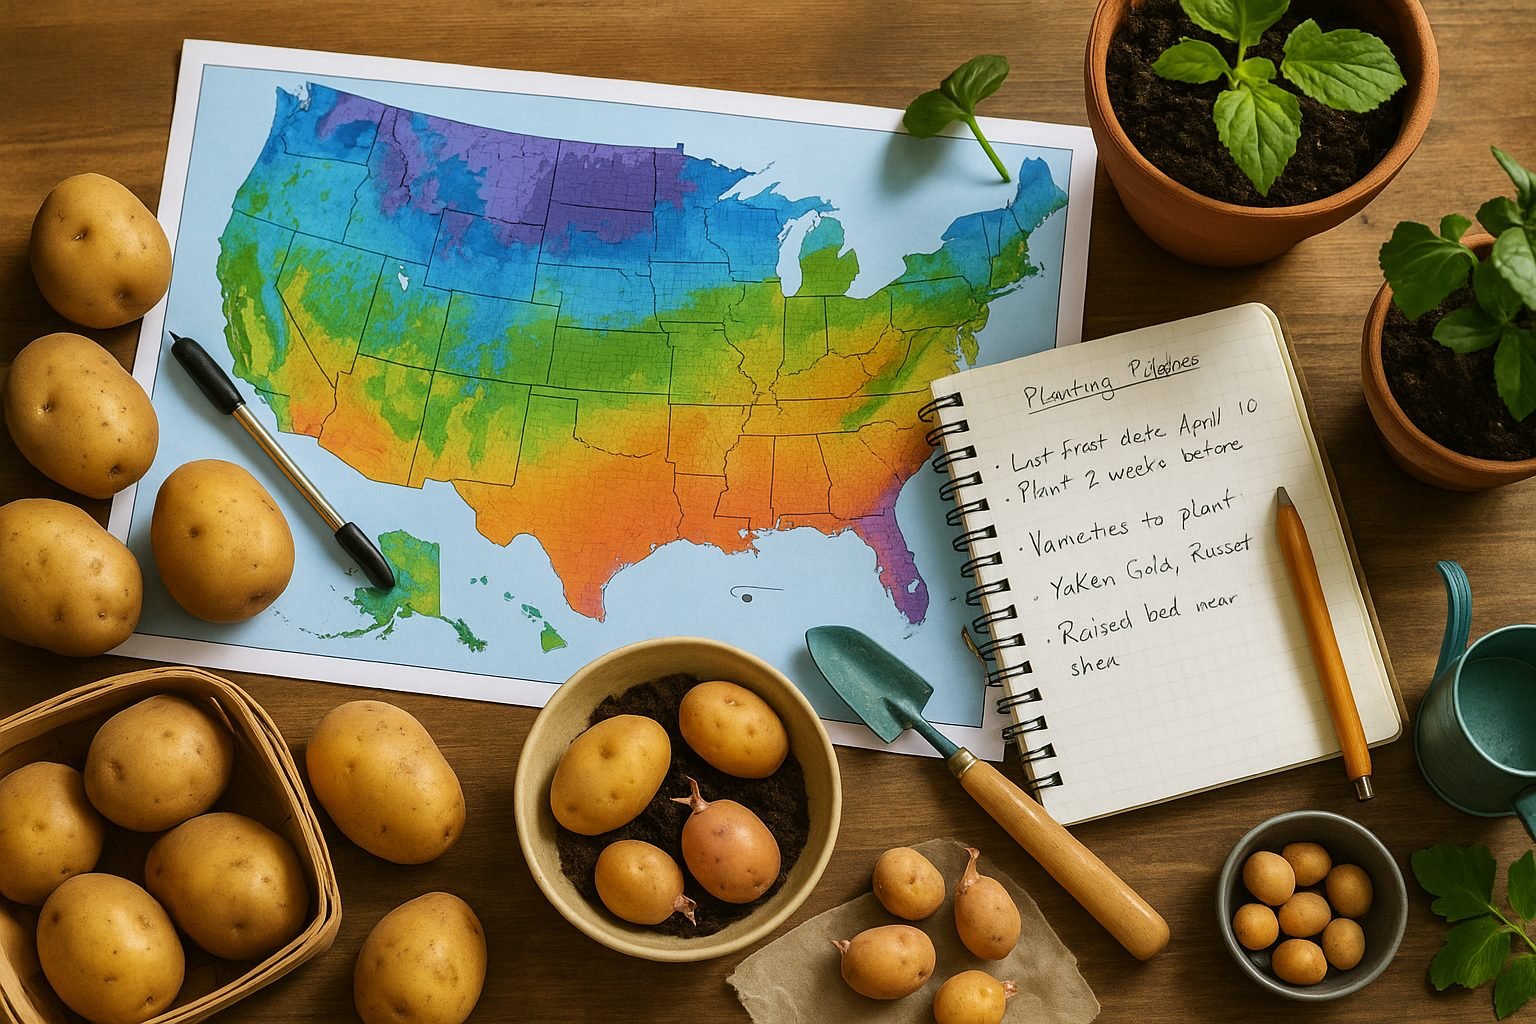
If you’re considering growing potatoes in cold weather, understanding hardiness zones is your first step toward a thriving harvest. Hardiness zones, defined by the USDA and other gardening agencies, describe regions based on their minimum winter temperatures. These zones help you determine which plants will survive and thrive outdoors year-round. For gardeners, especially those in cooler climates, recognizing your specific hardiness zone is crucial—it guides you on when to plant potatoes for the best chance of a successful crop.
Potatoes, like many vegetables, have an ideal temperature range for growth. They stop growing in freezing conditions, and prolonged cold can damage both plants and tubers. By knowing your hardiness zone, you can match your planting schedule to the local climate, ensuring your potatoes aren’t exposed to frost at vulnerable stages. For example, in Zone 3 regions (where winter lows can drop to -40°F), it’s best to plant potatoes after the last frost date, when soil temperatures reach at least 45°F. In milder Zone 6 or 7 areas, you can start your crop earlier, extending your growing season.
To successfully grow potatoes in cold weather, start by identifying your zone using online maps or local extension resources. Plan your planting time so that sprouting and early growth avoid late frosts, and protect seed potatoes with mulch or frost cloth if cold snaps threaten. Adjust your potato variety choice too—some are bred for short, cool summers and will produce better yields in chillier areas. Mastering your local hardiness zone takes much of the guesswork out of gardening, letting you enjoy a satisfying, hearty potato harvest no matter how low the temperatures dip.
Best Temperature Ranges for Potatoes
Potatoes thrive best when both air and soil temperatures stay within specific ranges, making temperature management crucial for a healthy crop. Ideally, potatoes prefer daytime air temperatures between 60°F and 70°F (15°C to 21°C), with soil temperatures around 60°F to 65°F (15°C to 18°C) for optimal tuber formation.
Growth slows significantly when air temperatures climb above 80°F (27°C) or drop below 50°F (10°C), and tuber development can stop when soil temperatures exceed 80°F or fall below 45°F (7°C).
Dormancy in potato tubers is naturally broken when soil temperatures consistently rise above 45°F, but excessively warm soils can trigger premature sprouting or dormancy breakdown during storage, reducing the quality of stored potatoes. On the other hand, prolonged exposure to cool temperatures below 40°F (4°C), especially in the soil, can delay germination and stunt early growth.
Frost is especially dangerous—temperatures below 29°F (-1.5°C) can cause leaf damage or even kill young plants, while tubers exposed to freezing can suffer tissue breakdown, leading to rot.
High soil temperatures can also encourage diseases like scab and reduce yield quality, while excessively hot weather may halt tuber production, causing misshapen or undersized potatoes.
To minimize risks, monitor soil temperatures with a probe before planting, use mulch to moderate soil conditions, and irrigate during hot spells to prevent overheating. By keeping a close watch on temperature ranges, you’ll give your potatoes the best chance to grow strong, healthy, and productive.
Selecting and Preparing Seed Potatoes
Choosing the right seed potatoes for your area is crucial for a successful harvest. Start by considering your climate and USDA hardiness zone—cooler northern zones (3–5) do best with early-maturing varieties like ‘Yukon Gold’ or ‘Red Norland’ that can tolerate shorter growing seasons, while gardeners in warmer zones (6–8) might opt for mid- to late-season types like ‘Kennebec’ or ‘Russet Burbank.’
Always buy certified, disease-free seed potatoes from a reputable supplier to avoid introducing pests or pathogens to your soil. Once you’ve selected your variety, store the seed potatoes in a cool, dark, well-ventilated area (ideally 40–50°F) to prevent premature sprouting.
About two weeks before planting, bring them into a slightly warmer, bright spot to encourage “chitting”—letting them develop short, sturdy sprouts, which helps ensure strong growth after planting.
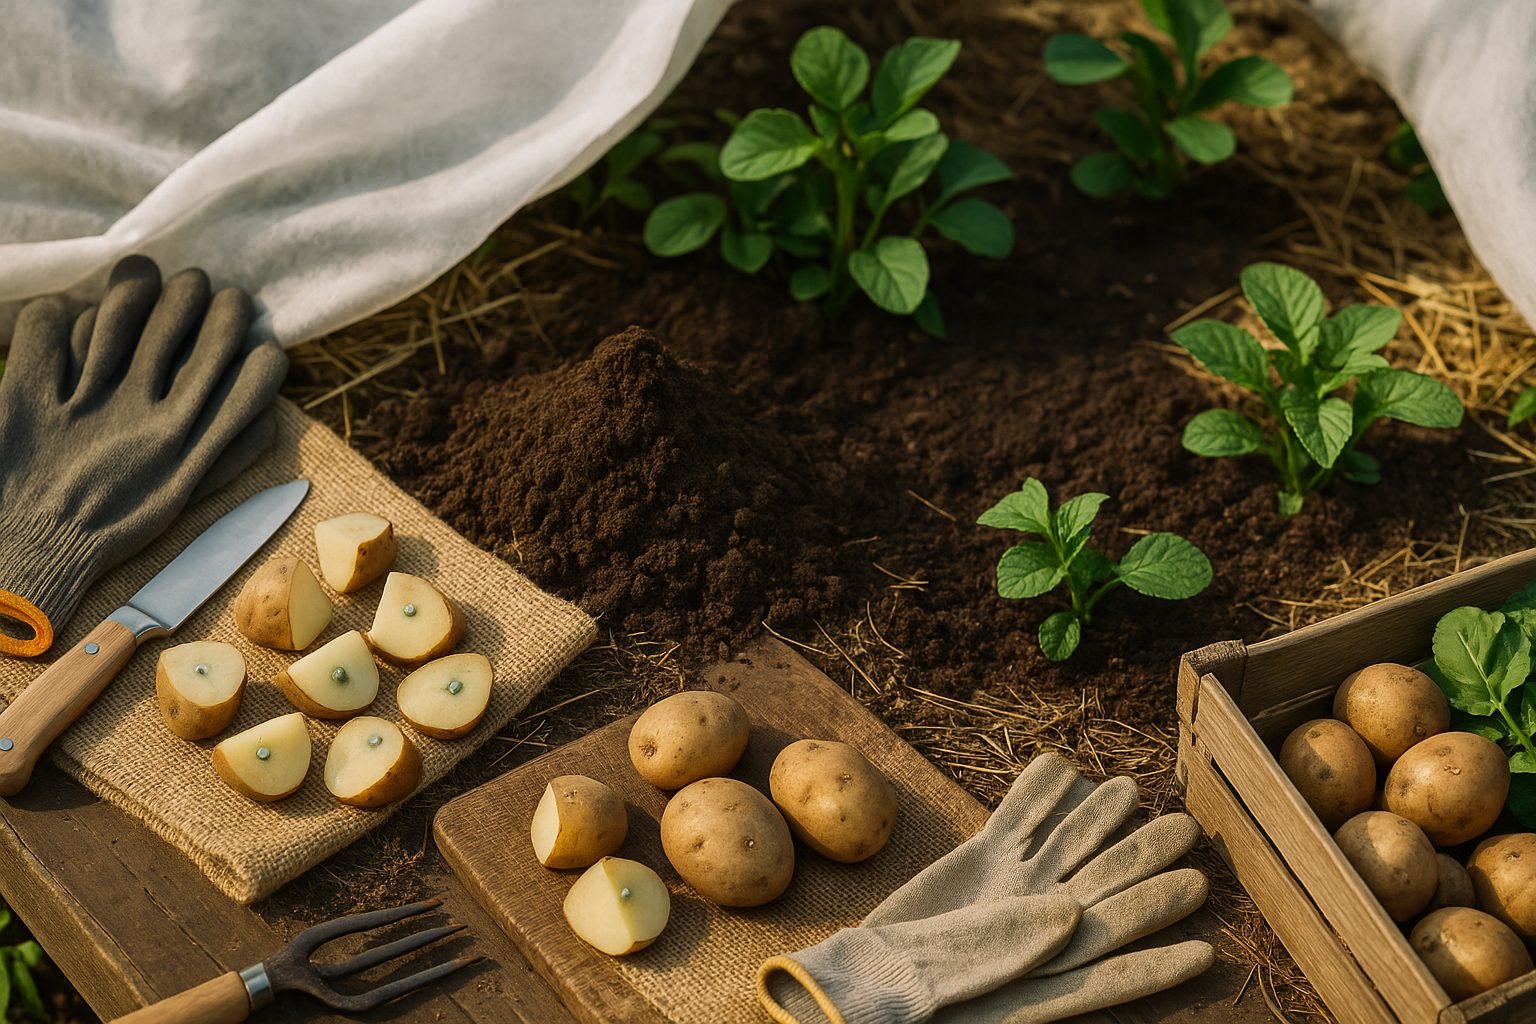
If your seed potatoes are large (bigger than a chicken egg), cut them into pieces, making sure each chunk has at least one “eye,” and let them air-dry for a day or two to heal and reduce the risk of rot. Those in humid climates or zones prone to disease should pay special attention to cleanliness: disinfect knives or cutting boards with a diluted bleach solution between cuts.
For best results, match your variety to your local conditions by talking with nearby gardeners or your county extension service, as they often have recommendations tailored to your region’s soil, pests, and weather.
Planting and Protecting Potatoes Across Zones
Knowing when and how to plant potatoes is key to a thriving harvest—and timing depends on your hardiness zone. In colder zones like 3-5, plant seed potatoes two weeks after your last spring frost. In warmer areas, such as zones 7-10, you can start planting as soon as the soil reaches 45°F, often in late winter or very early spring.
For the best growth, choose loose, well-drained soil rich in organic matter. Sandy loam works especially well, but raised beds or large containers with quality potting mix are great options for gardens with heavy clay or limited space. Sunlight is a must: select a location that gets at least six hours of direct sun daily.
In humid or rainy climates, leave a bit more space—15-18 inches—between seed pieces to improve airflow and reduce disease risk. In drier, cooler areas, 12 inches apart is sufficient. You can plant potatoes in traditional rows, mounding soil over each seed, or try containers and raised beds for earlier warm-up and simple harvests.
When a late frost threatens, protect emerging shoots with a light layer of mulch, straw, or even overturned buckets or old blankets—just be sure to remove covers in the morning to prevent overheating. For added security, “hill” more soil around stems as they grow; this not only shields delicate sprouts from sudden cold snaps but also encourages the plants to produce more tubers.
With a bit of planning and the right protection, anyone can enjoy a healthy potato crop, whether you have acres, a patio corner, or just a spare raised bed.
Dealing with Frost: Risks, Damage, and Recovery
Frost is a serious concern for potato growers, especially during unpredictable swings in late spring or early fall weather. There are several types of frost that can threaten your crop:
- Radiation frost occurs on clear, calm nights when heat escapes from the soil.
- Advective frost is caused suddenly by cold winds.
Both types can lead to browning or blackening of potato foliage and even affect emerging sprouts or tubers near the surface. Young leaves are especially vulnerable and may wilt, curl, or appear water-soaked the morning after a frost.
To guard your potatoes, keep an eye on local forecasts and cover rows with frost blankets or even old bedsheets when temperatures are expected to dip below 32°F (0°C). If possible, irrigate the field in the afternoon before a predicted frost, as moist soil holds heat better overnight. For smaller patches, using straw or mulch can help insulate plants close to the ground.
If frost strikes and leaves show damage, don’t panic—leave damaged foliage intact for a few days so you can assess the full extent of injury; often, new growth will emerge from the plant’s base. Remove dead tissue only after regrowth appears, and consider applying a balanced fertilizer while keeping the soil evenly moist to support recovery.
With timely protection and a little patience, potatoes can often bounce back from mild to moderate frost events, ensuring a healthy harvest.
Regional and Microclimate Considerations
Microclimates and local weather patterns play a huge role in how well potatoes grow—often making a bigger difference than general climate zones. For example, a garden on a hillside that gets extra sun and wind may warm up faster in spring than a shaded low-lying area, allowing for earlier potato planting. Conversely, valleys and depressions tend to collect cold air and hold frost longer, meaning you might need to delay planting or use protective row covers.
If you live in a rainy coastal area, focus on well-draining soil by building raised beds or planting on gentle mounds (called “hilling”) to avoid soggy roots and rot. In dry, high-altitude regions, potatoes benefit from mulching to conserve soil moisture and keep temperatures steady.
Monitoring your local conditions throughout the season is key. Inexpensive weather stations or even basic thermometers can help you track nighttime lows and rainfall so you can adjust watering and planting dates as needed. Many gardeners find digital garden planning tools or journaling apps useful, as they let you record exactly when frosts come and go each year, when the soil becomes workable, and how your potatoes perform—valuable info when planning for next season.
Tailoring your growing techniques to your unique microclimate—whether that means starting seed potatoes indoors, adjusting fertilization, or selecting varieties bred for short or cool seasons—sets you up for the strongest, healthiest potato harvest. Don’t be afraid to experiment; just be sure to keep notes so you can fine-tune your approach as you learn more about your region’s quirks.
Summary & Seasonal Potato Growing Tips
Growing healthy potatoes starts with understanding your local zone’s climate and soil conditions. In cooler northern areas, start early with disease-resistant seed potatoes, aiming to plant when the soil reaches about 45°F (7°C). If you’re in a warmer southern zone, opt for late winter or early spring planting and choose heat-tolerant varieties.
Well-draining, loose soil is key everywhere—avoid soggy ground, which leads to rot. Mix in plenty of organic matter for nutrition. For most zones, potatoes need at least six hours of sun daily (the more, the better), and consistent moisture—aim for an inch of water per week. Adding mulch helps preserve moisture and prevent weeds.
When sprouts reach 6 inches, gently “hill” soil or mulch around the base to protect developing tubers from sunlight, which can turn them green and toxic. Watch for pests like Colorado potato beetles; handpick or use organic treatments as needed.
Harvest when the foliage starts yellowing, and cure your potatoes in a cool, dark place for a week to help them store longer.
Quick Checklist
- Choose the right variety
- Prep your soil
- Time your planting to your zone
- Water regularly
- Hill plants as they grow
- Monitor for pests
- Harvest at the right time
- Cure before storing
For in-depth, zone-specific advice, the USDA Plant Hardiness Zone Map is a great starting point. Additionally, local cooperative extension websites often offer detailed planting calendars and recommendations tailored to your region—just search for “potato growing + your state/region.” Online forums and agricultural blogs can also connect you with experienced local growers for tips and troubleshooting.
With the right approach and resources, you’ll enjoy a bountiful potato harvest year after year, no matter where you live.