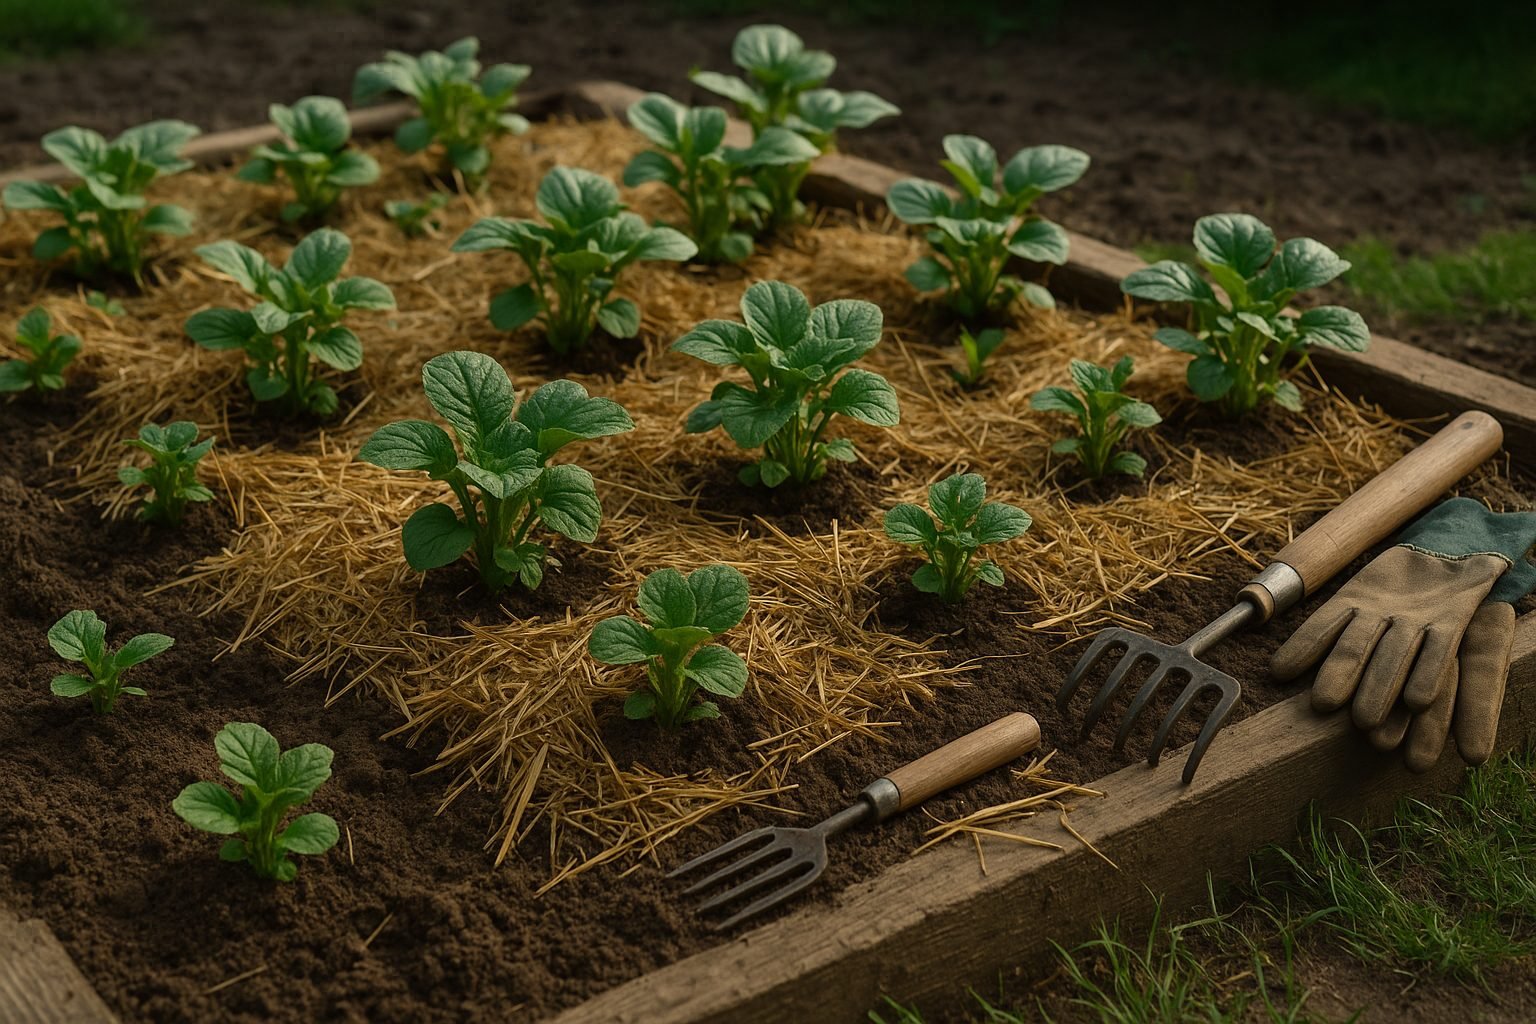
Why Plant and Mulch Potatoes
Mulching potatoes isn’t just a gardening trend—it’s a time-tested method that makes growing your own spuds easier, cheaper, and more enjoyable. If you’ve ever tasted a freshly dug homegrown potato, you know they simply outshine store-bought varieties in both flavor and nutrition. Growing potatoes at home not only saves you money on grocery bills but also lets you control what goes into your soil, keeping your food safer and more nutrient-rich.
How you grow your potatoes matters almost as much as whether you grow them. Many traditional gardeners rely on hilling or planting potatoes directly in bare soil. While these methods work, they have downsides: bare soil can dry out quickly and makes it easier for weeds to take hold, and constant hilling is time-consuming and labor-intensive.
That’s where mulching potatoes comes in. By covering your soil with organic material—like straw, leaves, or even grass clippings—you create a protective layer that locks in moisture. This means you’ll water less often, and your tubers are less likely to crack from uneven hydration. Mulch also blocks sunlight from reaching weed seeds, dramatically reducing the time you spend weeding.
Perhaps most importantly, mulching creates a cooler, cleaner, and looser environment for potatoes to grow, lowering the risk of diseases and green, bitter tubers caused by sunlight exposure. In my own garden, switching to a thick straw mulch meant a more abundant harvest and almost no weed problems. Compared to traditional hilling, mulching potatoes is much less work and especially helpful in dry climates or if you’re looking to maximize your yields with minimal effort.
So, if you want better-tasting, healthier potatoes and less back-breaking work, mulching could be the upgrade your potato patch needs.
Choosing the Best Mulch Materials for Potatoes
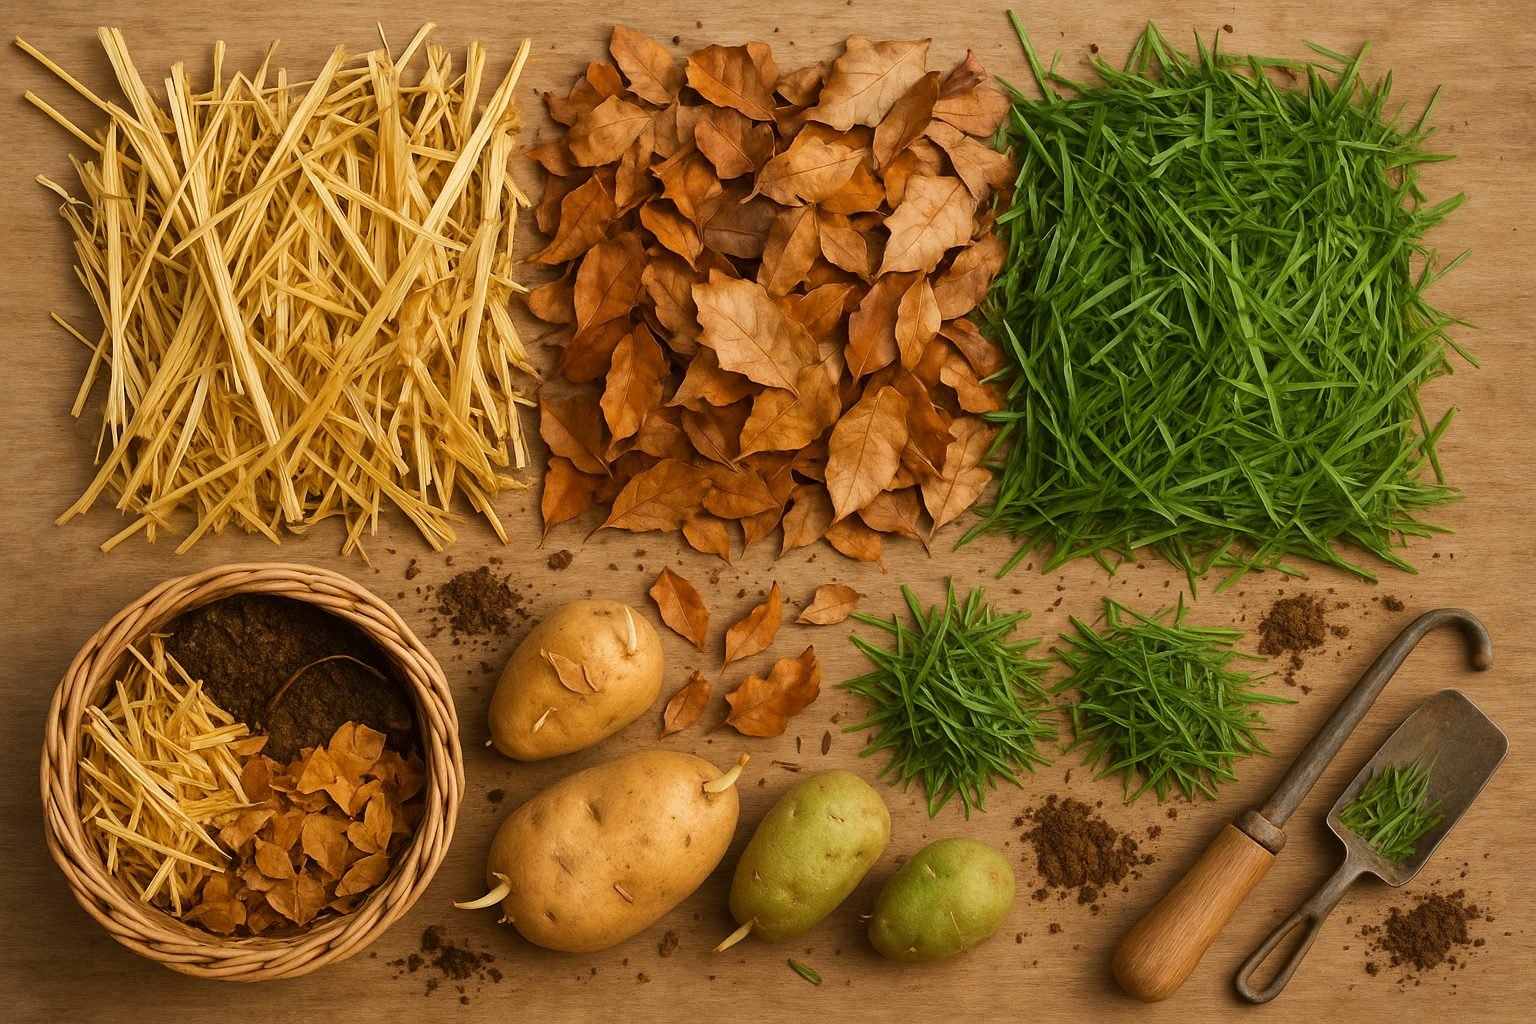
When it comes to growing healthy, productive potato plants, the right mulch can make a big difference. Straw is a classic choice—it’s lightweight, easy to spread, and does a great job of keeping soil moist and tubers cool. However, be sure to use weed-free straw to avoid introducing unwanted seeds into your potato bed.
Grass clippings offer another affordable option, especially if you have a lawn. Always apply them in thin layers and let them dry first to prevent matting and mold. Leaves are also effective, breaking down slowly to add nutrients to your soil, though they should be shredded to avoid forming a dense mat that blocks water and air.
Compost, rich in organic matter, not only feeds your plants but also improves moisture retention and soil structure; just ensure it’s well-rotted to prevent diseases.
There are some mulches to avoid: steer clear of chemically treated wood chips or sawdust, as harmful residues can stunt potato growth or contaminate your food. Pine needles should be used with caution, as they can acidify soil over time—potatoes prefer a neutral pH.
For the most sustainable and budget-friendly mulching, look for resources in your own backyard or community. Local garden centers often offer free or low-cost mulch, while farmers’ markets may sell clean straw bales. Leaves can be gathered in autumn, and neighbors may be happy to share grass clippings if their lawn isn’t chemically treated.
By thinking locally and using natural, untreated materials, you’ll give your potatoes the best environment to thrive without breaking the bank or harming the soil.
Preparing and Planting Potatoes for Mulching
Start by selecting healthy, certified seed potatoes—avoid grocery store potatoes, as they may carry disease. If your seed potatoes are large (bigger than a chicken egg), cut them into chunks, making sure each piece has at least one or two “eyes.” Lay the cut pieces out on a tray for a day or two before planting; this helps the cut surfaces to callous over, reducing the risk of rotting.
For an early start, some gardeners like to “chit” or pre-sprout potatoes: place the seed potatoes in a bright, cool area for a week or two until sturdy sprouts form. When you’re ready to plant, prepare your mulched bed—this can be a traditional row, a raised bed, or even small hills or mounds.
For rows, dig shallow trenches about 4–6 inches deep and 12–15 inches apart, spacing the potato pieces about 12 inches apart within the row. In beds, plant pieces in a grid with at least a foot between each. In hilled mounds, make small holes for each seed potato, spacing hills about 2–3 feet apart for good air circulation.
Gently cover the seed potatoes with 2–3 inches of loose soil before applying a generous layer (4–6 inches) of mulch, such as straw, shredded leaves, or grass clippings. As the plants grow, continue to add mulch to keep weeds down and retain moisture.
Mulched rows work well for easier harvesting, while beds offer dense planting for small spaces, and hills are handy for poorly drained areas. Adapt your method based on your garden space, soil type, and personal preference to get the most out of your potato crop.
Applying Mulch and Caring for Potato Plants
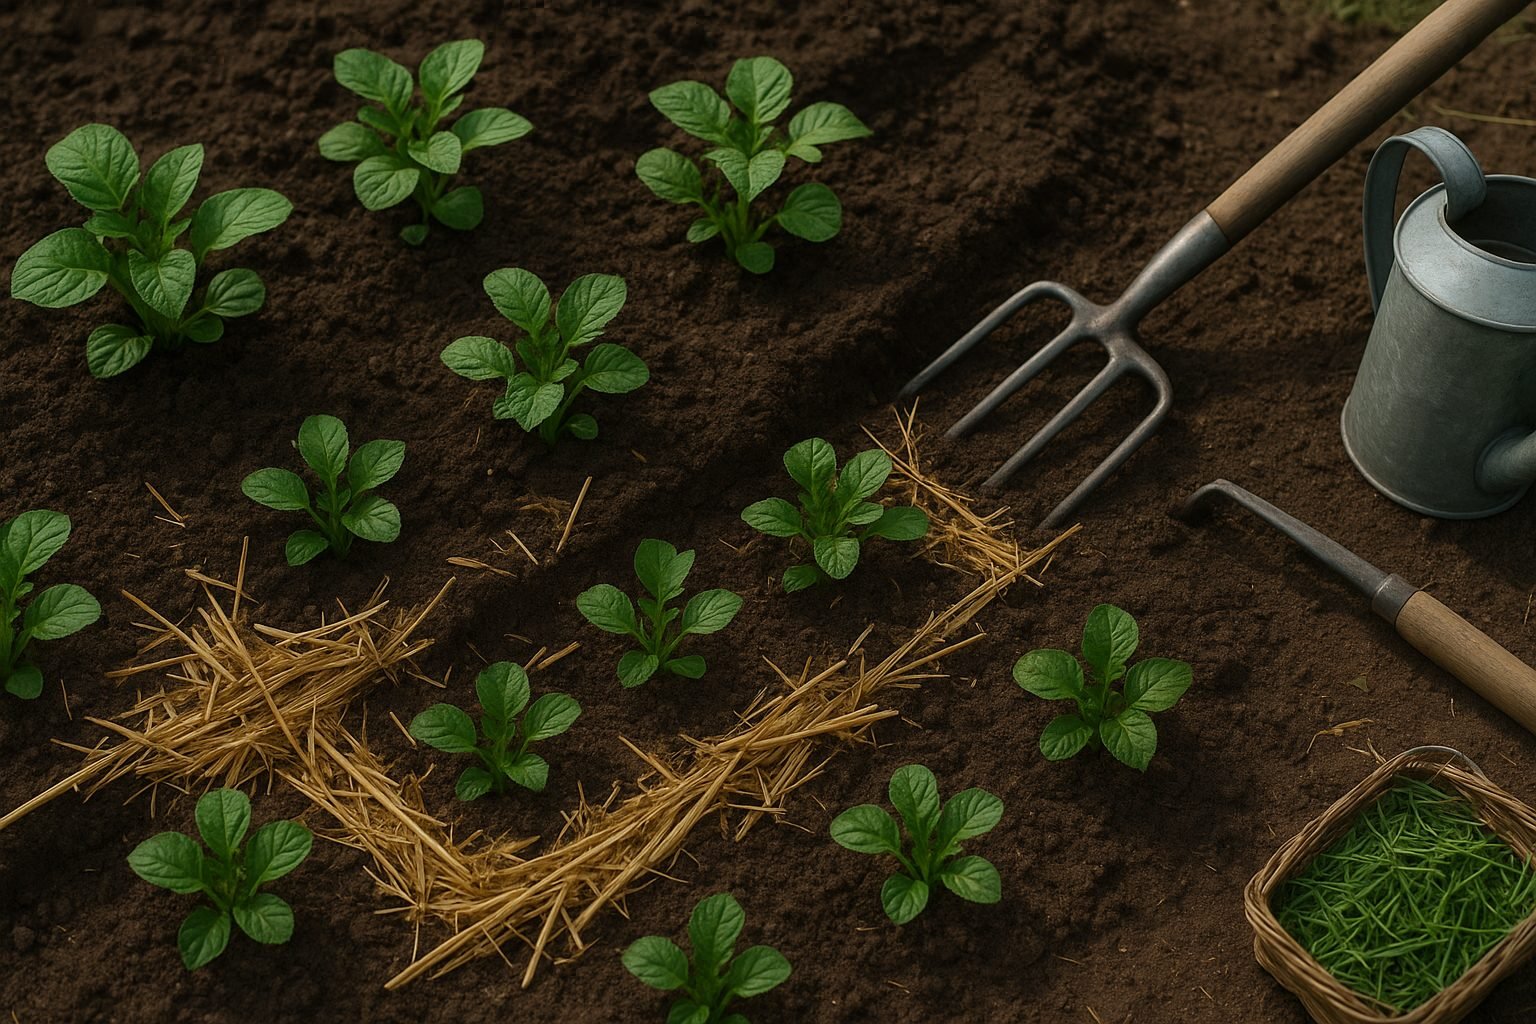
Mulching potatoes is a smart and simple step that leads to bigger harvests and less weeding. Start by applying mulch after your potato shoots are around 6 inches tall—this gives them a head start and avoids trapping in too much cold spring moisture. Use a loose, organic material like straw, shredded leaves, or grass clippings, and lay it down 2–4 inches thick, making sure not to mound directly on the stems.
As your potato plants grow, “hill up” around the stems by adding another 2–3 inches of mulch every couple of weeks. This shields developing tubers from sunlight and helps keep weeds in check. Mulch reduces how often you need to water, as it keeps soil moist for longer, but occasionally check under the mulch for dryness during hot spells.
Go easy on fertilizer—too much nitrogen can cause leafy growth but small tubers. Instead, use a balanced organic fertilizer or compost beneath the mulch at planting, then supplement with a low-nitrogen, high-potassium feed midway through the season.
Watch out for slugs in the mulch, especially in damp weather—sprinkle diatomaceous earth or crushed eggshells around plants to deter them, and try lifting mulch occasionally to let the soil surface dry. Also, make sure your mulch layer isn’t too thick or soggy, since excess moisture can encourage rot. If you notice mold or persistent wetness, pull back mulch temporarily to improve airflow.
Keep an eye on your beds, topping up mulch if you see potatoes peeking out of the soil—exposed tubers turn green and become inedible. With these simple care steps, your potato patch should thrive, offering healthy yields with minimal fuss.
Harvesting Mulched Potatoes
Knowing when to harvest mulched potatoes is key to getting the best yield with minimal effort. Start by watching the plants: when the foliage begins to yellow and die back—typically a few weeks after flowering—it’s a good sign the tubers have finished growing. Wait another week or two after the vines die for the skins to “set,” making them less likely to peel during harvest.
To find your potatoes, gently lift or peel back the mulch with your hands or a rake instead of digging with a shovel or fork. You’ll usually spot tubers right under the mulch layer, often near the surface, making them easy to gather without damaging their skins—a huge advantage over traditional digging, which can slice or bruise potatoes hidden deeper in the soil. Work slowly, feeling around with your hands to uncover every potato and avoid any accidental nicks.
Once harvested, brush off excess mulch and soil, but avoid washing the potatoes unless you’re planning to eat them right away. Spread them out in a cool, dry, and shaded area for about a week to cure—this helps toughen their skins and extends their storage life. Store cured potatoes in a dark, ventilated spot, like a cardboard box or paper bag in a cellar or pantry.
Harvesting from mulch is not only gentler on the tubers but also far less labor-intensive, making it a favorite method for many backyard gardeners who want an easy, low-damage potato crop.
Troubleshooting & Common Questions About Mulching Potatoes
Mulching potatoes is a simple way to boost your harvest, but gardeners often wonder about the details. A common question is how thick the mulch should be: aim for 3-4 inches of loose straw, grass clippings, or shredded leaves—thick enough to block sunlight from tubers (preventing greening), but not so heavy that it prevents shoots from breaking through. Start with 2 inches after planting and add more as plants grow.
Timing also matters. Most regions do best planting seed potatoes after the last frost, when the soil has warmed to about 45-50°F; set up your mulch after the shoots have emerged a few inches.
Mulch can occasionally lead to problems like rot, especially if it stays soggy—avoid this by using lighter, well-draining materials and keeping mulch a few inches away from potato stems to improve airflow.
Pests such as slugs, rodents, or wireworms might shelter in mulch. Reduce risks by inspecting mulch regularly and using traps or barriers if you see signs of damage.
For low yields, check your seed potatoes for disease, ensure they’re not overcrowded, and refresh your mulch if it compacts or thins mid-season.
In small spaces or containers, mulching is just as valuable: use chopped straw or coco coir to keep moisture steady, and roll back mulch near the edges to harvest early “new” potatoes. Remember that containers dry out faster, so monitor moisture more closely than with in-ground beds.
With a little attention and the right mulch, you can enjoy bigger, cleaner, and more trouble-free potato crops whether you’ve got sprawling beds or just a few pots on the patio.
Final Tips & Resources for Potato Growers
Choosing the right mulch can make a big difference in the health and yield of your potato crop, so don’t be afraid to experiment with options like straw, grass clippings, wood chips, or even newspaper to see what works best in your climate and soil. Each mulch offers unique benefits, from retaining moisture to keeping weeds at bay, so try a small patch with different materials this season.
For even more tips and troubleshooting, consider downloading gardening apps like iNaturalist or Planter, which help track progress and connect you with local advice. Online communities such as Reddit’s r/gardening or dedicated Facebook groups are also great places to swap stories and solutions with other potato growers.
If you prefer a deep dive, books like The Organic Gardener’s Handbook of Natural Pest and Disease Control can offer expert guidance. Whether you’re just setting out with your first seed potatoes or you’ve been digging in the dirt for years, remember that every harvest brings new lessons—so keep experimenting, learning, and enjoying the process.
Happy planting!