Introduction
If you love cooking, chances are you go through your fair share of scallions. Learning how to regrow green onions from kitchen scraps is a simple skill that can freshen up your recipes and make your kitchen more sustainable. Green onions, also known as scallions, are slender, versatile vegetables with a mildly tangy flavor that adds a delicious punch to everything from omelets and stir-fries to soups and salads. The best part? Those leftover white bulbs and roots you usually toss away after chopping the greens are actually tiny powerhouses waiting for a new lease on life.
Regrowing green onions is surprisingly easy and comes with a handful of real-world benefits. By reusing scraps, you’ll save money over time and reduce kitchen waste, all while contributing to eco-friendly habits right from your countertop. No fancy equipment or gardening experience is required—just a jar, water, and a sunny spot on your windowsill. In this guide, we’ll walk you through the step-by-step process, offer tips for a healthy harvest, and answer common questions beginners have. If you’ve ever doubted your green thumb, rest assured: regrowing green onions is one of the easiest and most rewarding ways to dip your toes into home gardening.
What You Need to Get Started
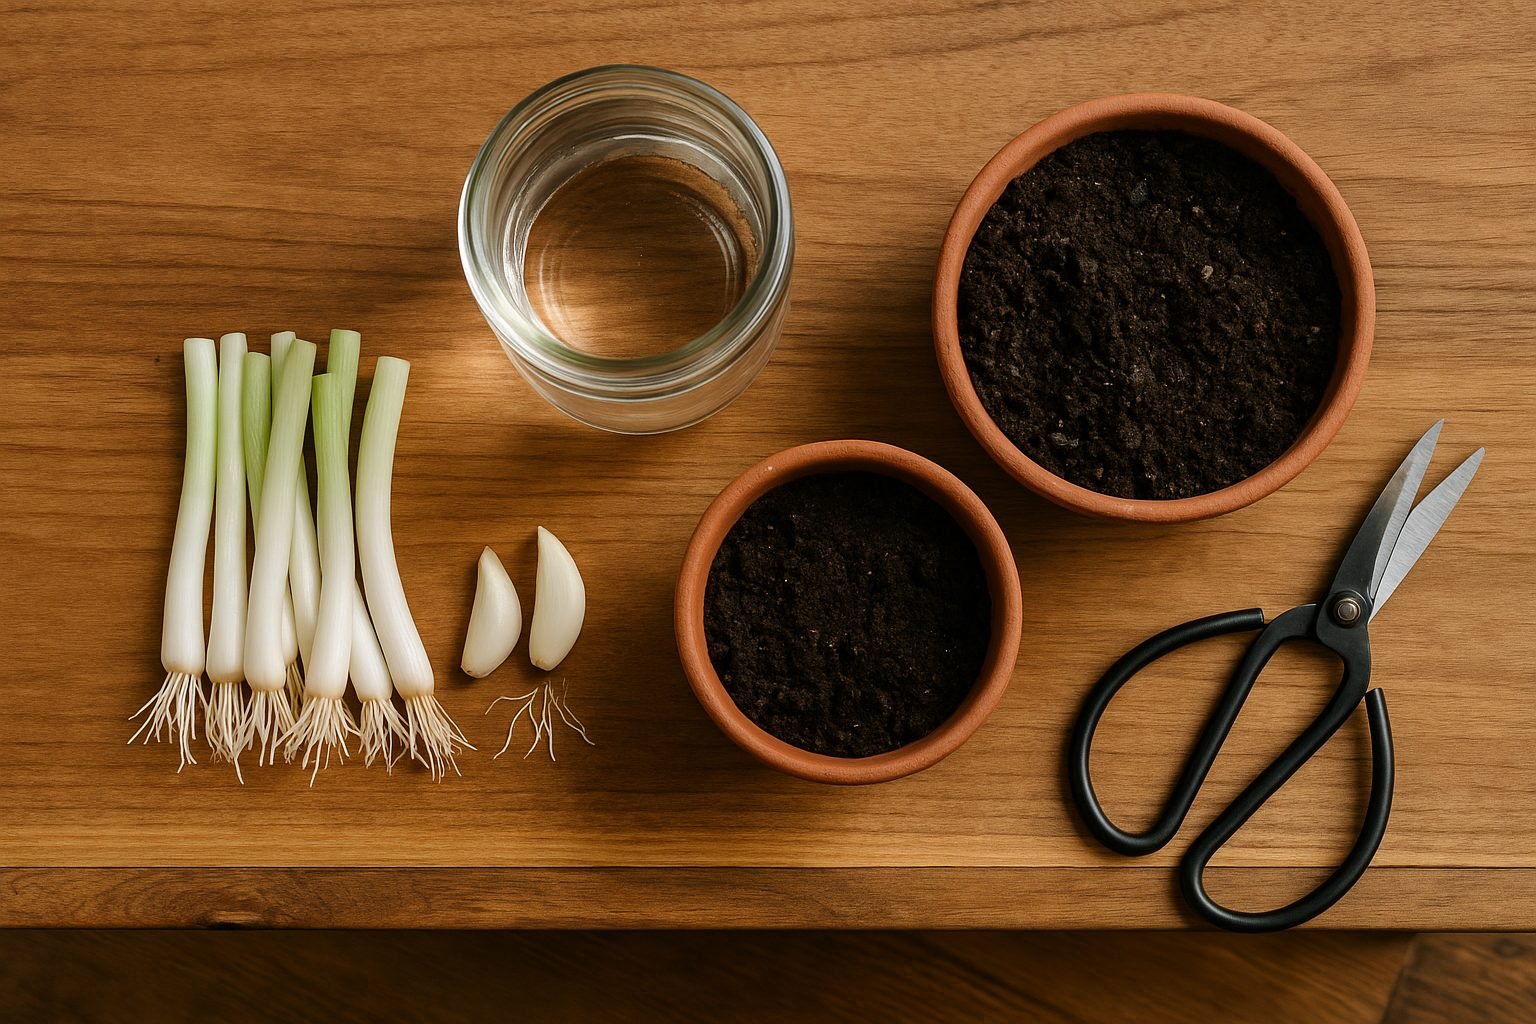
To get started with regrowing green onions at home, you’ll need just a few simple supplies: leftover green onion roots (the white bulbs with visible roots from the base of the green onions you often buy at the store), a jar or cup, and some fresh water.
If you want to transfer your green onions to soil later for stronger growth, have a small container and some potting soil on hand—though this step is optional at first.
For the best chance at healthy regrowth, start with fresh, healthy scraps. Avoid any onion bases that are slimy, brown, or showing signs of rot, as these are unlikely to sprout well.
Take a moment to trim the ends of the green onions so that each root base is about one to two inches long, cutting just above the roots. Carefully inspect the roots and remove any mushy or dried-out sections to prevent rot and encourage strong new shoots.
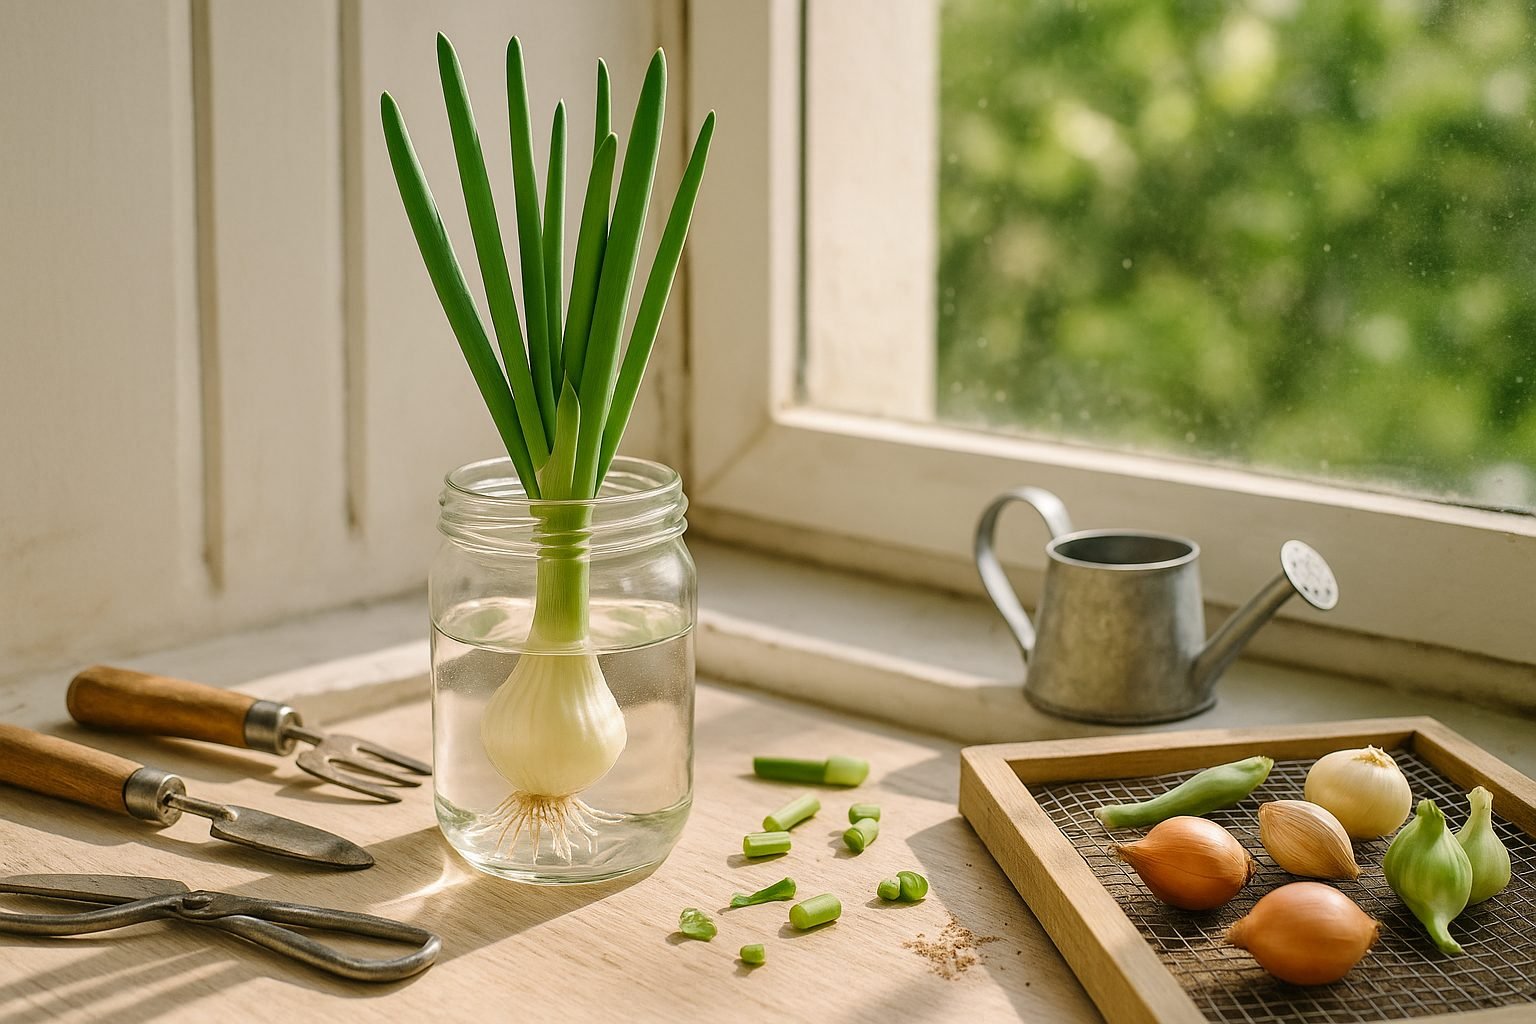
Place the prepared roots upright in your cup or jar, just covering the roots with water—avoid submerging the tops, as this can lead to decay. Refresh the water every couple of days to keep things clean and encourage healthy regrowth.
In most cases, you’ll start to see green shoots within a week, making this an unbelievably easy and rewarding project for beginner gardeners or anyone looking to cut food waste and have fresh herbs on hand.
Step-by-Step: Regrowing Green Onions in Water
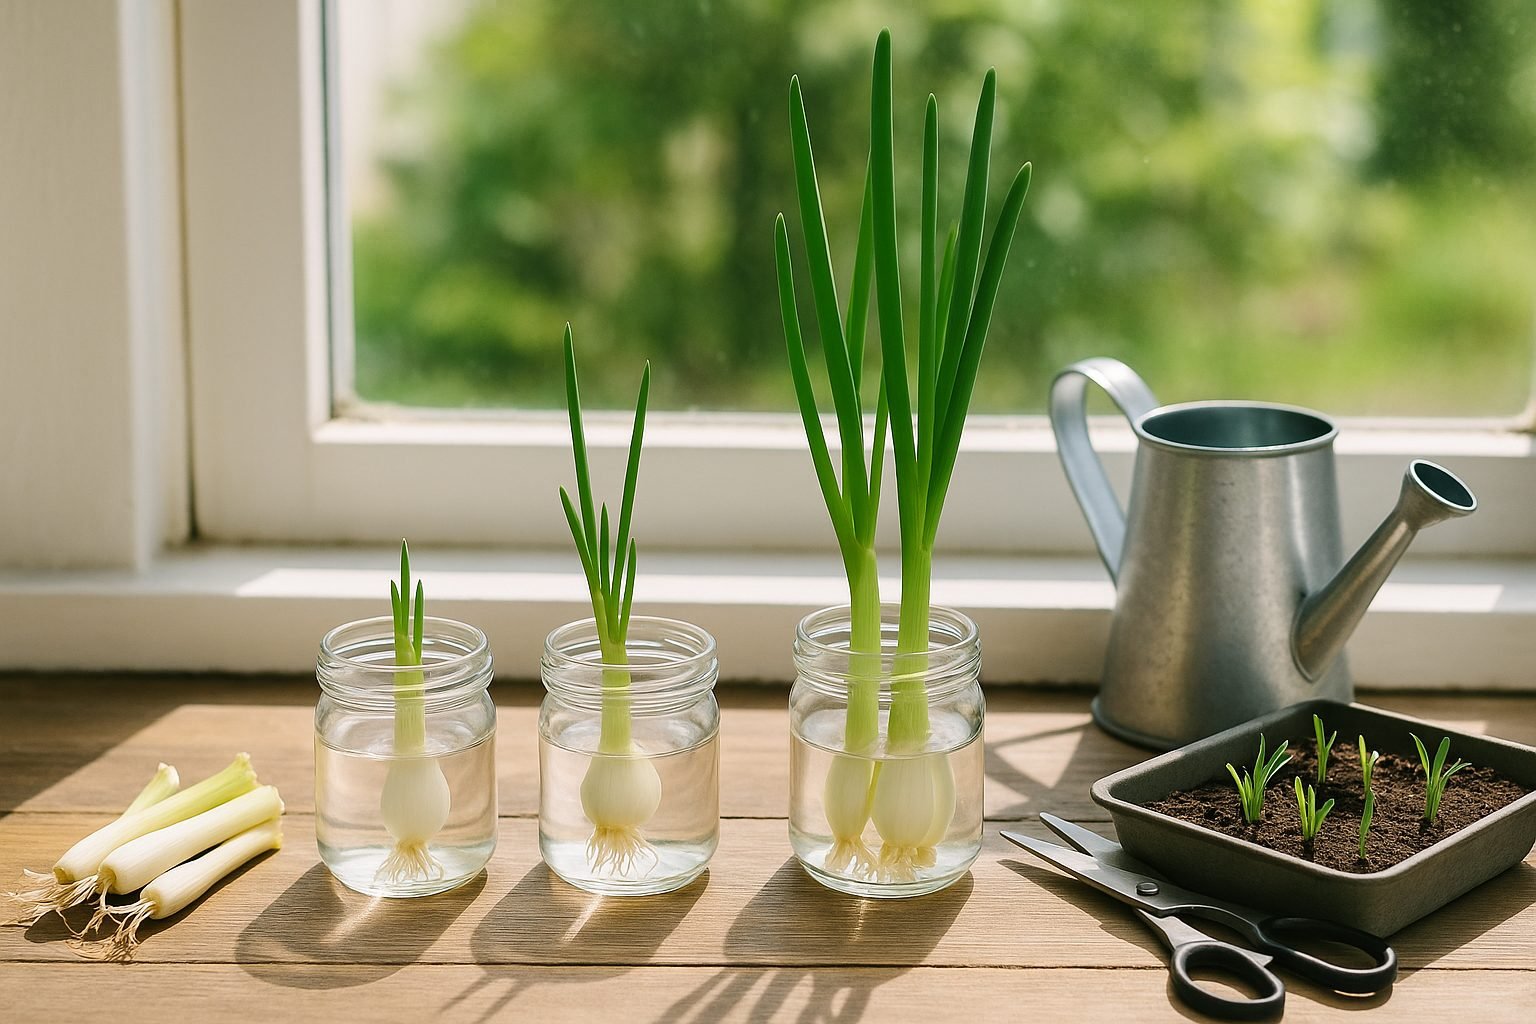
Regrowing green onions in water is a simple and satisfying kitchen project that lets you enjoy fresh green tops without a trip to the store. Start by trimming your store-bought green onions, leaving the white bulbs and roots intact—about an inch or two above the roots is perfect.
Place these root ends upright in a small glass or jar, adding just enough water to submerge the roots but not the tops, usually about an inch deep. Position the jar on a sunny windowsill where it can get plenty of natural light; bright, indirect sunlight works best to encourage strong growth.
Every two to three days, change the water to prevent sliminess, rot, and odor, making sure to rinse the jar and remove any debris that might collect. Within a few days, you’ll notice green shoots sprouting upward, and by the end of the first week, your onions should have several inches of new growth.
Most green onions are ready to harvest in 10–14 days—just snip off what you need with kitchen scissors, leaving about an inch above the water so regrowth can continue.
Tips for Ongoing Growth
- Avoid using fertilized water.
- Clean the roots gently if you notice any slimy build-up.
- Refresh the water consistently.
Over time, the onions may slow down or lose vigor; if you notice yellowing shoots or a rotten smell, discard the bulb and start over with fresh ones.
This method is a great way to cut down on waste, always have a supply of green onions on hand, and add a cheerful touch of greenery to your kitchen.
Transplanting Green Onions: Moving from Water to Soil
Transplanting green onions from water to soil is an easy way to get more flavor and growth from your kitchen scraps. While regrowing green onions in water is quick and convenient, moving them to soil helps produce longer-lasting, bushier plants that keep delivering fresh shoots for weeks or even months.
To start, choose a pot with drainage holes or a sunny garden bed. Use well-draining soil—regular potting mix works fine, or mix compost with garden soil to boost nutrients.
For best results, plant the green onion bulbs about one inch deep, leaving the green tops exposed, and space them about two inches apart so each plant has room to grow. Green onions need at least 6 hours of sunlight daily, so find the sunniest spot you have.
After planting, water thoroughly to settle the soil and keep it evenly moist, but not soggy. In the days following transplant, check daily and water when the top inch feels dry. While the plants are adjusting, you might see some drooping, but healthy roots will soon take off.
Every few weeks, a light sprinkle of all-purpose fertilizer can encourage even more growth. Keep the area weed-free and snip the green tops regularly to stimulate new shoots.
With these simple steps, your green onions will thrive in soil, providing a steady supply for salads, soups, and more.
Harvesting and Using Regrown Green Onions
When your regrown green onions reach about 6 inches tall, they’re ready to harvest. Use clean scissors to snip the green tops just above the white bulb, leaving at least an inch of green stem so the plant can keep producing. Avoid cutting all the way to the base or pulling the bulbs out, as this can interrupt the regrowth process.
After harvesting, place the jar or container on a sunny windowsill and change the water every few days if you’re growing them hydroponically. For soil-grown onions, water when the soil feels dry. With proper care, you can expect to harvest fresh greens every 7 to 10 days. Keep in mind that regrowth may slow after several cycles, so replacing the bulbs every few months will help maintain productivity.
Once harvested, green onions add a bright, mild flavor to countless dishes. Here are some tasty ways to use them:
- Sprinkle chopped greens over scrambled eggs, soups, or baked potatoes.
- Toss them into salads for extra crunch.
- Mix into cream cheese for a quick savory spread.
- For a speedy side dish, sauté green onion tops with a splash of soy sauce and sesame oil.
Their versatility means you’ll rarely run out of ideas to use your harvest, and keeping a steady crop going ensures fresh flavor is always at your fingertips.
Troubleshooting & Common Questions
If you’re new to regrowing vegetable scraps, it’s normal to run into a few hiccups along the way. One common problem is limp or droopy growth, usually caused by either too little sunlight or overly soggy water. Place your jars or containers on a sunny windowsill and make sure to replace the water every few days to keep oxygen levels up.
Yellow leaves often signal poor water quality or nutrient deficiencies; try switching to filtered water and, if the plant needs it, add a touch of liquid fertilizer after a week or two.
Some people notice a bad odor from the water—this typically means roots are rotting or there’s leftover plant debris, so trim away any mushy bits and rinse both the container and roots before restarting with fresh water.
If regrowth seems slow, check for healthy white roots and experiment with a warmer spot to encourage faster growth.
Common Questions
Most scraps like green onions, romaine lettuce, and celery can be regrown multiple times, but each cycle tends to become weaker. Expect two to three good rounds before flavor and vigor fade.
You might wonder if soil is necessary—while many scraps start in water, moving them to soil after roots develop yields stronger plants and longer regrowth. For herbs and thicker-stemmed veggies, soil is almost essential for a full second life.
Regularly observing and tweaking your setup will help you quickly spot problems and enjoy better results.
Green Onion Regrowing Tips & Fun Experiments
Regrowing green onions at home isn’t just practical—it’s a fun science project, especially for kids and classrooms. All you need is a glass, some water, and leftover green onion roots.
Have kids measure and record growth daily, or try placing jars in different spots (a sunny windowsill versus a shaded corner) to see how light affects regrowth. Curious minds can even test how often changing the water impacts the results.
To speed up regrowth, trim only the green tops and let the white bulbs soak in fresh water, changing it every 2–3 days to prevent slime. For a higher yield, plant the bulbs in soil once you see healthy white roots—it encourages thicker, more robust growth.
Encourage Creative Experiments
- Try regrowing in colored water.
- Track which room grows the tallest onions.
- Harvest different lengths and taste-test for flavor.
Kids can decorate the jars or keep journals with sketches and growth charts. Besides using the fresh greens in salads or soups, get inventive—blend them into homemade dips, sprinkle them on eggs, or challenge kids to invent new dishes.
Regrowing turns food scraps into a window garden, making science and sustainability fun while reducing waste!